

Method 1: Select the default printer
The first option is the easiest in the implementation, but it infrequently turns out to be effective. In any case, it is better to fulfill it at the beginning - there is a chance that it will free from labor-intensive and spending instructions. It consists in choosing a target printer as the default device so that any print tasks automatically go to it.
- Open the Start menu and select the "Parameters" section.
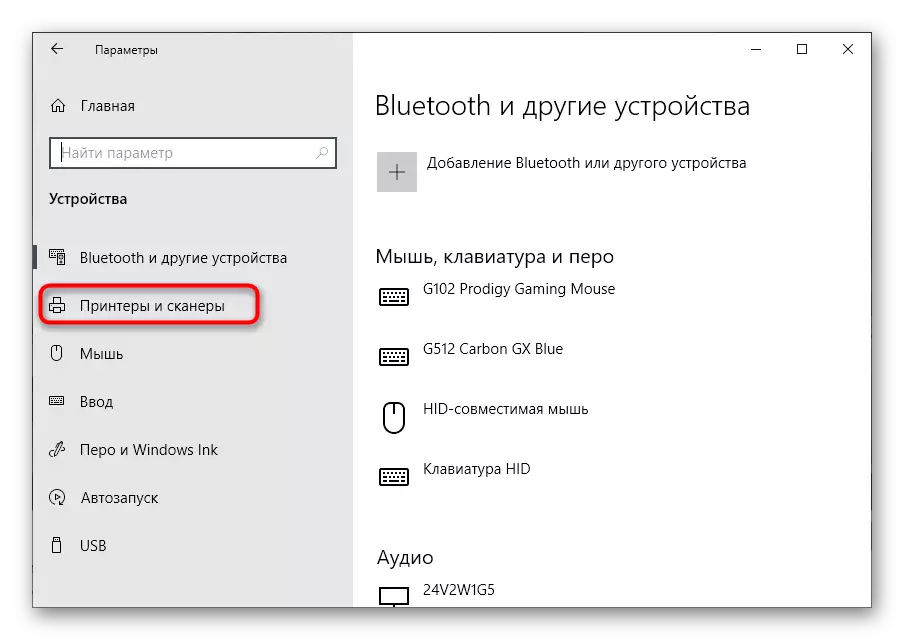
- Go to the category "Devices", where all printers are located.
- Through the left panel, switch to "Printers and Scanners".
- Click on the line with your printer to display additional actions.
- Click on the Management button.
- Assign this Printing Equipment by default by clicking on the corresponding button.


After the changes made, it is best to restart the printer, thereby using them. At the same time, the document in the queue must be launched automatically. If this does not happen or the device and so is in the "Default" state, use the following method.
Method 2: Removing the task of the queue
It is likely that the document placed in the stamp queue was not started due to the problems arising or unforeseen disabling the printer. Then this task will receive the error status and will not allow printing other files. Therefore, it will be necessary to delete it yourself, and then re-start printing.
- Go to the "Devices" section in "Parameters", select the printer and click on the Open Queue button.
- If there are several tasks at once, in the next way of this article you will learn how to quickly delete them all. In the case when the document is only one, right-click on it.
- In the context menu that appears, click "Cancel" and wait for the task from the list.


Method 3: Cleaning the print queue
As mentioned above, cleaning the print queue will allow you to immediately get rid of all the problematic tasks that interfere with the normally printed documents. You can do this as automatic mode and manually, if the first option failed. Detailed analysis of each method you will find in a separate article on our website.
Read more: How to Clean the Print Queue on the HP Printer

Method 4: Printer output from an offline regime
If the printer's job was discontinued in an unforeseen moment, for example, if it is emerging, the next launch may be accompanied by automatic translation into the autonomous mode of operation. Then all the documents that will be queued are not printed if the device does not translate into active mode yourself. To do this, open the print queue section, in the "Printer" menu, remove the checkbox from the "Work Autonomously" item.

After that, delete the task out of the queue and add it there again. If the problem really consisted in this mode of operation, now printing will begin in normal mode.
Method 5: Enabling printing components
Printing components included in the standard set of operating system functions are responsible for normal interaction with the printer. If these components are disabled, problems with the processing of documents can begin. Therefore, it is necessary to check their status manually and need to include what is happening:
- Call "Parameters", for example, through the "Start" menu.
- Go to the "Applications" section by clicking on its tile.
- After the list of installed programs, there is a "Related Settings" block, where you click on the "Programs and Components" link.
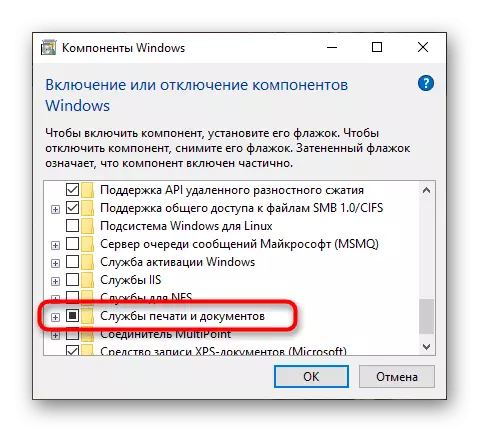
- A separate software management window is displayed, in which you are interested in the "Enable or Disable Windows Components" section.
- In the list of components, find "Printing and Document Services" and activate the catalog, marking it with a black marker.
- Next, deploy this directory and mark all the subfolders checkboxes.


Method 6: Change User Account
If the "Driver is not available" appears when placing a document in the queue or turning on the printer, most likely, the account used is not right in order to interact with the device. It will be necessary to change the one that the "Administrator" status is assigned. If you do not know how to do this, please contact individual manuals on our website below.
Read more:
Get administrator rights on a computer with Windows 10
Use the administrator account in Windows

Method 7: Reinstall the printer driver
The last way that may be effective at the current situation is reinstalling the printer driver. To begin, it is necessary to get rid of the old software, as in the deployed form it is written in the article Next.
Read more: Remove the printer driver in Windows 10

Next, select the optimal driver search method for the printer, using universal instructions on our website or finding it through the search by name of your own device. After reinstalling the driver, restart the computer and re-connect the printing equipment, and then go to print check.
Read more: Installing drivers for printer