Method 1: Insert images as footer
On our site already there is an article about how footswear is added for the table in Excel. This is a great method to adjust the format of the page before printing, organizing all the necessary editing points in accordance with GOST or the requirements of the project customer. The functionality of the working tool with footers can be used to insert a pattern that will automatically settle down under the text creating the necessary effect.The disadvantage of this method is an uncomfortable image size formatting, if suddenly it turned out that it is too large or small, so in the event of difficulties, read the following options.
Method 2: Insert images as a substrate
The substrate is a kind of background of the page in the exhale table, which is perfect for inserting there an image without additional size settings and other parameters. However, you must be pre-confident that its transparency and present colors arrange the overall picture of the table, without overlapping the inscriptions and other important elements.
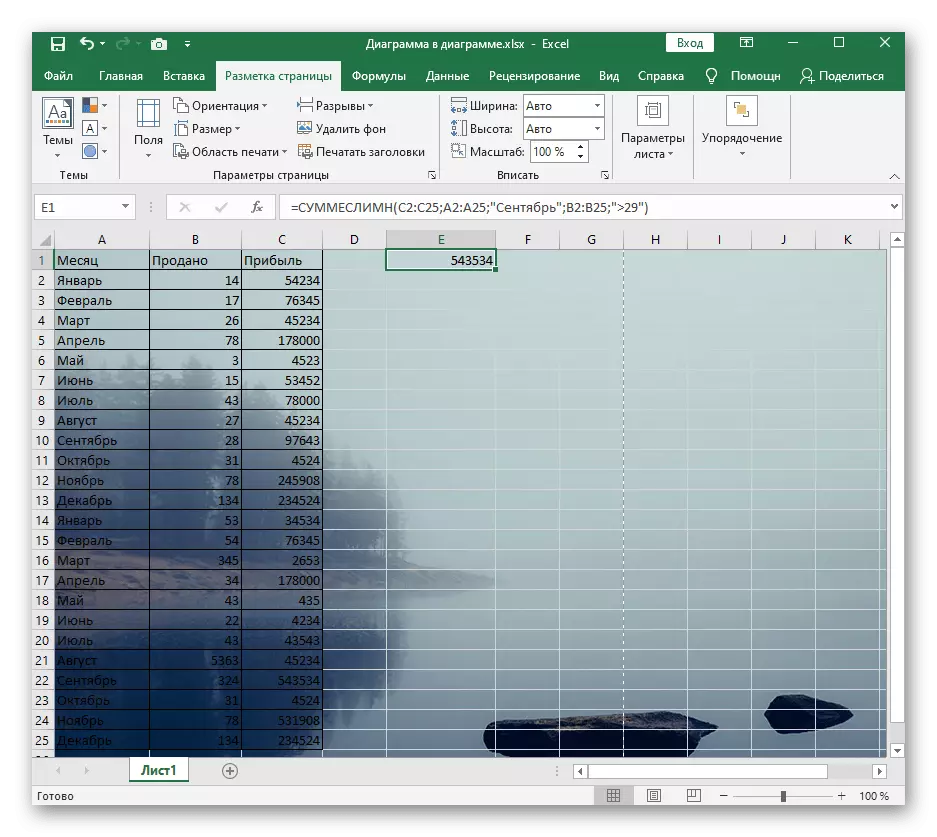
- Open the "Page Markup" tab, where the functions mentioned is located.
- Click on the "Substrate" button.
- The image insertion window will appear, where you can find the file on the computer and select it.
- The substrate will immediately appear even in the usual view mode.


Instead of the "Substrate" button, "Delete Background" is now displayed. Click on it if you no longer want to use the inserted image as a substrate.
Method 3: Inserting a transparent image
Unfortunately, the functionality of this program for working with spreadsheets does not allow you to take a regular insert tool, add a picture and immediately adjust its transparency, so you have to go on a small trick, making an image as a background of the shapes.
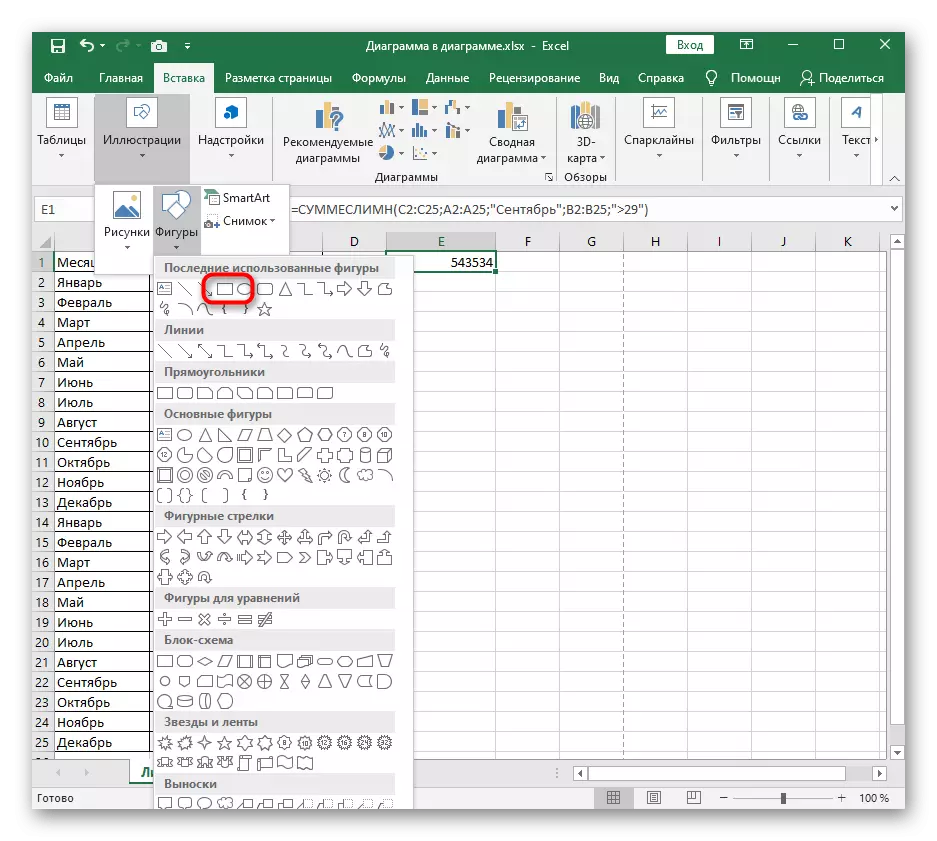
- Click on the "Illustration" block on the "Insert" tab.
- Among the list of figures, find a rectangle or any other suitable object.
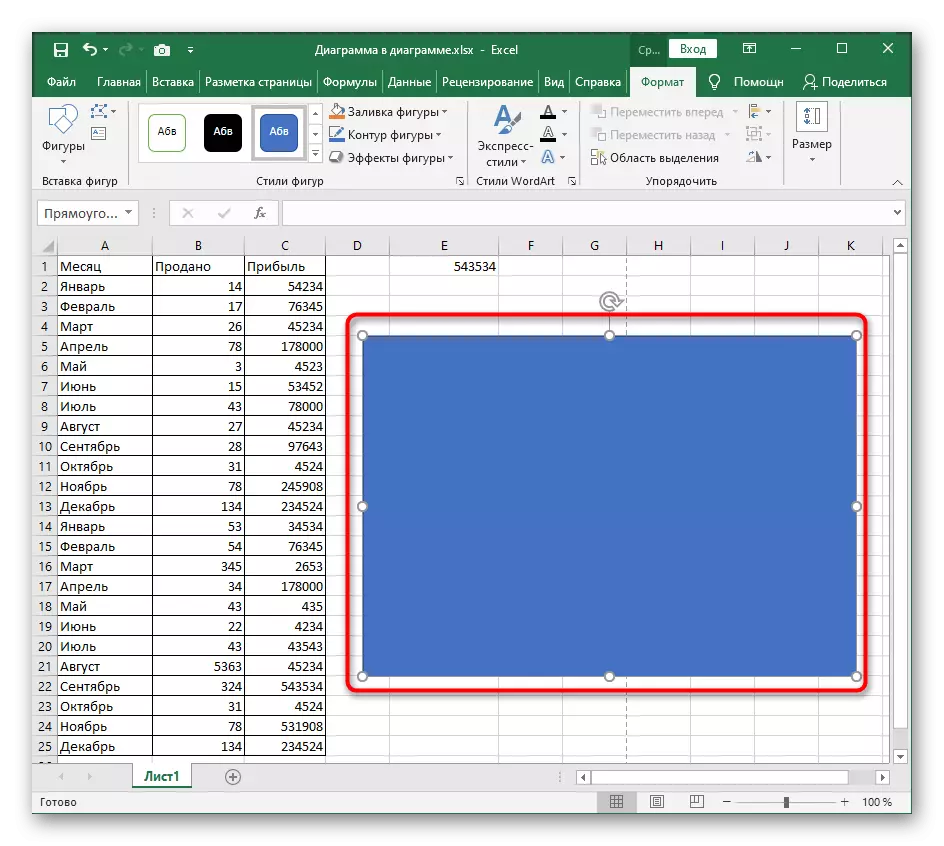
- Add it by setting the appropriate size.
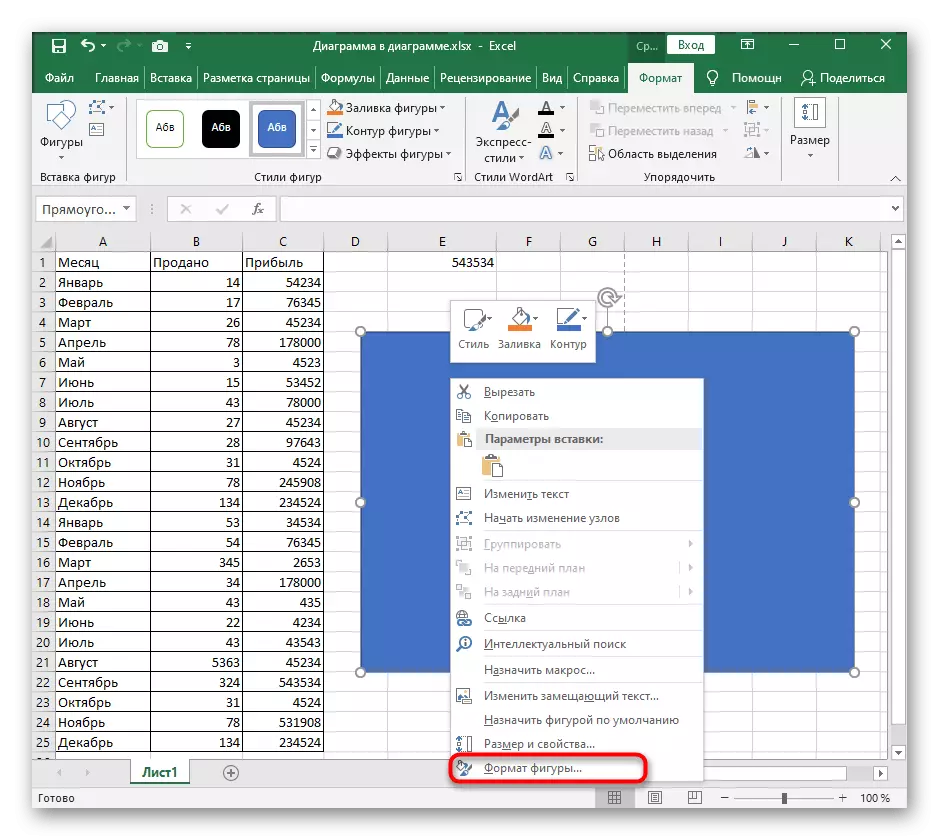
- Click on the figure right-click and through the context menu, go to "Figure Format".
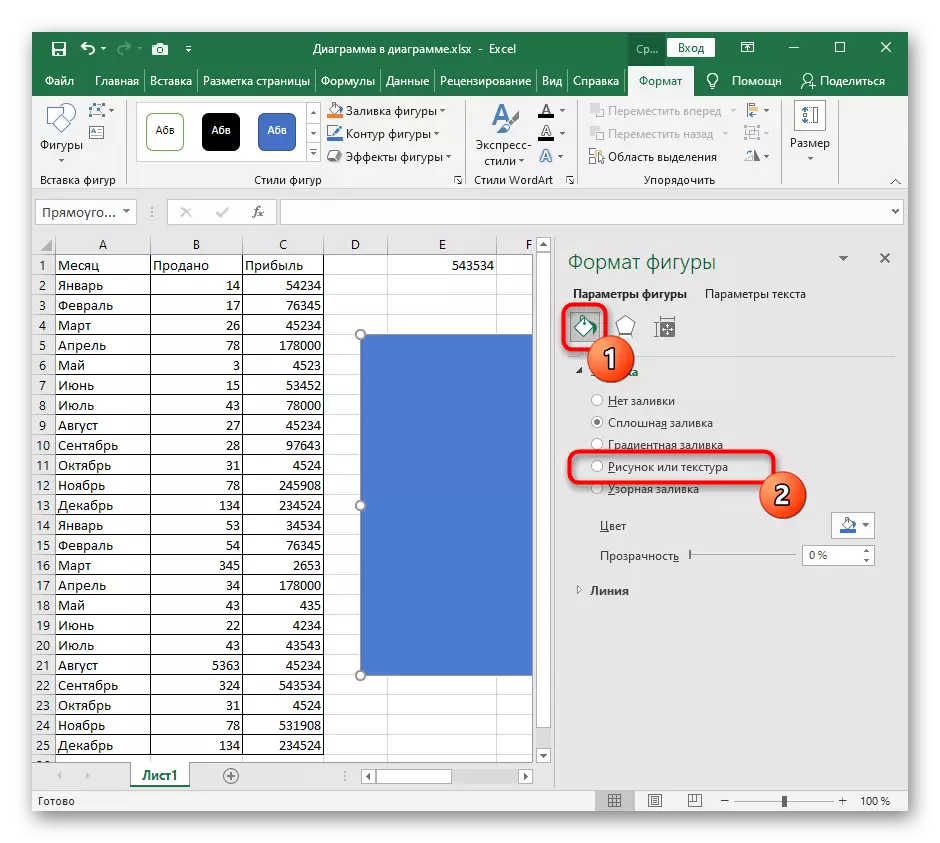
- To start in its parameters, turn off the contour by removing its color.
- Next, go to the "fill" and mark the version of the "Figure or Texture" version.
- Insert the picture as a fill.
- Use the previously discussed menu.
- It remains only to set the level of transparency that matches your requirements.
- Return to the table and place a new figure so that it is under the contents of the sheet, and then save the project.