
This article is devoted to the preservation of rollers in the Camtasia Studio 8 program. Since this is a software with a hint of professionality, then formats and settings a large amount. We will try to figure out all the nuances of the process.
Camtasia Studio 8 provides several options for saving a video roller, you only need to determine where and how it will be used.
Saving video
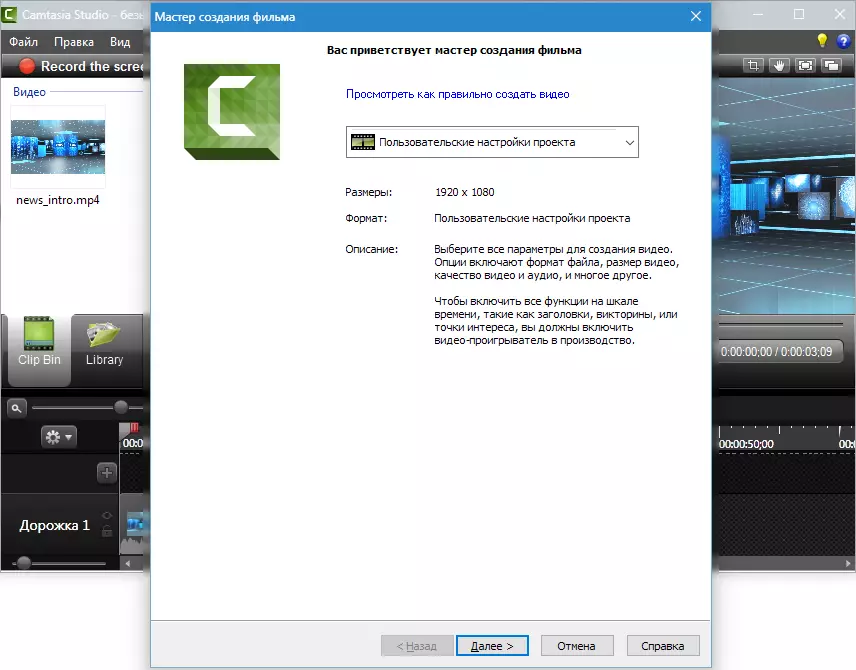
To call the publication menu proceed to the menu "File" and choose "Create and Publish" or press hot keys Ctrl + P. . In the screenshot is not visible, but on top, on the shortcut panel, there is a button "PRODUCE AND SHARE" You can click on it.

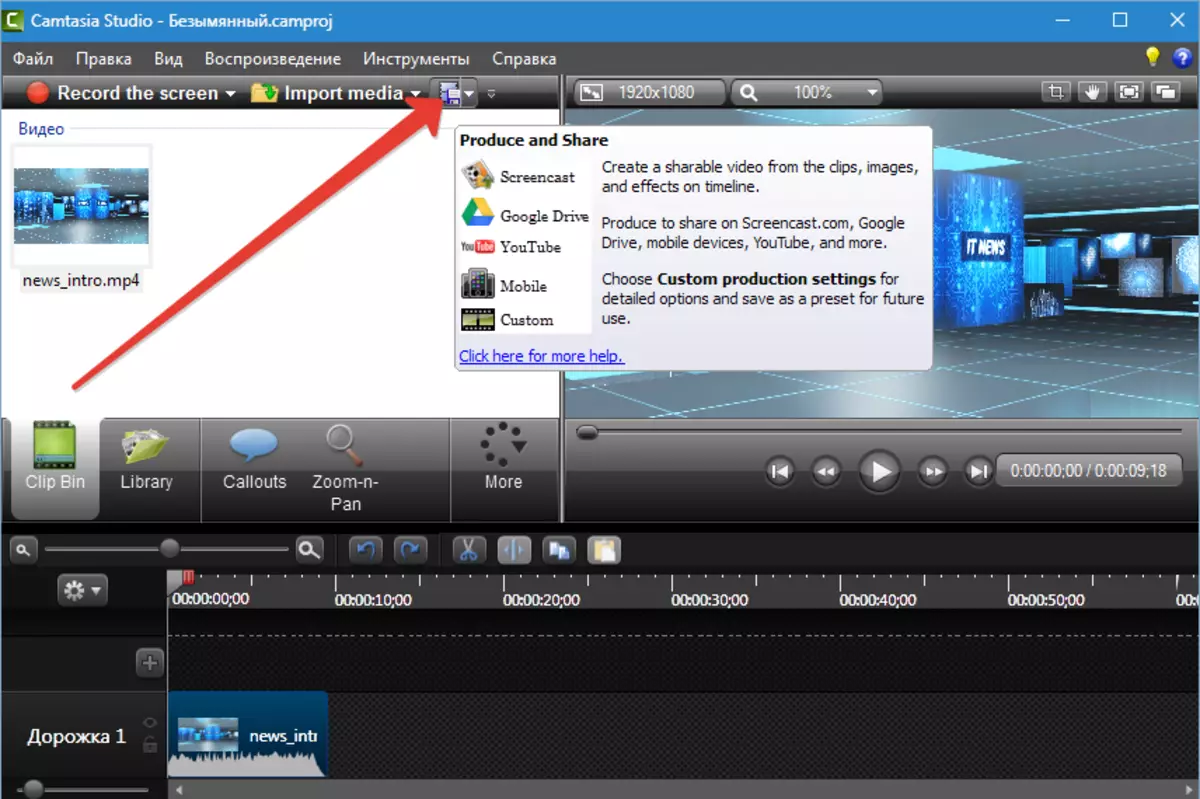
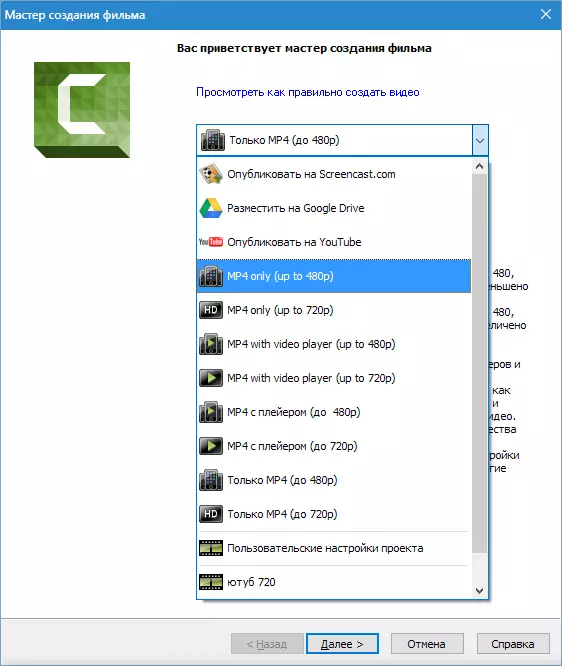
In the window that opens, see the drop-down list of preset settings (profiles). Those that are signed in English are no different from those named in Russian, only the description of the parameters in the appropriate language.
Profiles
Only MP4.
When this profile is selected, the program will create one video file with dimensions 854x480 (up to 480p) or 1280x720 (up to 720p). The video will be reproduced on all desktop players. Also, this video is suitable for publication on YouTube and other hosting.
MP4 with player
In this case, several files are created: directly the roller itself, as well as an HTML page with connected style sheets and other control. The page has already built a player.

This option is suitable for publishing a video on your website, it is enough to place a folder on the server and create a link to the created page.
Example (in our case): http: // My site / Unnamed / Unnamed.html.
When you click on the link in the browser, the Page with the player opens.

Accommodation on Screencast.com, Google Drive and YouTube
All these profiles make it possible to automatically publish videos on the relevant sites. Camtasia Studio 8 will create and downloads video.
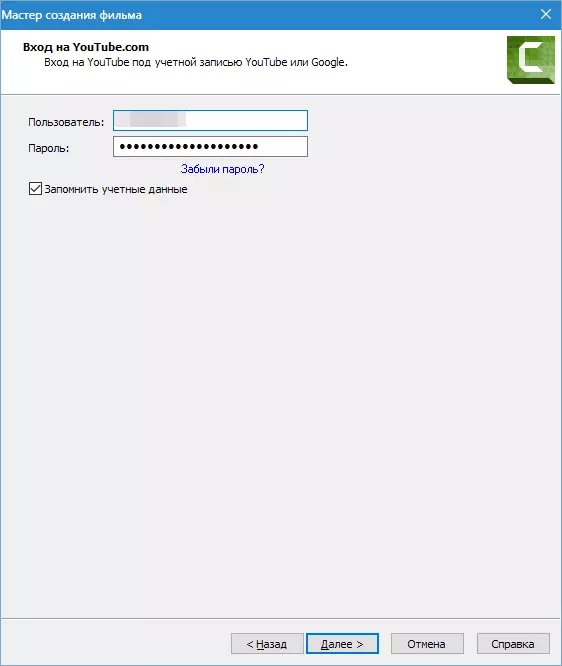
Consider on the example YouTube.
The first step is to enter the user name and password from your YouTube account.
Further, everything is standard: let the name of the roller, we compile a description, select tags, indicate the category, configure confidentiality.


The roller with the specified parameters appears on the channel. The hard disk does not save anything.
Custom project settings
If the preset profiles are not suitable, then the parameters of the video can be configured manually.
Format choice
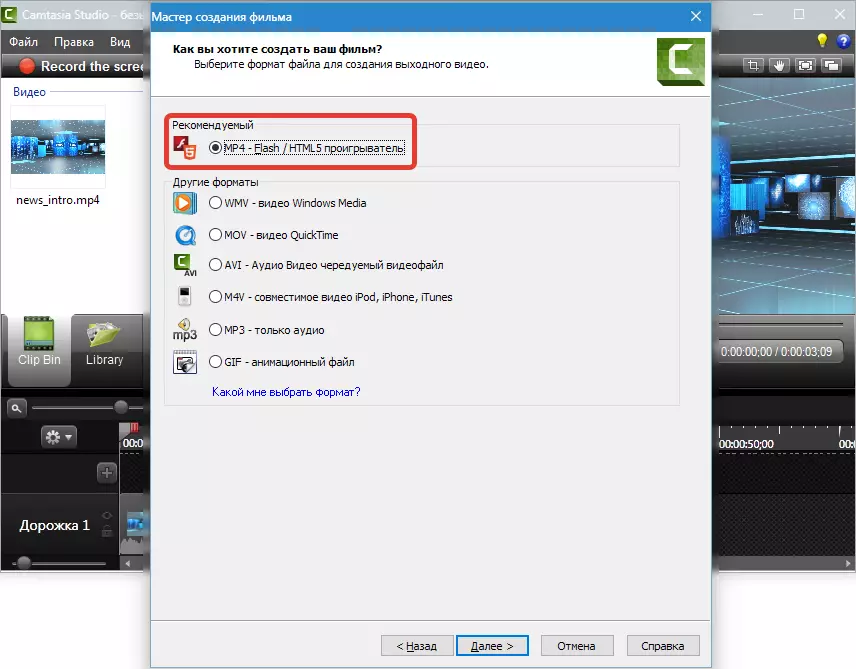
First in the list goes "MP4 Flash / HTML5 Player".
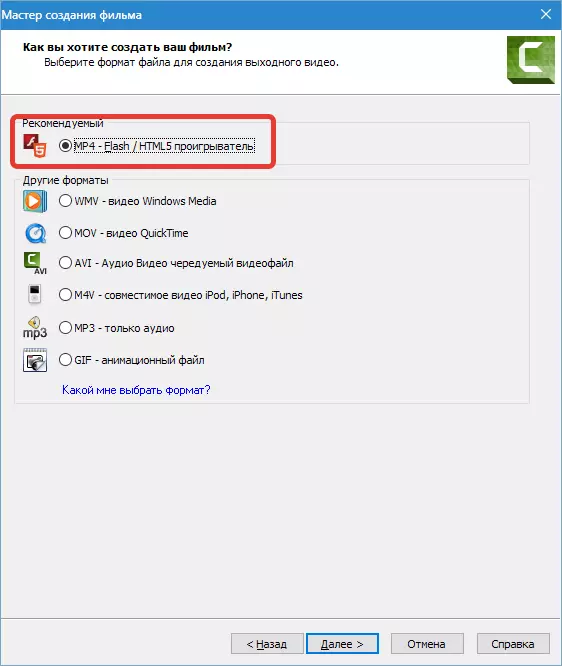
This format is suitable for playing in players and for publishing on the Internet. Due to compression has a small size. In most cases, this format is used, so we consider it settings more.
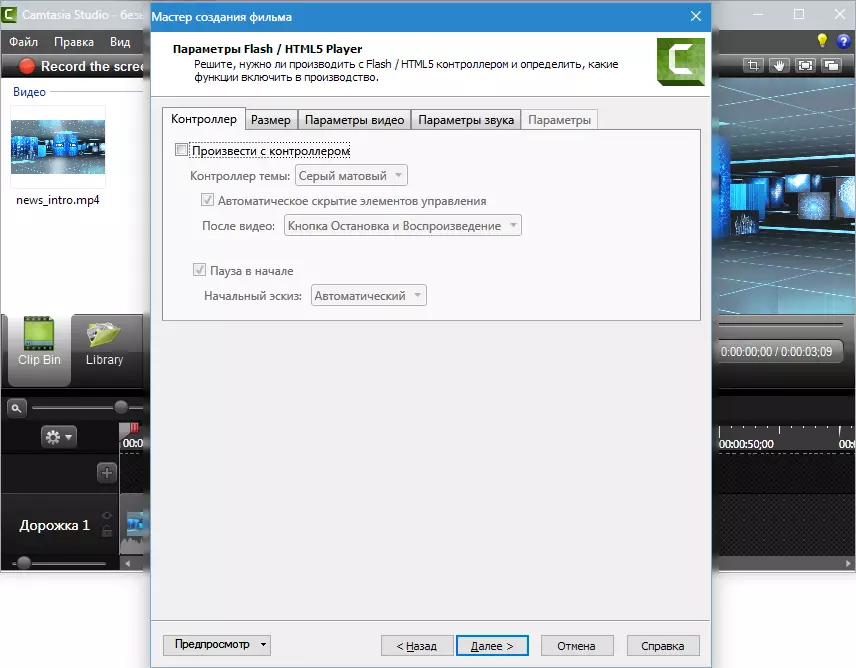
Configuring controller
Include function "Produce with the controller" It makes sense if you plan to publish a video on the site. An appearance is configured for the controller (theme),
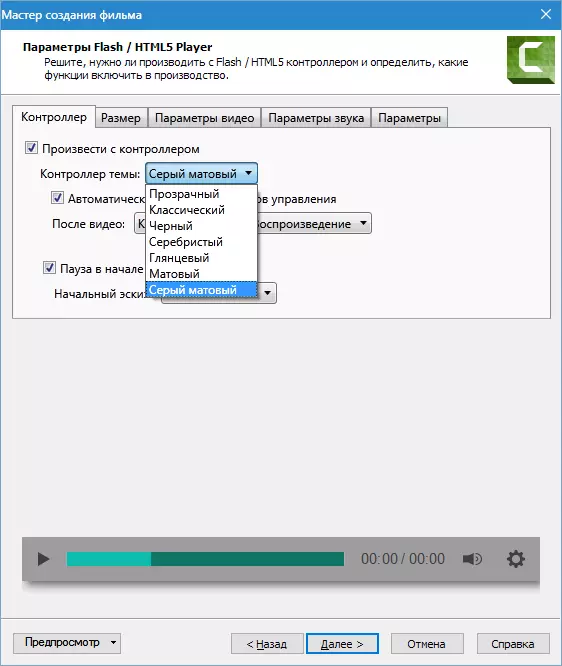
Actions after the video (stop and playback button, video stop, continuous playback, transition to a specified URL address),

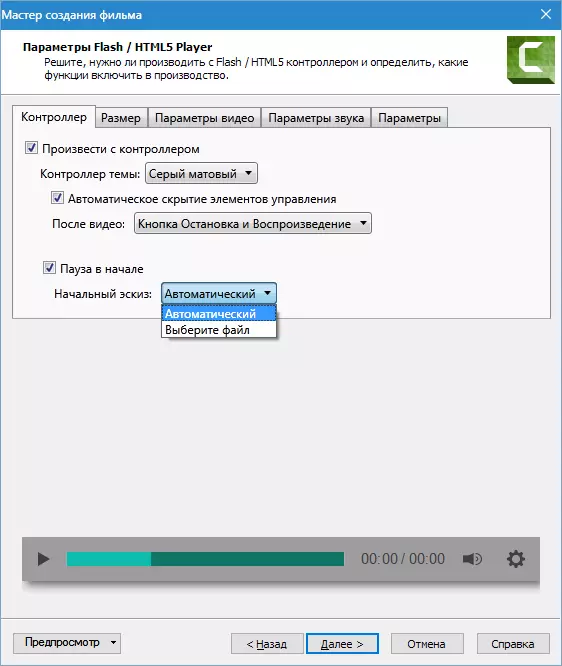
The initial sketch (then the image that is displayed in the player before starting playback). Here you can choose an automatic setting, in this case the program will use the first frame of the roller as a sketch, or select a pre-prepared picture on the computer.
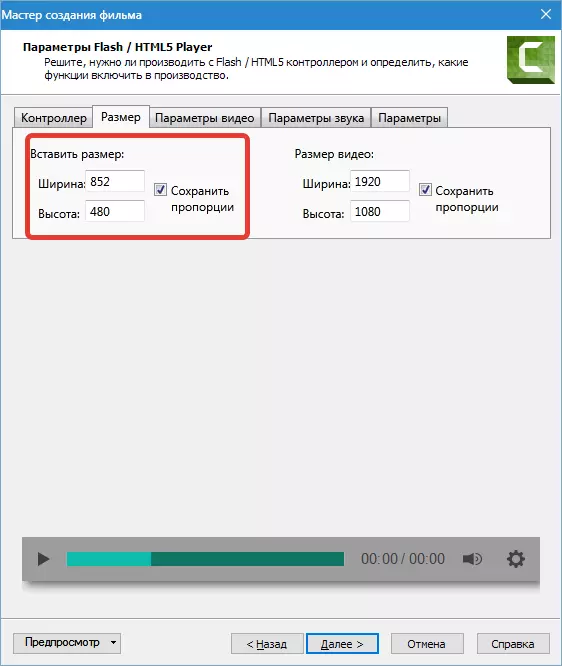
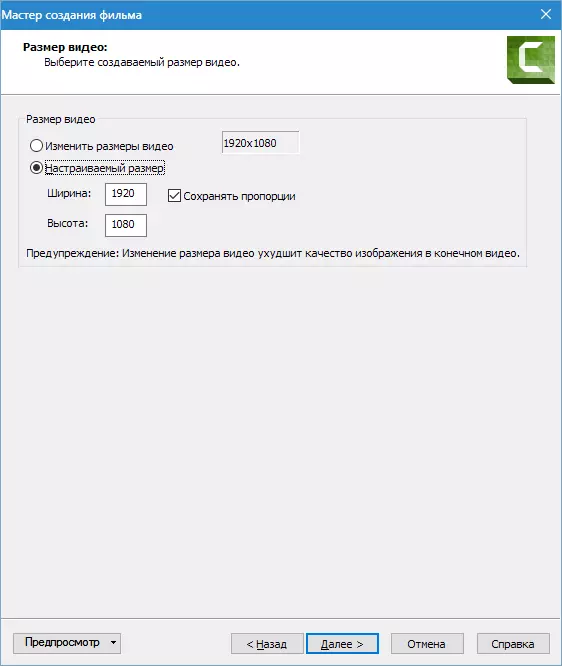
Video size
The aspect ratio of the video is adjusted here. If playback is enabled with the controller, the option becomes available. "Insert the size" which adds a smaller roller copy for low screen permissions.
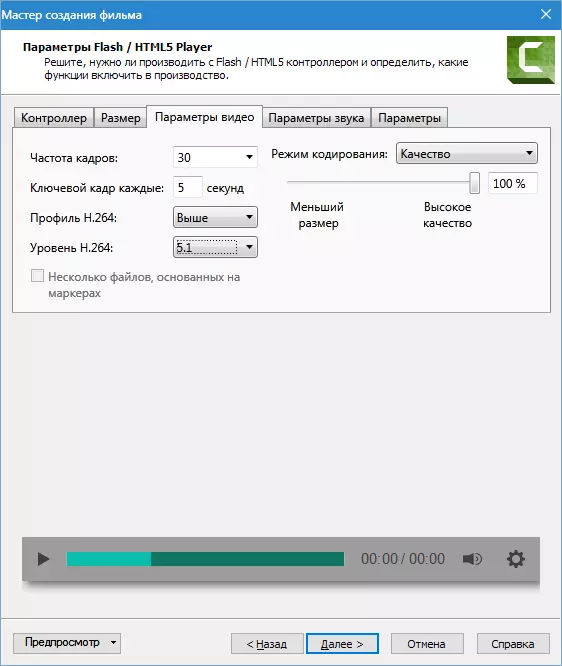
Video settings
On this tab, video quality settings, frame rate, profile and compression levels are available. H264. . It is not difficult to guess that the higher the quality and frequency of frames, the greater the size of the destination file and the time of rendering (creating) video, therefore different values are used for different purposes. For example, for screenshots (recording from the screen) enough and 15 frames per second, and for more dynamic video it is necessary 30.
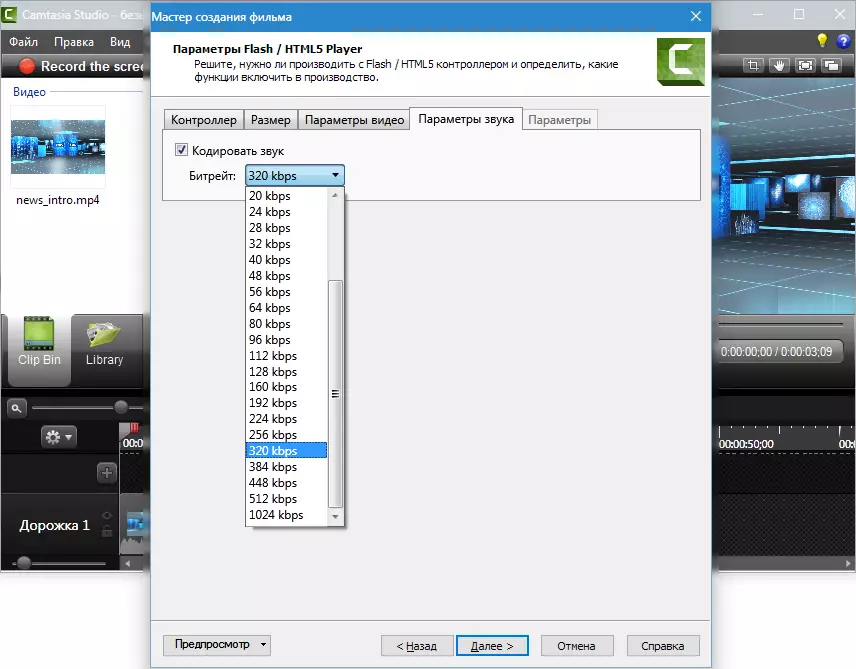
Sound parameters
For sound in Camtasia Studio 8, you can only configure one parameter - bitrate. The principle is the same as for the video: the higher the bit rate, the heavyweight file and longer rendering. If only a voice sounds in your roller, then 56 kbps is enough, and if there is music, and it is necessary to provide high-quality sound, then at least 128 kbps.

Content Setup
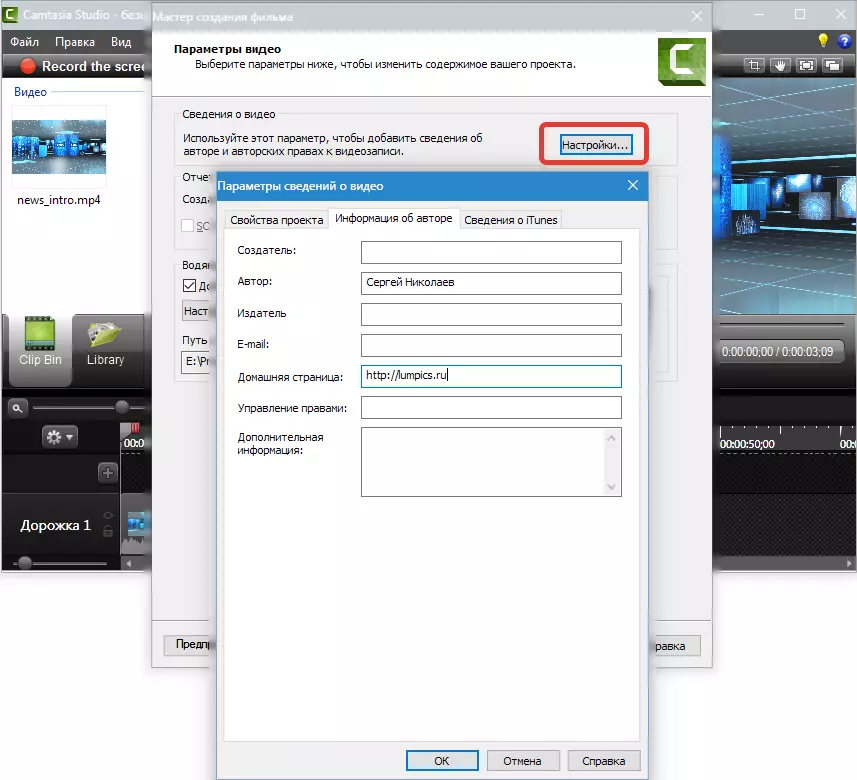
The following window offers add video information (name, category, copyright and other metadata), create a SCORM standard lesson package (materials standard for remote learning systems), insert a watermark in the video, configure HTML.

It is unlikely that the simple user will need to create lessons for distance learning systems, so we will not speak about scorm.
Metadata are displayed in players, playlists and in the properties of the file in Windows Explorer. Some information is hidden and cannot be changed or deleted, which will allow in some unpleasant situations to declare rights to video.

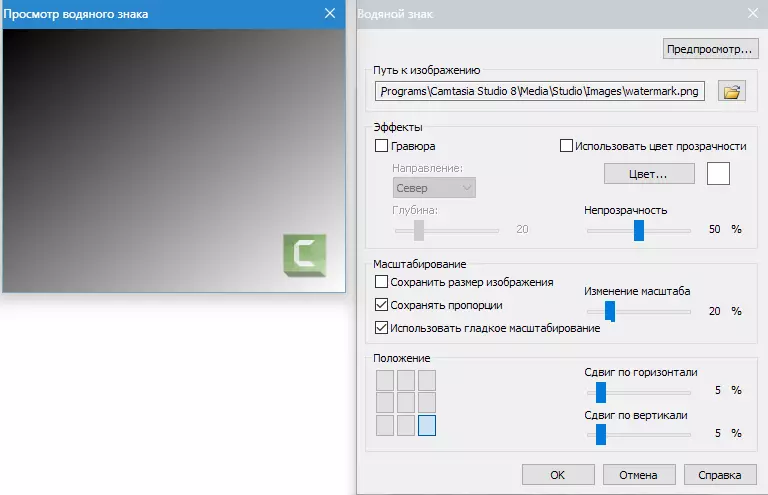
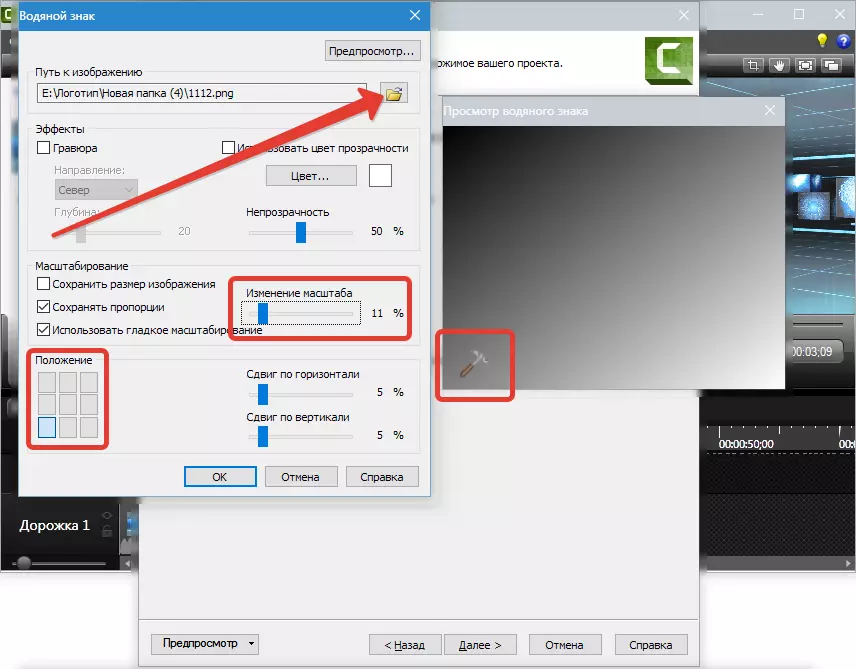
Watermarks are loaded into the program from the hard disk and also adjust. Settings Many: moving across the screen, scaling, transparency, and so on.
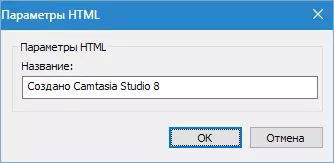
HTML has only one setting - the title change (title) of the page. This is the name of the browser tab, in which the page is open. Search robots also see the title and in extradition, such as Yandex, this information will be spelled out.
In the final settings block, you must give a call name, specify the location of the save, determine whether to display the progress of rendering and play if the video is reproduced upon completion of the process.
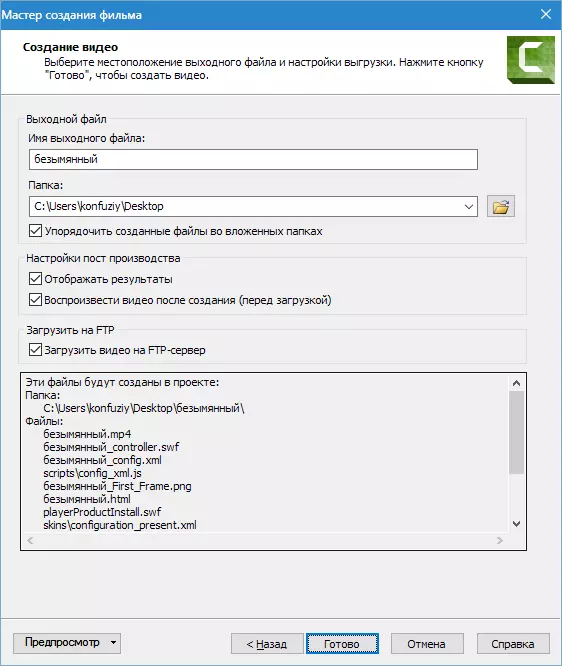
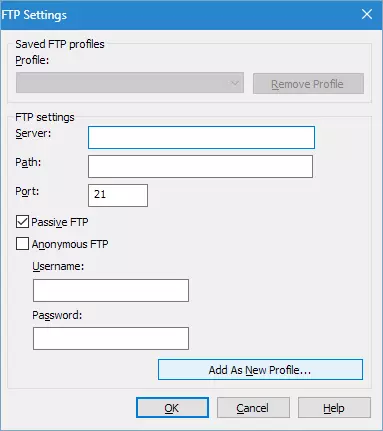
Also, the video can be downloaded to the FTP server. Before starting rendering, the program will ask you to specify the data for the connection.
Settings other formats are much simpler. Video settings are configured in one-two windows and is not so flexible.
For example, format Wmv : Profile Setup

and changing the size of the video.
If you figured out how to configure "MP4-Flash / HTML5 Player" The work with other formats will not cause difficulties. It is only worth saying that the format Wmv Used to play in Windows systems, QuickTime. - in Apple operating systems, M4V. - in mobile apple operating systems and iTunes.
To date, the edge is worn, and many players (VLC Media Player, for example) reproduce any video formats.
Format Avi. Notable in that it allows you to create uncompressed video of the original quality, but also a large size.
Paragraph "MP3 - Only audio" Allows you to save only audio track from the roller, and item "GIF - Animation File" Creates gif from video (fragment).
Practice
Let's take a look at how to save video in Camtasia Studio 8 to view on a computer and publishing video hosting.
1. Call the publication menu (see above). For convenience and speed click Ctrl + P. and choose "Custom Project Settings" Click "Further".
2. We note format "MP4-Flash / HTML5 Player" , Zhmem again "Further".
3. Take a tank on the contrary "Produce with the controller".
4. On the tab "The size" We do not change anything.

5. Configure video settings. Frames per second put 30, as the video is rather dynamic. Quality can be reduced to 90%, visually nothing will change, and rendering will pass faster. Key personnel optimally arrange every 5 seconds. Profile and H264 level, as in the screenshot (such parameters like YouTube).

6. For sound quality, choose better, because only music sounds in the video. It is quite suitable 320 kbps, "Further".
7. We introduce metadata.
eight. We change the logo. Press "Settings…",
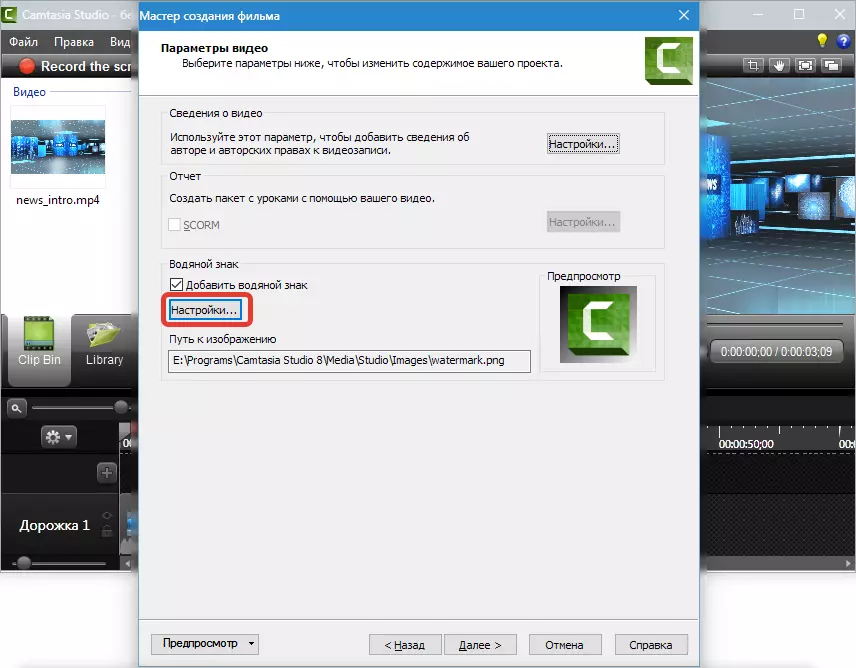
Choose a picture on your computer, move it into the leftmost corner and slightly slightly. Press Ok and "Further".
nine. Let's give the video and specify the folder for saving. We put the daws, as in the screenshot (to play and load on FTP we will not) and click "Ready".

ten. The process went, waiting ...

eleven. Ready.

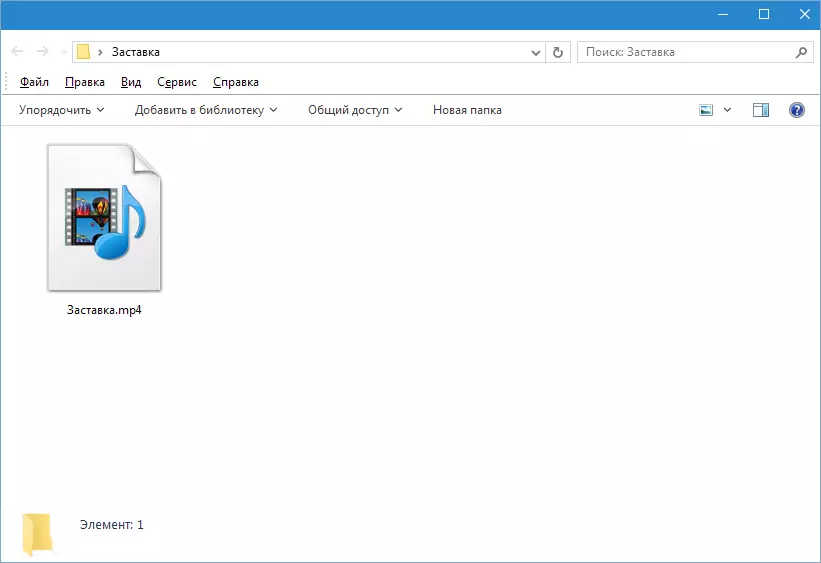
The resulting video is in the folder that we pointed out in the settings in the subfolder with the name of the video.

This is how the video is saved in Camtasia Studio 8. . Not the easiest process, but a large selection of options and flexible settings allow you to create rollers with different parameters for any purpose.