
Stylization of fonts in Photoshop is one of the main directions of the work of designers and illustrators. The program allows using a built-in styling system, make a real masterpiece from an unspoic system font.
This lesson will devote to creating an indulgence effect for text. The reception that we will use is extremely easy to learn, but, at the same time, it is quite effective and universal.
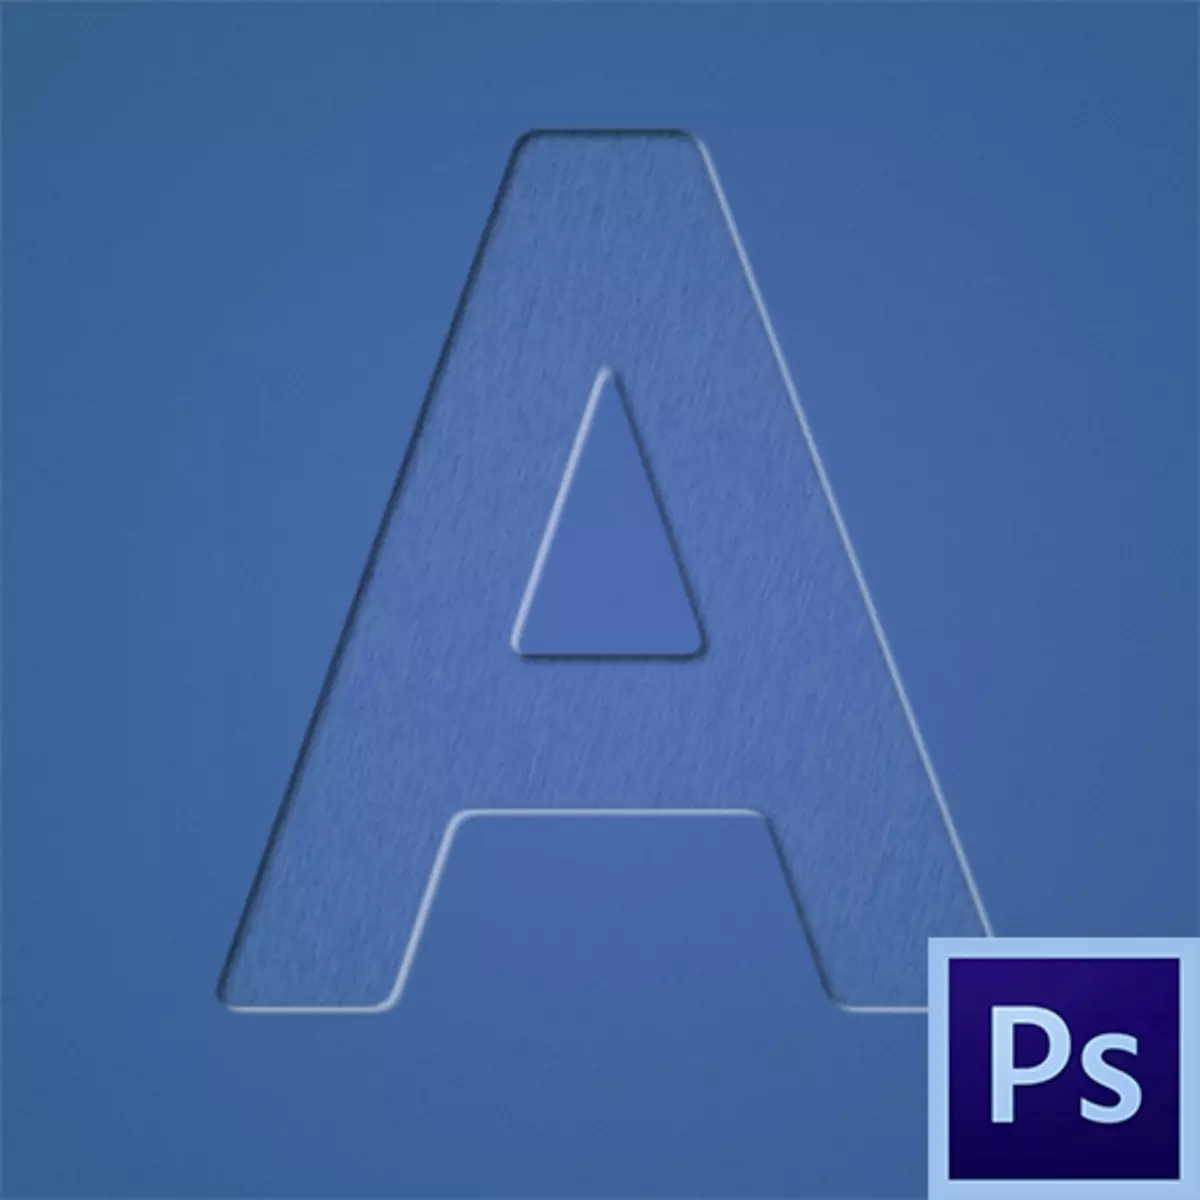
Embossed text
First of all, you need to create a substrate (background) for future inscription. It is desirable that it was dark color.Create background and text
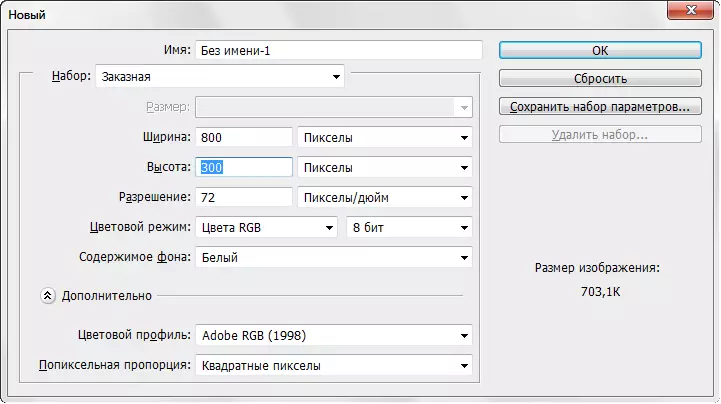
- So, create a new document required.
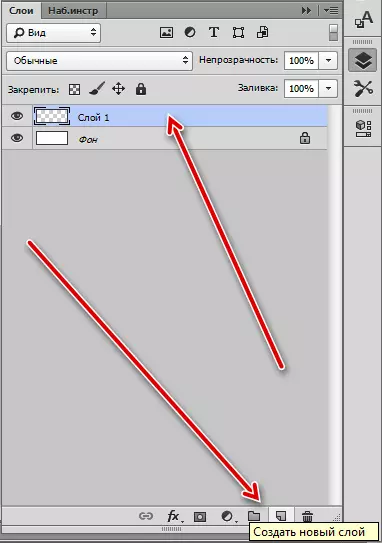
And we create a new layer.
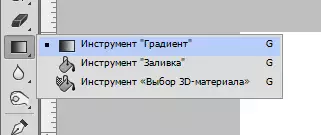
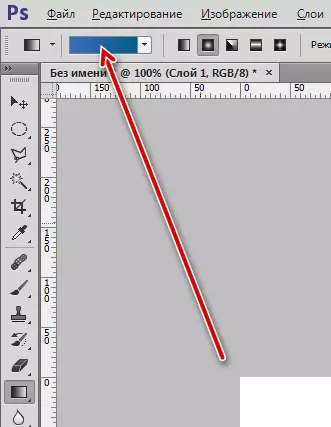
- Then activate the "Gradient" tool.
and, on the top panel of the settings, click on the sample
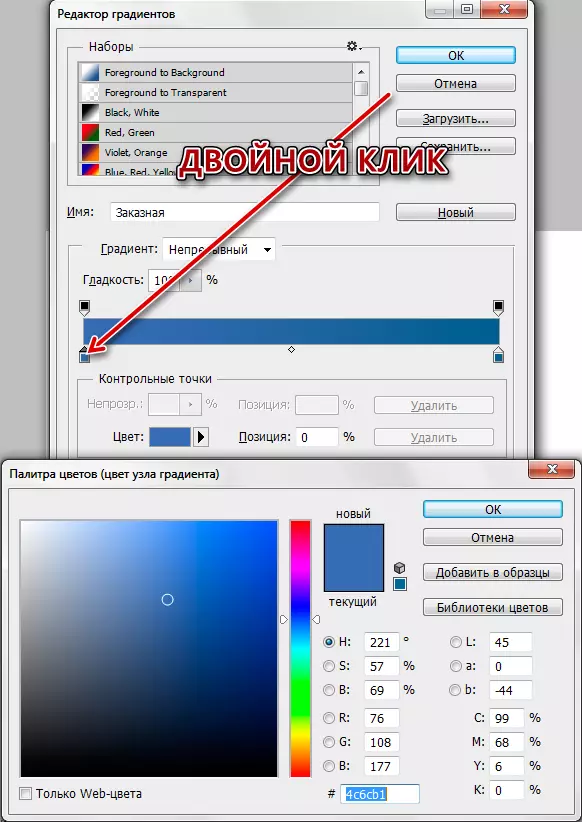
- A window will open in which you can edit the gradient under your needs. Setting the color of the checkpoints is simply: double click on the point and choose the desired shade. We will make a gradient, as in the screenshot and click OK (everywhere).
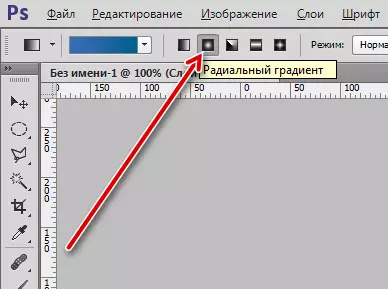
- We turn to the settings panel again. This time we need to choose the shape of the gradient. It is quite suitable "radial".
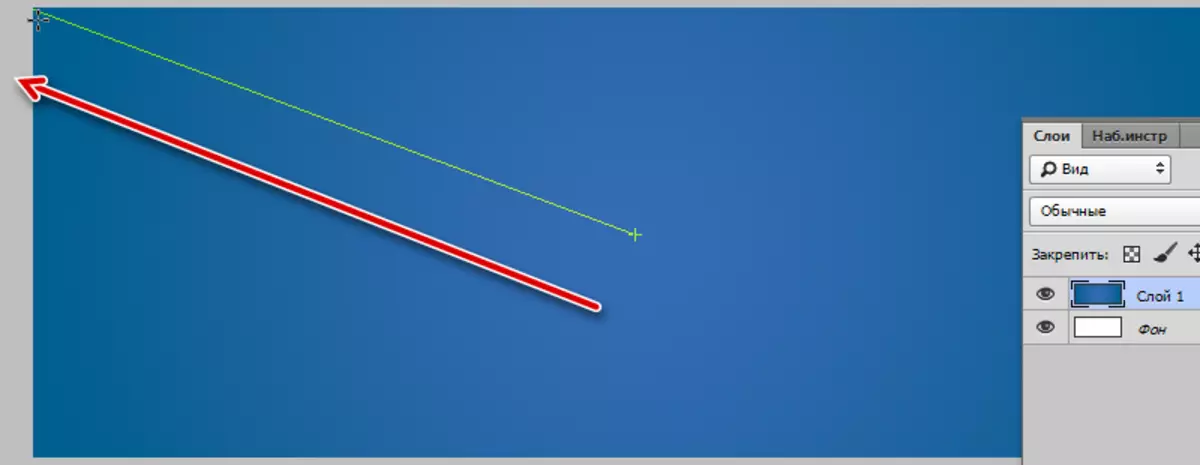
- Now we place the cursor approximately to the center of the canvas, clamp the LKM and pull to any corner.
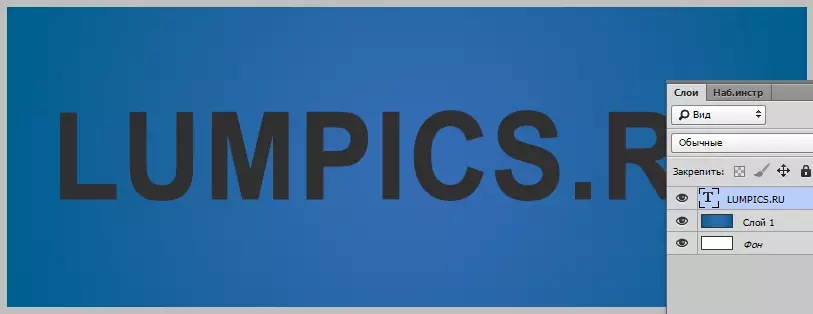
- The substrate is ready, we write text. The color is not important.
Work with text layer styles
We proceed to stylization.
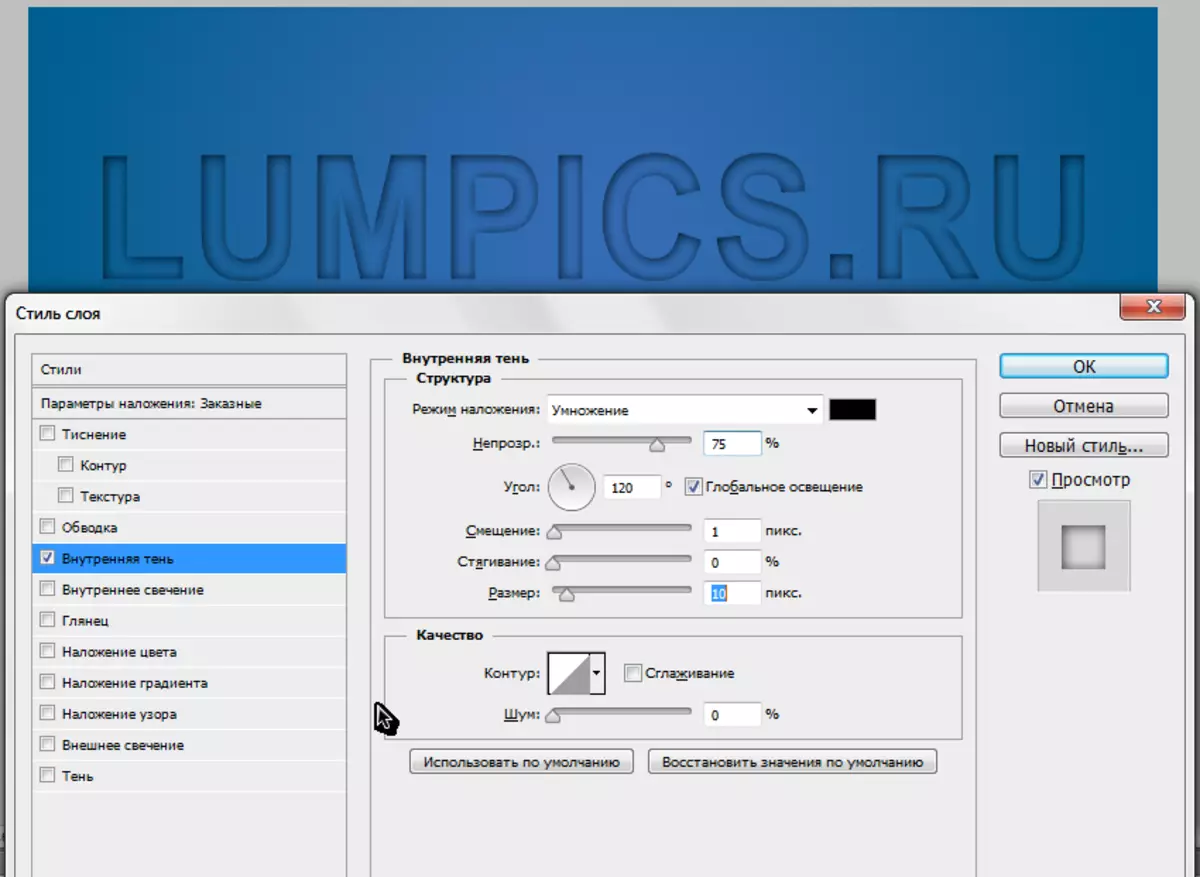
- Double click on the layer open it styles and in the "Overlay Parameters" section reduce the fill value to 0.

As you can see, the text completely disappeared. Do not be scared, the following actions will be returned to us in the already transformed form.
- Click on the "Inner Shadow" point and configure the size and offset.
- Then go to the "Shadow" point. Here you need to configure the color (white), the overlay mode (screen) and size, based on the size of the text.
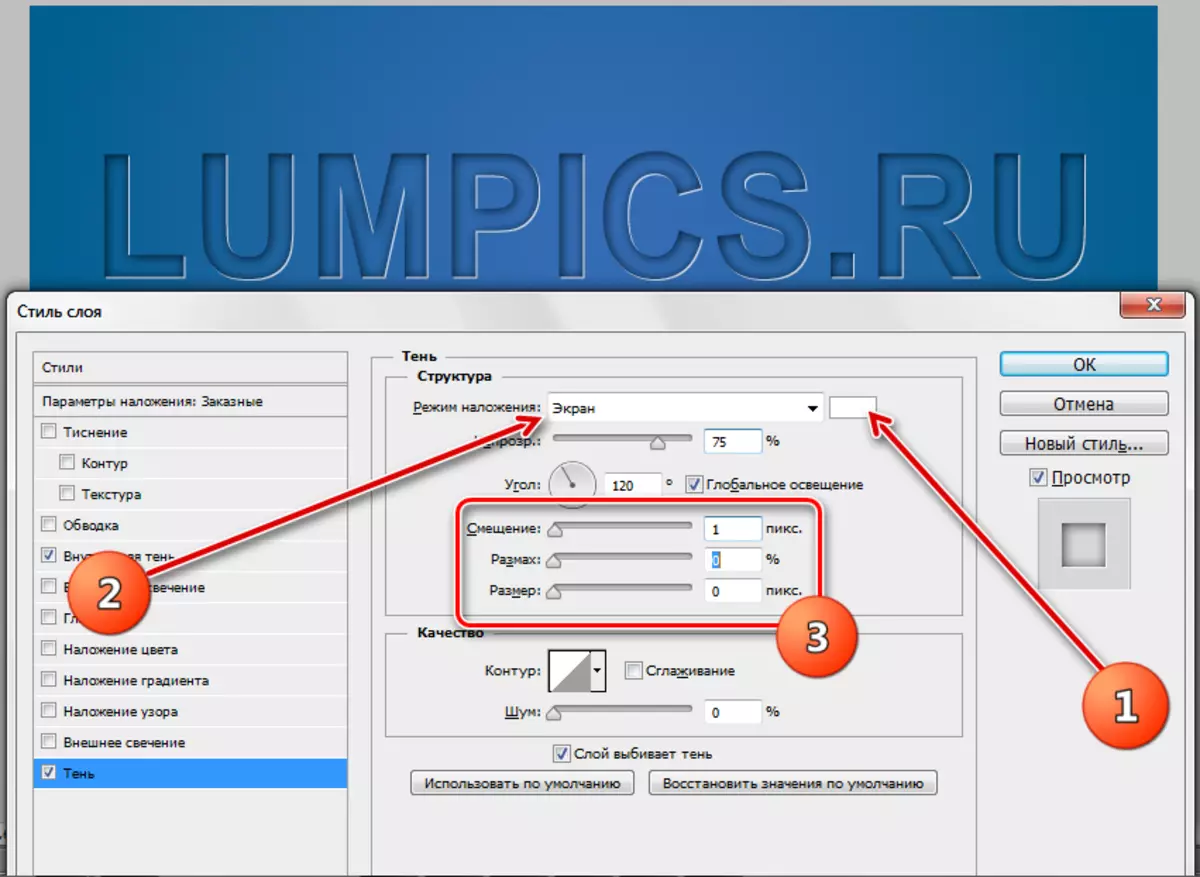
After completing all actions, click OK. Poverty text is ready.

This technique can be applied not only to fonts, but also to other objects that we want to "press" in the background. The result is quite acceptable. Photoshop developers gave us such a tool as "styles", making work in the program interesting and convenient.