
Photoshop, originally created as a editor of images, nevertheless has a sufficient toolkit in its arsenal to create various geometric shapes (circles, rectangles, triangles and polygons).
Newbies, who started their training with complex lessons, often leads to a stupor of the phrase type "Draw a rectangle" or "We put on the image of a predetermined arc." It is about how to draw arcs in Photoshop today we will talk.
Arcs in photoshop
As you know, the arc is part of the circumference, but in our understanding, the arc may have an irregular shape.
The lesson will consist of two parts. In the first we tritely cut the piece of the rings created in advance, and in the second we will create a "wrong" arc.
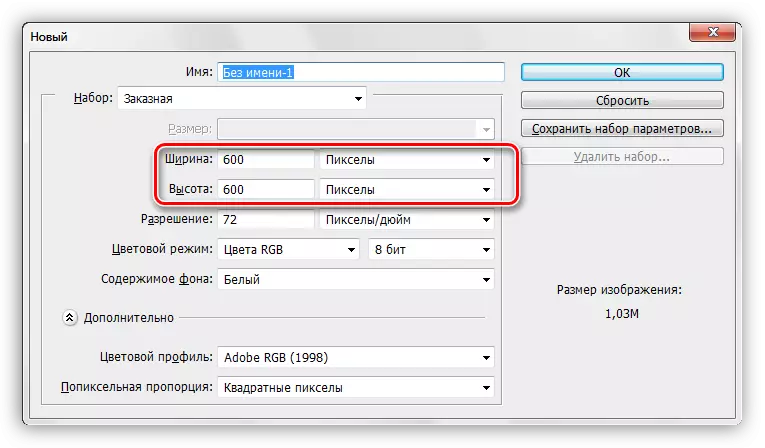
For the lesson, we need to create a new document. To do this, press Ctrl + N and choose the desired size.
Method 1: Arc from the circle (rings)
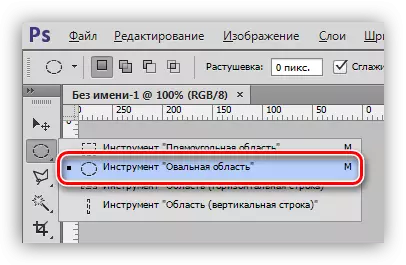
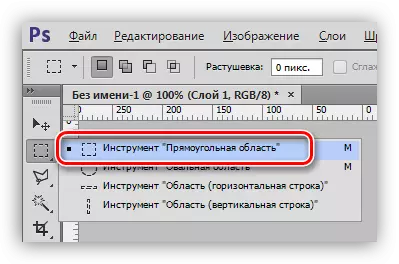
- Choose a tool from the "Allocation" group called "Oval Region".
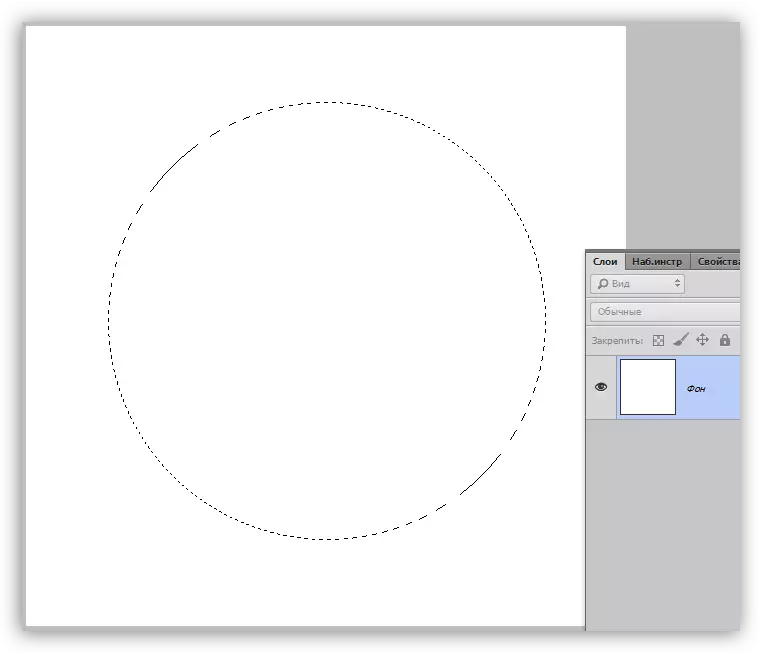
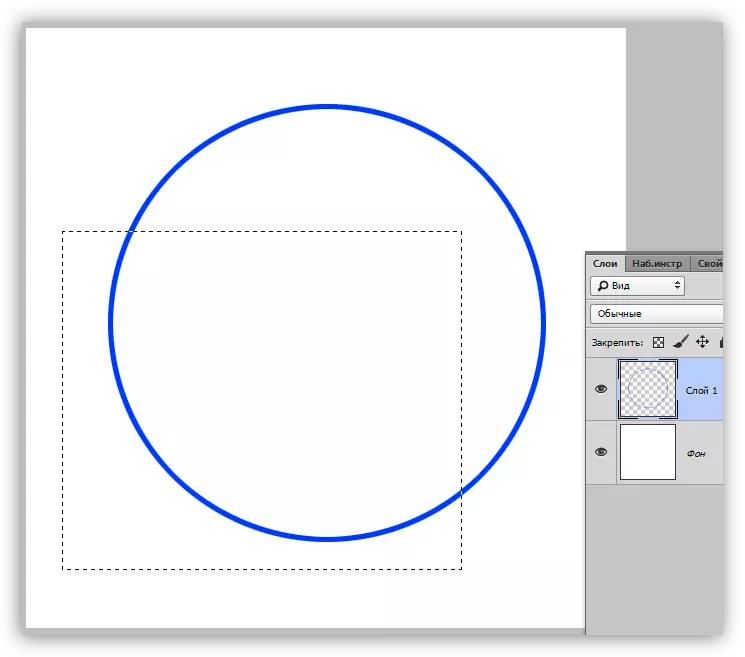
- Click the SHIFT key and create a round-shaped selection of the required size. The created selection can be moved by the canvas with the left mouse button (inside the selection).
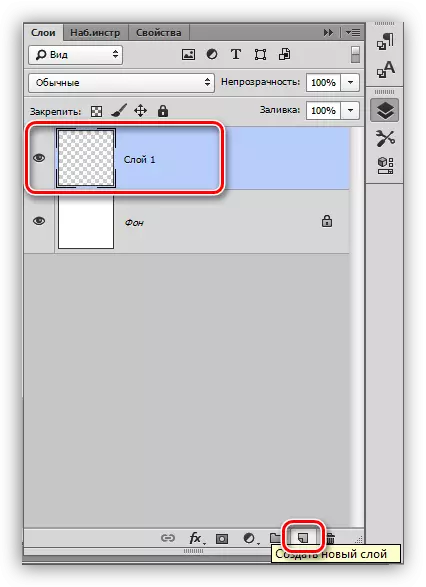
- Next, you need to create a new layer on which we will draw (it could be done at the very beginning).
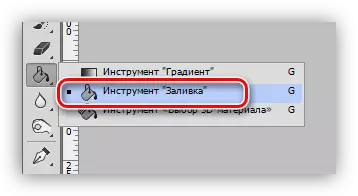
- Take the tool "Pouring".
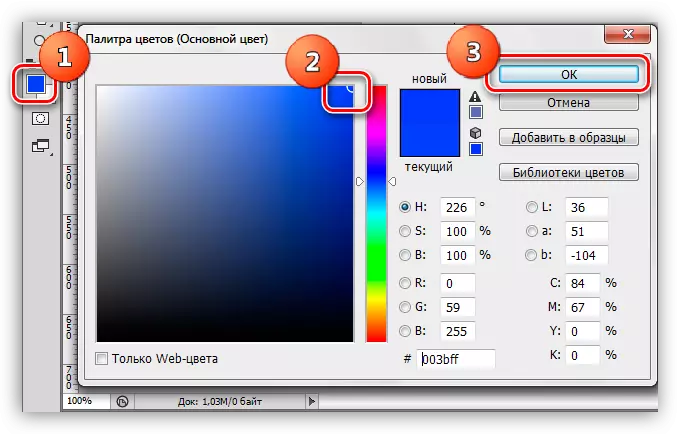
- We choose the color of our future arc. To do this, click on the square with the basic color on the left pane of the tool, in the window that opens, drag the marker to the desired shade and click OK.
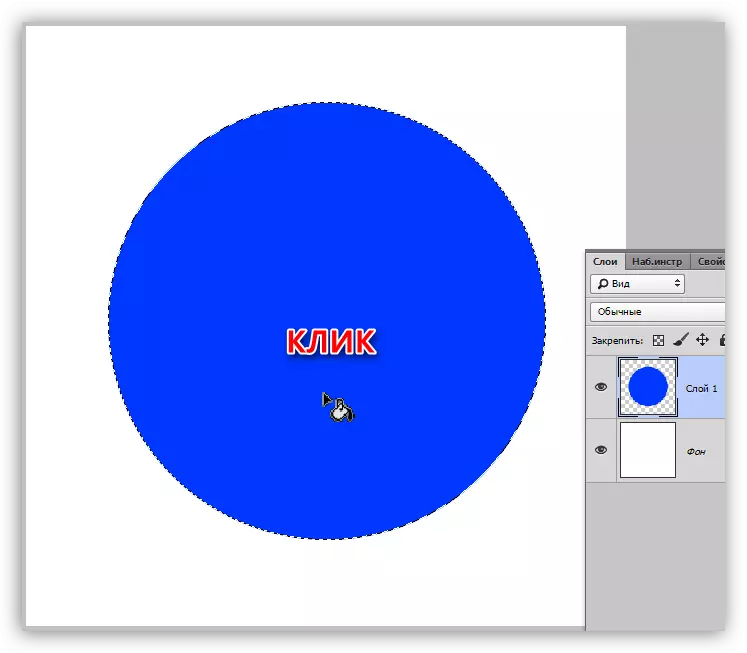
- Click inside the selection, poured it with the selected color.
- Go to the "Selection - Modification" menu and looking for a clause "compress".
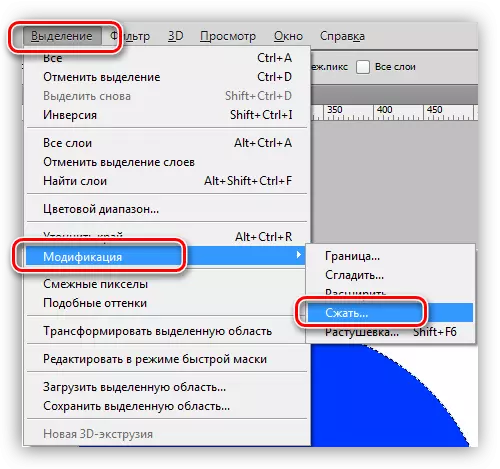
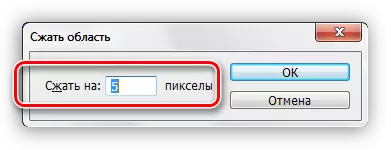
- In the Function Settings window, choose the compression size in pixels, it will be the thickness of the future arc. Click OK.
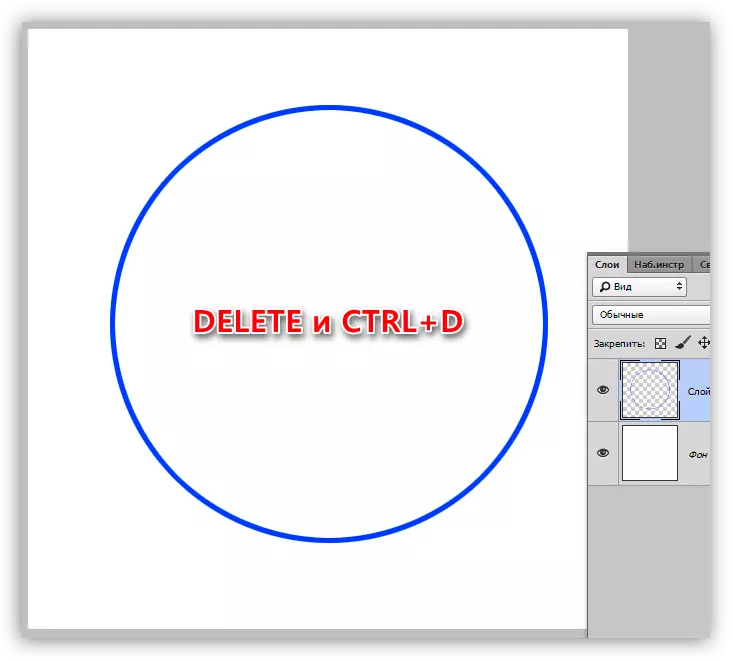
- Click the Delete key on the keyboard and get a ring filled with the selected color. We no longer need to be selected, we remove it with a combination of Ctrl + D keys.
Ring is ready. You probably have already guessed how to make an arc. It is enough just to remove unnecessary. For example, take the "Rectangular Region" tool,
Select the site that we want to remove
And click Delete.
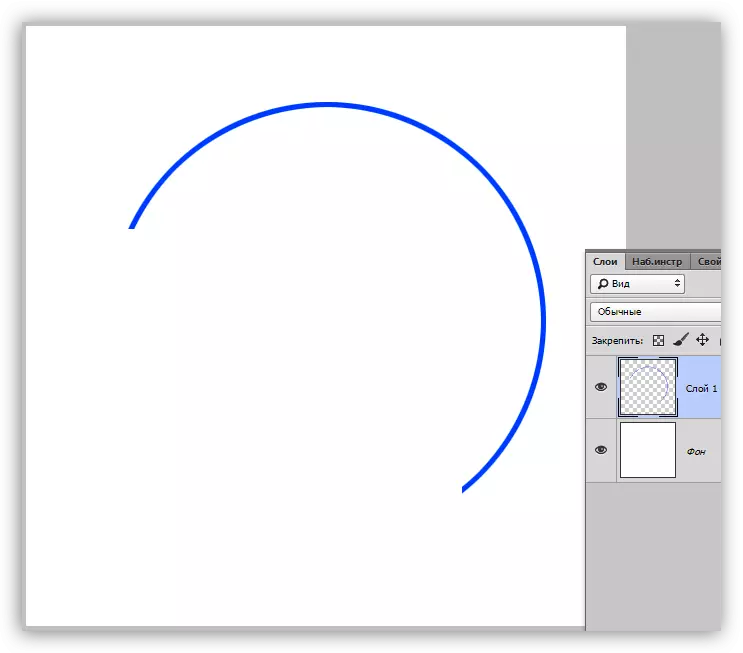
Here is such an arc from us. Let us turn to the creation of a "wrong" arc.
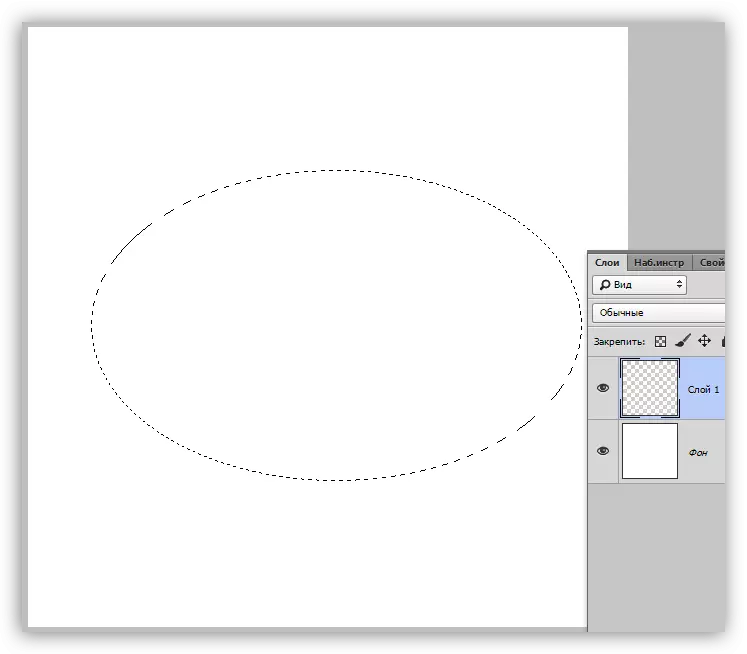
Method 2: Arc from Ellipse
As you remember, when creating a circular selection, we clamped the Shift key, which made it possible to maintain proportions. If this is not done, then it will not be circumference, but an ellipse.
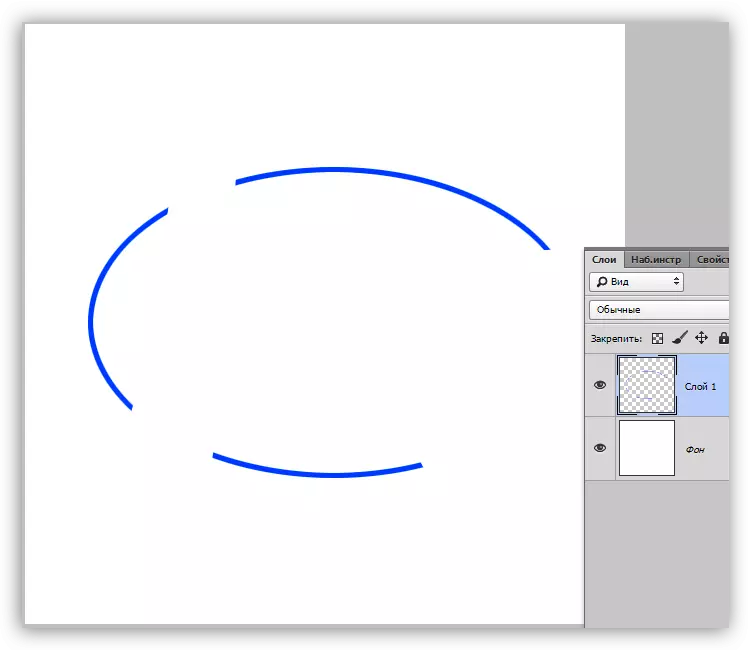
Next, we carry out all actions as in the first example (fill, compression of the selection, deletion).
"Stop. This is not an independent way, but the derivative of the first, "you will say, and you will be absolutely right. There is another way to create arcs, with any form.
Method 3: Pen tool
The "Feather" tool allows us to create contours and figures of such a form as it is necessary.
Lesson: Pen tool in Photoshop - Theory and Practice
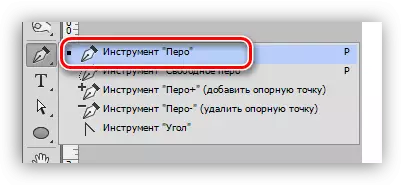
- We take the pen tool.
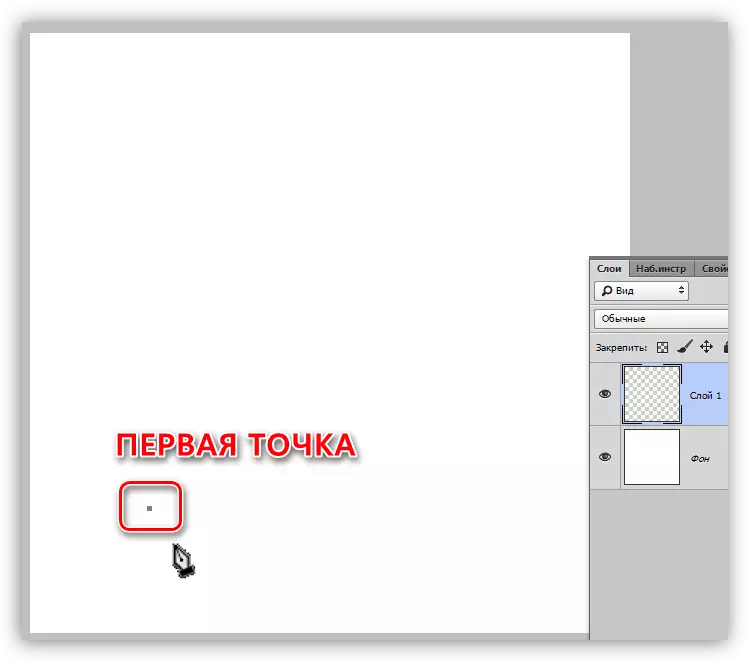
- We put the first point on the canvas.
- We put the second point where we want to finish the arc. Attention! The mouse button is not released, and the pen with the pen, in this case, right. The tool will distort the beam by moving which, you can adjust the arc shape. Do not forget that the mouse button should be kept pressed. Lower only when we finish.
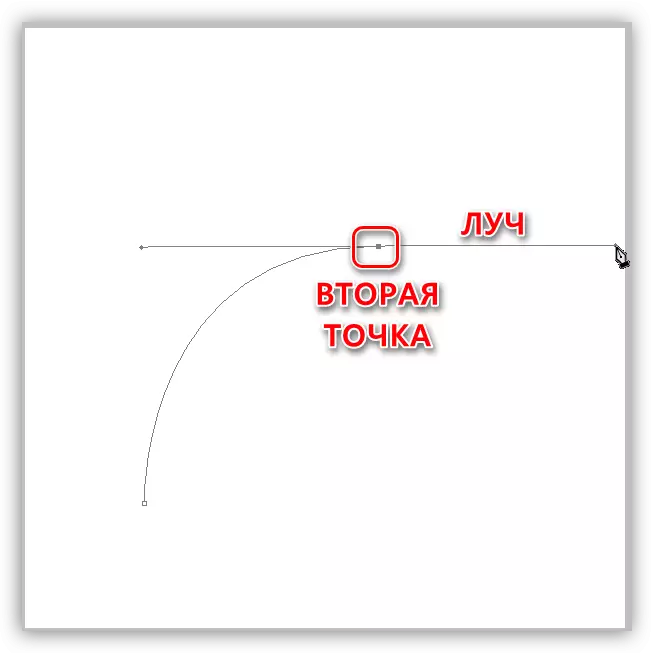
The beam can be pulled in any direction, practice. Points can be moved by the canvas with the ctrl pinch key. If you put a second point not where you need, simply press Ctrl + Z.
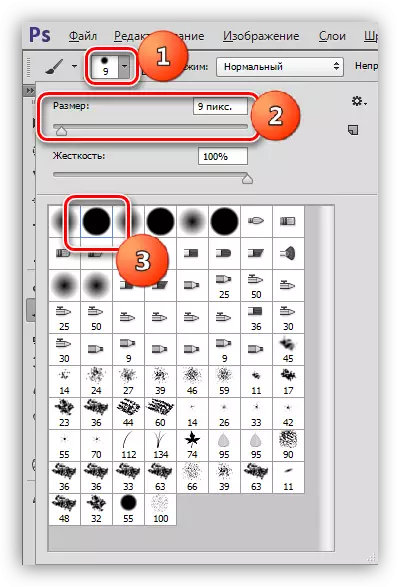
- The contour is ready, but this is not yet an arc. The contour needs to be obliged. Let's do it with a brush. We take her in hand.
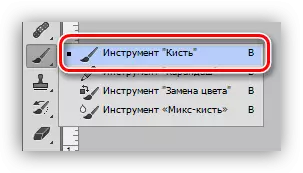
- Color is configured in the same way as in the case of fill, and the shape and size is on the top panel of the settings. The size determines the thickness of the stroke, but you can experiment with the form.
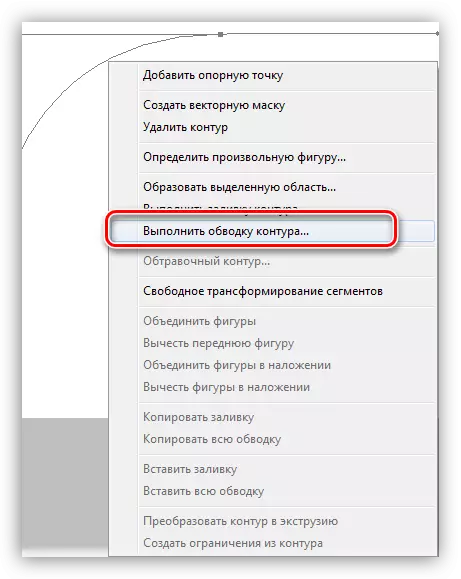
- We again select the pen tool, click the right mouse button along the contour and select the "Perform circuit stroke" item.
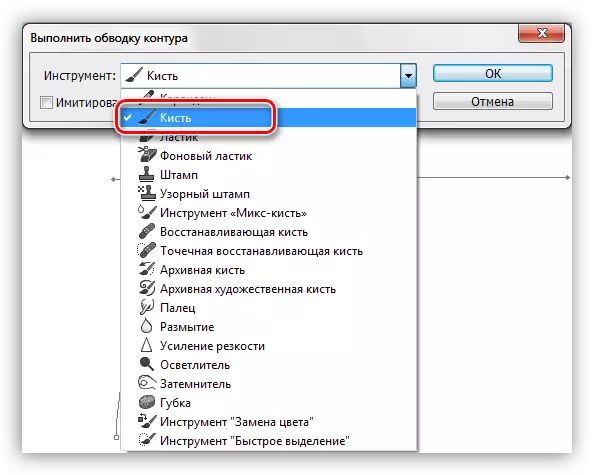
- In the next window, in the drop-down list, select "Brush" and click OK.
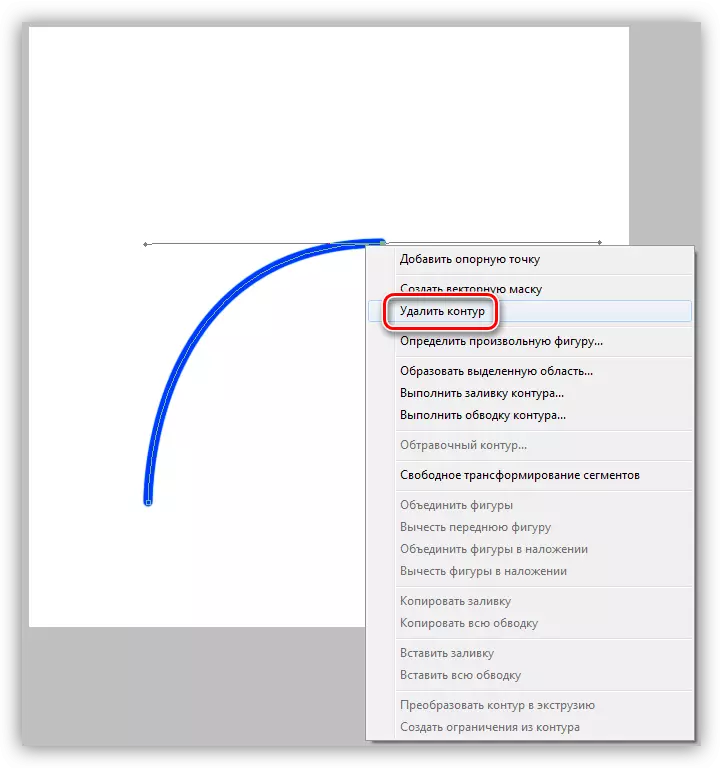
- The arc is filled, it remains only to get rid of the contour. To do this, click on PCM and select "Delete Contour".
On this finish. Today we studied three ways to create arcs in the photoshop program. All of them have their advantages and can be used in different situations.