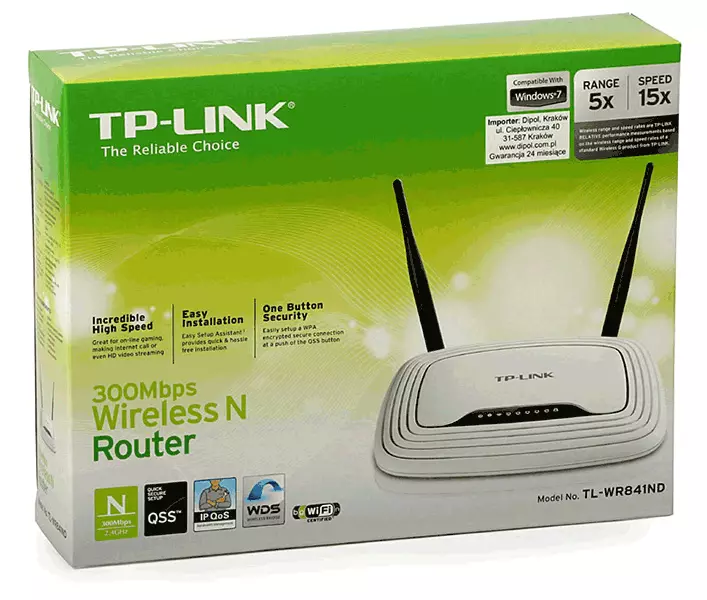
Wi-Fi Router TP-LINK WR-841ND
This detailed instruction will discuss how to set up a Wi-Fi TP-LINK WR-841N or TP-LINK WR-841ND router to work on the Internet home Internet.
Connecting the TP-LINK WR-841ND router
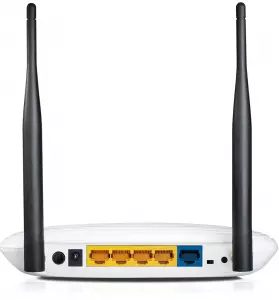
TP-LINK WR841ND Router Back
On the reverse side of the TP-LINK WR-841ND wireless router there are 4 LAN ports (yellow) to connect computers and other devices that can work on the network, as well as one Internet port (blue) to which the Beeline cable is required. The computer from which the setting will be made connect the cable with one of the LAN ports. Turn on a Wi-Fi router to the power grid.
Before proceeding directly to the configuration, I recommend to make sure that in the connection properties on the local network used to configure the TP-LINK WR-841ND, the TCP / IPv4 protocol is installed: to receive the IP address automatically, to receive DNS servers addresses automatically. Just in case, look there, even if you know that there is exactly these settings - some programs began to love to change DNS to alternative from Google.
Setting up L2TP binding connectivity
Important moment: Do not connect the Internet connection of the Beeline on the computer itself while setting up, as well as after it. This connection will install the router itself.
Run your favorite browser and enter in the address bar 192.168.1.1, as a result you must request a login and password to enter the TP-LINK WR-841ND router administration panel. Standard login and password for this router - Admin / Admin. After entering the login and password, you should get into, actually, the adjustment of the router, which will look something like in the picture.
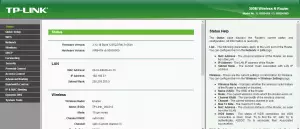
Routher Administration Panel
On this page on the right, select the network tab (Network), then WAN.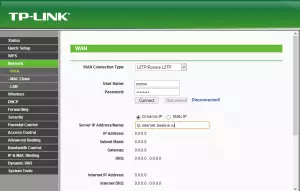
Configuring Beeline Connection on TP-Link WR841ND (Click to enlarge image)
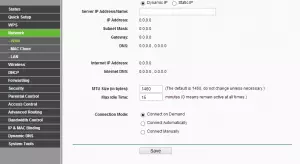
MTU value for Beeline - 1460
In the Wan Connection Type field, you should select L2TP / RUSSIA L2TP, in the username field (User Name) enter your boulder login, in the Password field (password) - a password for Internet access issued by the provider. In the Server Address / Name field (Server), enter TP.Internet.Beeline.Ru . We also do not forget to put the mark on connect automatically (Connect Automatically). The remaining parameters do not need to be changed - MTU for Beeline - 1460, the IP address is automatic. Save settings.
If you are all done correctly, then through a short time, the TP-LINK WR-841ND wireless router is connected to the Internet from Beeline. You can go to the Wi-Fi Access Point Security Settings.
Wi-Fi Setup
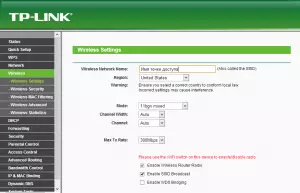
Setting the Wi-Fi Access Name
To configure wireless network settings in TP-LINK WR-841ND, open the Wireless tab (Wireless) tab and in the first point set the name (SSID) and Wi-Fi Access Parameters. The name of the access point can be specified by any, it is desirable to use only Latin characters. All other parameters can not be changed. We save.
Go to setting up a Wi-Fi password, for this we go to the Wireless Security Security Settings and select the type of authentication (I recommend WPA / WPA2 - Personal). In the PSK Password or password, enter your key to access your wireless network: it should consist of numbers and Latin characters, the number of which should be at least eight.
Save settings. After all the TP-LINK WR-841ND settings made are applied, you can try to connect to Wi-Fi network from any device that can do.
If during the configuration of the Wi-Fi router you have any problems and something does not work, refer to this article.
