

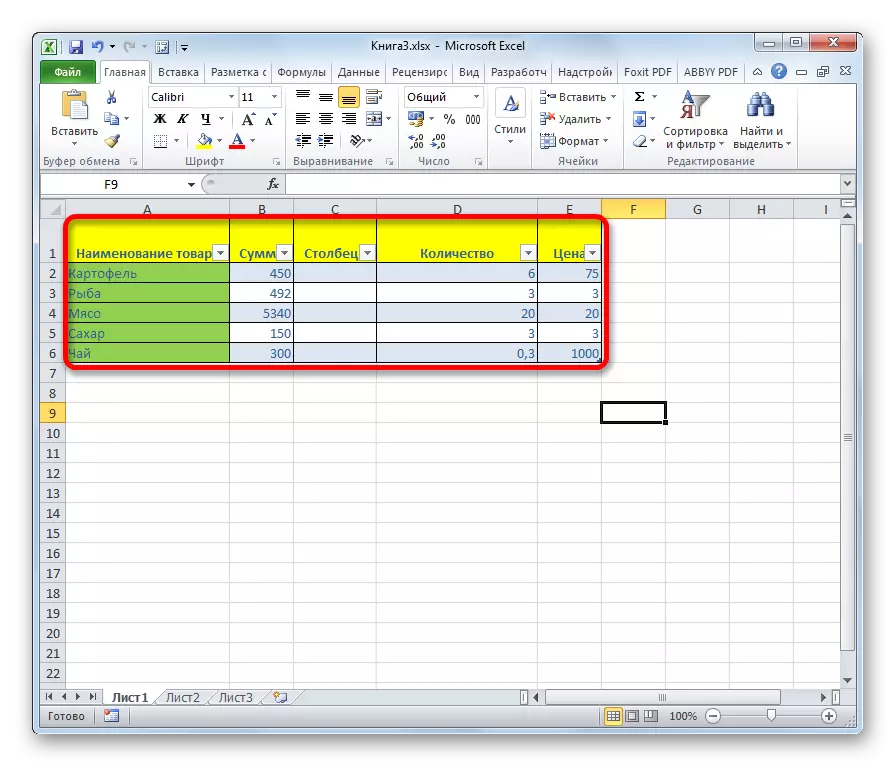
To work in Microsoft Excel, the first priority is to learn to insert strings and columns in the table. Without this skill, it is almost impossible to work with tabular data. Let's deal with how to add a column in Excele.
Lesson: How to add a column in a Microsoft Word table
Insert column
In Excel, there are several ways to insert a column onto a sheet. Most of them are pretty simple, but the novice user may not immediately deal with everything. In addition, there is an option for automatically adding strings to the right of the table.Method 1: Insert through the coordinate panel
One of the easiest ways of insertion is an operation through a horizontal Excel coordinate panel.
- Clicking in the horizontal coordinate panel with the names of the columns according to the sector, to the left of which you need to insert columns. In this case, the column is completely allocated. Click right mouse button. In the menu that appears, select the "Paste" item.
- After that, the new column is immediately added to the left of the selected area.
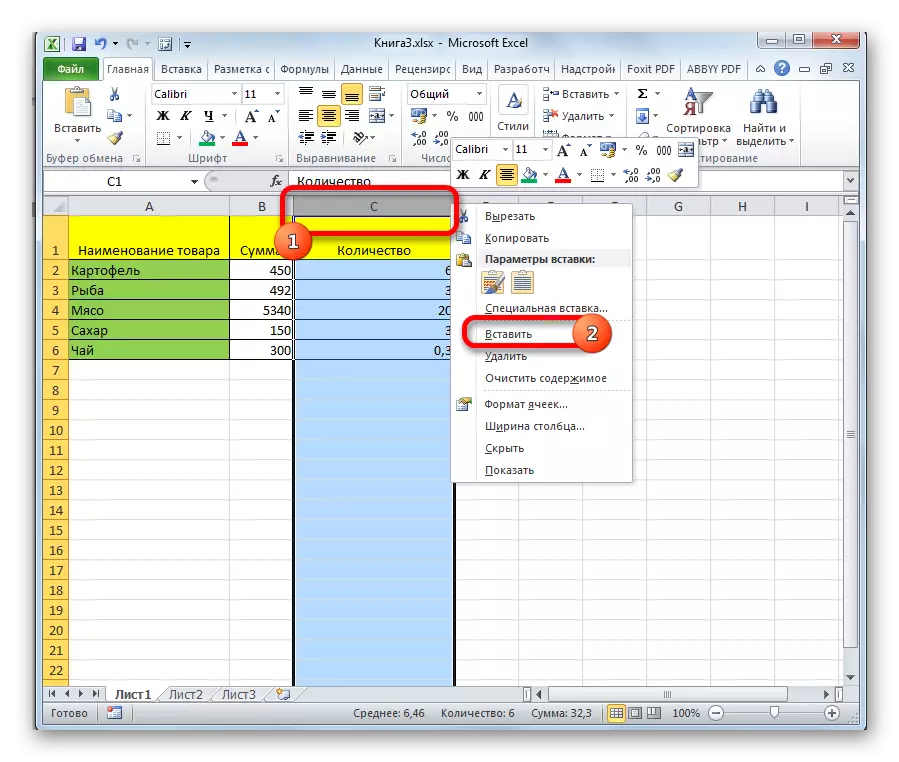
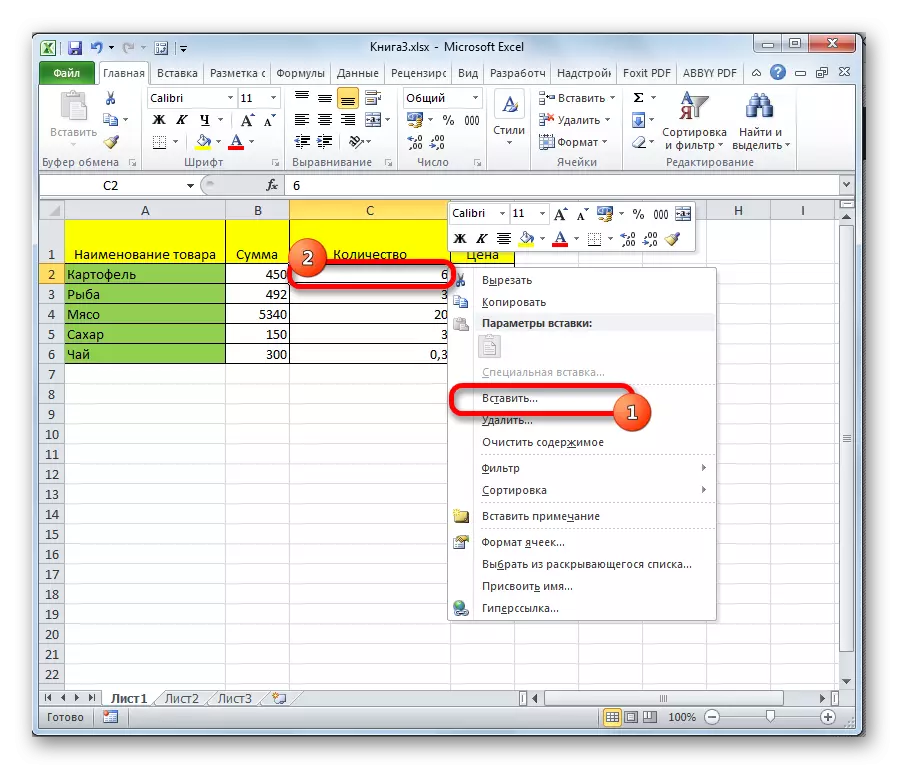
Method 2: Adding a cell through the context menu
You can perform this task and somewhat differently, namely through the context menu of the cell.
- Click on any cell located in the column to the right of the column planned to add. Click on this element right mouse button. In the context menu that appears, select "Paste ...".
- This time adding does not automatically. A small window opens, in which you want to specify that it is the user going to insert:
- Column;
- Row;
- Cell with a shift down;
- Cell with shift to the right.
We rearrange the switch to the "Column" position and click on the "OK" button.
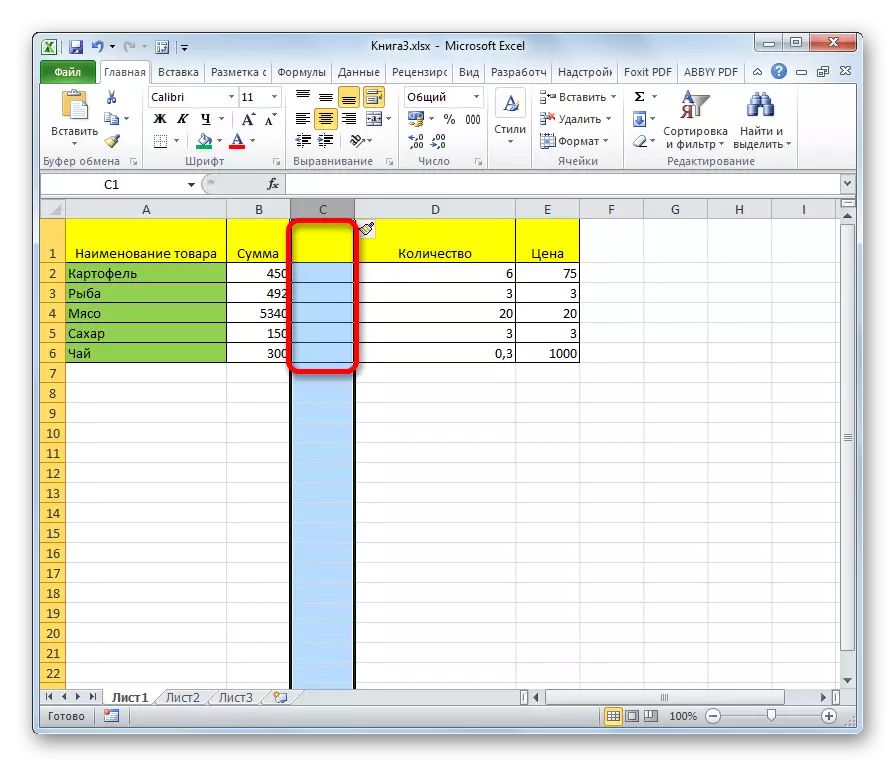
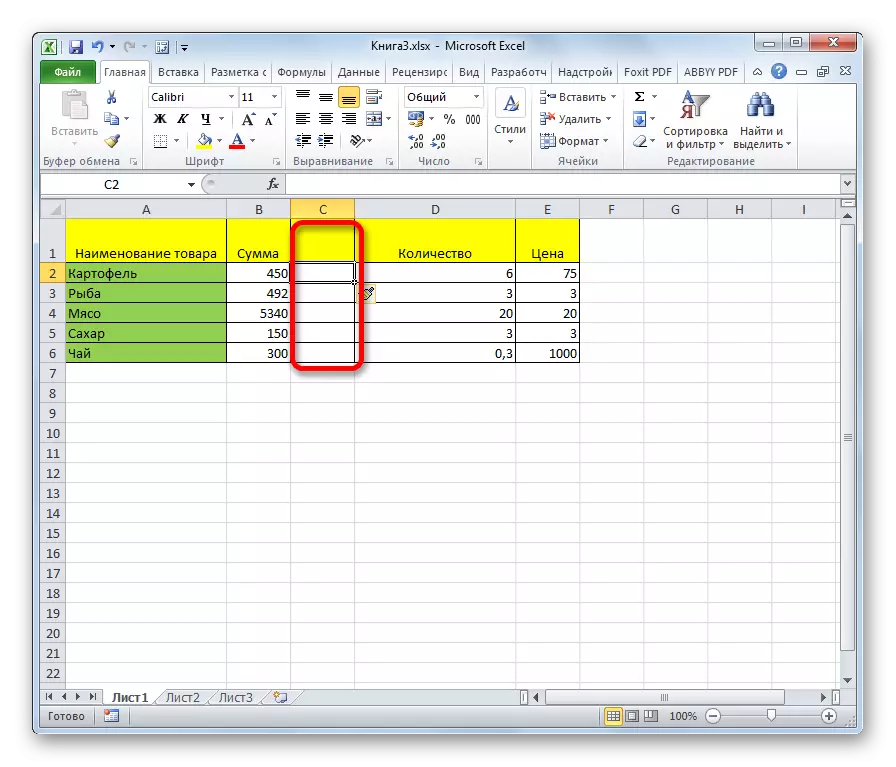
- After these actions, the column will be added.

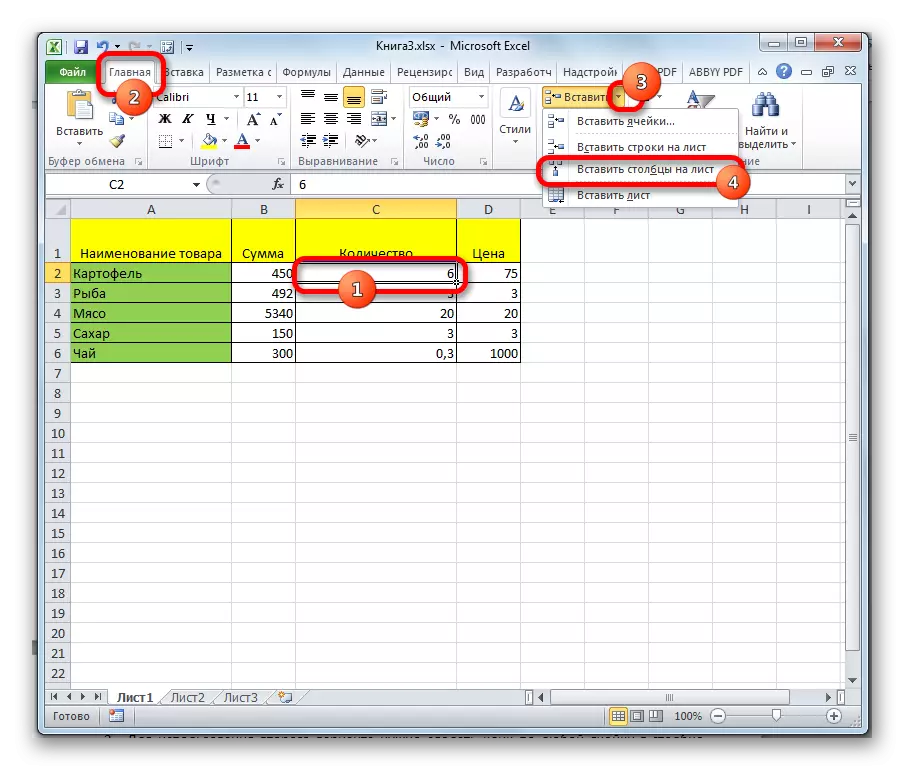
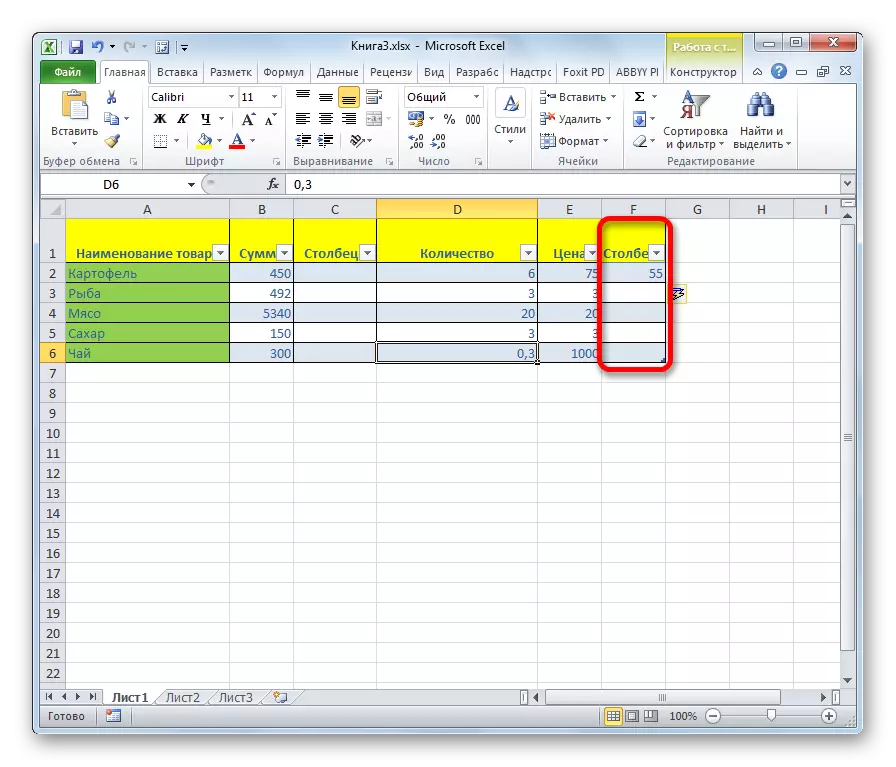
Method 3: Button on the ribbon
The insertion of columns can be performed using a special button on the tape.
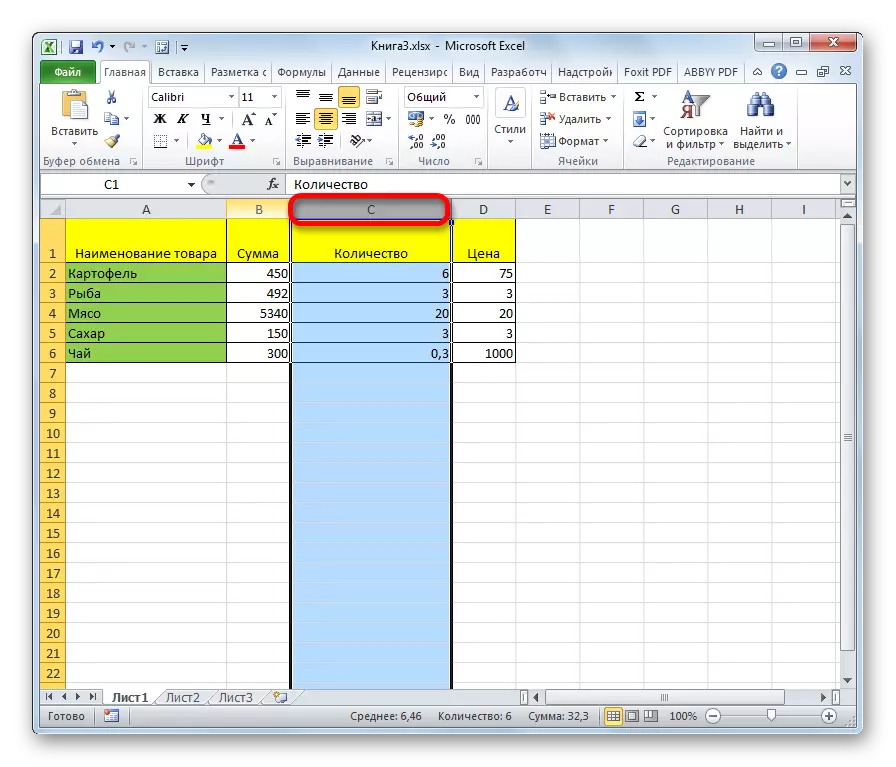
- Select the cell to the left of which is planned to add a column. Being in the "Home" tab, click on the icon in the form of an inverted triangle, located near the "Paste" button in the "Cell" tool block on the tape. In the menu that opens, select the "Insert columns to the sheet" item.
- After that, the column will be added to the left of the selected item.

Method 4: Applying hot keys
Also, a new column can be added with hot keys. And there are two options for adding
- One of them is similar to the first way of inserts. You need to click on the sector on the horizontal coordinate panel located on the right of the intended insertion area and dial the Ctrl ++ key combination.
- To use the second option, you need to make a click on any cell in the column to the right of the insertion area. Then dial on the Ctrl ++ keyboard. After that, then a small window with a choice of type insert, which was described in the second method of performing the operation. Further actions exactly are the same: select the clause "Column" and click on the "OK" button.
Lesson: Hot keys in Excel
Method 5: Inserting several columns
If you want to immediately paste several columns, then in Excele it is not necessary to do a separate operation for each element for this, since this procedure can be combined into one action.
- You must first select so many cells in the horizontal series or sectors on the coordinate panel, how many columns need to be added.
- Then apply one of the actions through the context menu or with hot keys that have been described in previous methods. The corresponding number of columns will be added to the left of the selected area.
Method 6: Adding a column at the end of the table
All of the above methods are suitable for adding speakers at the beginning and in the middle of the table. They can also be used to insert columns at the end of the table, but in this case you have to make appropriate formatting. But there are ways to add a column to the end of the table so that it is immediately perceived by the program to its immediate part. To do this, you need to do, the so-called "smart" table.
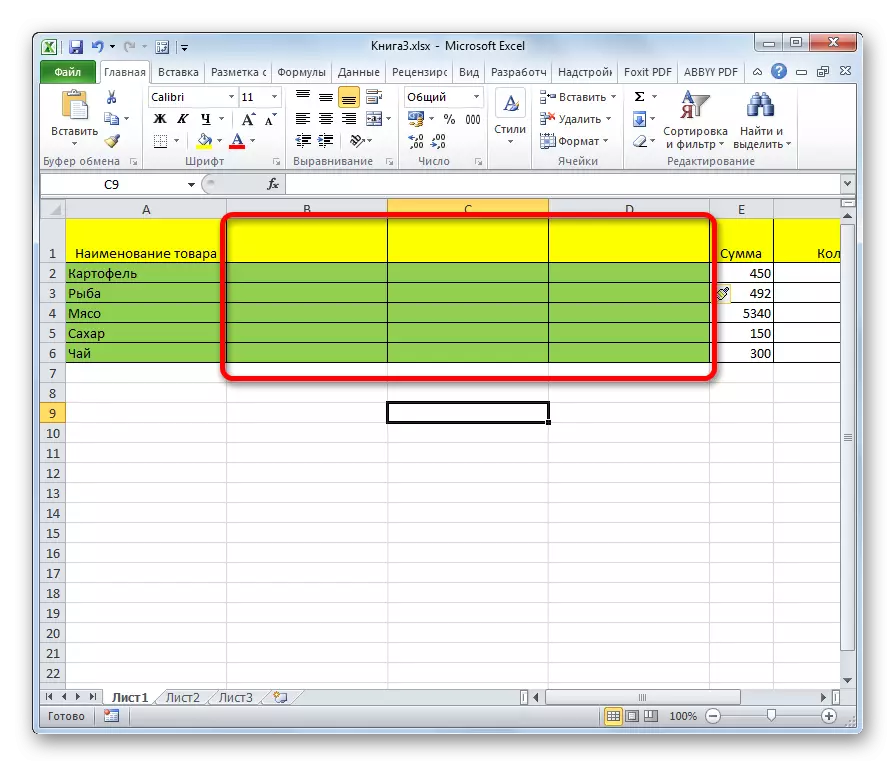
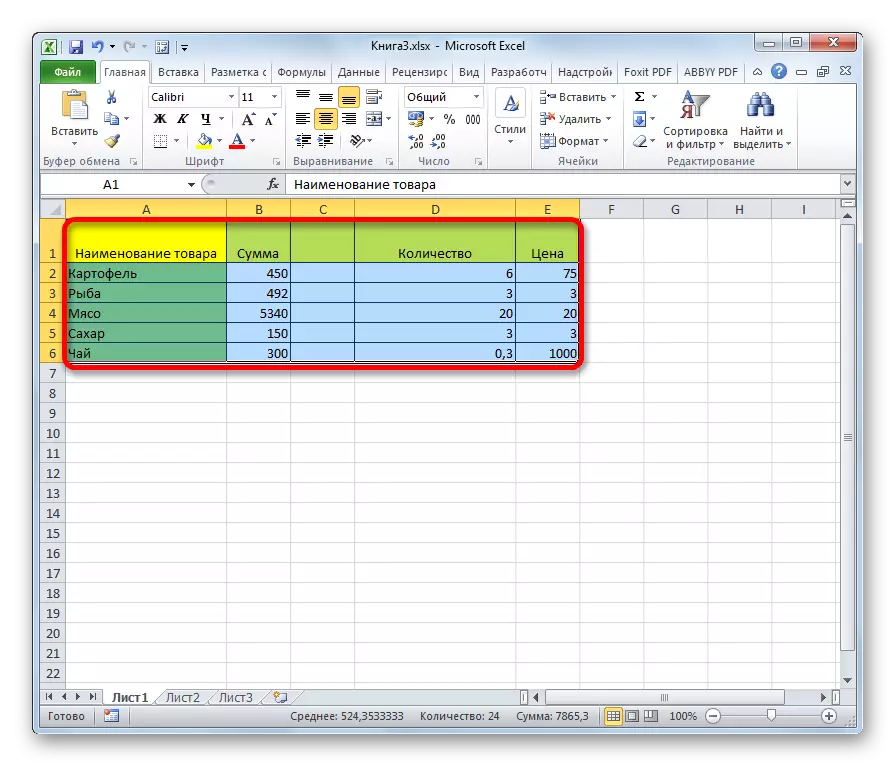
- We highlight the table range that we want to turn into a "smart" table.
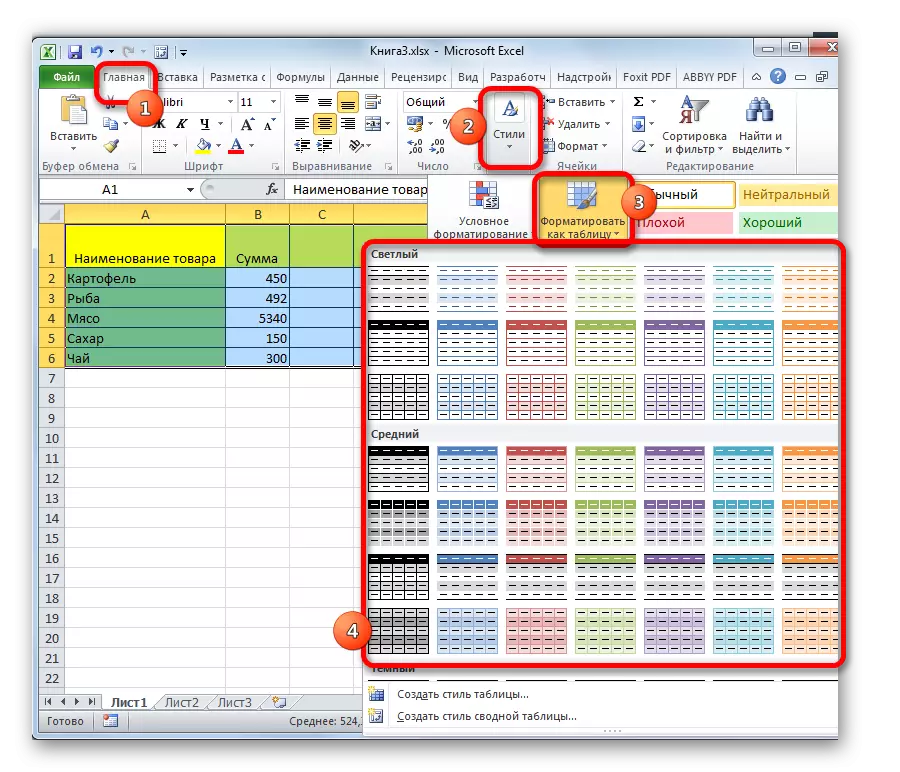
- Being in the Home tab, click on the "Format As Table" button, which is located in the "Styles" tool block on the tape. In the discontinued list, select one of the large list of table design styles at your discretion.
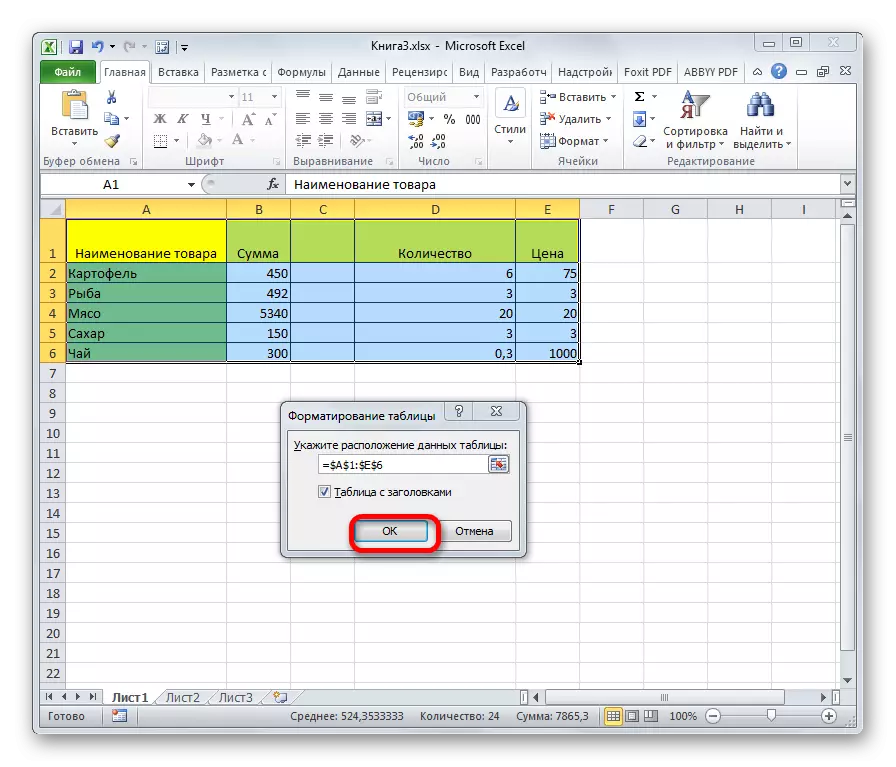
- After that, the window opens, which displays the coordinates of the selected area. If you have noticed something wrong, then you can edit right here. The main thing is that you need to do at this step is to check whether the checkbox is installed near the "Table with headlines" parameter. If your table has a hat (and in most cases it is so), but there is no tick of this item, then you need to install it. If all settings are set correctly, then just click on the "OK" button.
- After these actions, the dedicated range was formatted as a table.
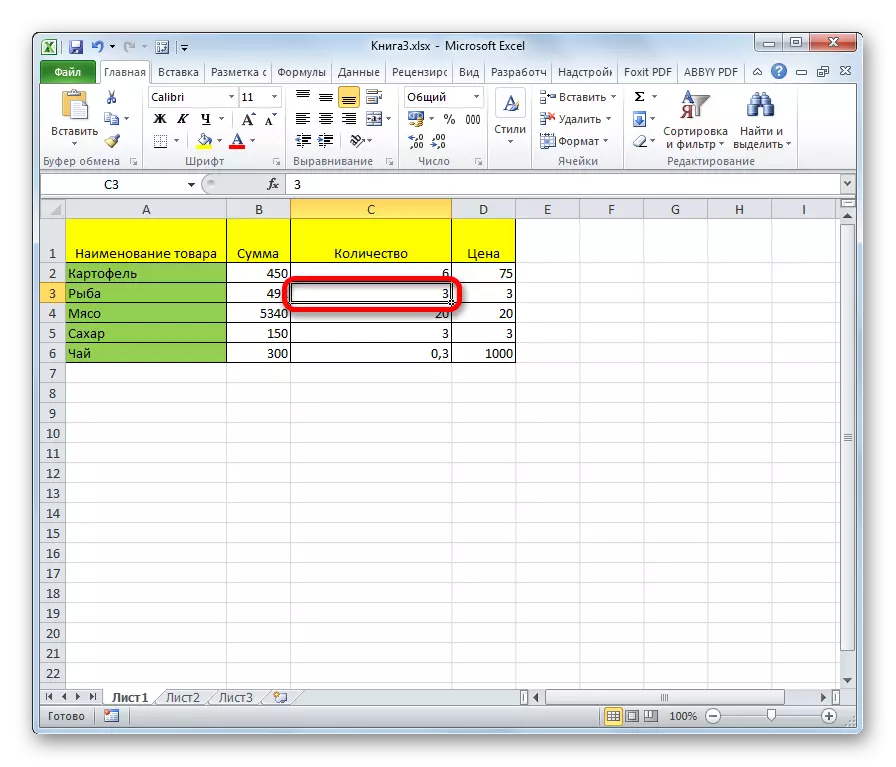
- Now in order to enable a new column in this table, it is enough to fill any cell to the right of it. The column in which this cell is located will immediately become tabular.
As you can see, there are a number of ways to add new columns to Excel sheet both in the middle of the table and in the deadlines. To add to the most simple and convenient, it is best to create, the so-called "smart" table. In this case, when adding data to the range to the right of the table, it will automatically be included in it as a new column.