
Windows operating system users can very easily create a loading flash drive with the Ubuntu image on it. To do this, you can use special software.
To record Ubuntu, you need to have an ISO image of an operating system, which will be stored on removable media, as well as the drive itself. It is important to understand that all data will be erased on the USB carrier used.
How to create a bootable USB flash drive with Ubuntu
Before creating a bootable flash drive, download the distribution of the operating system itself. We recommend doing this solely on the official website Ubuntu. This approach has many advantages. The main one lies in the fact that the downloaded operating system will not be damaged or flawed. The fact is that when downloading the OS from third-party sources, it is likely that you load the image converted by someone.Ubuntu official website
If you have a flash drive from which you can erase all the data, and the downloaded image, use one of the ways listed below.
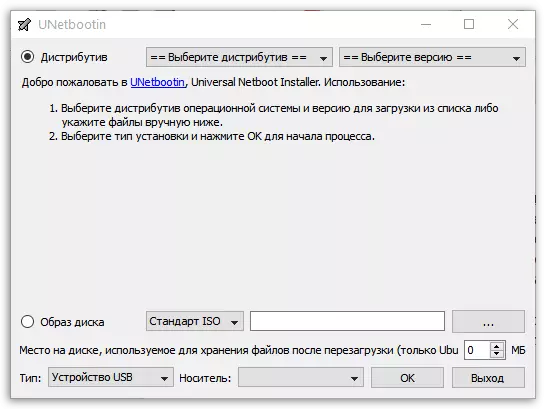
Method 1: UnetBootin
This program is considered the most basic in writing questions to Ubuntu for removable media. It is used most often. How to use it, you can read in the lesson on creating a boot drive (method 5).
Lesson: How to create a bootable flash drive
Actually, in this lesson there are other programs that allow you to quickly make a USB drive with the operating system. Ubuntu will also suit ULTRAISO, RUFUS and Universal USB Installer. If you have an OS image and one of these programs, the creation of bootable media will not cause special difficulties.
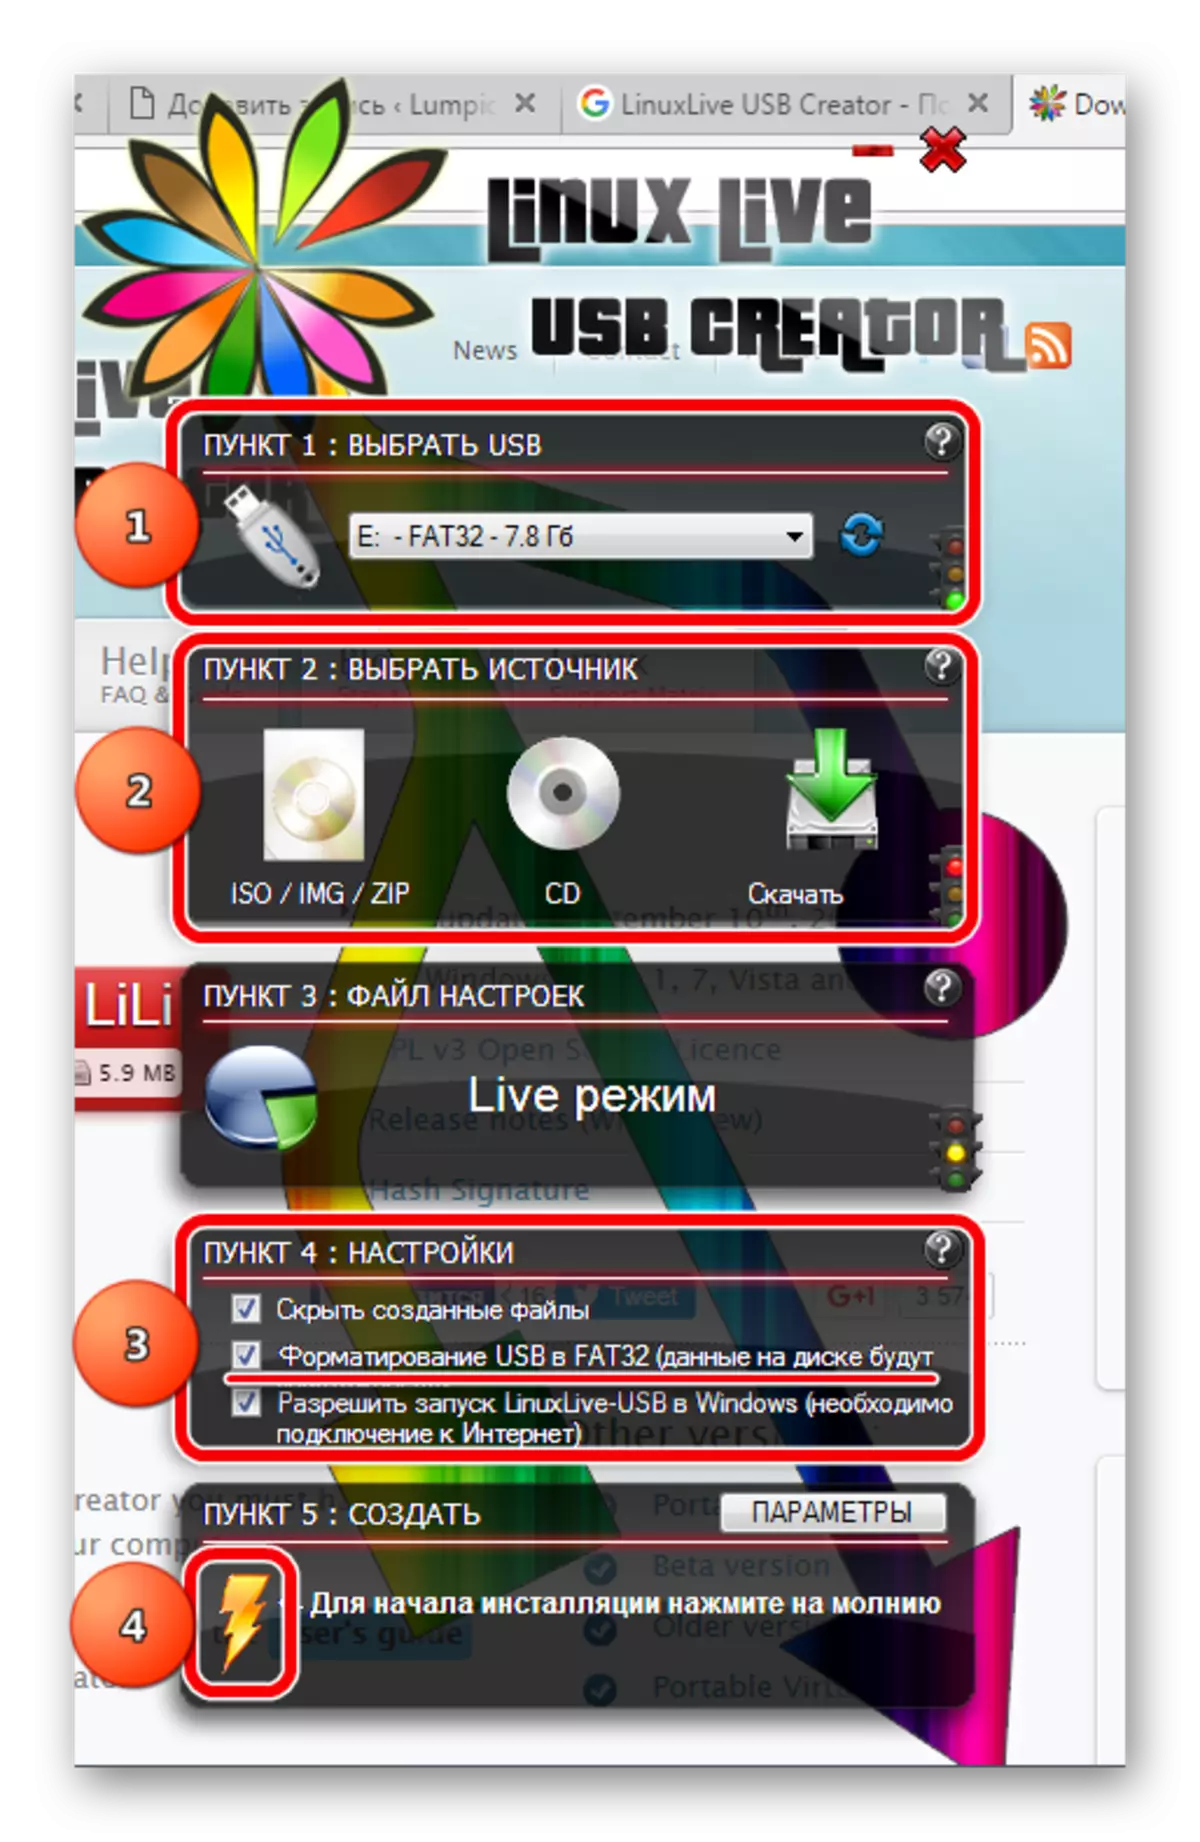
Method 2: LinuxLive USB Creator
After the UnetBootin, this tool is the most basic in the field of writing Ubuntu on the USB flash drive. To use them, do the following:
- Load the installation file, run it and install the program to your computer. In this case, you will have to go through a completely standard process. Run LinuxLive USB Creator.
- In the "Paragraph 1 ..." block, select an inserted removable drive. If it is not automatically detected, press the update button (as an arrow icon formed by the ring).
- Click on the icon above the "ISO / IMG / ZIP" lettering. The standard file selection window opens. Specify the place where the image you downloaded. The program also allows you to specify a CD as a source of image. In addition, you can download the operating system from the same Ubuntu official website.
- Pay attention to the "Paragraph 4: Settings" block. Be sure to check the box opposite the inscription "USB formatting in FAT32". In this block there are two more items, they are not so important, so you can choose whether to install checkboxes on them.
- Press the button in the form of lightning to start writing the image.
- After that, simply wait for the end of the process.
See also: How to make a bootable USB flash drive xp
Paragraph 3 in LinuxLive USB Creator We skip and do not touch.
As you can see, the program has a fairly interesting and non-standard interface. This, of course, attracts. A very good move was to add a traffic light near each block. The green light on it means that you did everything right and vice versa.
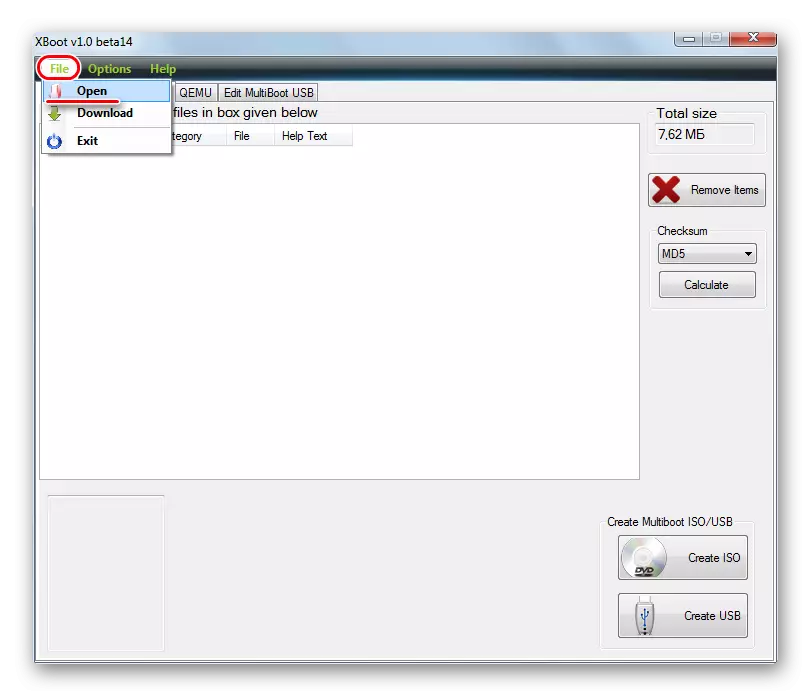
Method 3: XBoot
There is one more very unpopular, "unwrapped" program that perfectly copes with the record of the image of Ubuntu on the USB flash drive. Her a huge advantage is that the XBoot is capable of adding to the bootable media not only the operating system itself, and also additional programs. These can be antiviruses, all kinds of utilities for launch and the like. Initially, the user does not need to download the ISO file and this is also a big plus.
To use XBoot, follow these actions:
- Download and run the program. It is not necessary to install it and this is also a great advantage. In progress before this. The utility will independently determine it.
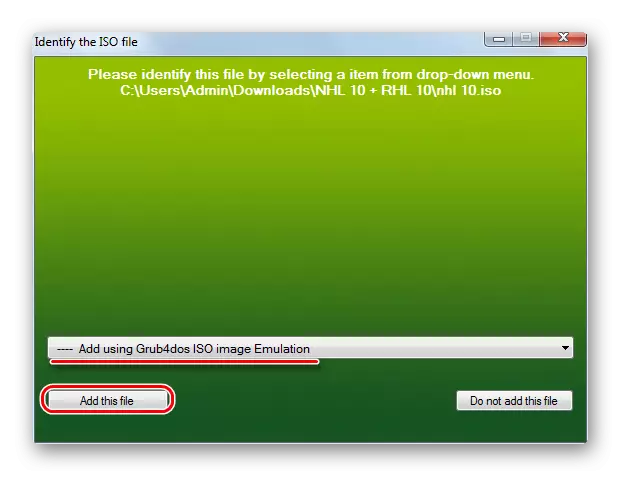
- If you have an ISO, click on the "File" inscription, and then "Open" and specify the path to this file.
- A window for adding files to the future drive will appear. In it, select the option "Add Using Grub4dos Iso Image Emulation". Click on the "Add This File" button.
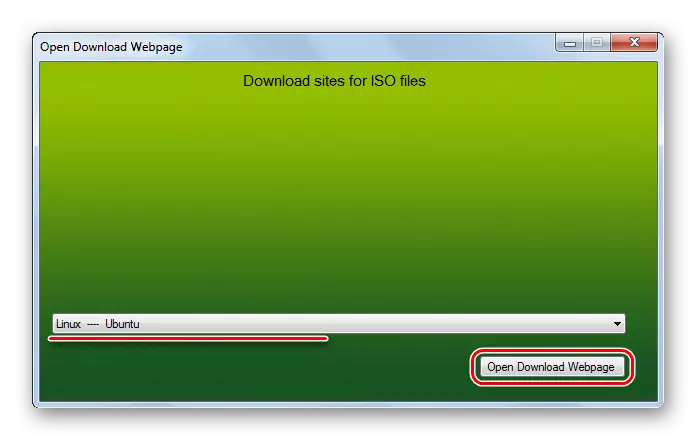
- And if you have not downloaded it, select the "Download" item. The image download window or programs opens. To record Ubuntu, choose "Linux - Ubuntu". Click on the Open Download Webpage button. The download page will be opened. Download the necessary files from there and execute the previous action of this list.
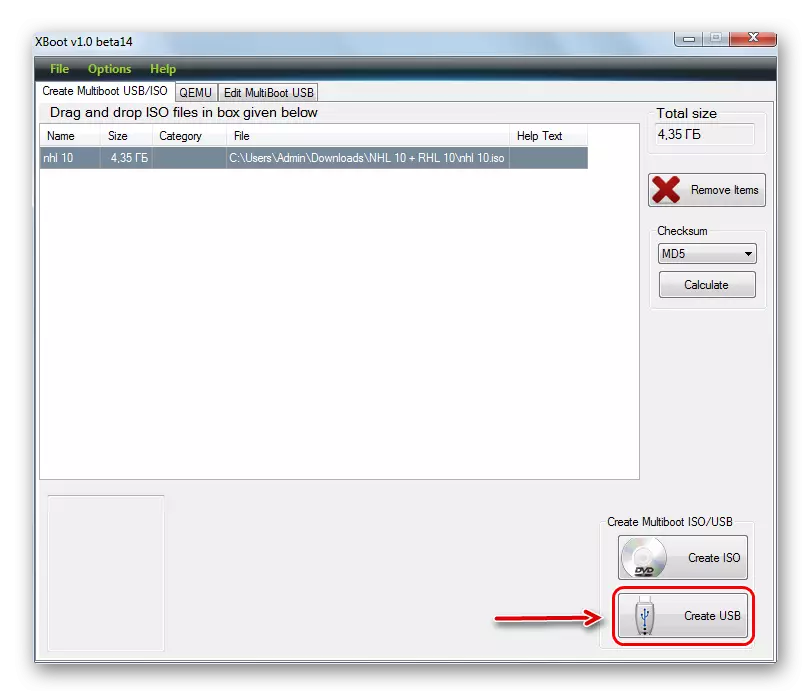
- When all the necessary files are listed in the program, click on the "Create USB" button.
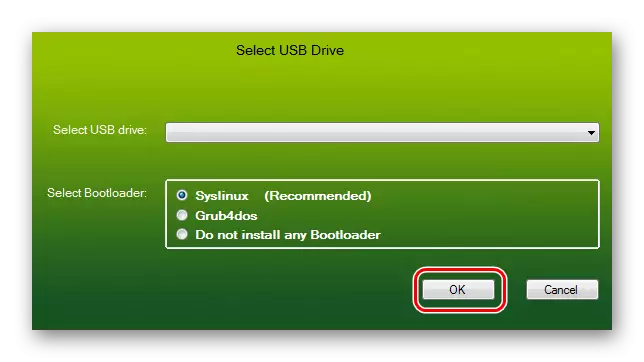
- Leave everything as it is and click "OK" in the next window.
- Record will start. You will only wait until it is over.
So, create a bootable USB flash drive with the Ubuntu user users are very easy. It can be done literally in a few minutes and even a beginner user will be able to cope with such a task.
See also: How to create a bootable USB flash drive 8