

Have a full-fledged OS on USB-drive is very convenient. After run it from a USB drive can be on any computer or laptop. Using the Live CD system on removable media can also help to restore Windows. The presence of the operating system on flash-drive lets you work on your computer even without a hard drive. Let us install the operating system on a USB flash drive to Kali Linux example.
Kali Linux is most often used in the security sector and is classified as an operating system for hackers. It is used to detect a variety of errors and failures in the networks of other systems. It is similar to other Linux distributions and is used not only for testing Windows vulnerabilities, but also to solve Ubuntu or Mint everyday tasks.
Installing a full system on a flash drive to Kali Linux Example
Our guide on how to install Kali Linux on a flash drive, includes several stages, from preparation to directly use the OS.With regard to training, to create a flash media with Kali Linux need the flash drive capacity of not less than 4 GB. Before you install the USB-drive must be formatted in FAT32 system. It is desirable to have a USB 3.0 storage device or the installation will be long.
This will help our instructions for formatting removable media. You will need to perform all actions in the framework of the instructions below, but instead of «NTFS» always choose option «FAT32».
Lesson: How to format the USB flash drive in ntfs
You also need to prepare the image itself running Kali Linux. Download image from the official website.
Official site of Kali Linux
Then it remains to Kali Linux on a flash drive. You can do this in several ways.
Method 1: RUFUS
This program is designed to create a bootable USB-drive. But it will help prepare a full-fledged OS on a flash drive, which can be used in the existing system on your computer. This method involves the following actions:
- Set Rufus program. You can download it on the official site. Run it on your computer.
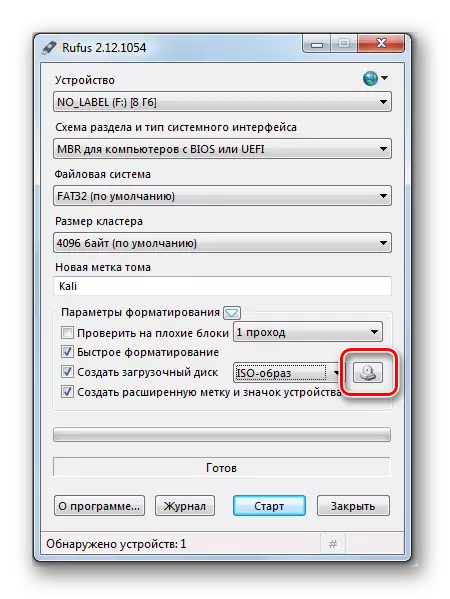
- In the main window, check for ticks in the line "Create a boot disk." The right of the «ISO Image» button to specify the path to your ISO image.
- Press "Start". Click «OK» the appearance of pop-up windows.
That's all on the USB flash drive recording completion is ready.
See also: Step by step guide to install Windows 7 with flash drive
Method 2: Win32 Disk Imager
This program allows you to deploy an operating system image on a flash drive. To use it, do this:
- Download and install the Win32 Disk Imager program. Run it on your computer.
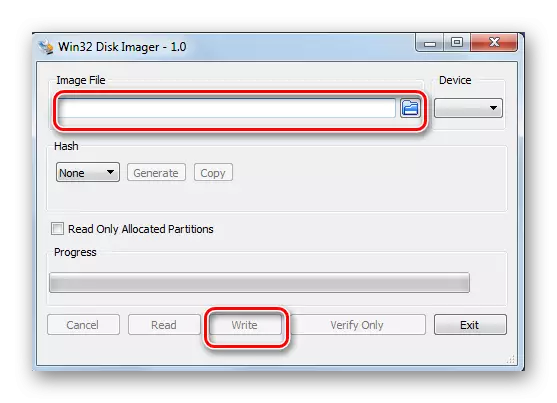
- In the Utilities window in the Image File field, specify the path to the image of Kali Linux. To the right, in the "Device" line, select your USB flash drive.
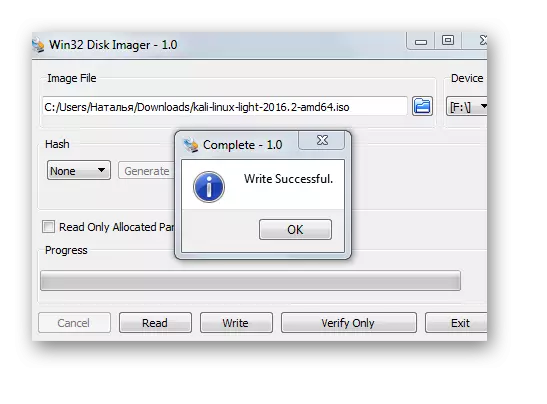
- Then click on the "WRITE" button. A record of the distribution to the specified drive begins. If you use USB 3.0, the recording process will take about 5 minutes.
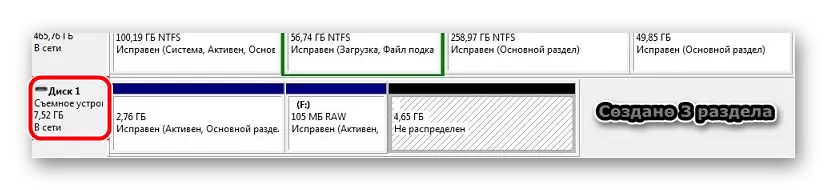
- After installation, the program created on the flash drive 3 of the section.
- One section remained unreasonable. Prepare it under "Persistence" section. This section is designed to store all changes while working with the Kali Linux flash drive.
- To create a section, install the Minitool Partition Wizard utility. You can download it on the official website.
After downloading and installing, run the program. Right-click on the unimpressed section and click "Create". A Windows message appears, click OK.
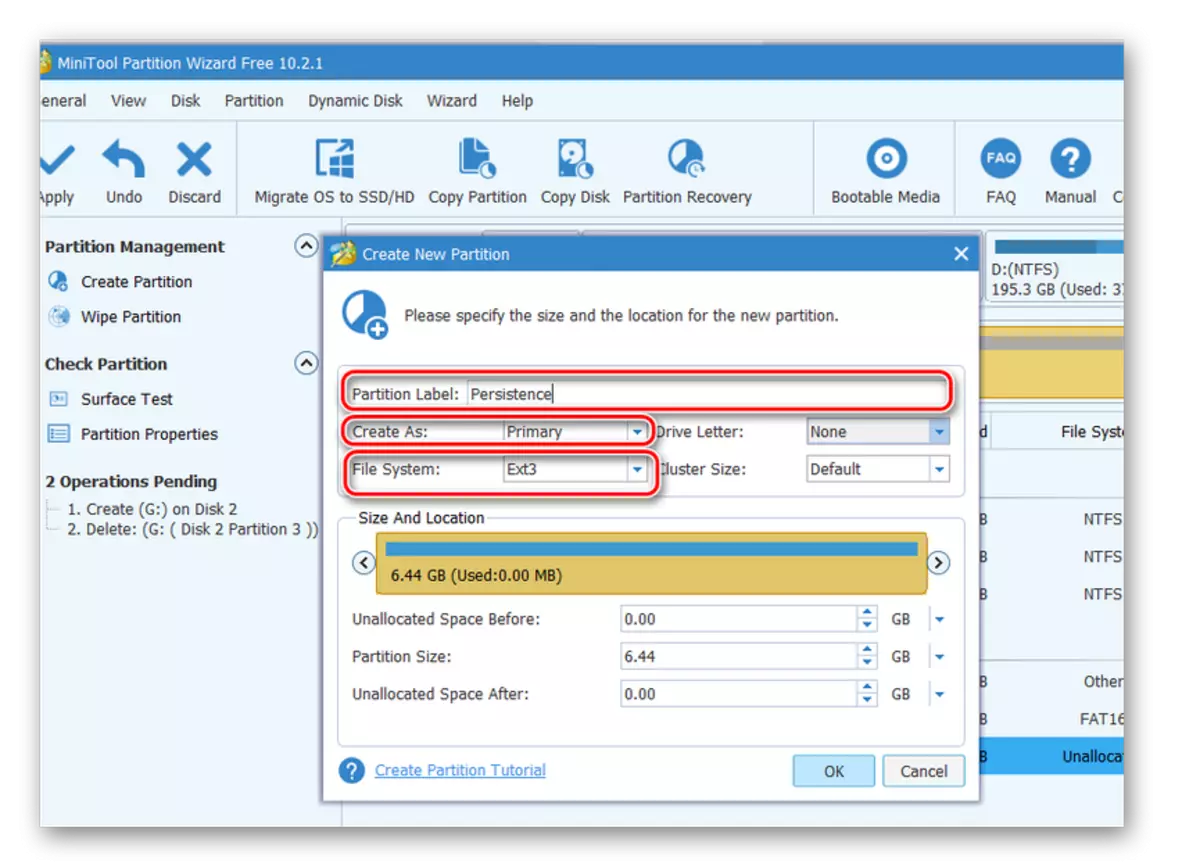
- In a new window, set the data as follows:
- In the Partition Label field, put the name "persistence";
- In the "CREATE AS" field, select the type "Primary";
- In the File System field, specify "Ext3", this type of system is needed specifically for potassium.
Click OK.
- To save the changes, press the "Apply" button in the upper left corner, then "OK".

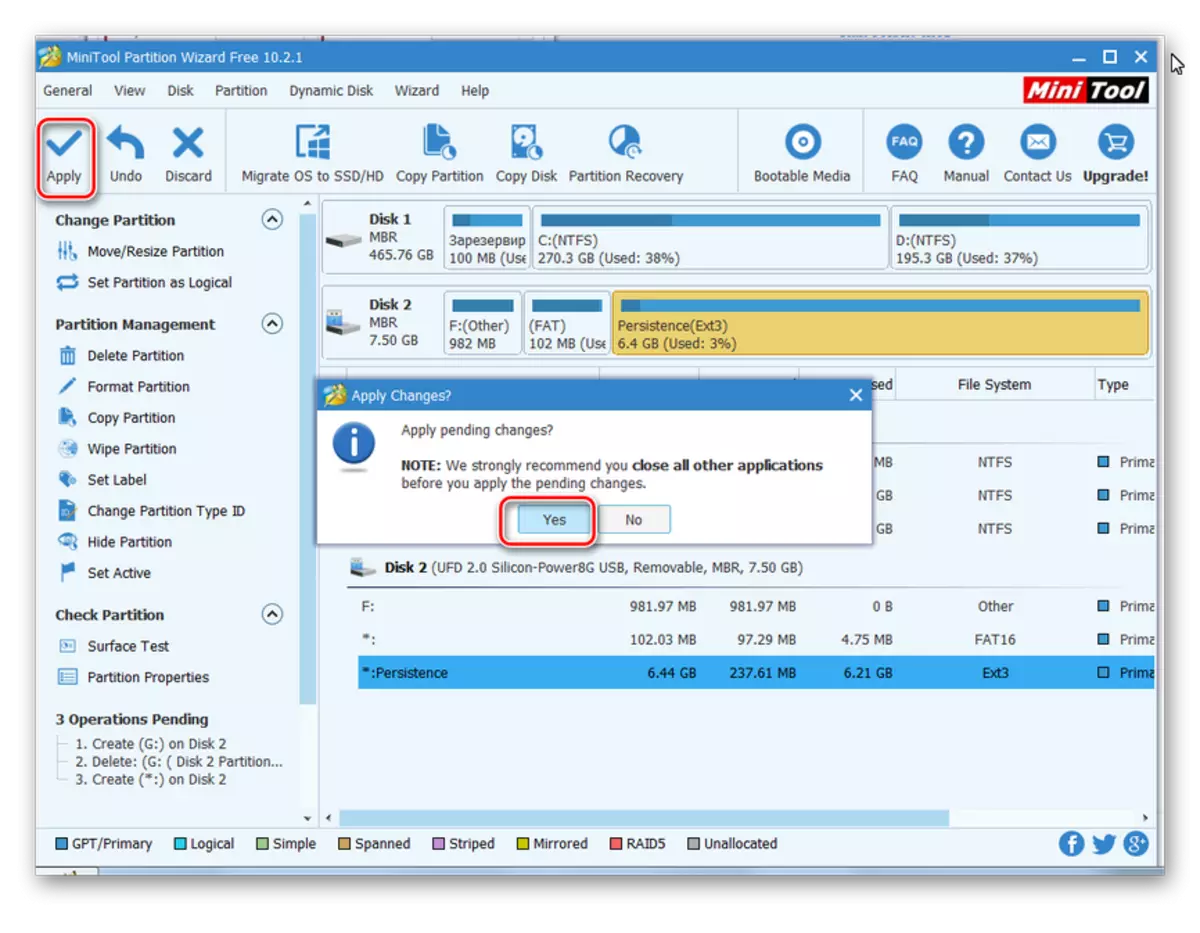
That's all, a flash drive from Kata Linux is ready for use.
See also: Check and completely clean the flash drive from viruses
Method 3: Universal USB Installer
This simple and convenient utility will help create Linux and Windows distributions.
- Install the Universal USB Installer program. It is best on the official website.
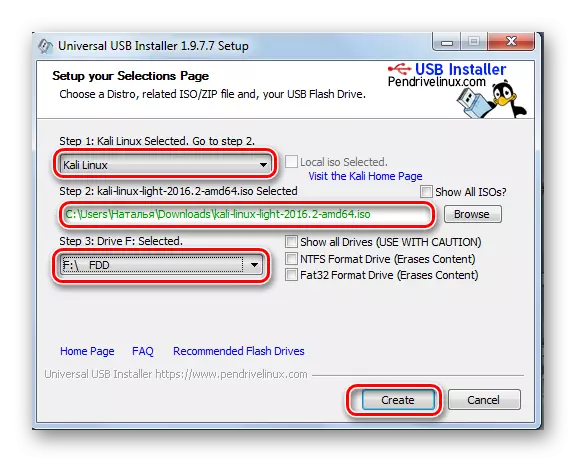
- Open it. To properly start the program, run 4 steps:
- In the "Step 1" field, select the Linux distribution type "Kali Linux";
- In the "STEP 2" field, specify the path to your ISO - image;
- In the "Step 3" field, select your USB flash drive and check the presence of a check mark in the "Format" field;
- Click the "Create" button.
At the end of the recording on the flash drive will be set by Kali Linux Live.
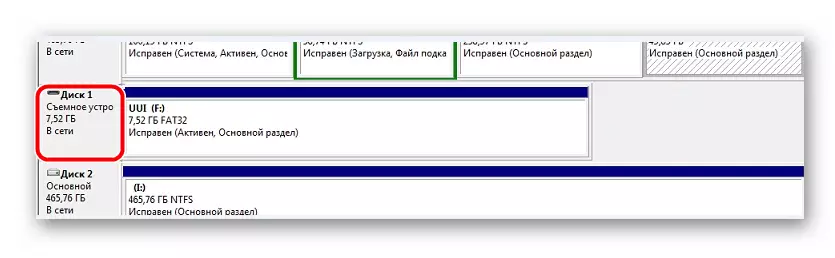
- Go to Windows Drive Management Console on your computer. To do this, go to this path:
Control Panel> Administration> Computer Management
The flash drive will be displayed in this form, as shown in the photo below.
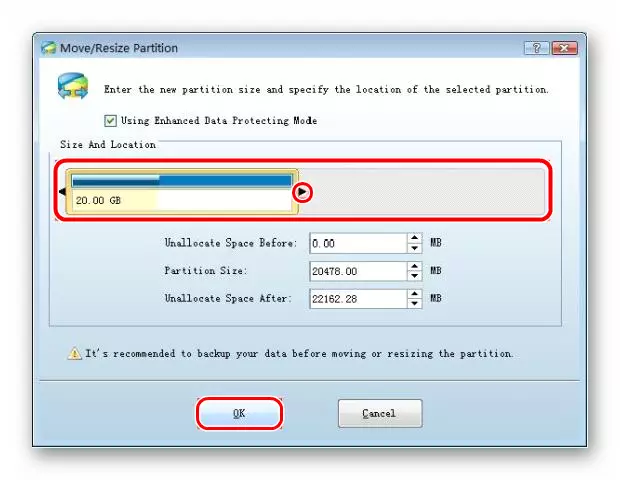
- This utility took the entire space of the flash drive and did not leave the place under the section "Persistence". Therefore, free the place under the section using the MINITOOL Partition utility. To do this, right-click on the removable drive and select the MOVE / Resize item. In it, slide the slider a little left, leaving the system of Cali 3 GB itself.
- Next, repeat all actions to create a Persistence section using the Micitool Partition Wizard utility described in the previous section.
To work with the flash drive, it is enough to boot from it.
The advantages of using the operating system on the flash drive is much, but it should be remembered that the intensive use of such a device quickly displays it. If you have any questions, write them in the comments, we will definitely answer and help solve all the problems.
If you need to create a media for installing Linux, use our instructions for creating a bootable flash drive and installation of the OS.
Lesson: How to create a bootable USB flash drive with Ubuntu
Lesson: Step-by-step Linux installation guide from flash drive