
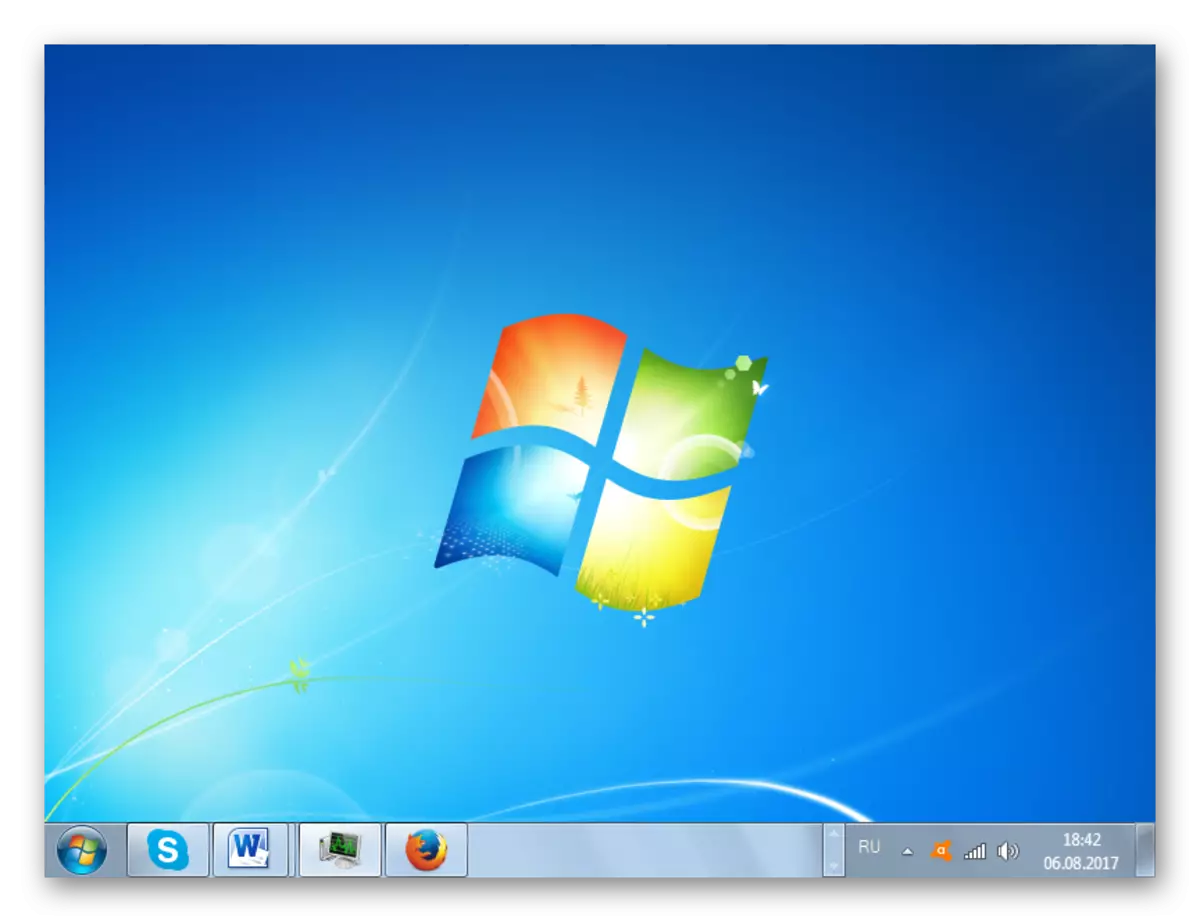
Sometimes it happens when you switch to your desktop to your desktop you suddenly see that there are no all icons on it. Let's find out what it can have a connection with, and in which ways you can fix the situation.
Enable Display Labels
The disappearance of the desktop icons can occur for a very different reasons. First of all, it is possible that the specified function is deactivated by manually by standard means. Also, the problem may be caused by a failure in the EXPLORER.EXE process. Do not discount and the possibility of viral infection of the system.
Method 1: Recovery after physical removal of icons
First of all, we consider such a banal as the physical removal of the icons. This situation may occur, for example, if you are not the only person with access to this computer. Icons can be deleted by a flaw just to pump you, or just by chance.
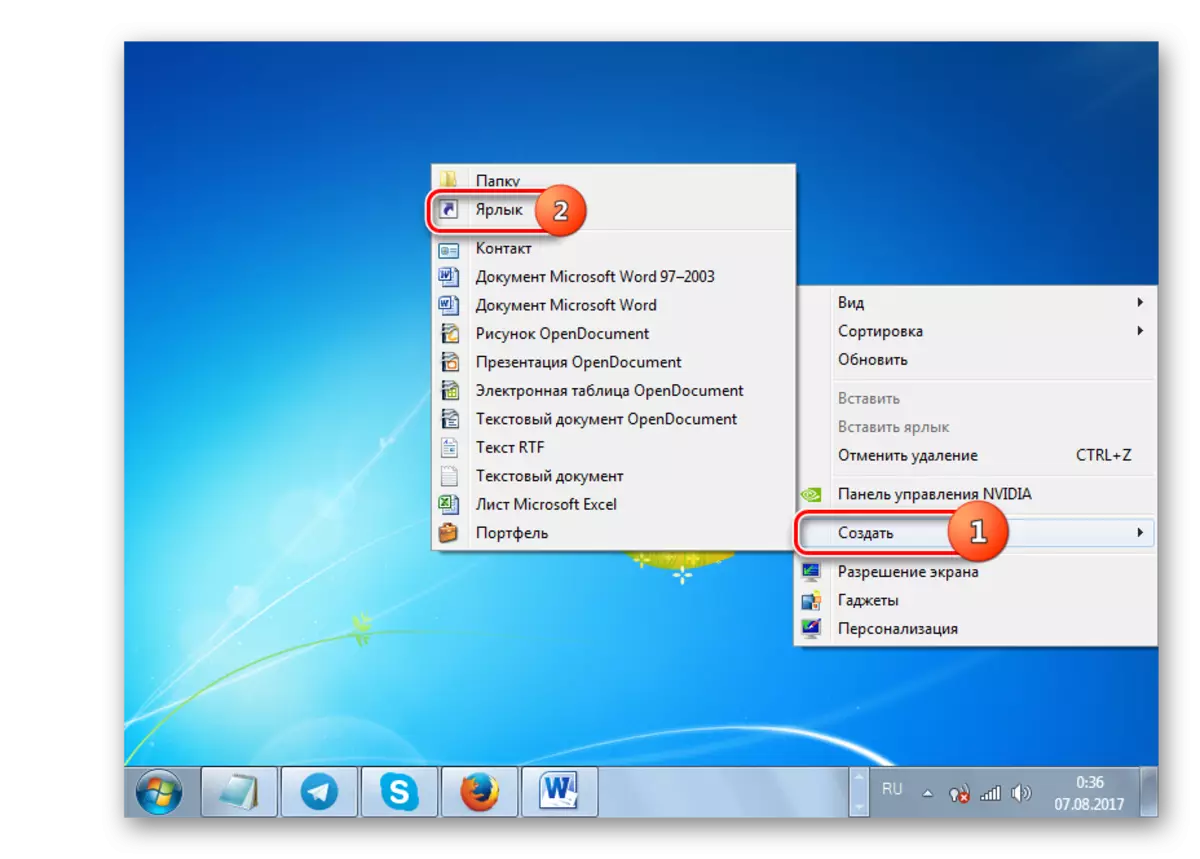
- To check this, try to create a new label. Click right-click (PCM) on the work table. In the list, stop the choice for "Create", then click "Label".
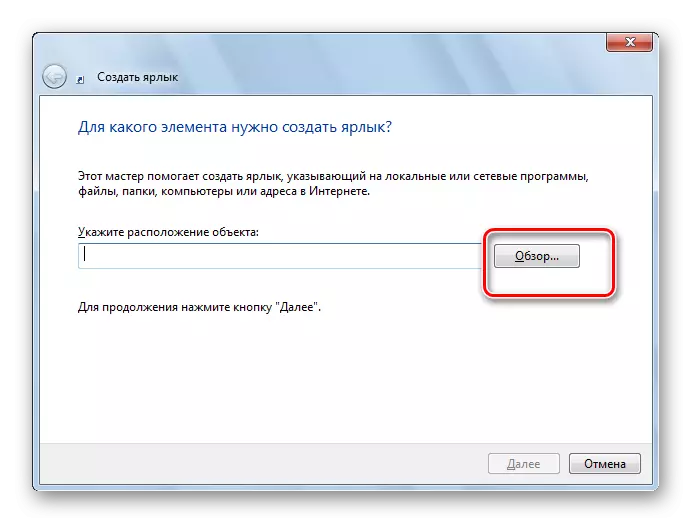
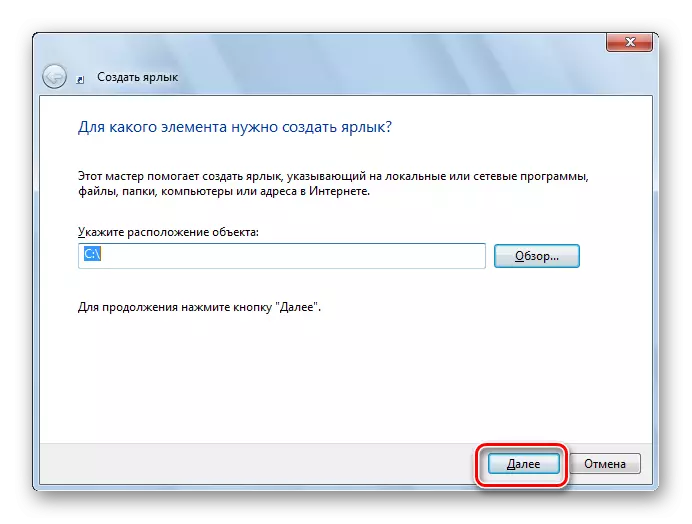
- In the shell of the label creation, click "Review ...".
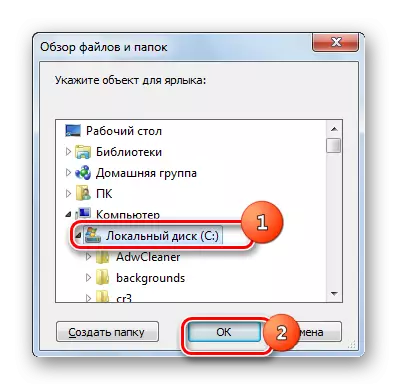
- File and folder viewing tool will start. Select any object in it. For our purposes, no matter what. Click "OK".
- Then click "Next".
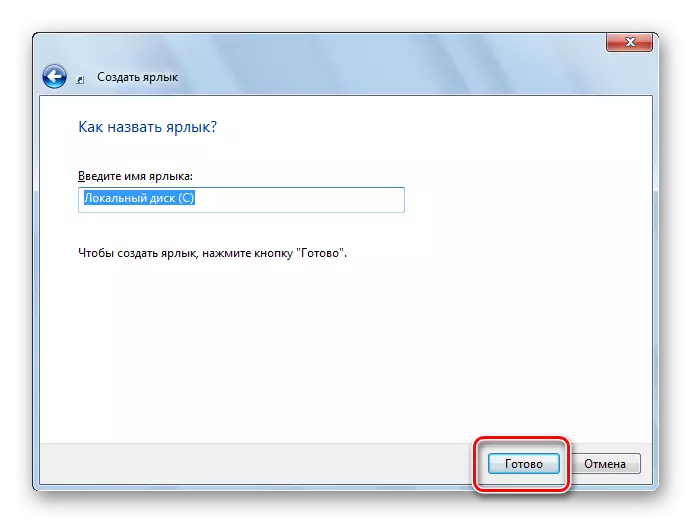
- In the next window, press "ready."
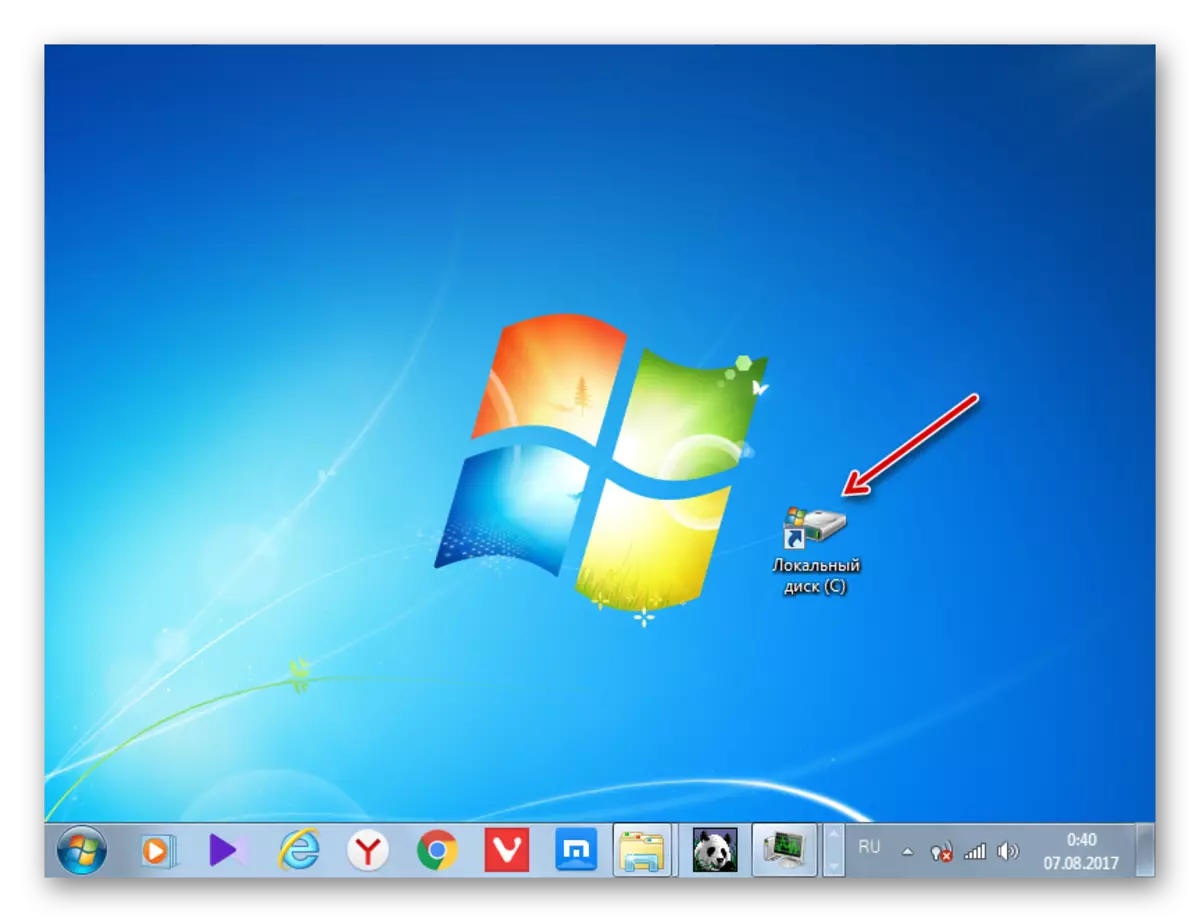
- If the label appears, this means that all the icons that existed earlier were physically deleted. If the label is not displayed, it means that the problem should be sought in the other. Then try to solve the problem of the ways that are discussed below.
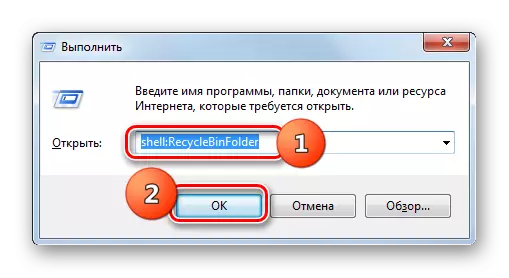
- But is it possible to restore remote shortcuts? Not a fact that it will turn out, but there is a chance. Call the "Run" shell by typing win + r. Enter:
Shell: RecycleBinfolder.
Click "OK".
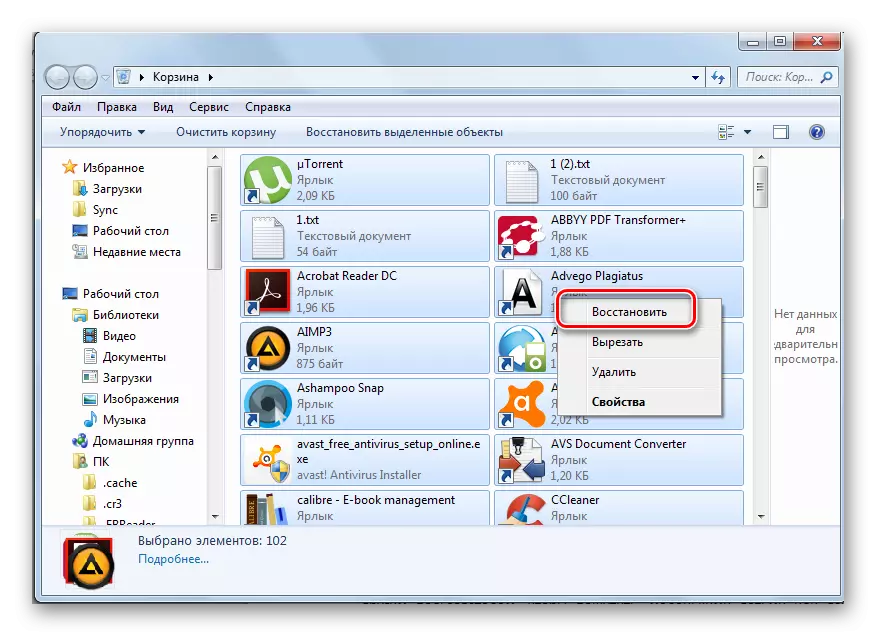
- The basket window opens. If you see there missing labels there, then consider what you are lucky. The fact is that with standard deletion, the files are not completely deleted, and initially sent to the "basket". If, in addition to icons, there are other elements in the "basket", select the desired by clicking on them with the left mouse button (LKM) and simultaneously climbing Ctrl. If only objects to be recovered in the "basket" are located, then allocate all content by pressing Ctrl + a. After that, make the PCM click on the allocation. Select "Restore" in the menu.
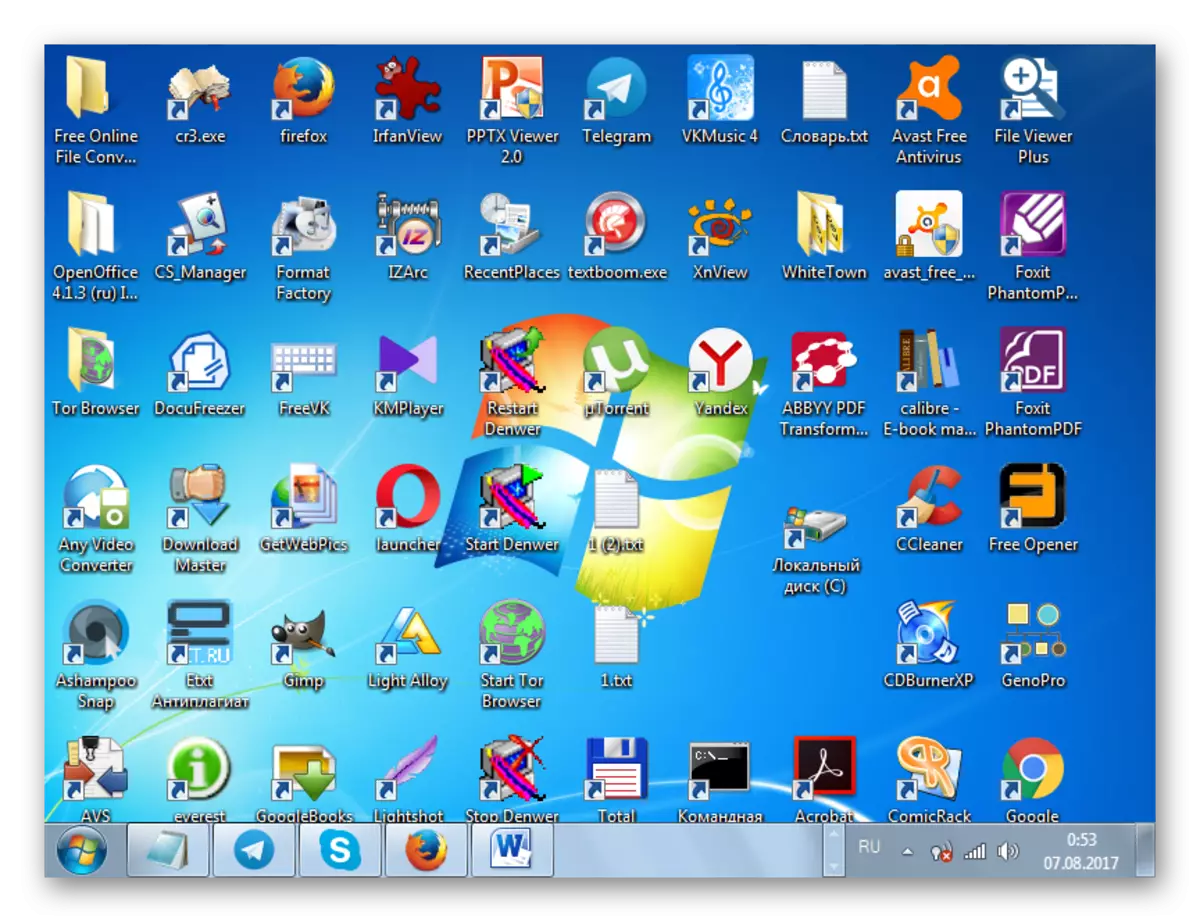
- Icons will return to the desktop.
But what to do if the "basket" turned out to be empty? Unfortunately, this means that objects were completely removed. Of course, you can try to recover by using special utilities. But it will be akin to shooting from a gun on the sparrows and takes a lot of time. Frequently used frequently used shortcuts manually updated.
Method 2: Enabling the display of icons in the standard way
Displaying icons on the desktop can be disabled manually. This can be done by another user to joke, young children or even by your mistake. Fix this situation is the easiest way.
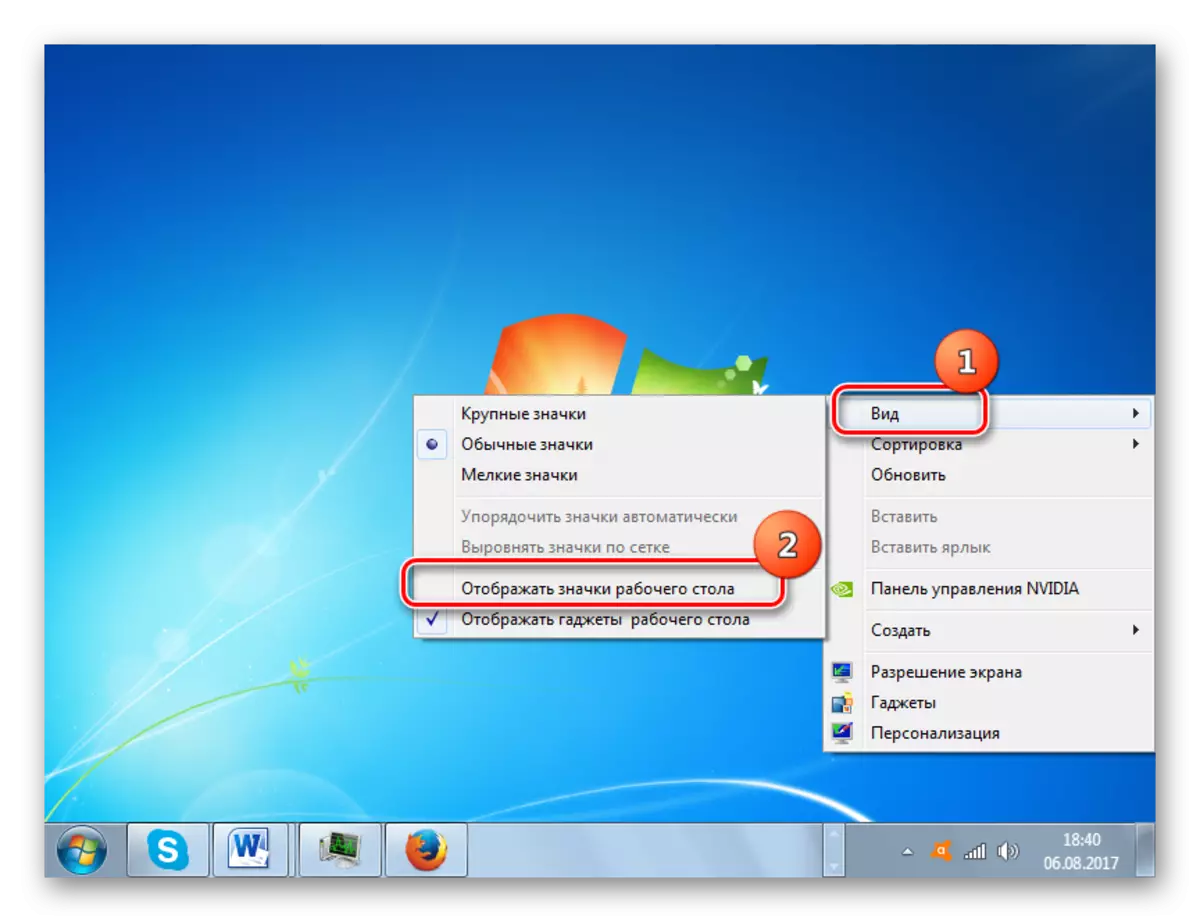
- To find out whether their standard shutdown is caused by the disappearance of the labels, go to the desktop. Click on any place on it PCM. In the menu that appears, select the cursor to the "View" position. Look for the "Display desktop icons" in the discontinuable list. If a check mark is not installed in front of it, then this is the reason for your problems. In this case, you just need to click on this item LKM.
- With a very large level of probability, the shortcuts are again displayed. If we now launch the context menu, we will see that in its section "View" opposite the position "Display desktop icons" will be installed.

Method 3: Start Explorer.exe Process
The icons on the desktop may be the abyss for the reason that the PC does not run the EXPLORER.EXE process. The specified process is responsible for the work of the Windows Explorer, that is, for the graphical display of almost all elements of the system, except wallpaper, including, including the desktop labels. The main feature that the cause of the lack of icons lies precisely in the explorer.exe disconnection is that the monitor will also have no "taskbar" and other controls.
Disabling this process may occur for many reasons: failures in the system, incorrect interaction with third-party software, penetration of viruses. We will look at how to activate explorer.exe again so that the icons return to their former place.
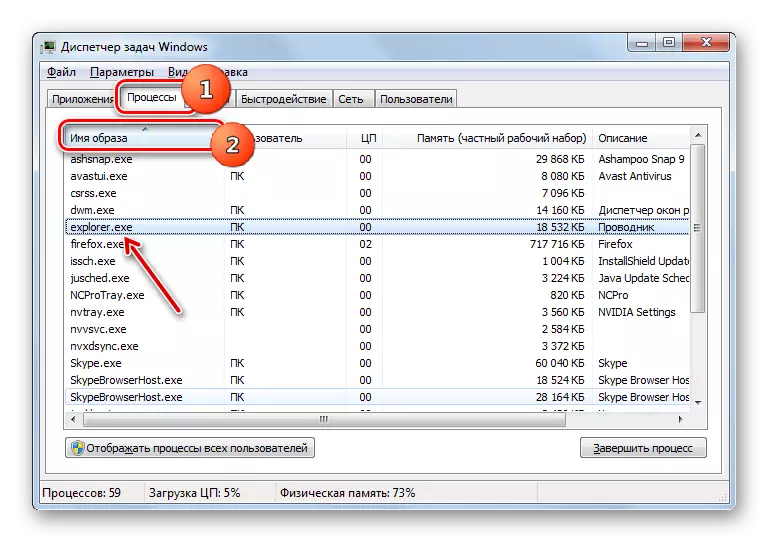
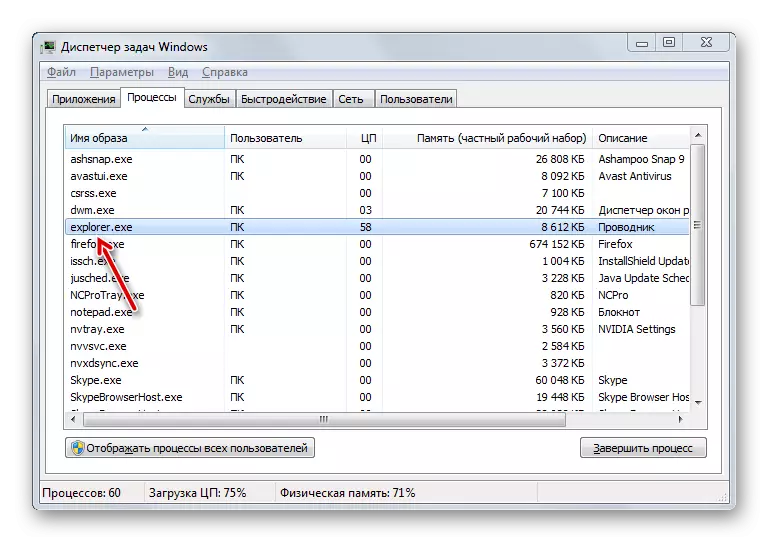
- First of all, call the Task Manager. In Windows 7, the Ctrl + Shift + Esc is used for these purposes. After the tool is called, move to the "Processes" section. Click on the name of the "Image Name" field to build a list of alphabetic processes for a more convenient search. Now look for the name "Explorer.exe" in this list. If you find it, but the icons are not displayed and it has already been found that the reason is not in the manual disconnection, then the process may not work incorrectly. In this case, it makes sense to complete it, and then restart.
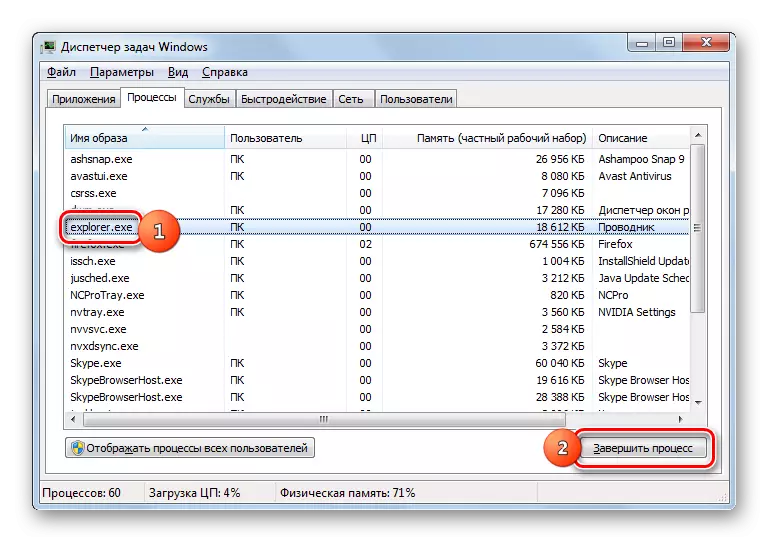
For these purposes, highlight the name "explorer.exe", and then click the "Complete Process" button.
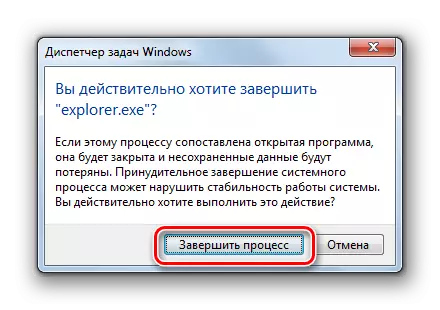
- A dialog box appears in which there will be a warning that the completion of the process can lead to loss of unsaved data and to other troubles. Since you act purposefully, press "complete the process".
- Explorer.exe will be deleted from the list of processes in the Task Manager. Now you can go to it again. If you do not find in the list of names of this process initially, the steps with its stop, naturally, should be skipped and immediately move to activation.
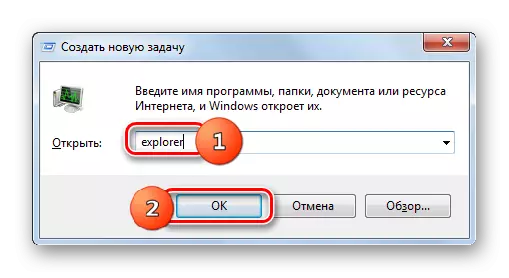
- In the Task Manager, click File. Next, choose the "New Task (Run ...)".
- A shell of the "Run" tool appears. VBE expression:
Explorer.
Press ENTER or OK.
- In most cases, Explorer.exe will start again, which will indicate the appearance of its name in the list of processes in the Task Manager. And this means that with the high probability of the icons will again appear on the desktop.

Method 4: Fixing the system registry
If using the previous method it did not work out to activate explorer.exe or, if after restarting the computer, it disappeared again, then the problem of lack of icons is associated with problems in the registry. Let's see how they can be corrected.
Since the manipulations with entries in the system registry are described below, we convincingly advise before switching to specific actions, form an OS recovery point or its backup.
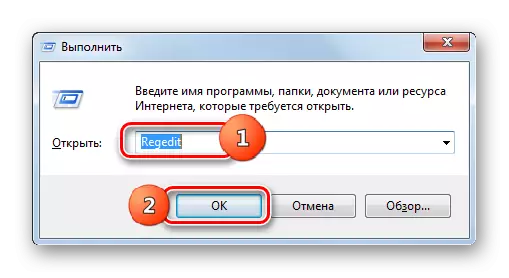
- To go to the registry editor, apply the Win + R combination to invoke the "Run" tool. Enter:
Regedit.
Click "OK" or ENTER.
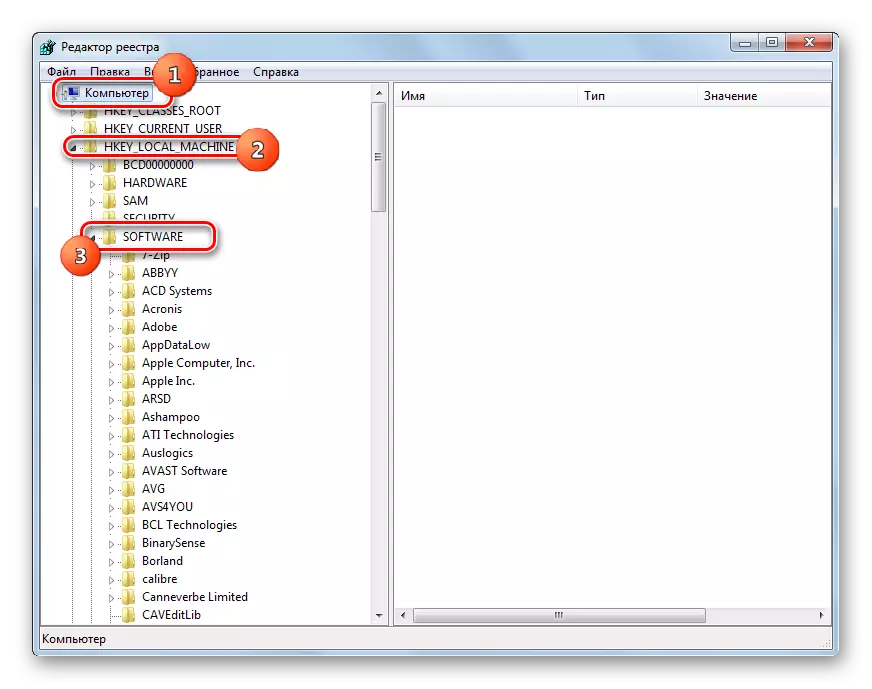
- A shell entitled "Registry Editor" will be launched, in which you will need to make a number of manipulations. To go through the registry sections, use the navigation menu of the tree shape, which is located on the left side of the editor window. If the list of registry sections is not visible, then click on the name "Computer". A list of the main sections of the registry opens. Go by name "HKEY_LOCAL_MACHINE". Next click "Software".
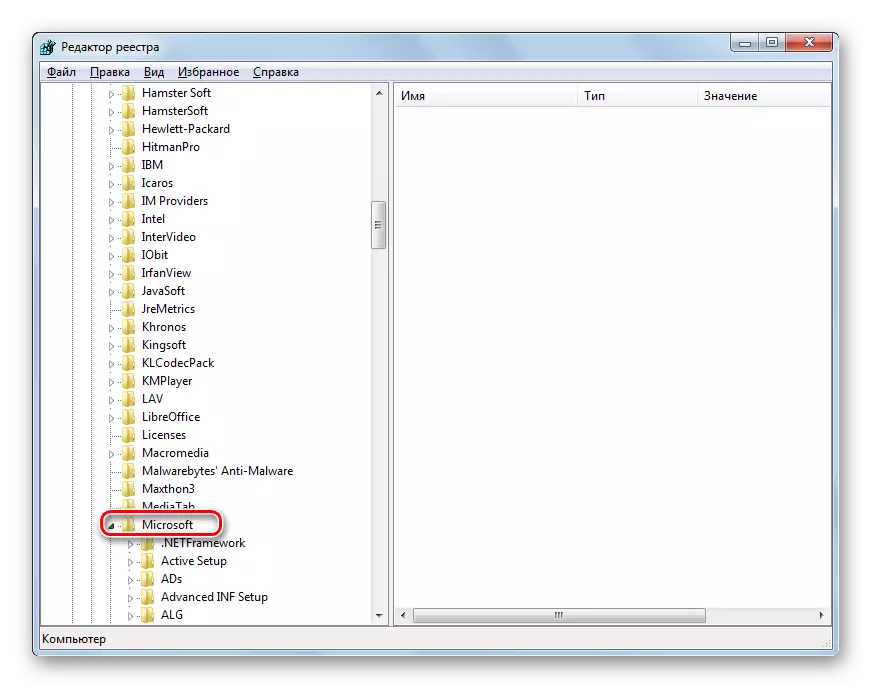
- A very large list of sections opens. It needs to find the name "Microsoft" and click on it.
- Again the long list of sections opens. Find "WindowsNT" in it and click on it. Next, go to the name "CurrentVersion" and "Image File Execution Options".
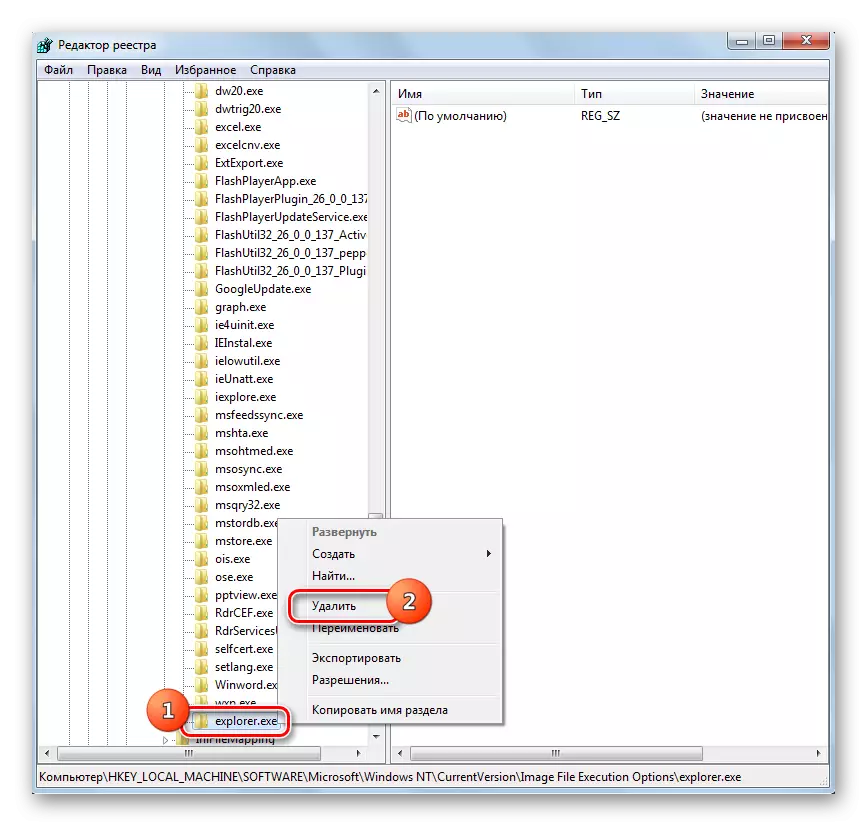
- A wide list of subsections opens. Look in it subsections with the name "ysplorer.exe" or "explorer.exe". The fact is that these subsections should not be here. If you find both or one of them, then these subsections should be deleted. To do this, click on the name of PCM. From the discussed list, select "Delete".
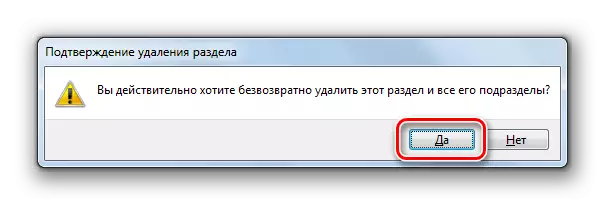
- After that, a dialog box appears, which displays the question if you really want to delete the selected subsection with all its contents. Press "Yes."
- If only one of the above subsections is present in the registry, then you can immediately restart the computer to enter into force changes, while preserving all unsaved documents in open programs. If the list is present and the second undesirable subsection, then in this case, first remove it, and then make a reboot.
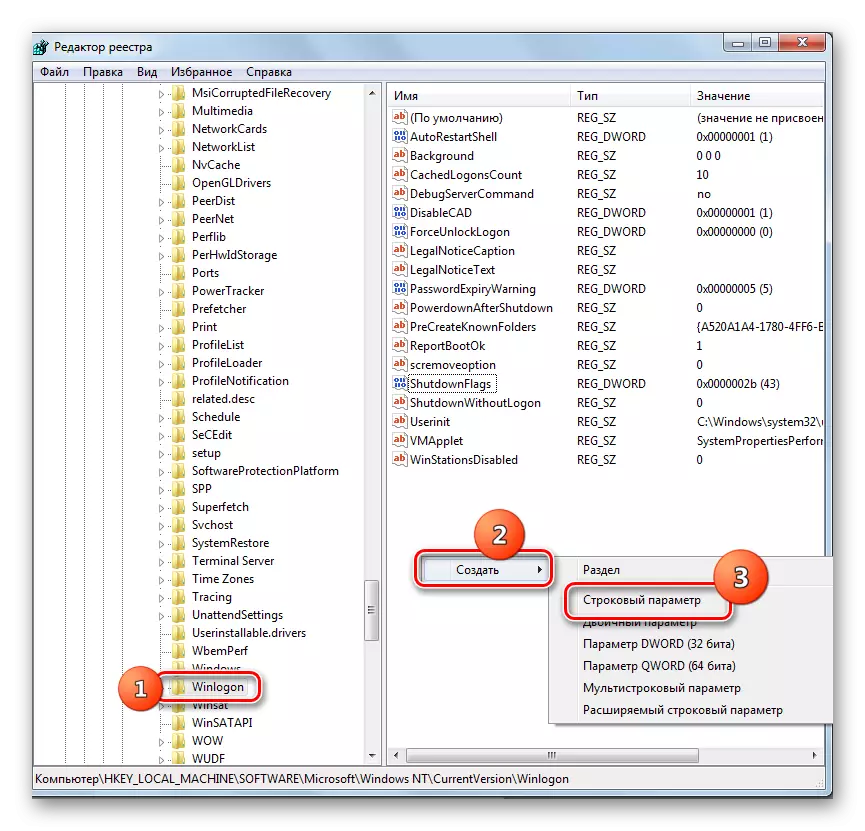
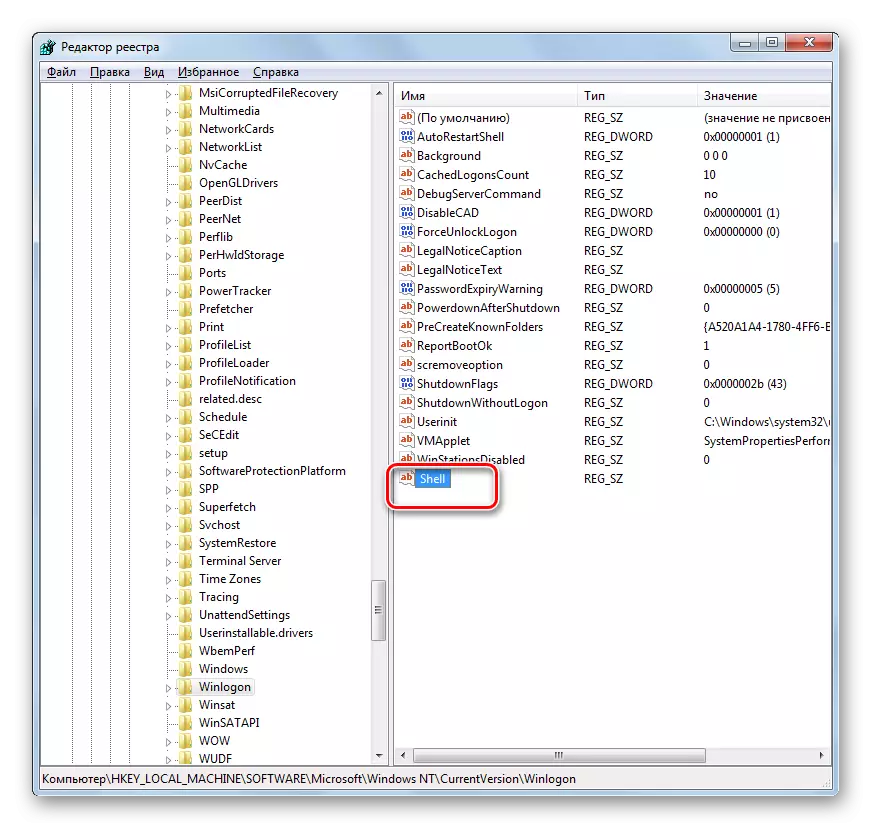
- If the actions performed did not help or you did not find the unwanted sections that the conversation was higher about, then this case should check another registry subsection - "WinLogon". It is in the "CurrentVersion" section. About how to get there, we have already been told above. So, select the name of the subsection "WinLogon". After that, go to the right main part of the window where the string parameters of the selected partition are located. Look for the string parameter "Shell". If you do not find it, then with a lot of probability, you can say that this is the cause of the problem. Click on any free place on the right side of the PCM shell. In the list that appears, click "Create". In the Additional list, select the "String Parameter".
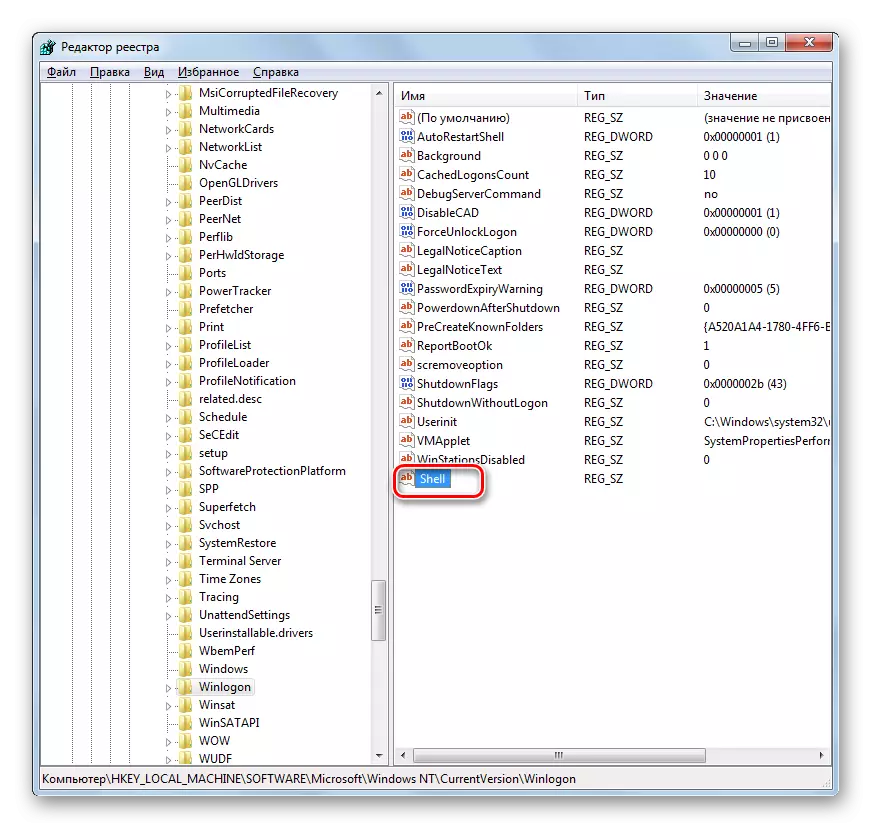
- In the formed object, instead of the name "New Parameter ..." VBE "Shell" and click ENTER. Then you need to change in the properties of the string parameter. Click on the name twice LKM.
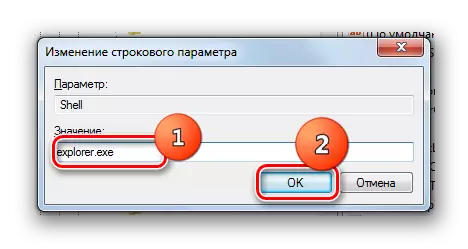
- The shell "Changing the String Parameter" is launched. Make the "Explorer.exe" entry in the "value" field. Then press ENTER or OK.
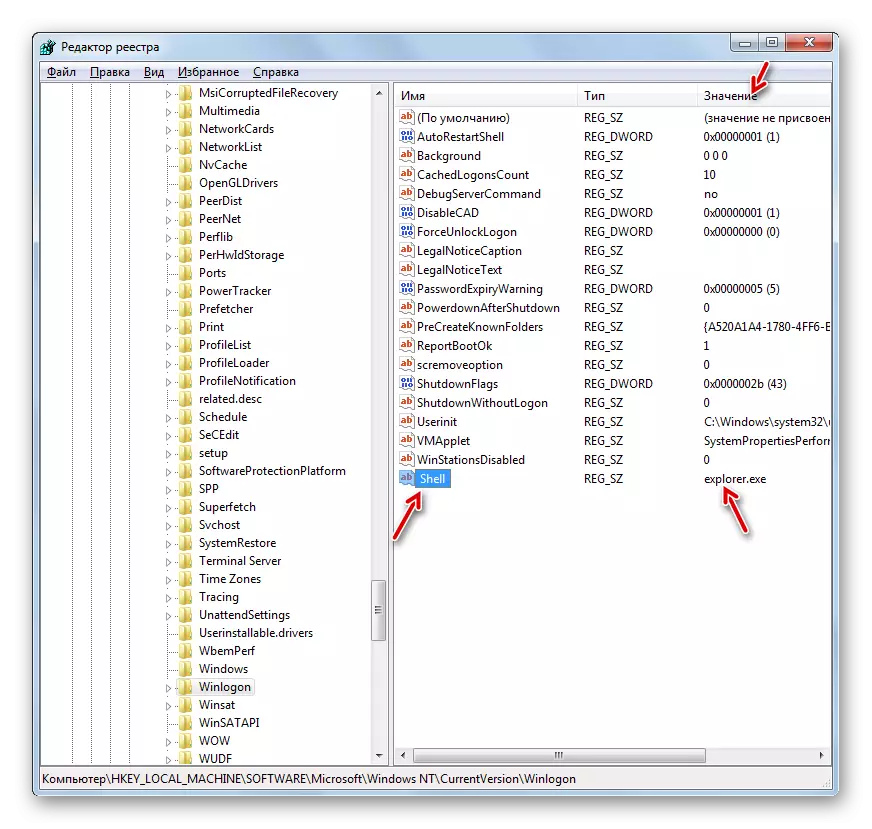
- After that, the "WinLogon" registry key parameters should display the "Shell" string parameter. The "value" field will be "explorer.exe". If everything is so, then you can reboot PC.

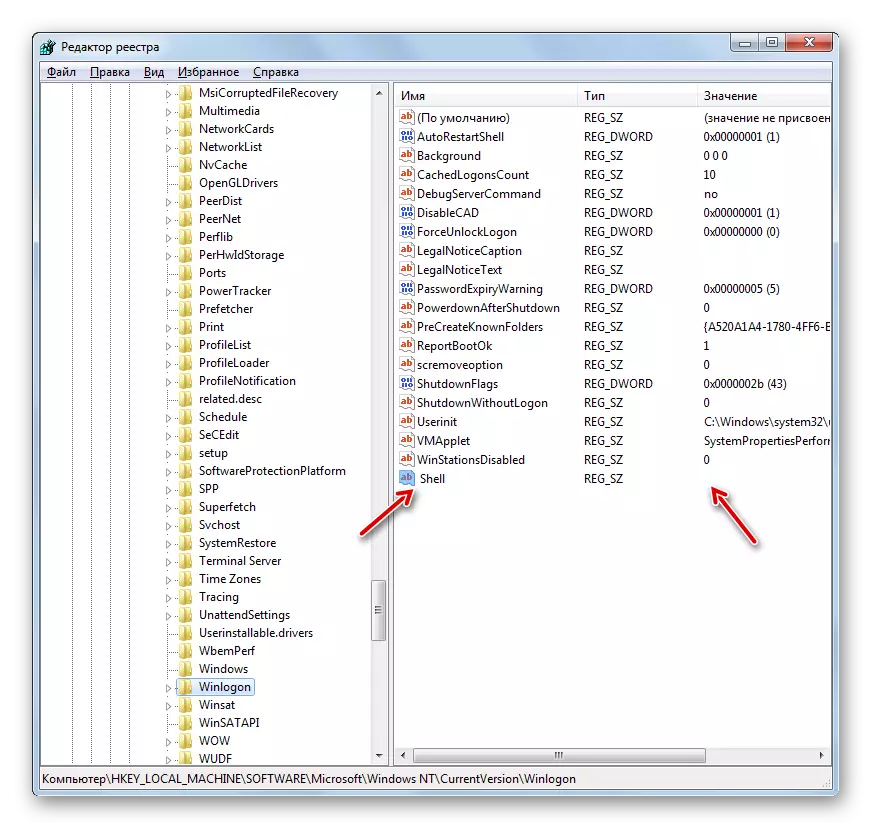
But there are cases when the string parameter in the place exists, but at the same time the "value" field is empty or it corresponds to the name different from "explorer.exe". In this case, you need to make the following actions.
- Go to the "Changing String Parameter" window by clicking the name of two times the LKM.
- In the "Value" field, enter "Explorer.exe" and click OK. If a different value is specified in this field, then you first delete it by selecting the entry and pressing the Delete button on the keyboard.
- After the "Shell" string parameter is displayed in the "SHELL" field, "Explorer.exe" is displayed, you can reboot the PC to introduce the changes made. After rebooting, the Explorer.exe process must be activated, and it means that the icons on the desktop will also be displayed.

Method 5: Anti-virus scanning
If the specified ways to solve the problem did not help, then there is a possibility that the computer is infected with viruses. In this case, you need to check the system of the anti-virus utility. For example, you can use the Dr.Web Cureit program, which has proven itself in such cases very well. It is recommended to check not from theoretically infected computer, but from another machine. Or use for these purposes a loading flash drive. This is due to the fact that performing an operation from under the already infected system, the likelihood is great that the antivirus will not be able to determine the threat.
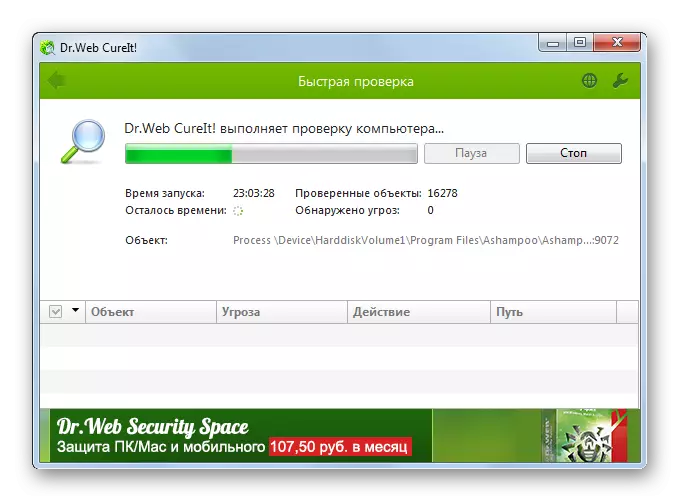
During the execution of the scanning procedure and in case of malware detection, follow the recommendations that the antivirus utility gives the dialog box. After completing the removal of viruses, you may need activation of the Explorer.exe process through the "Task Manager" and the Registry Editor with the way that the conversation was higher.
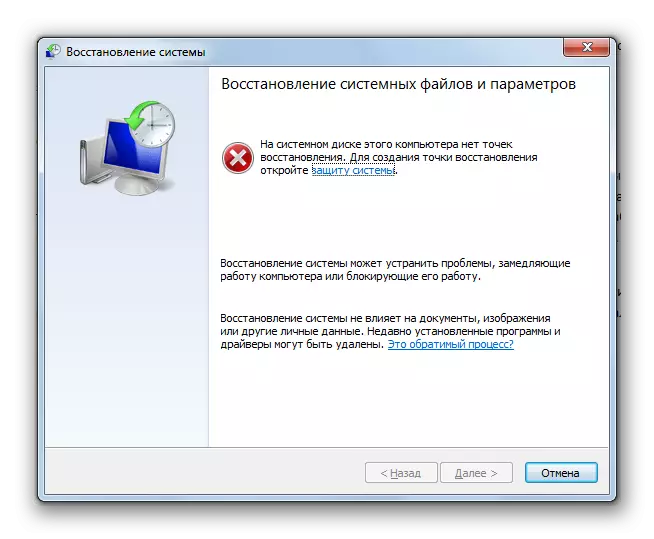
Method 6: Rollback to the recovery point or reinstalling
If none of the ways for which the conversation was above did not help, you can try to roll back to the last point of the system restoration. An important condition is the presence of such a recovery point at the time when the icons were displayed normally on the desktop. If the recovery point during this period was not created, then it will not be possible to solve the problem.
If you still did not find a suitable recovery point on your computer, it did not help to solve the problem, then in this case the most radical output option remains in stock - reinstalling the operating system. But this step should be approached only when all other possibilities are tested and did not give the expected result.
As you can see from this lesson, there are quite a lot of diverse reasons why icons can be lost from the desktop. Each reason, naturally, has its own way to solve the problem. For example, if the icons showed in the settings with standard methods, then no manipulations with the processes in the Task Manager will not help you return the labels into place. Therefore, first of all, you need to establish the cause of the problem, and then it is decided to deal with it. It is recommended to search for the reasons and make the recovery manipulation specifically in the order that is presented in this article. It is not necessary to immediately reinstall the system or produce it rollback, because the solution can be very simple.