

EXE is a format without which no software is received. They are running all the processes of launch or installing programs. It can be as a full-fledged application, so be part of it.
Ways to create
There are two options for creating an exe file. The first is the use of media for programming, and the second is the use of special installers, with which different "repacks" and packages, installed in one click. Further on the examples, consider both options.Method 1: Visual Studio Community
Consider the process of creating a simple program based on the programming language "Visual C ++" and compilation in Visual Studio Community.
Download free Visual Studio Community from the official site
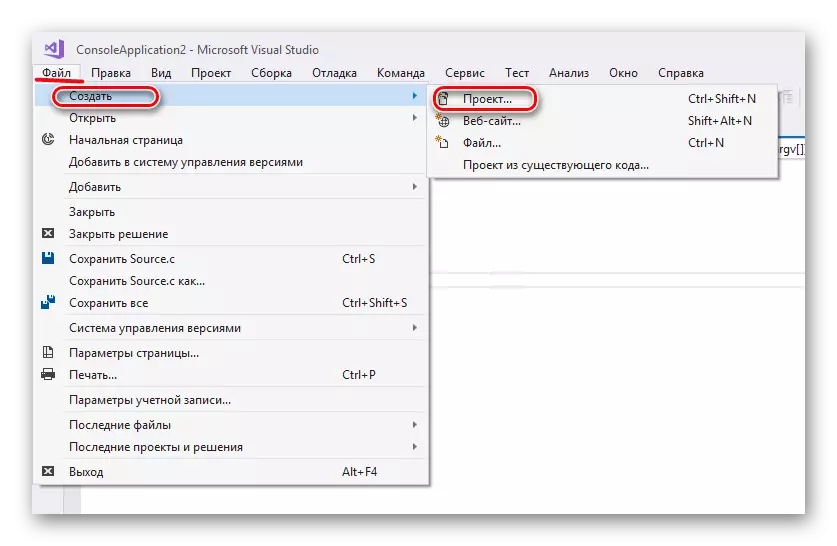
- Run the application, go to the "File" menu, after which we click on the "Create" item, and then in the list that opens to the project.
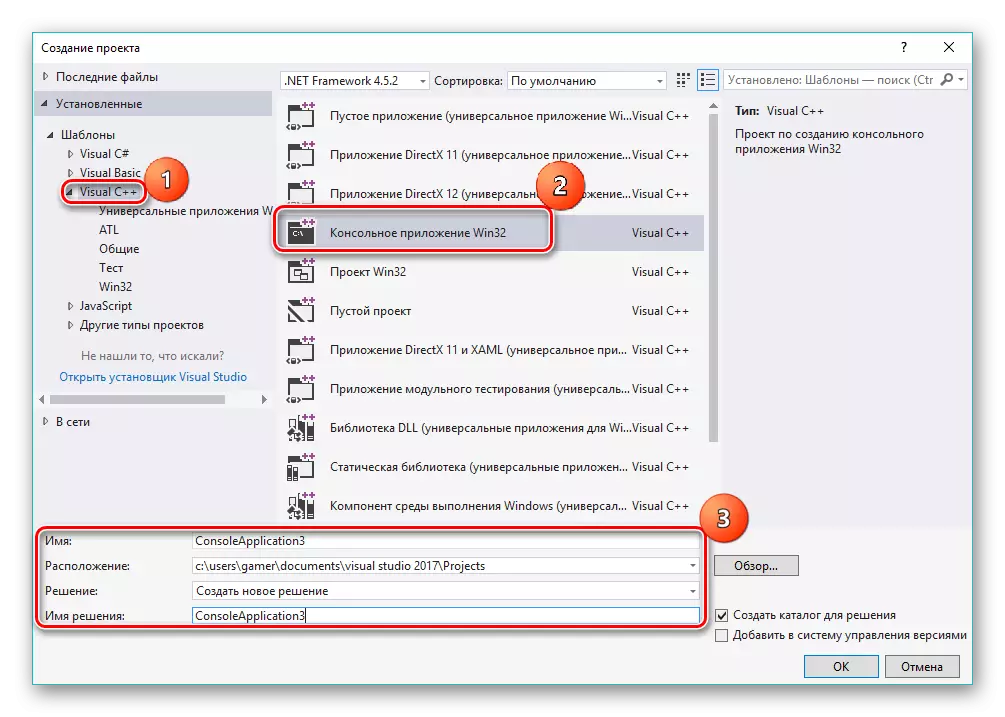
- The project "Creating a Project" opens, in which you need to click first on the inscription "Templates", and then "Visual C ++". Next, select the "Console application Win32", set the name and location of the project. By default, it is saved in the working directory visually the community studio, in the system folder "My Documents", but optionally it is possible to choose another directory. When the settings are completed, click "OK".
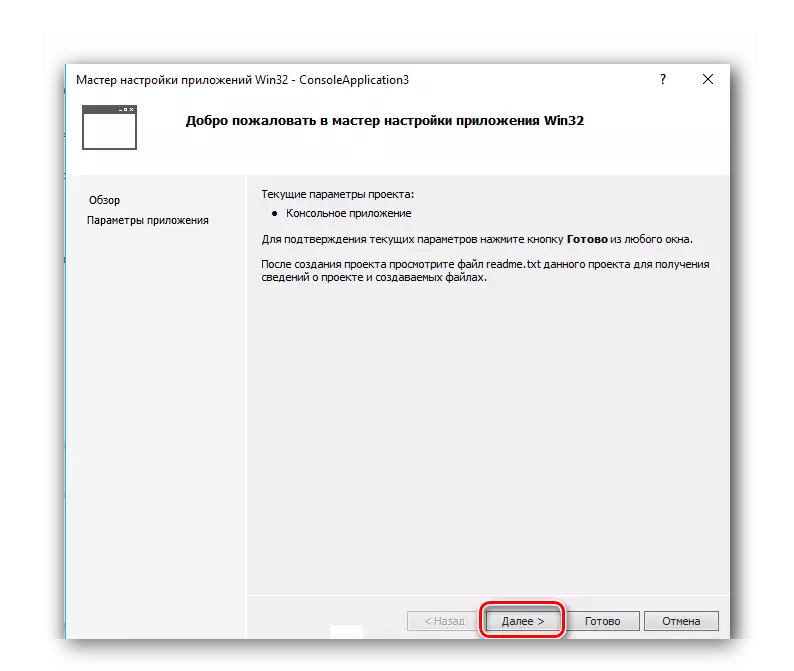
- The "Win32 Application Wizard" is launched, which simply click "Next".
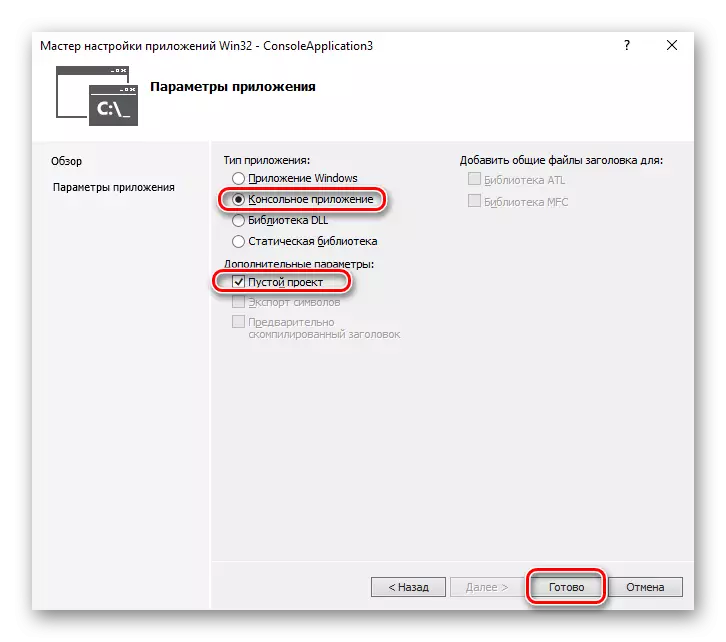
- In the next window, define the application parameters. In particular, select the "console application", and in the "Advanced Parameters" field, "Empty Project", while removing a tick with a "pre-compiled header".
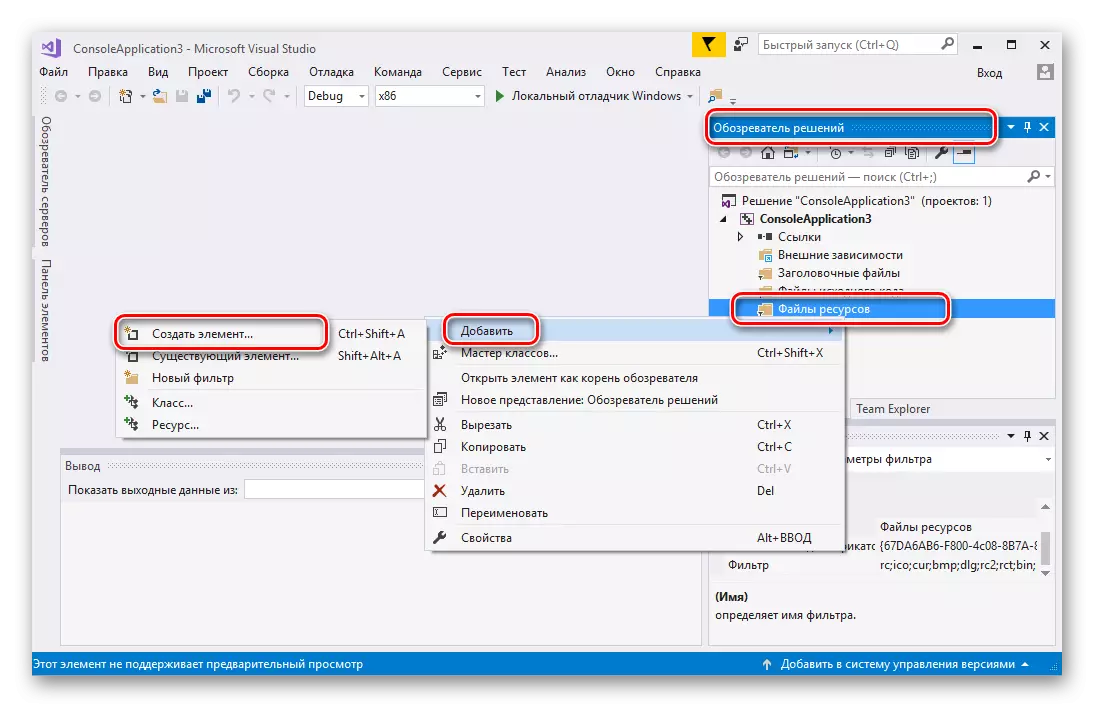
- A project is launched in which you need to add an area for recording code. To do this, in the "Solution Overview" tab by right-clicking on the inscription "Resource Files". A context menu appears, in which we click on "Add" and "Create an item".
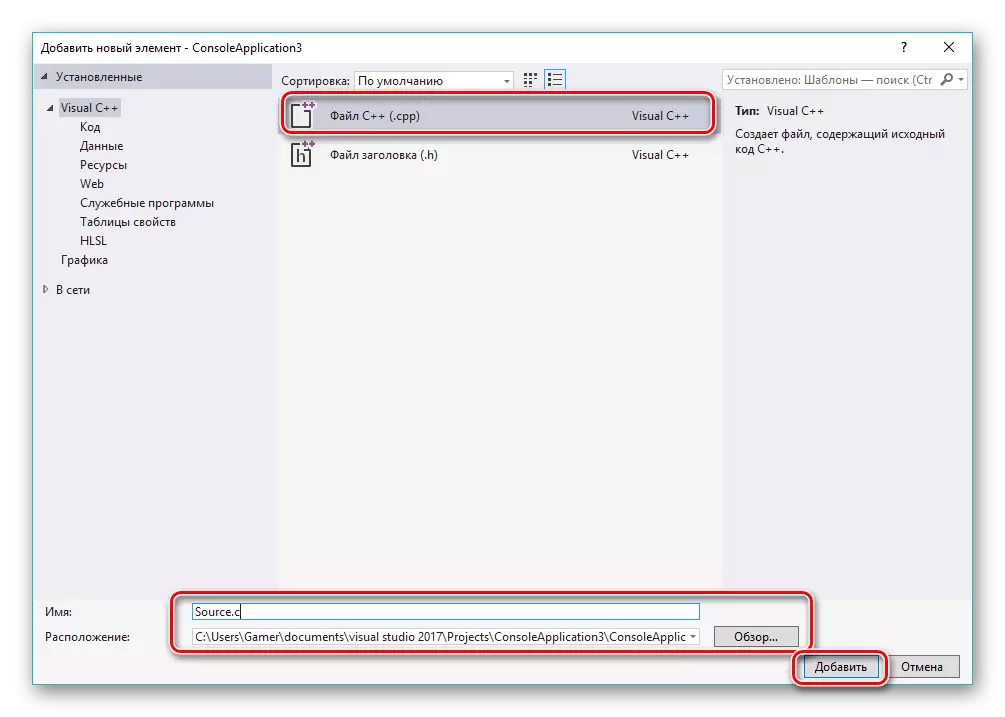
- In the "Add New Element" window that opens, select the "C ++ file" item. Next, we specify the name of the file of the future application code and its extension ".s". To change the storage folder, click on the "Overview".
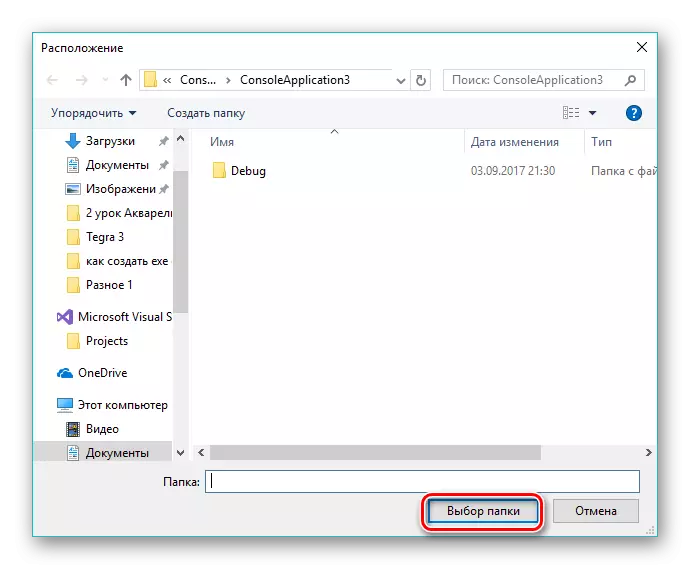
- A browser opens, in which we specify the location and click on the "folder".
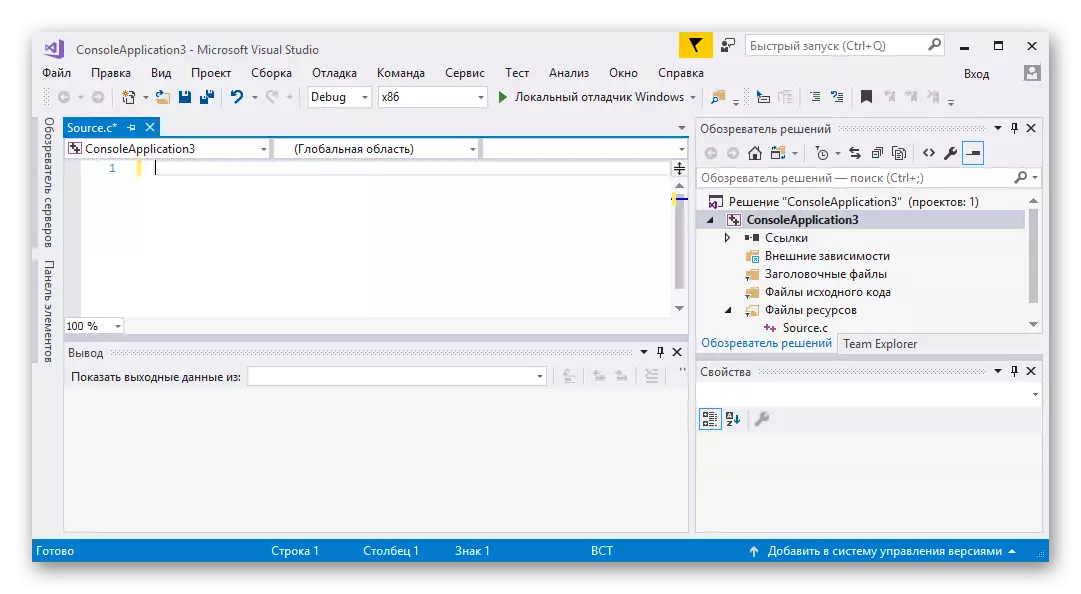
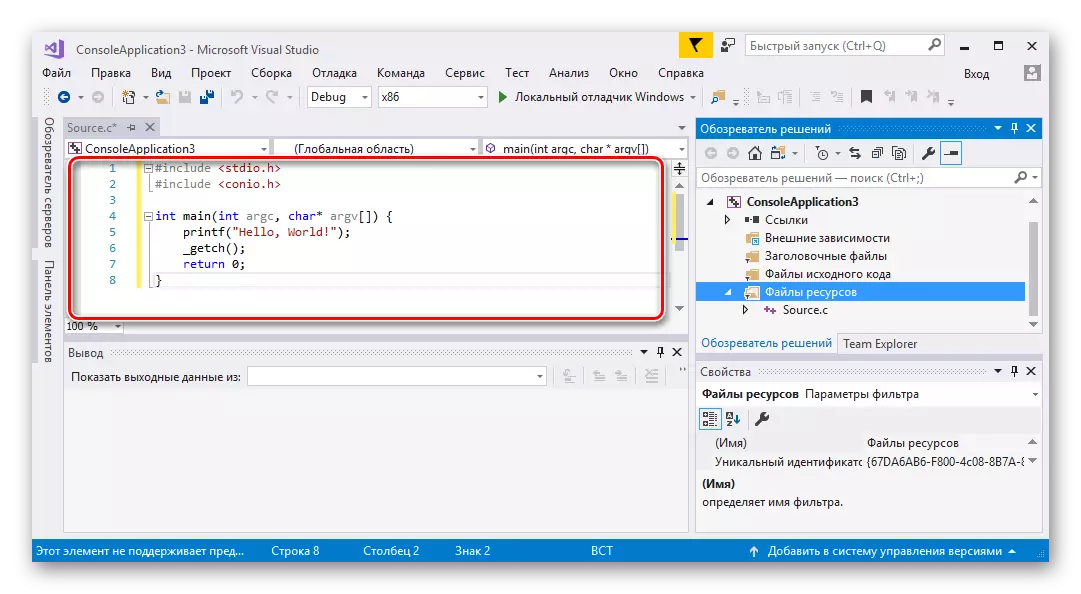
- As a result, a tab with the "Source.c" title appears, in which the code set and editing code text occurs.
- Next, you need to copy the code of the code and insert the area to the image shown in the image. As an example, take the following:
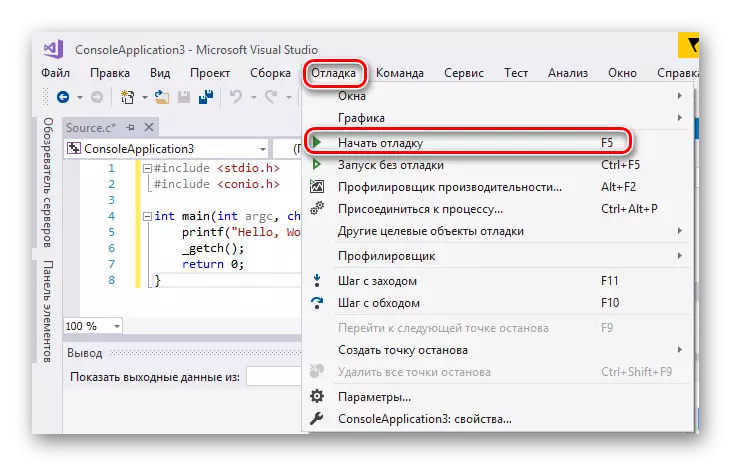
- To assemble the project, click on "Start debugging" on the debugging menu. You can simply press the "F5" key.
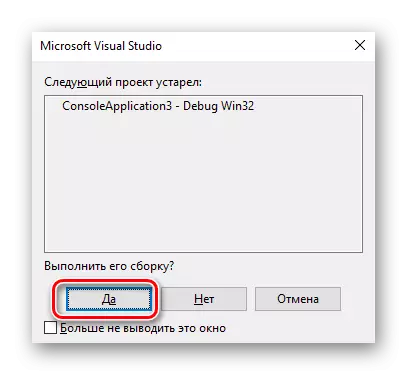
- After that, a notification is pushing, warning that the current project is outdated. Here you need to click on "yes."
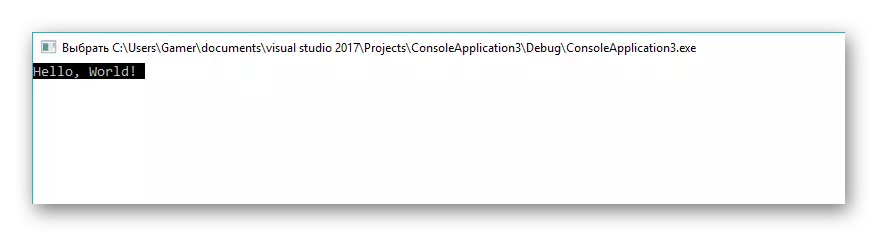
- Upon completion of the compilation, the application displays the console window in which "Hello, World!" Will be written.
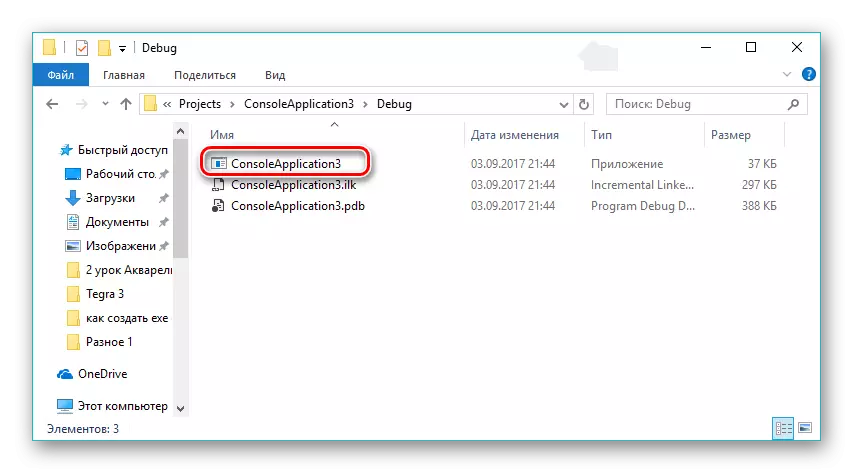
- The created file in EXE format can be viewed using Windows Explorer in the project folder.
#Include.
#Include.
Int Main (int argc, char * argv []) {
PrintF ("Hello, World!");
_Getch ();
Return 0;
}
Note: The code of code is higher is just an example. Instead, it is necessary to use your own code for creating a program in the language "Visual C ++".
Method 2: Installator
To automate the installation process, so-called installers are conquered in more and more widely popular. With their help, a software is created, the main task of which is to simplify the deployment process on the computer. Consider the process of creating an EXE file using the example of Smart Install Maker.
Download Smart Install Maker from the Official Site
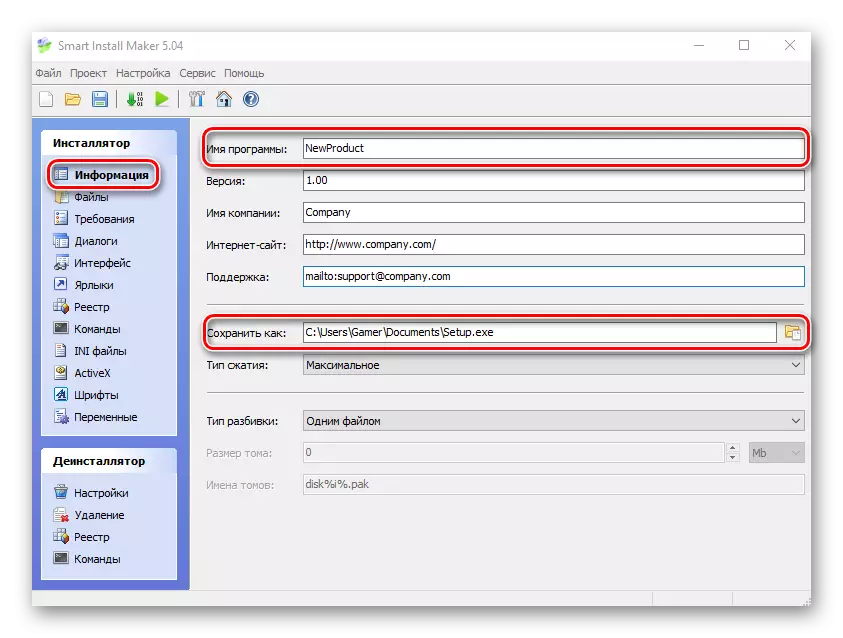
- Run the program and in the Information tab, edit the name of the future application. In the "Save As" field, click on the folder icon to determine the location where the output file will be saved.
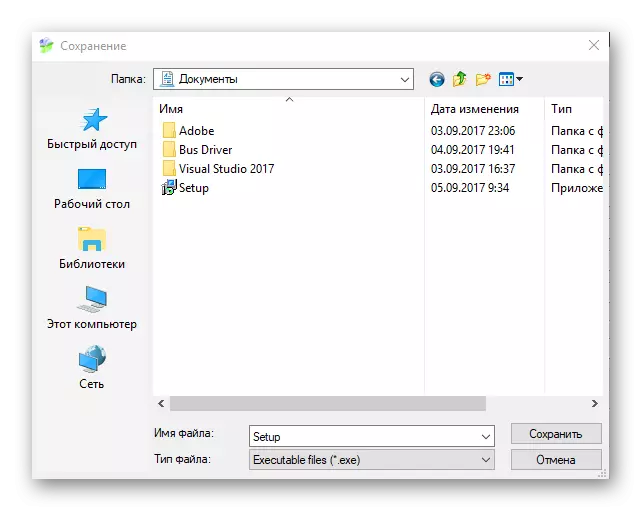
- A conductor opens, in which you choose the desired location and click "Save".
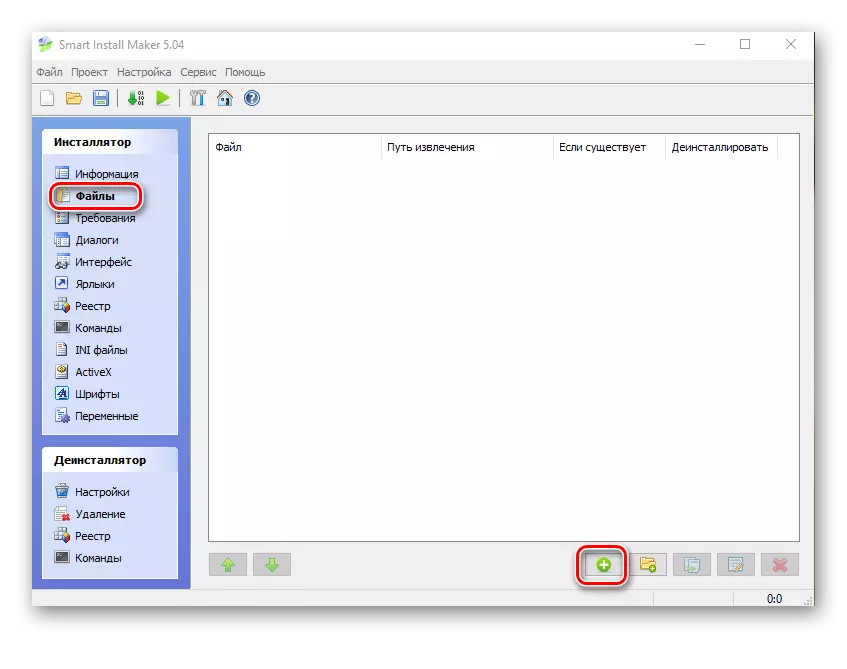
- Go to the "Files" tab, where you need to add files from which the package will be then assembled. This is done by pressing the "+" icon at the bottom of the interface. It is also possible to add a whole directory for which you need to click on the icon, which shows the folder with a plus.
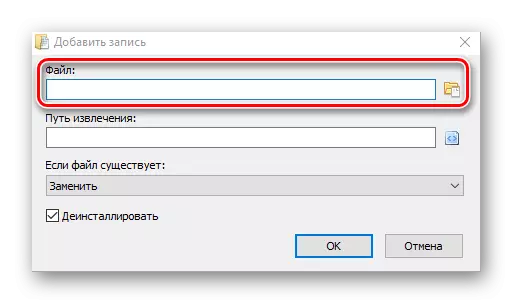
- Next opens the file selection window, where you need to click on the folder icon.
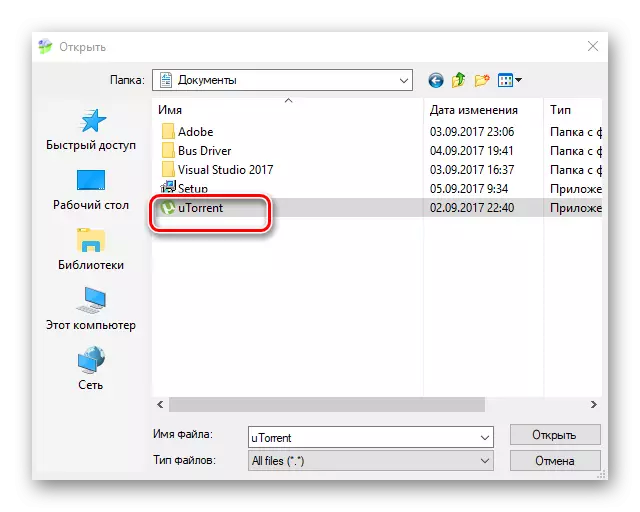
- In the observer opened, we indicate the necessary application (in our case, this is "torrent", you can have any other) and click on "open".
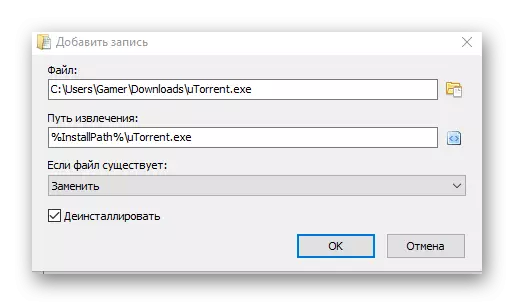
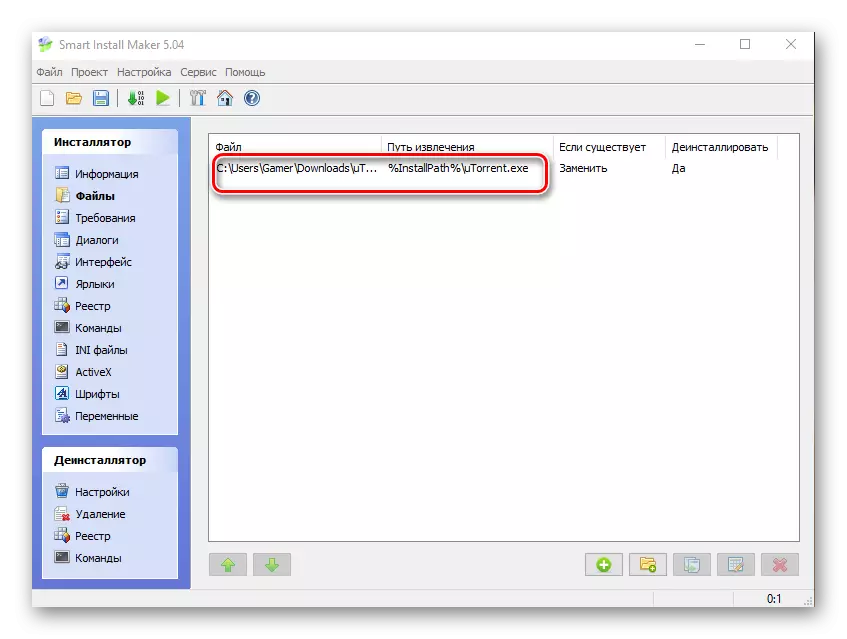
- As a result, the "Add Record" window displays a file with an indication of its location path. The remaining options are left by default and click "OK".
- The procedure for adding an initial object to the application and in a special scope of the software appears the corresponding entry.
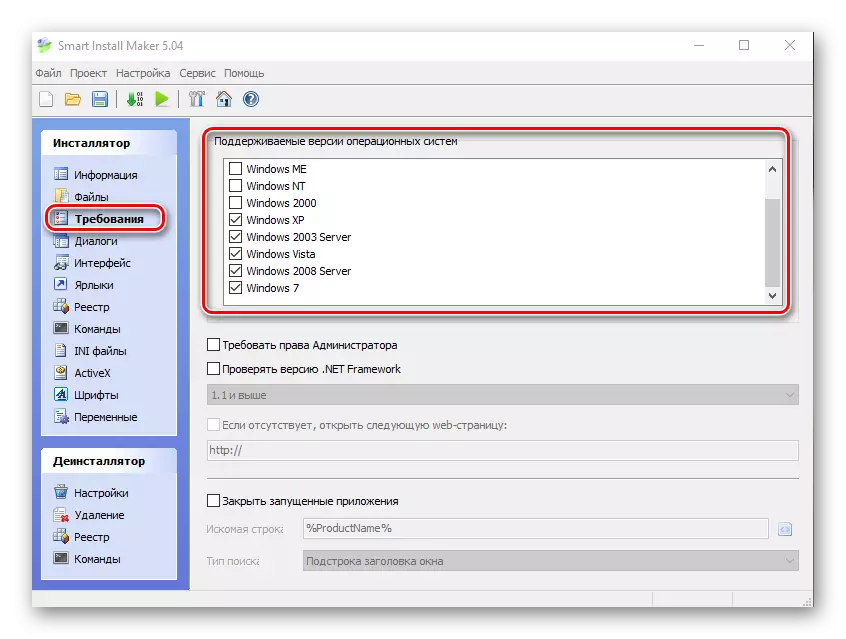
- Next, click "Requirements" and the tab opens where you need to mark a list of supported operating systems. Leave the checkmarks on the Windows XP fields and everything that is lower below it. On all other fields, we leave the recommended values.
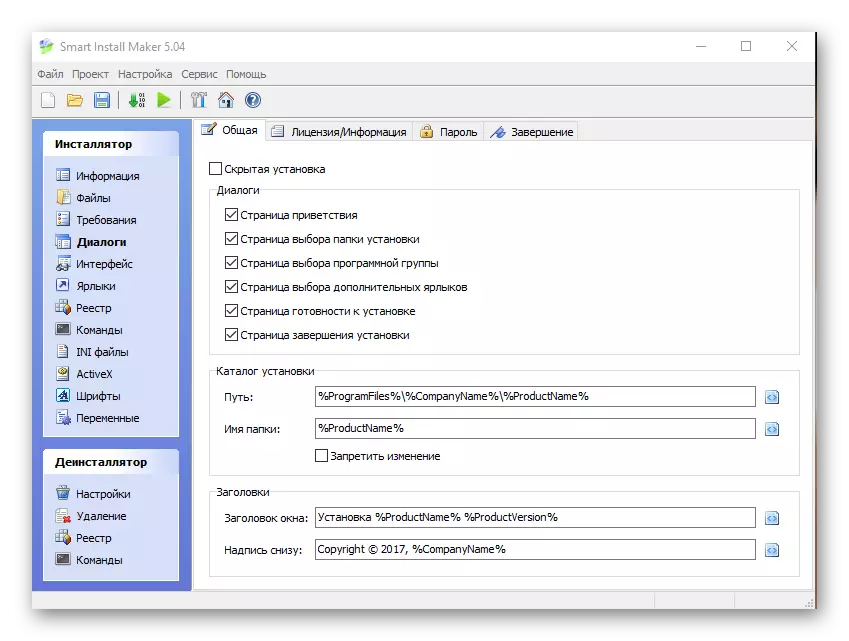
- Then open the "Dialogues" tab by clicking on the appropriate inscription in the left part of the interface. We leave everything here by default. In order for the installation to take place in the background, you can set a tick in the "Hidden Installation" field.
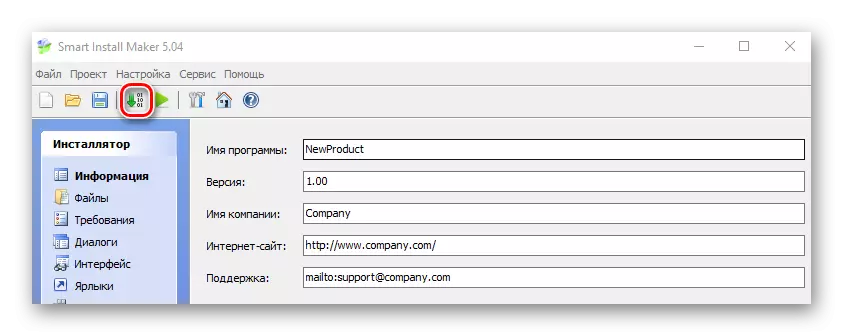
- At the end of all settings, we start the compilation by clicking on the down arrow icon.
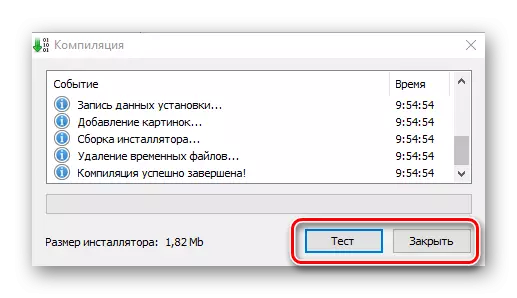
- This process occurs and its current status is displayed in the window. Upon completion of the compilation, you can test the created package or close the window at all by clicking the appropriate buttons.
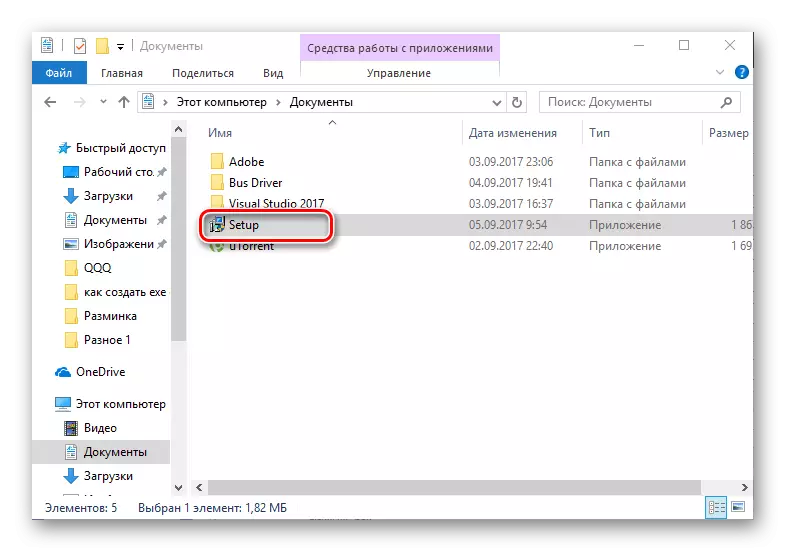
- Compiled software can be found using Windows Explorer in the folder that was specified when setting up.
Thus, in this article, we found out that the EXE file can be created both using specialized programs for program development, such as Visual Studio Community and special installers, for example, Smart Install Maker.