

The purpose of any presentation is to report the desired information of a specific audience. Thanks to special software, you can group the material into slides and present them to interested people. If you have problems with the operation of special programs, online services for the creation of such presentations come to the rescue. The options presented in the article are completely free and have already been checked by users from all over the Internet.
Create a presentation online
Online services with a functionality to create a presentation are less demanding than full-fledged software. At the same time, they have a large set of tools and will definitely solve the task of creating simple slides.Method 1: PowerPoint Online
This is probably the most popular way to create a presentation without software. Microsoft has taken care of the maximum similarity of the PowerPoint program with this online service. ONEDRIVE allows you to synchronize with the computer used in the image and refine presentations in full-fledged Paverpoint. All saved data will be stored in this cloud server.
Go to the service PowerPoint Online
- After switching to the site, the menu of selecting the finished template opens. Choose your favorite version and click on it with the left mouse button.
- Select the Insert tab. Here you can add new slides to edit and insert objects into the presentation.
- Add the required number of new slides by clicking on the "Add Slide" button in the same tab.
- Select the structure of the added slide and confirm the addition of clicking on the Add Slide button.
- Fill out the slides with the necessary information and make a way you need.
- Before saving, we recommend viewing the finished presentation. Of course, you can be confident in the contents of the slides, but in the preview you can look at the applied transition effects between pages. Open the View tab and change the edit mode to the "read mode".
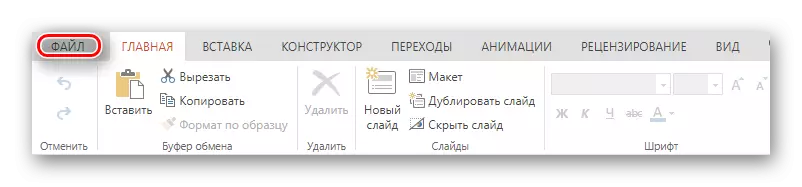
- To save the finished presentation, enter the "File" tab on the top control panel.
- Click on "Download How" and select one appropriate file download option.

The control panel appears on which the tools for working with the presentation are located. It is similar to the one that is built into a full-fledged program, and has about the same functionality.


If you wish, you can decorate the presentation using images, illustrations and figures. Information can be added using the "Inscription" tool and organize in the table.


All added slides are displayed in the left column. Their editing is possible when one of them is selected by pressing the left mouse button.


In preview mode, you can run a slideshow or switch the slides of the arrow on the keyboard.


Method 2: Google Presentations
An excellent way to create presentations with the possibility of collective work on them, developed by Google. You have the ability to create and edit materials, convert them from Google format in PowerPoint and vice versa. Thanks to the support of Chromecast, the presentation can be represented on any screen without wires, using a mobile device based on Android or iOS.
Go to Google Presentation
- After the transition to the site immediately proceed to the case - create a new presentation. To do this, click on the "+" icon in the lower right corner of the screen.
- Change the name of your presentation by clicking on the Count "Presentation Untitled".
- Choose one ready-made template from the site represented in the right column. If none of the options like you, you can download your own topic by clicking on the "Import theme" button at the end of the list.
- You can add a new slide by going to the "Insert" tab, and then pressing the "New Slide" item.
- Open the preview to see the finished presentation. To do this, click the "Watch" button in the top toolbar.
- To save the finished material, you must go to the "File" tab, select the "Download How" item and set the appropriate format. There is the possibility of saving both the presentation in general and the current slide separately in a JPG or PNG format.


Already added slides can be selected, as in the previous method, in the left column.


What is noteworthy, this service makes it possible to view your presentation in this form, in which you will file its audience. In contrast to the previous service, the Google presentation opens the material to the entire screen and has additional tools to underline objects on the screen, for example, a laser pointer.


Method 3: Canva
This is an online service containing a huge amount of ready-made patterns to implement your creative ideas. In addition to presentations, you can create graphics for social networks, posters, backgrounds and graphic entries on Facebook and Instagram. Keep the created work on your computer or share them with your friends on the Internet. Even with the free use of the service, you have the ability to create a command and work on a project, exchanging ideas and files.
Go to the CANVA service
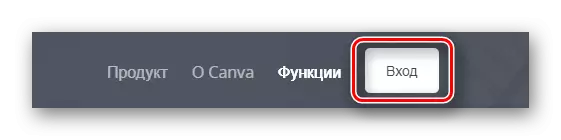
- Go to the site and click on the "Login" button on the right upper part of the page.
- Complete authorization. To do this, select one of the ways to quickly enter the site or create a new account by entering the email address.
- Create a new design by clicking on the Large "Create Design" button in the left menu.
- Select the type of future document. Since we are going to create a presentation, choose the appropriate tile with the title "Presentation".
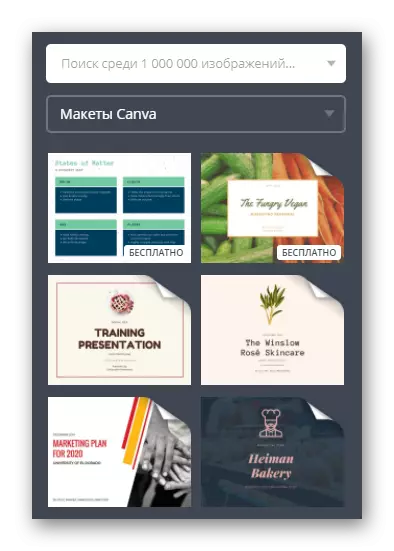
- You will be provided with a list of ready-made free templates for presentation. Choose your favorite, spray all possible options in the left column. When choosing one of the options, you can see how future pages will look like and that you can change.
- Change the contents of the presentation to your own. To do this, select one of the pages and edit it at your discretion, applying various parameters provided by the service.
- Adding a new slide to the presentation is possible by clicking on the "Add page" button below.
- When you finish working with the document, download it to the computer. To do this, in the top menu of the site, select "Download".
- Pick up the appropriate format of the future file, set the required checkboxes in other important parameters and confirm the download by clicking on the "Download" button at the bottom of the window that appears.


Method 4: Zoho Docs
This is a modern tool for creating presentations, combining the possibility of collective work on one project from different devices and a set of stylish ready-made patterns. This service allows you to create not only presentations, but also various documents, tables, and so on.
Go to the Zoho Docs service
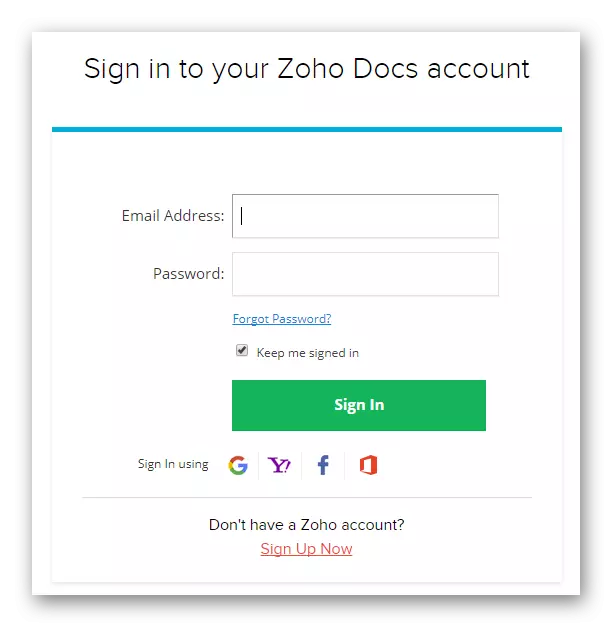
- To work on this service requires registration. To simplify, you can pass the authorization process using Google, Facebook, Office 365 and Yahoo.
- After successful authorization, proceed to work: Create a new document by clicking on "Create" in the left column, select the type of document - "Presentation".
- Enter a name for your presentation by specifying it in the appropriate window.
- Choose the appropriate design of the future document from the presented options.
- On the right you can see a description of the selected design, as well as tools for changing the font and the palette. Change the color gamut of the selected template, if you wish.
- Add the required number of slides using the "+ slide" button.
- Change the layout to each slide to suitable by opening the parameter menu, and then selecting the "Change Layout" item.
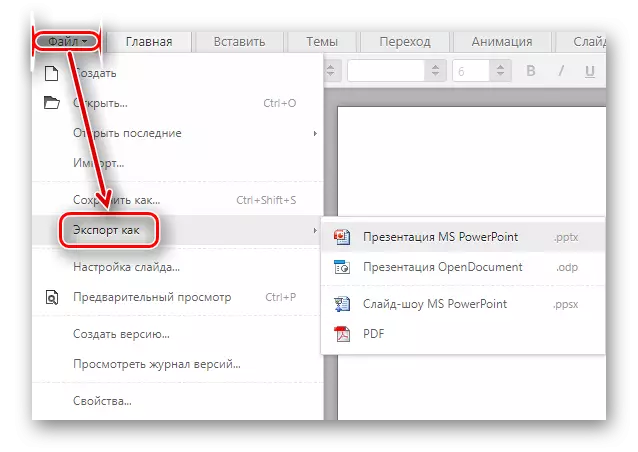
- To save the finished presentation, log in to the "File" tab, followed by to "Export OK" and select the file format that suits you.
- Included, enter the name of the downloadable file with the presentation.


We reviewed the four best online services to create presentations. Some of them, for example, PowerPoint Online, are only a bit inferior to their software versions in the list of opportunities. In general, these sites are very useful and even have advantages over full-fledged programs: the possibility of collective work, synchronization of files with a cloud and a lot of others.