The application is supported by Windows 7 and newer versions of the system. There is also a version under MacOS for which the identical procedure is relevant.
Important! You can use the service for free while the store volume does not exceed 15 GB - after that it will be necessary to free up space, deleting unnecessary files, or purchase a Google One subscription.
- Open the Google Drive website on the link above. Press the side menu disclosure button.
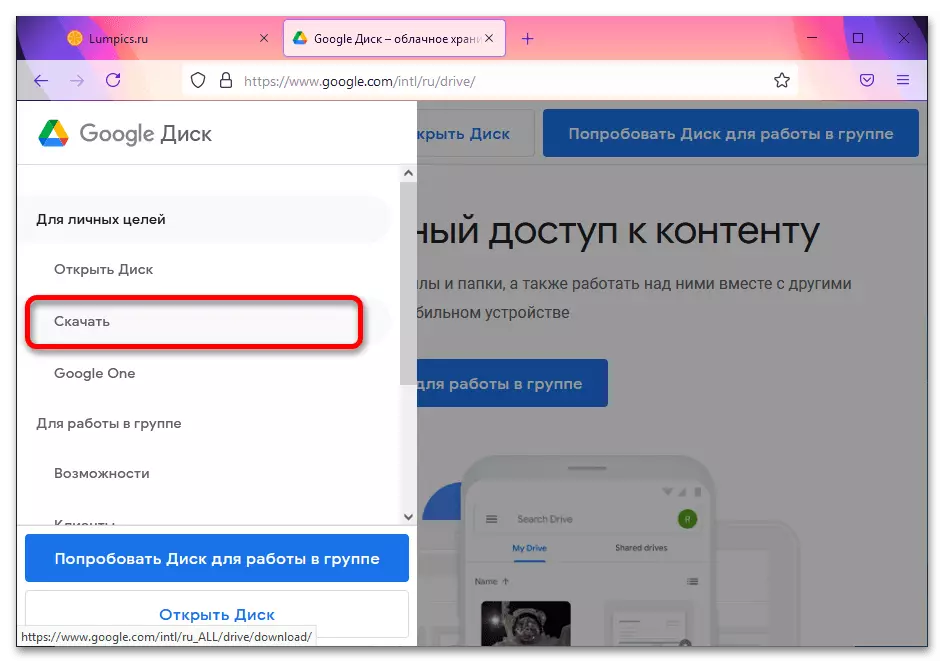
- Click "Download".
See also: How to use Google disk
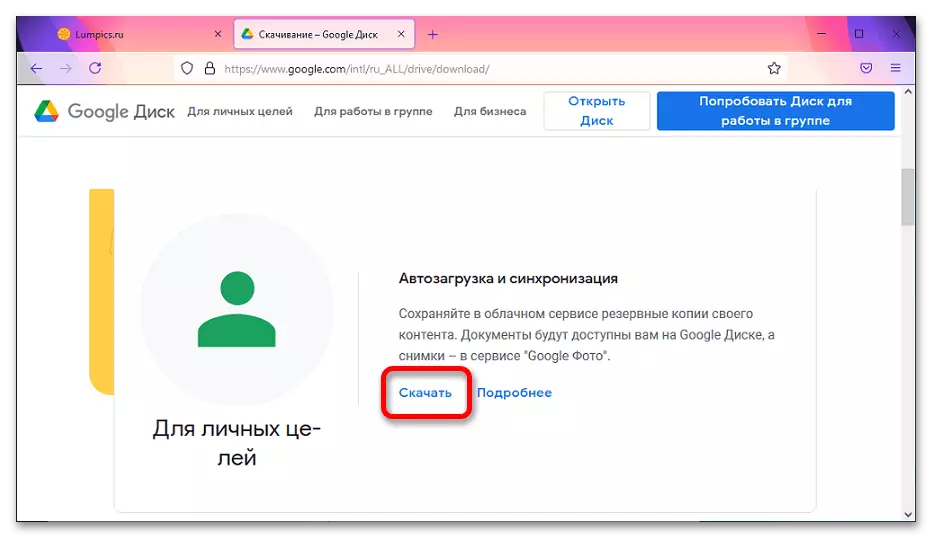
- Scroll through the page to the "Autode and Synchronization" section, then click "Download".
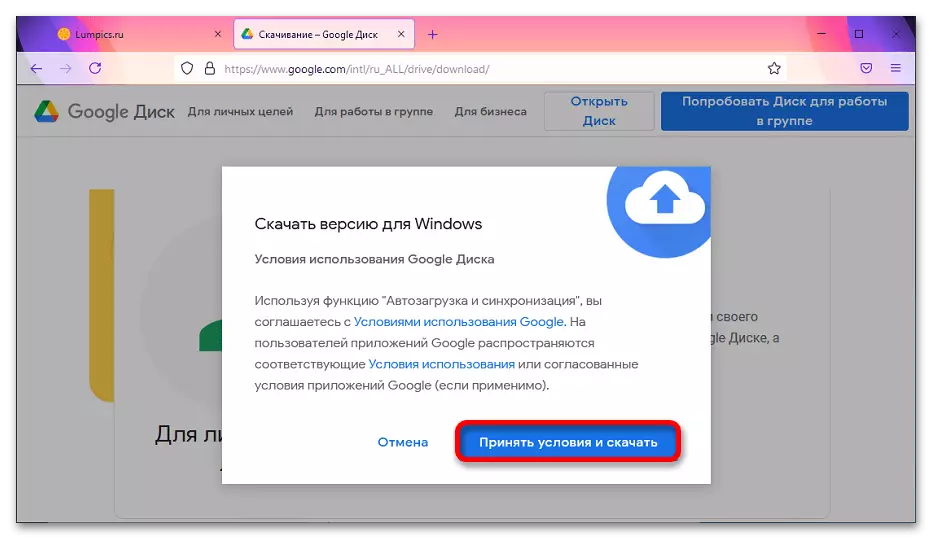
- Click "Take Conditions and Download".
- There will be a browser window selection window. Click "Save File".
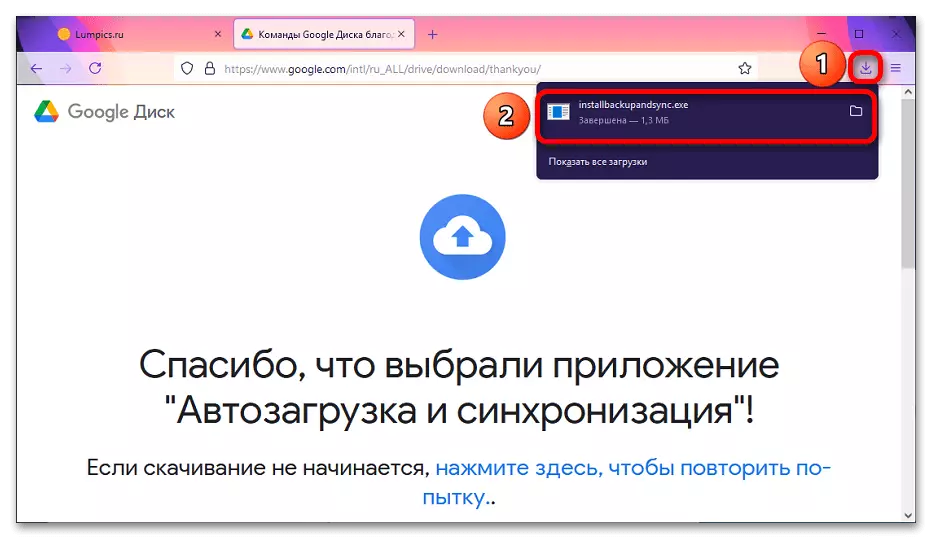
- Open the downloaded files panel and click on Google's program name.
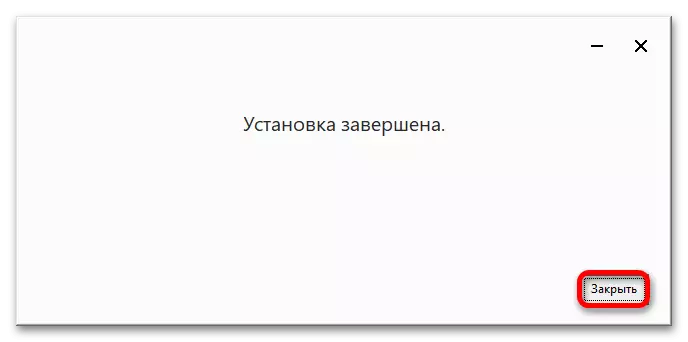
- Installation will be started, during which it is not necessary to do anything - only wait, when the procedure is completed, then click "close".
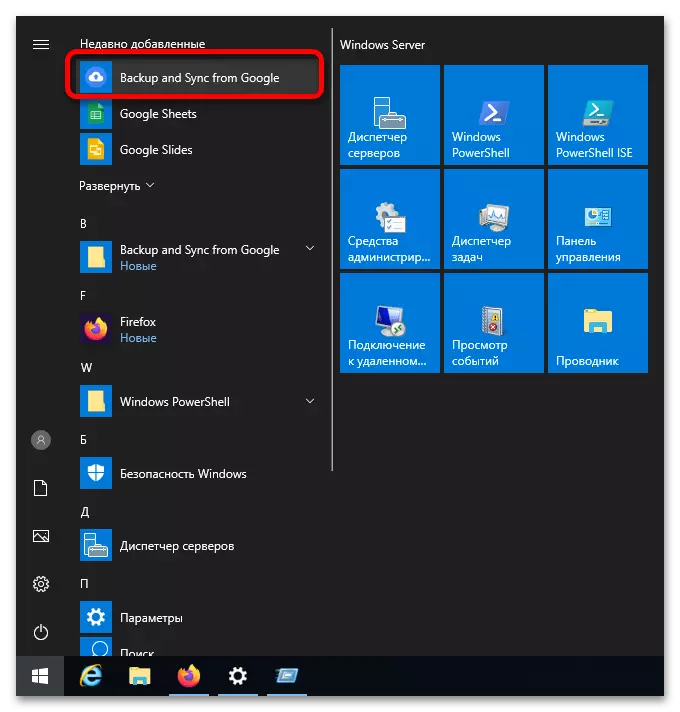
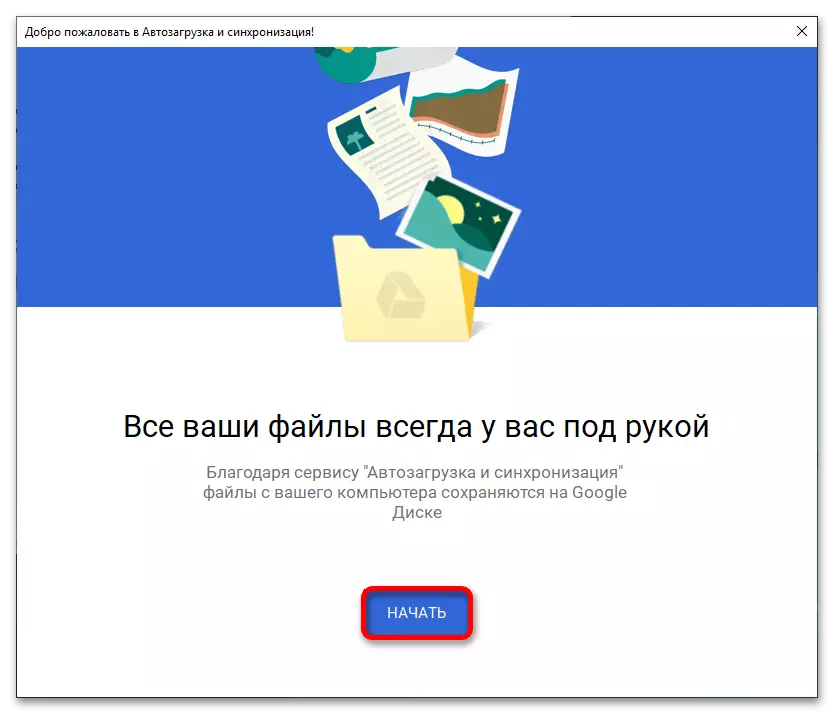
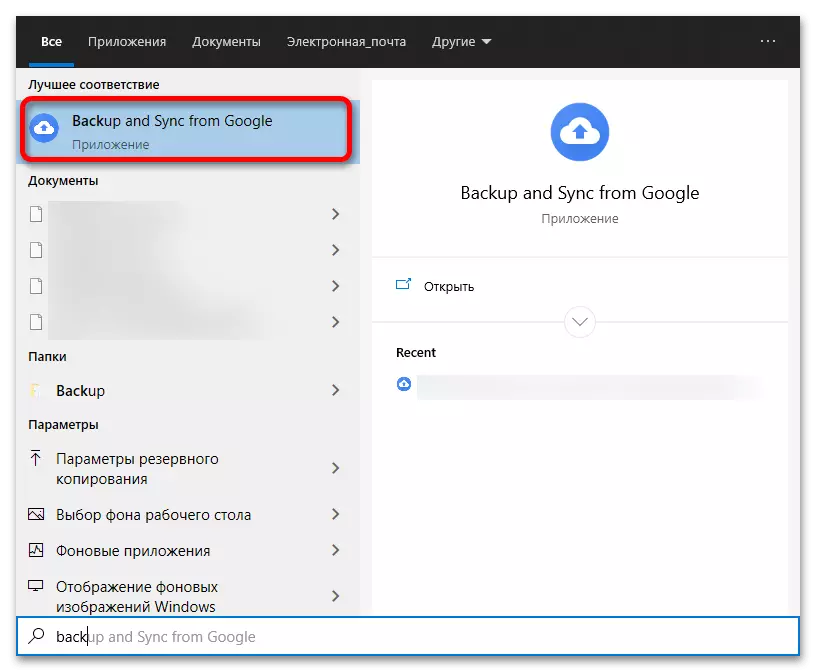
- Open the Start menu and click "Backup and Sync from Google" under the inscription "Recently added".
- Click "Start".
- Specify the username (email or phone number), as well as a password from the account. Click "Next", after which the program will offer to establish the basic settings: the corresponding windows will open automatically in subsequent steps.
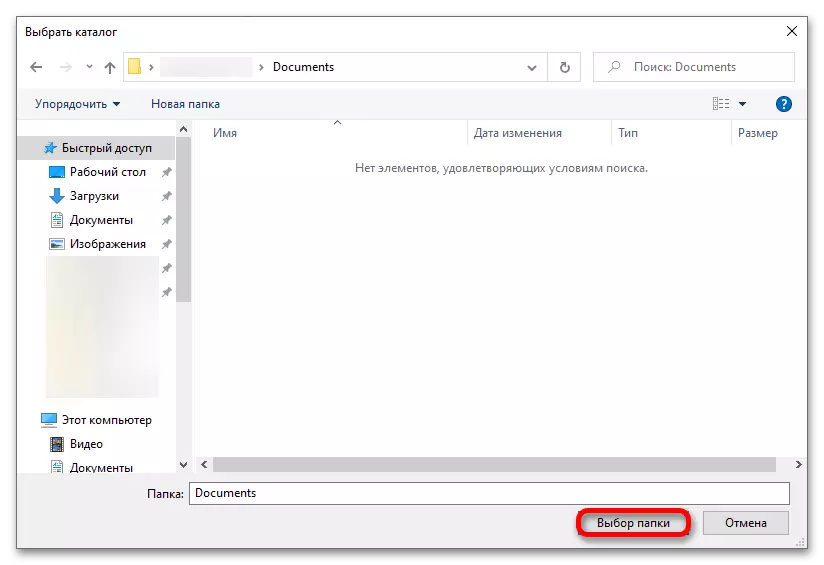
- Click "Select a folder."
- Navigate to the location directory, whose contents need to be synchronized with the cloud, and use the "Folder" button.
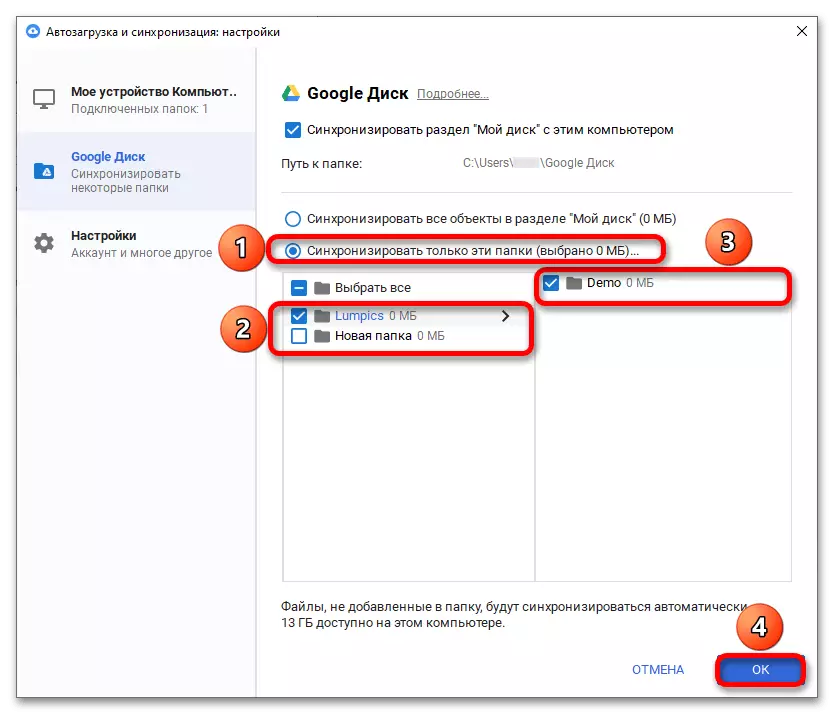
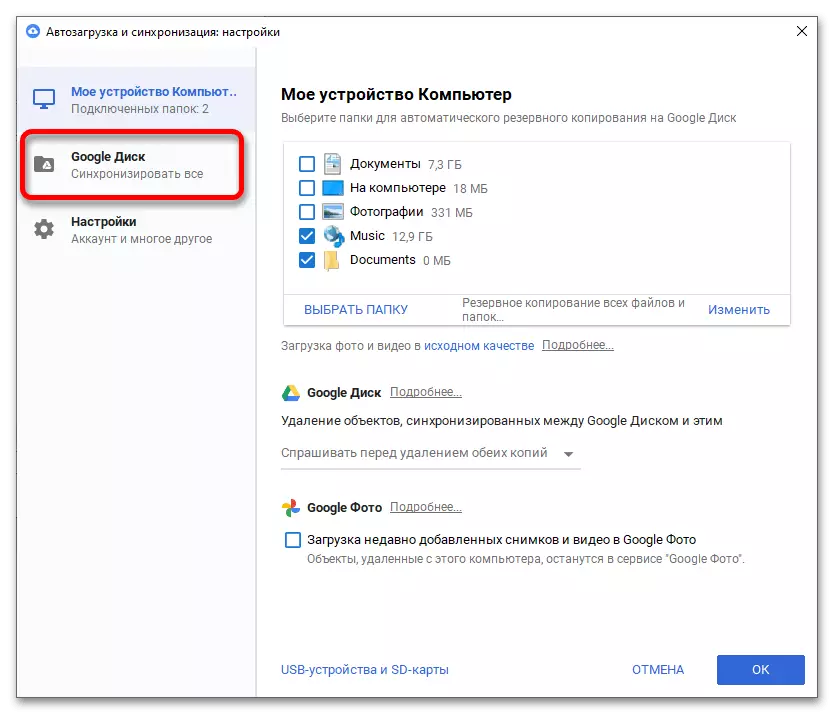
- Open the Google Disc section.
Read also: programs for synchronizing files and folders
- If only certain directories from Google Drive are loaded to the computer, select "Synchronize only these folders" and check them with flags. You can put or remove checkboxes and for directories that are inside other folders using the panel to the right of the main one. Complete, clicking "OK".
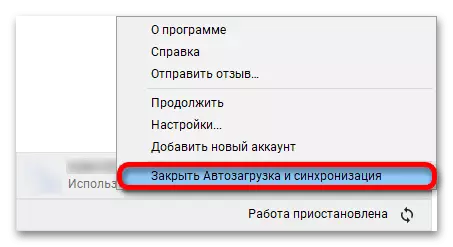
- You can also move the folder generated by Google Drive by default anywhere. To do this, first need to first click the application icon in the tray and then the button with three dots.
- Exit the program by clicking "Close Startup and Synchronization".
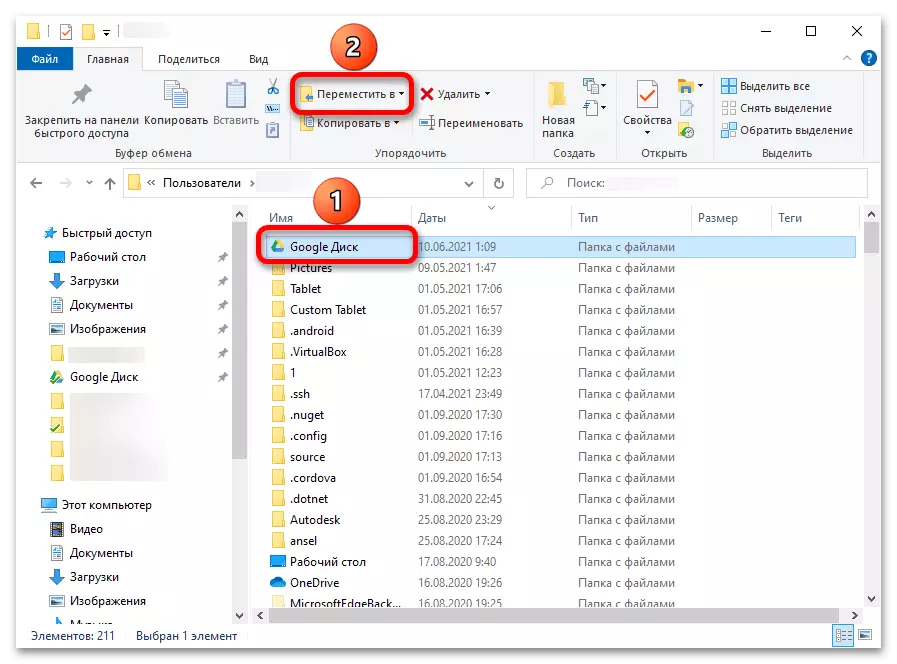
- Through the file manager, go to the folder of my account, highlight the "Google Disk" and click "Move to ...".
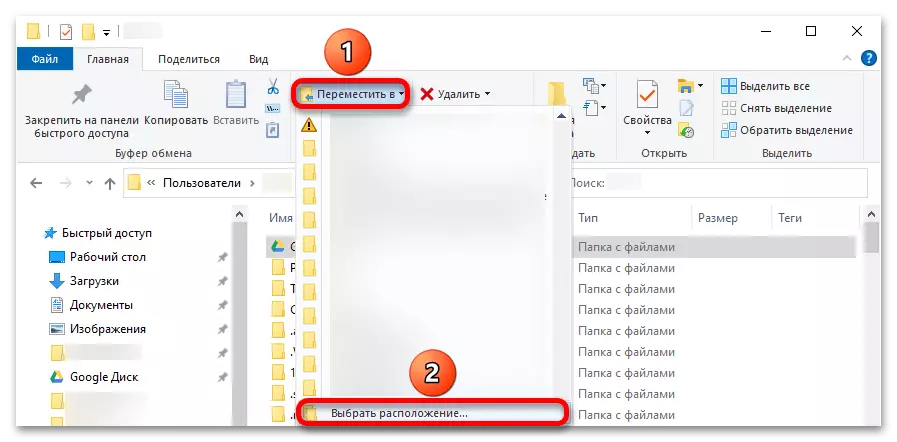
- Select a directory. If it is not in the list of the proposed, click "Select Location ...".
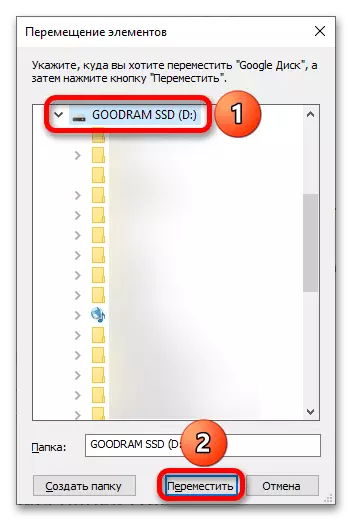
- Specify where the google disk files should be, click "Move".
- Run the program (for example, through the Start or Search menu).
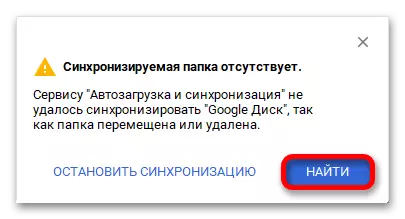
- A warning window will automatically appear in the lower right corner of the screen. Click "Find".
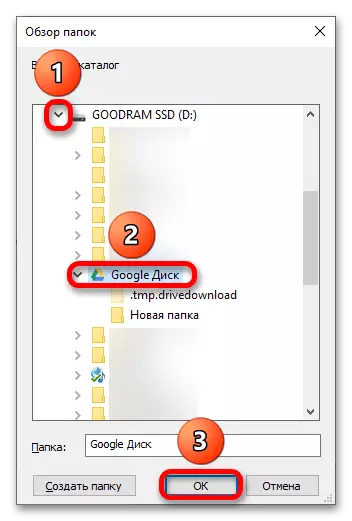
- Check where the recently displaced folder is now. Click OK.
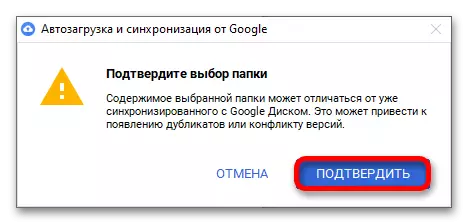
- In the next window, click "Confirm" to save the changes.
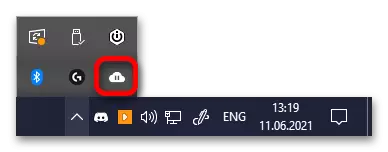
- To return to the settings in the future, it is enough to press the application icon in the system tray. On the icon, you can also understand whether synchronization ended or it is paused or in the process.
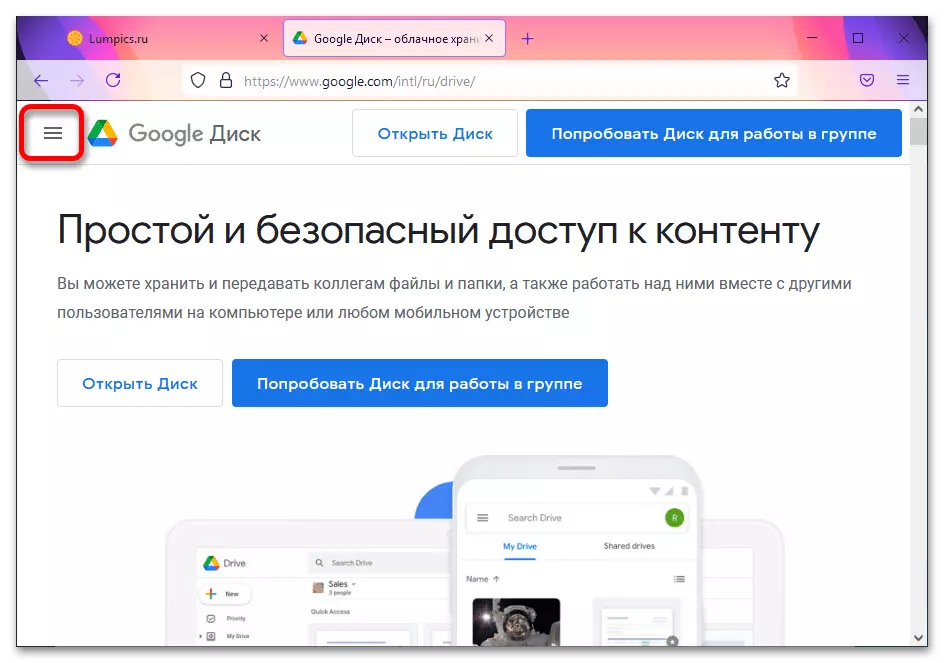
Important! This section is displayed depending on the screen resolution. If the download button is not visible, you should open a browser in full screen mode.