
Sometimes the PC users are sharply asked how to create a virtual hard disk or CD-ROM. We study the procedure for performing these tasks in Windows 7.
Lesson: how to create and use a virtual hard drive
Ways to create a virtual disk
Methods for creating a virtual disk, first of all, depend on what option you wish to obtain as a result: the image of the hard medium or CD / DVD. As a rule, the rigid drive files have the VHD extension, and ISO images are used to mount CD or DVD. In order to implement these operations, you can use the built-in Windows tools or contact third-party help.Method 1: Daemon Tools Ultra
First of all, consider the creation of a virtual hard disk using a third-party program to work with drives - Daemon Tools Ultra.
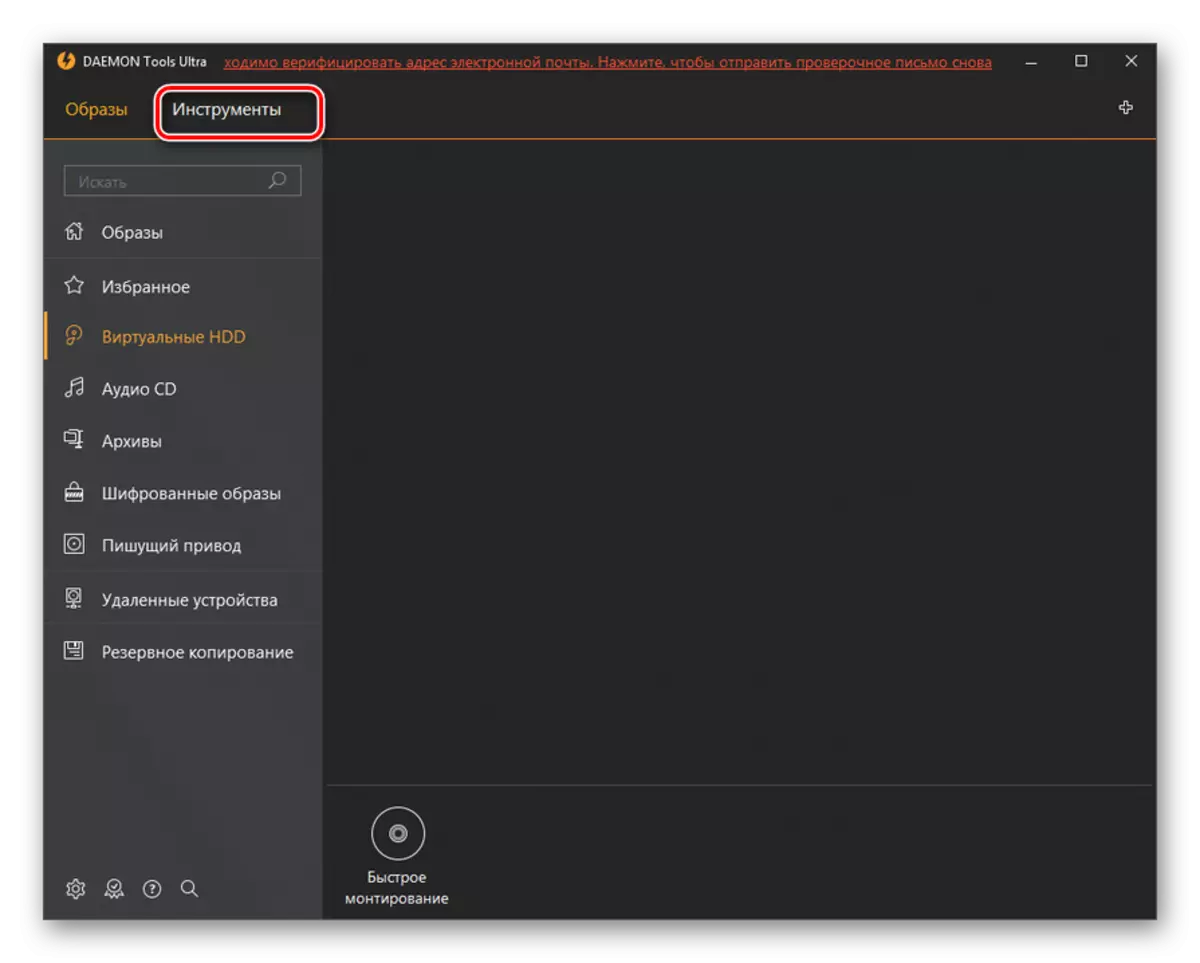
- Run the application with administrator rights. Go to the "Tools" tab.
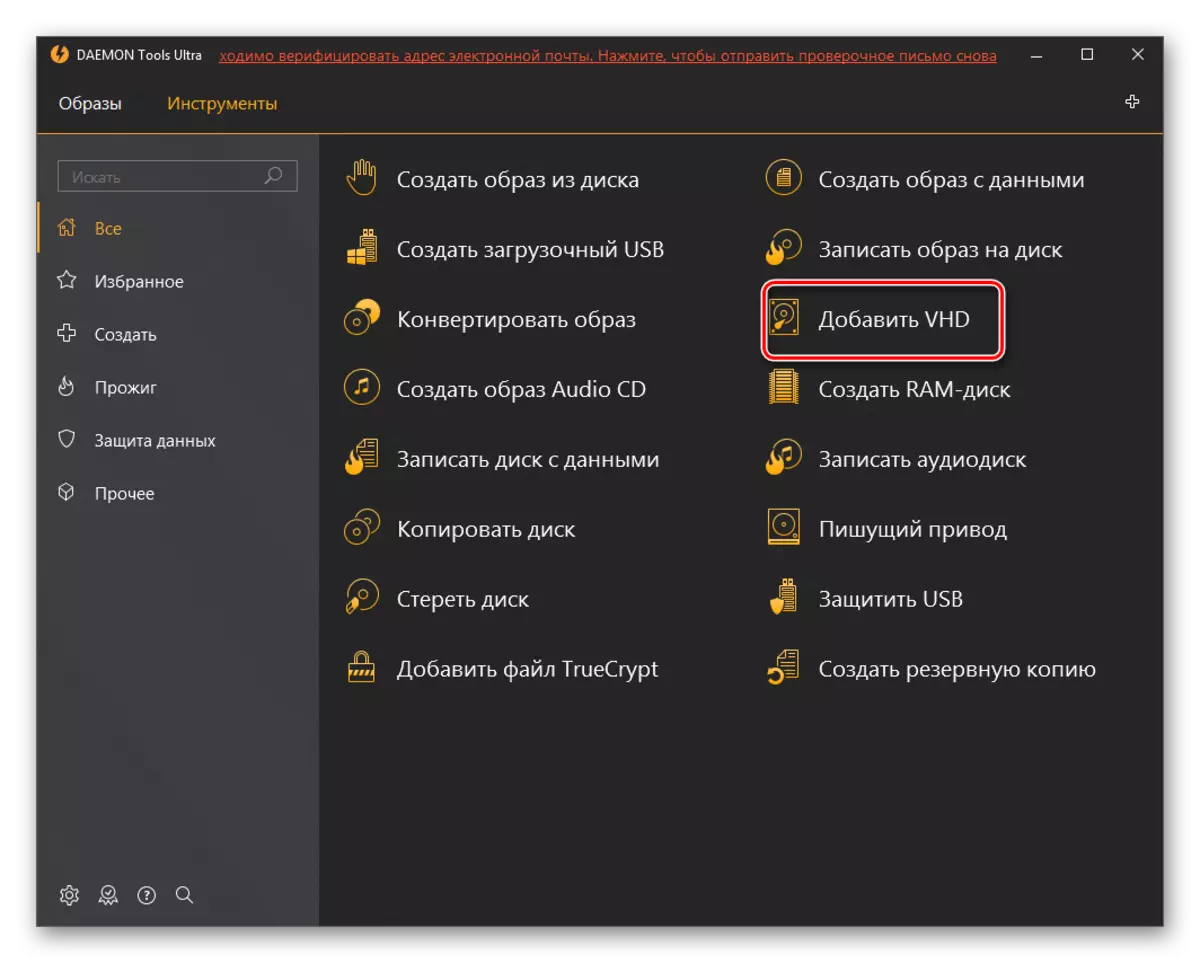
- A list of the list of available program tools opens. Choose "Add VHD".
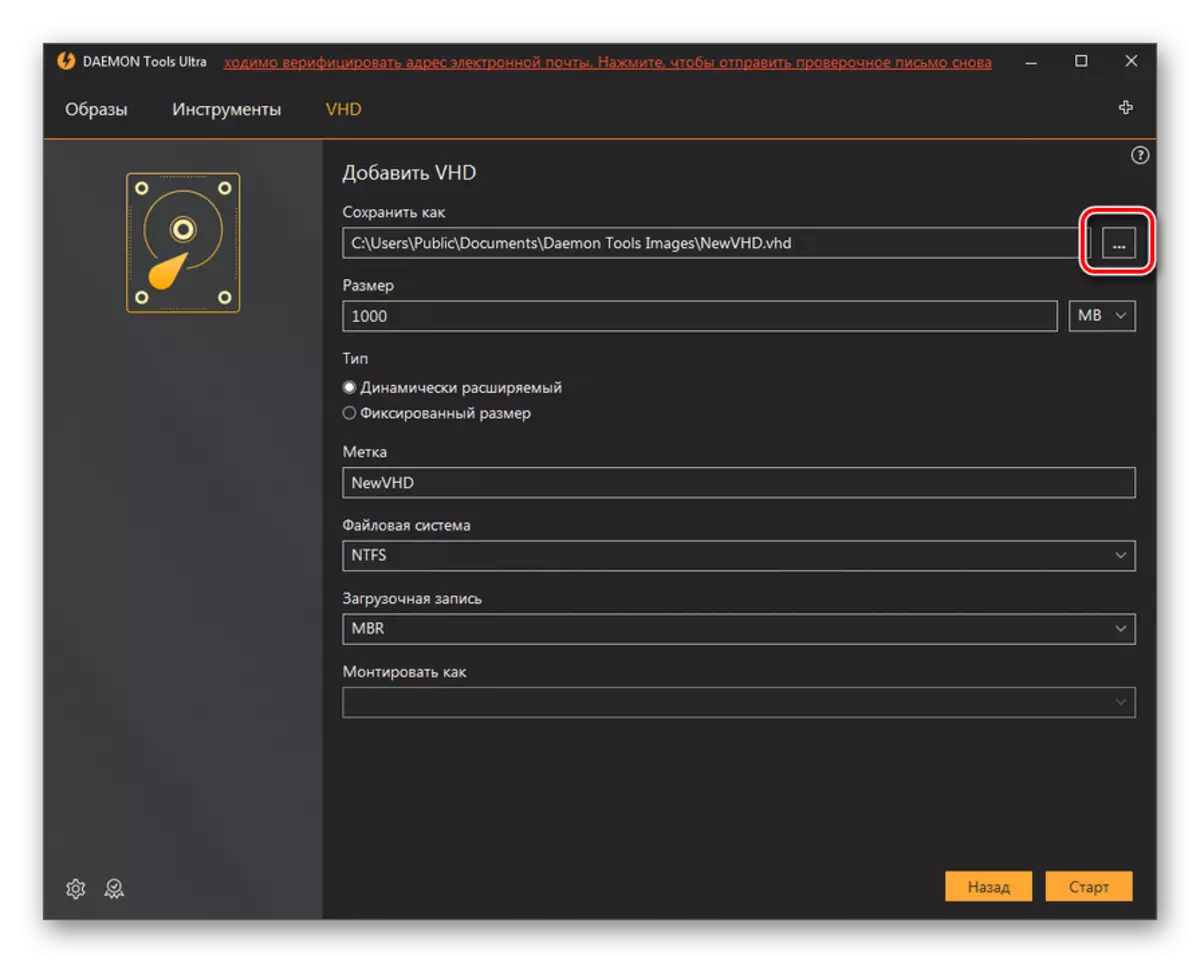
- A VHD add window opens, that is, creating a conditional hard medium. First of all, you need to register the directory where this object will be placed. To do this, click on the button to the right of the "Save As" field.
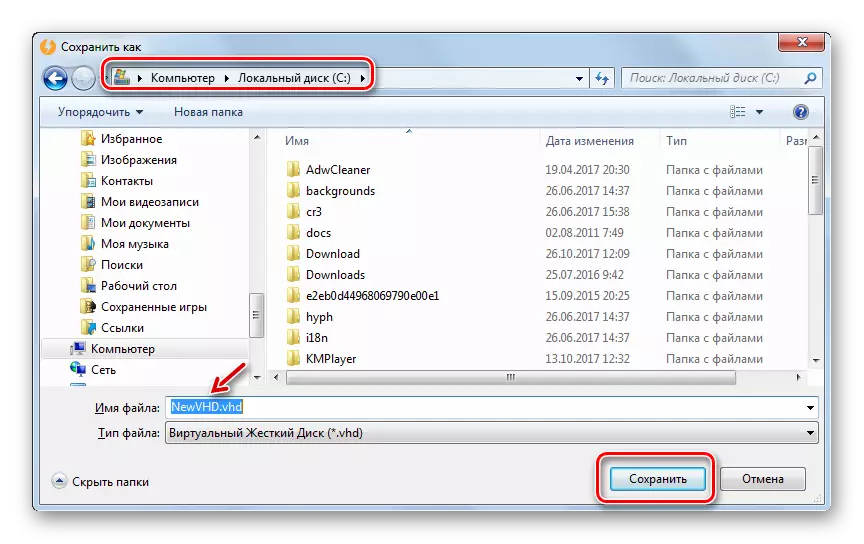
- Opens the save window. Log in it to the directory where you want to locate a virtual drive. In the File Name field, you can change the name of the object. By default, this is "NewVHD". Next click "Save".
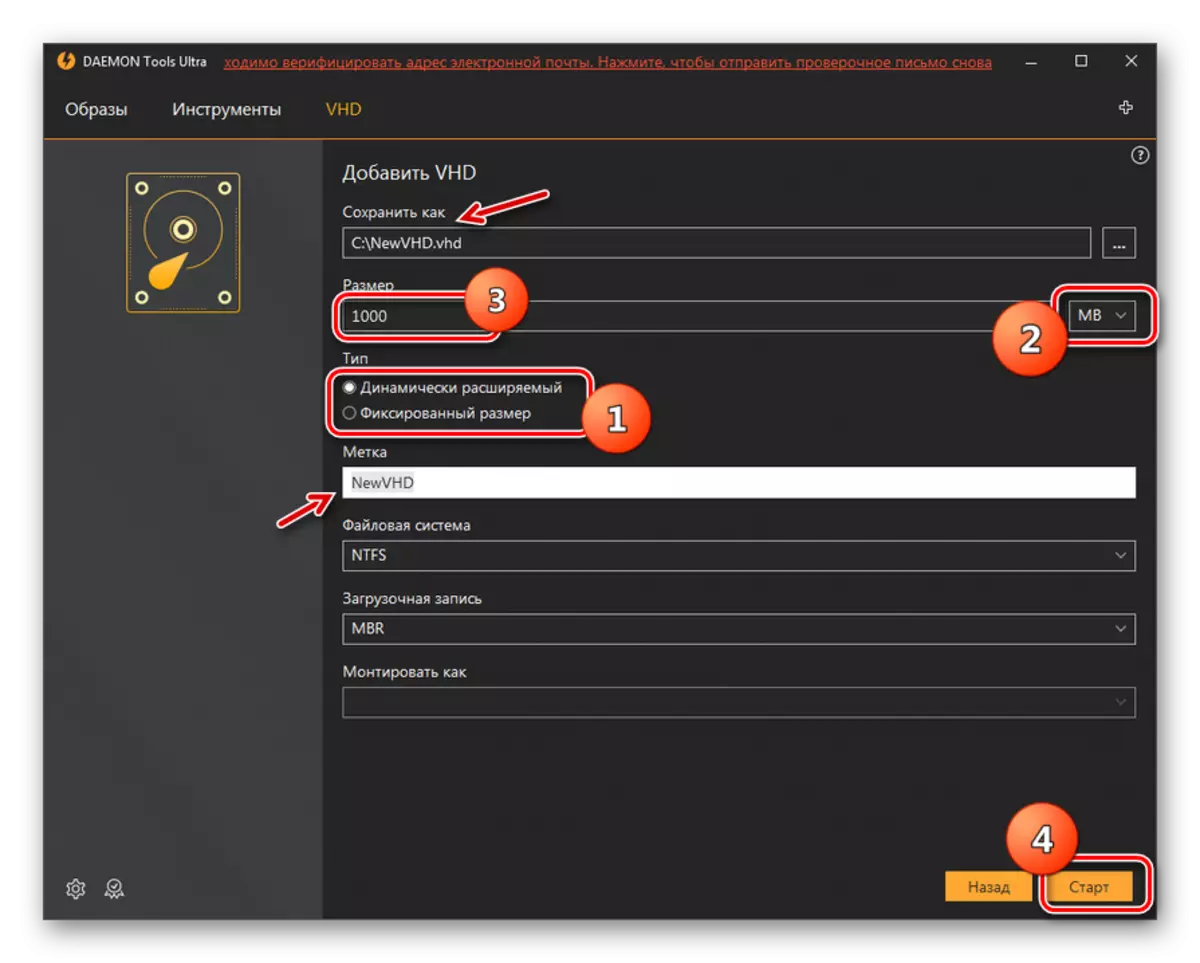
- As you can see, the selected path is now displayed in the "Save As" field in the shell of the Daemon Tools Ultra program. Now you need to specify the size of the object. To do this, by switching the radio channel, set one of two types:
- Fixed size;
- Dynamic extension.
In the first case, the volume of the disk will be accurately given by you, and when the second item is selected as the object is filling, it will expand. The actual limit will be the size of the empty place in the area of the HDD, where the VHD file will be placed. But even when choosing this option, you still need to install the initial volume in the Size field. Just the number fits, and the unit unit is selected to the right of the field in the drop-down list. The following units of measurement are available:
- Megabytes (default);
- gigabytes;
- Terabytes.
Attentively, take care of the choice of the desired item, because when an error, the difference in size in comparison with the desired volume will be much more or less. Next, if necessary, you can change the name of the disk in the "Tag" field. But this is not a prerequisite. By producing the actions described, to start the formation of the VHD file, press "Start".
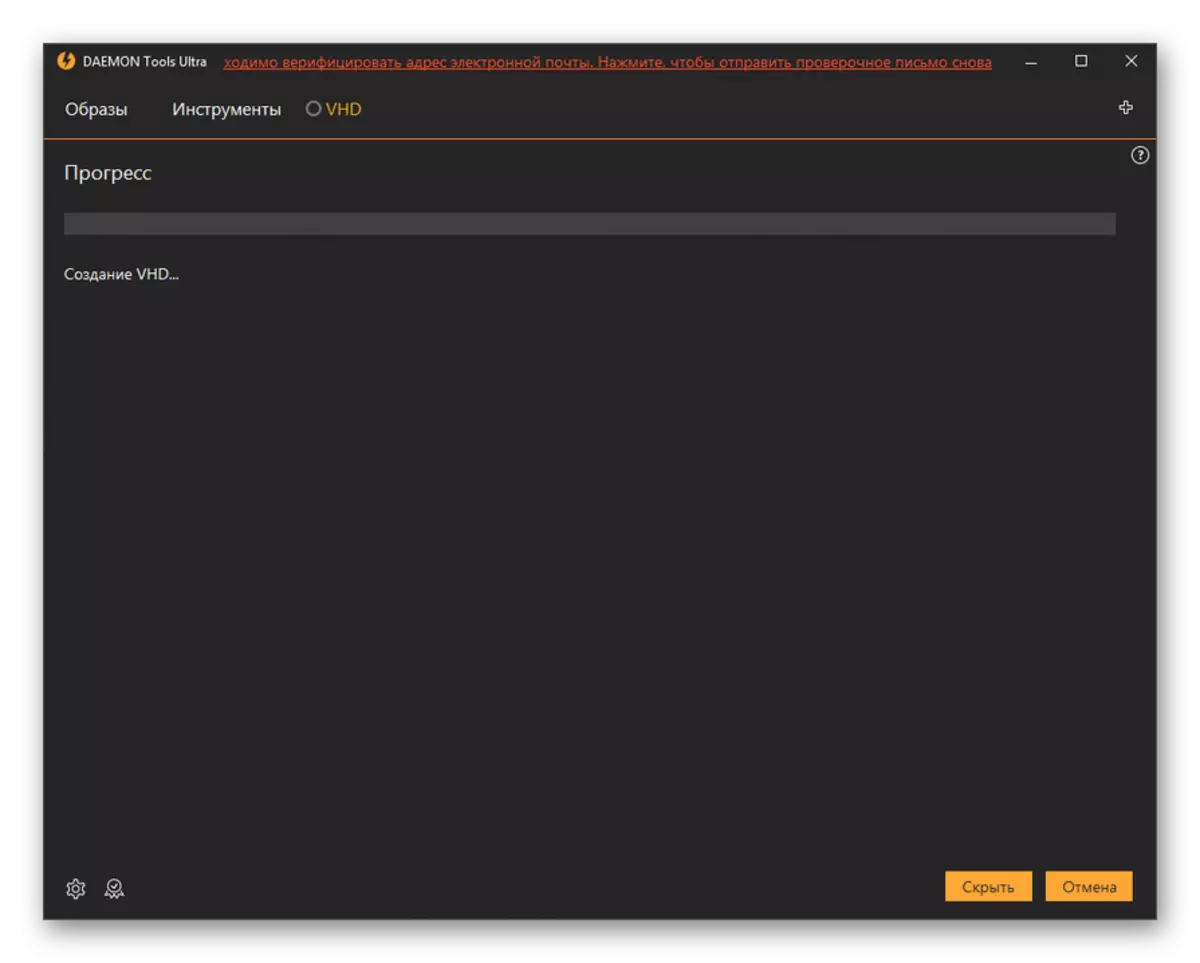
- The process of forming a VHD file is performed. Its speaker is displayed using the indicator.
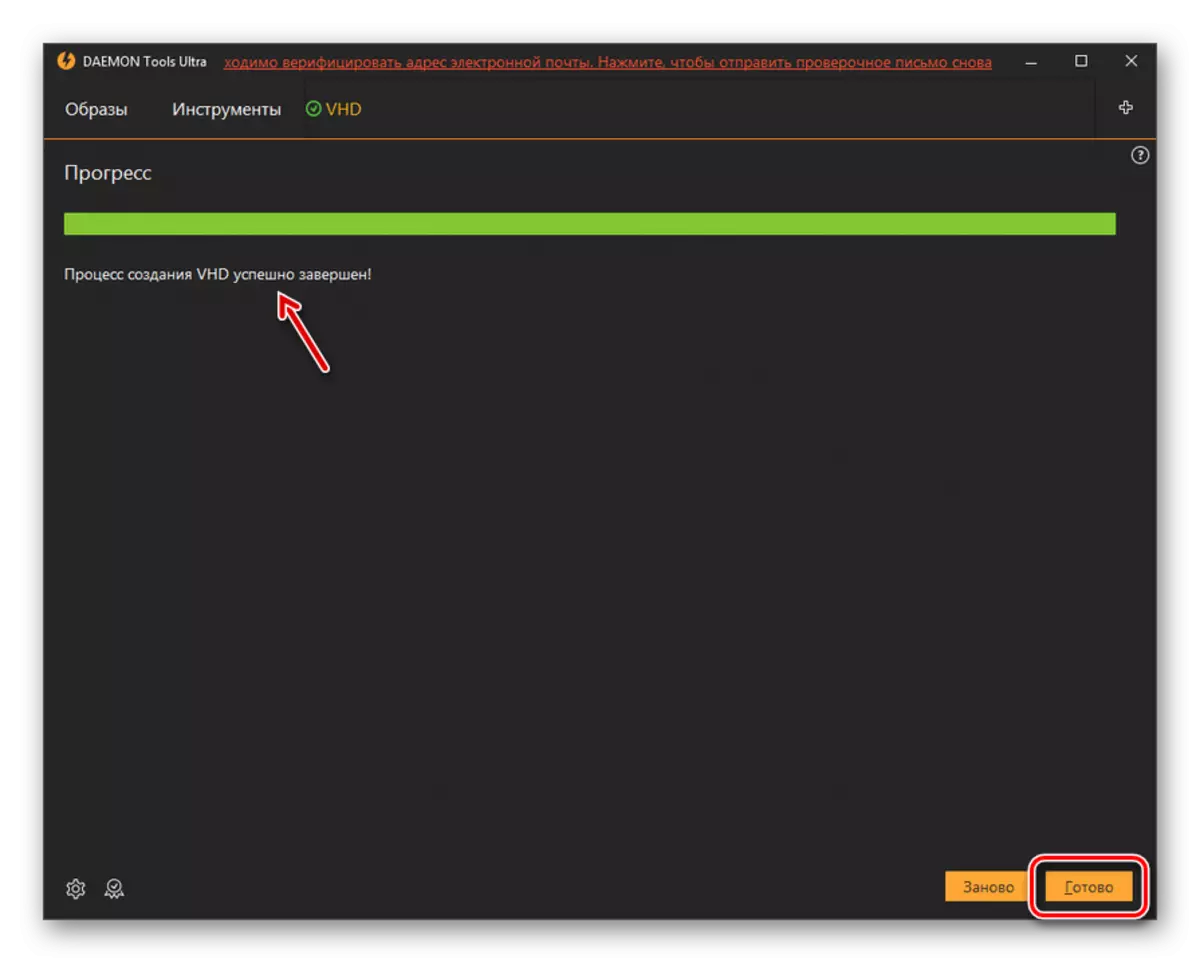
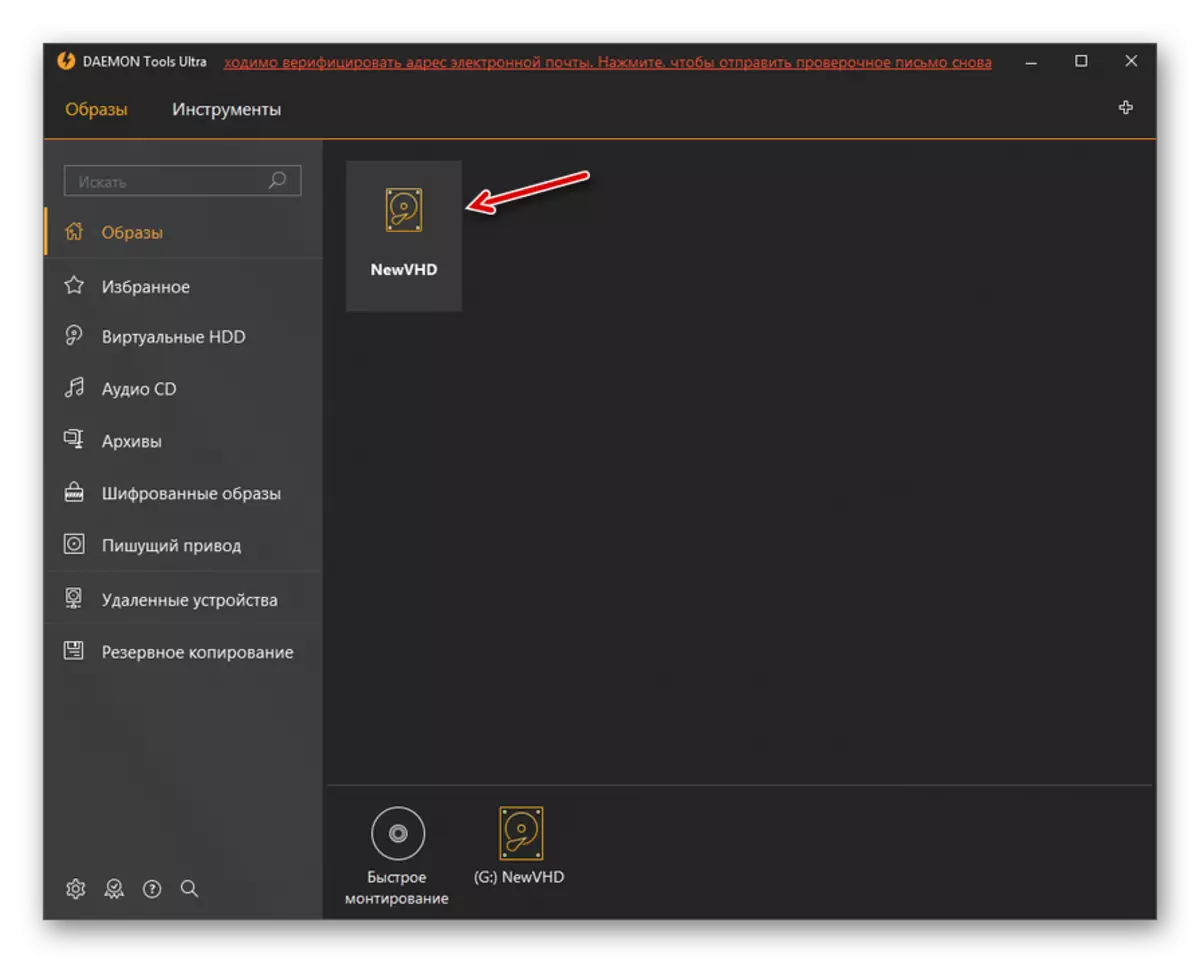
- After the procedure is completed, the following inscription will be displayed in the Daemon Tools Ultra shell: "The VHD creation process is successfully completed!". Click "ready."
- Thus, a virtual hard drive using the Daemon Tools Ultra program is created.
Method 2: disk2vhd
If Daemon Tools Ultra is a universal tool for working with media, then disk2vhd is a highly specialized utility intended for creating VHD and VHDX files, that is, virtual hard drives. In contrast to the previous method, applying this option, you cannot make an empty virtual media, but only create a cast of an existing disk.
Download disk2vhd.
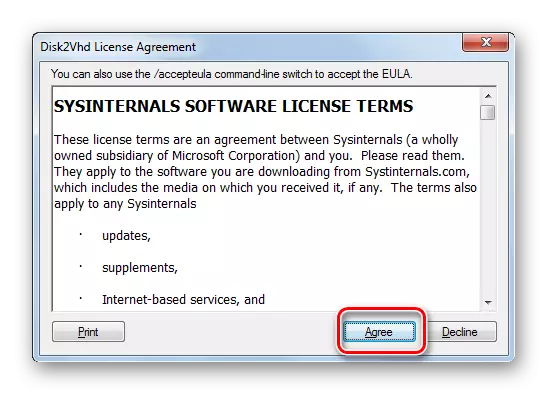
- This program does not require installation. After you unpacked the zip archive, downloaded by the link above, run the executable Disk2VHD.exe file. The window opens with the license agreement. Click "Agree".
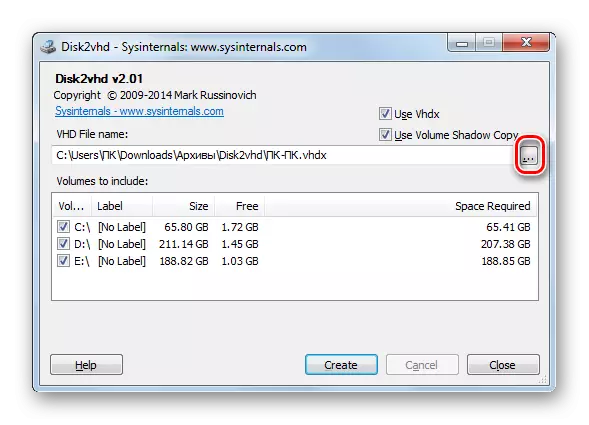
- The VHD creation window immediately opens. The address of the folder where this object will be created is displayed in the "VHD File Name" field. By default, this is the same directory in which the Disk2VHD executable file is located. Of course, in most cases, users do not suit this option. In order to change the path to the drive directory, click on the button placed on the right of the specified field.
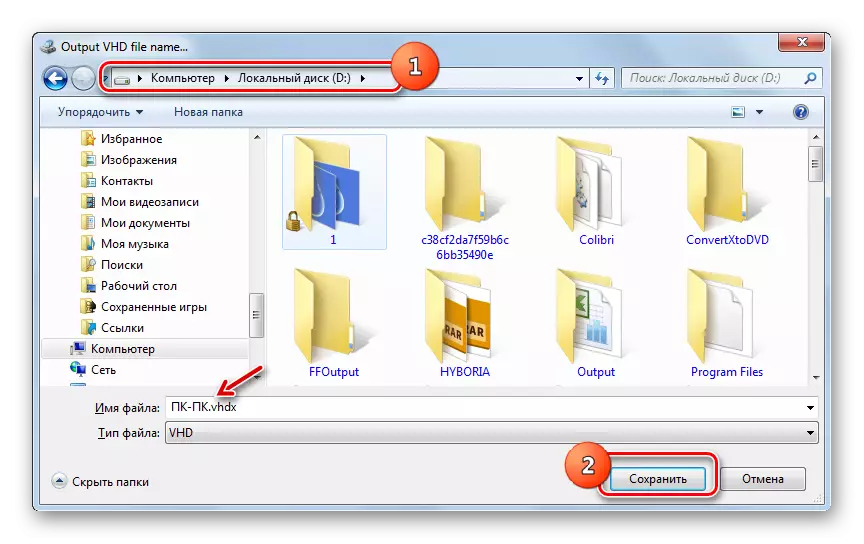
- Output VHD File Name ... opens. Scroll to this directory where you are going to place a virtual drive. You can change the name of the object in the File Name field. If you leave it unchanged it, it will correspond to the name of your user profile on this PC. Click "Save".
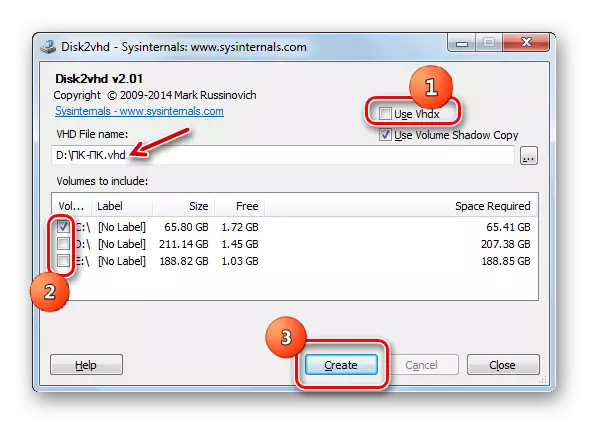
- As you can see, now the path in the "VHD File Name" field is changed to the address of the folder that the user chose himself. After that, you can remove the checkbox from the "Use VHDX" item. The fact is that by default disk2vhd generates a carrier not in VHD format, but in a more advanced version of VHDX. Unfortunately, until all programs are able to work with him. Therefore, we recommend that you preserve in VHD. But if you are sure that VHDX is suitable for your purposes, you can not mark the mark. Now in the "Volumes to Include" block, leave a tick only about items corresponding to objects whose cast you are going to do. Opposite all other positions, the mark must be removed. To start the process, press "CREATE".
- After the procedure is completed, the virtual segment of the selected disk in VHD format will be created.
Method 3: Windows Tools
The conditional hard medium can be formed with the help of standard system tools.
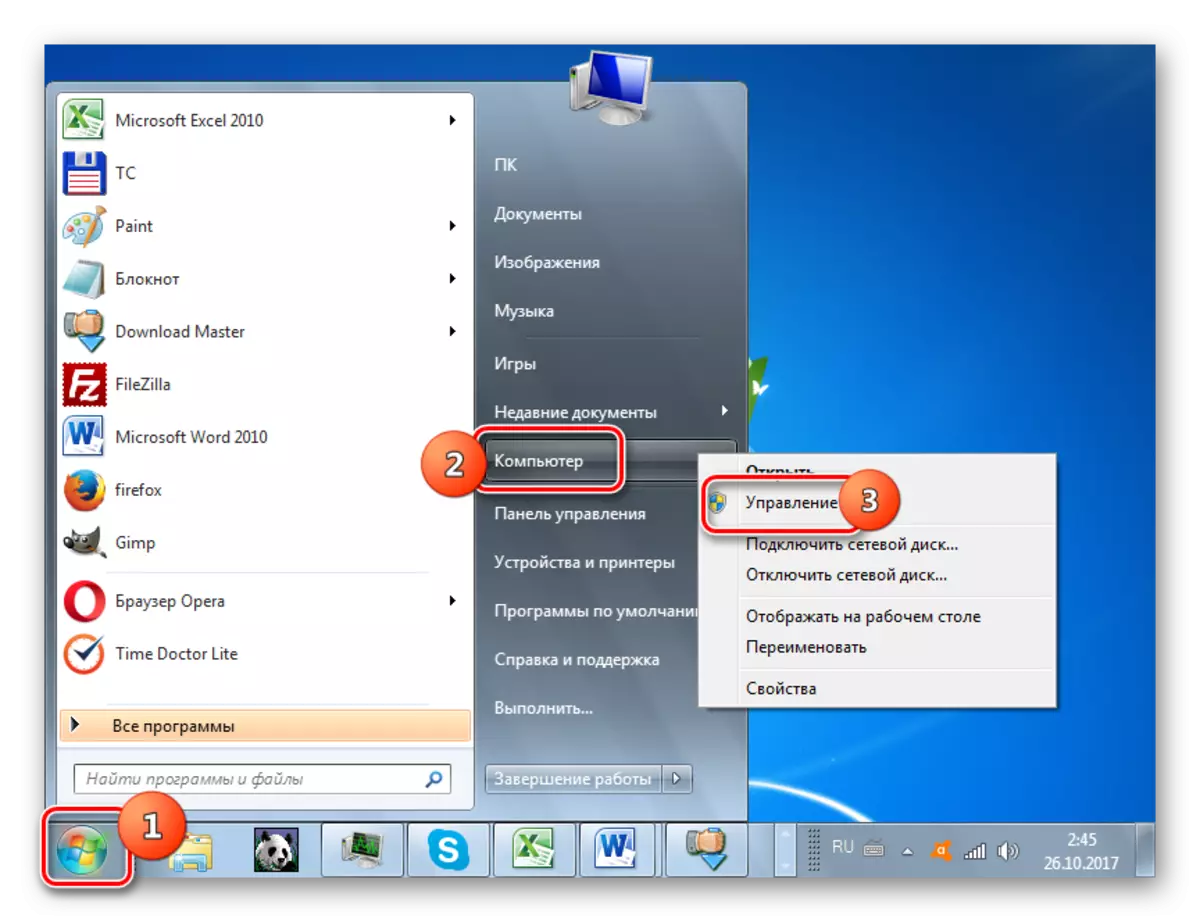
- Click "Start". Right-click (PCM) click on the name "Computer". The list opens where you choose "Management".
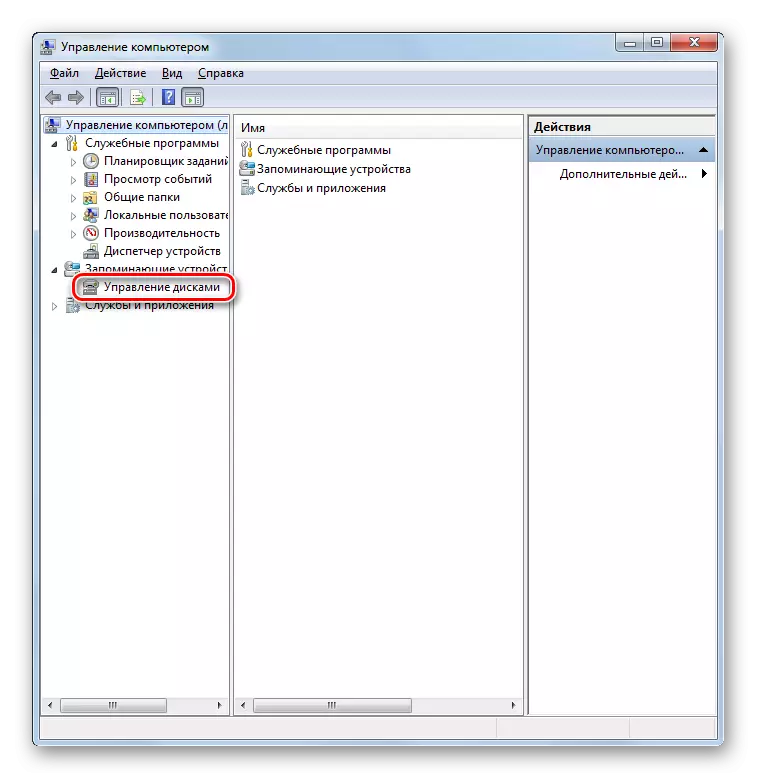
- The system management window appears. In the left of its menu in the "Storage devices" block, go to the "Disk Management" position.
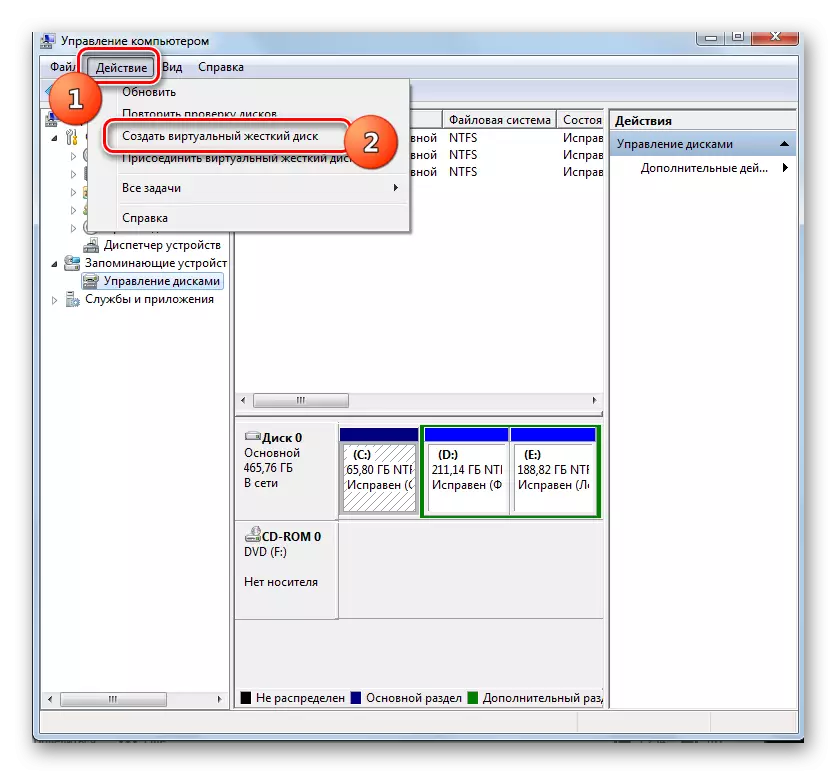
- The storage control tool is started. Click on the "Action" position and select the "Create Virtual Hard Disk" option.
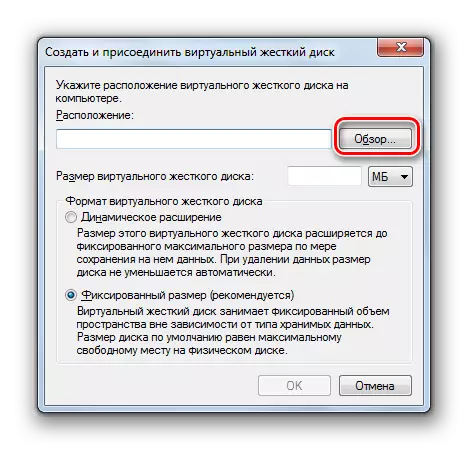
- The creation window opens, where you should specify, in which directory will be a disk. Click "Review".
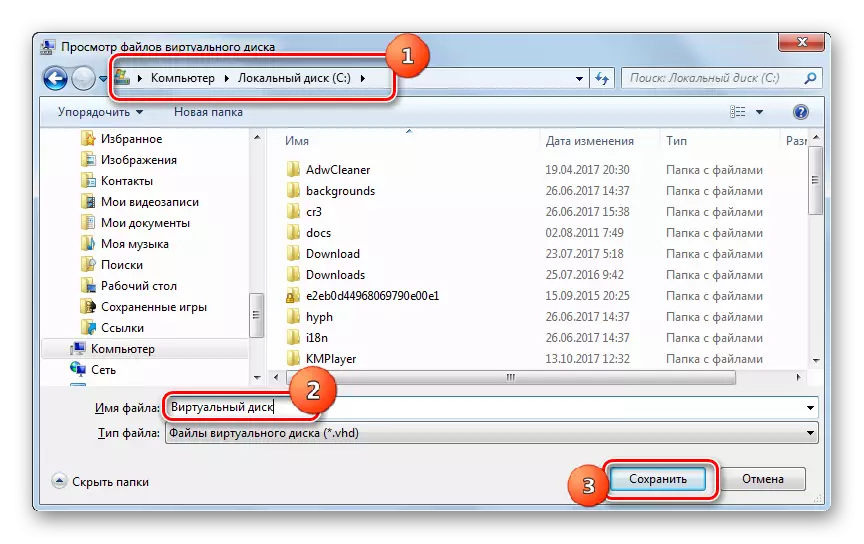
- Object viewing window opens. Move to the directory where you plan to host the drive file in VHD format. It is desirable that this directory is not located on the TOM section of the HDD on which the system is installed. The prerequisite is that the section will not be compressed, otherwise the operation will not work. In the "File Name" field, be sure to specify the name under which you will identify this item. Then press "Save".
- Returns in the Virtual Disc Window. In the "Location" field, we see the path to the directory selected in the previous step. Next you need to assign the size of the object. It is done almost the same way as in the Daemon Tools Ultra program. First of all, select one of the formats:
- Fixed size (installed by default);
- Dynamic extension.
The values of these formats correspond to the values of the types of discs that we have previously considered in Daemon Tools.
Next, in the "Virtual Hard Disk Size" field, install its initial volume. Do not forget to choose one of three units:
- Megabytes (default);
- gigabytes;
- Terabytes.
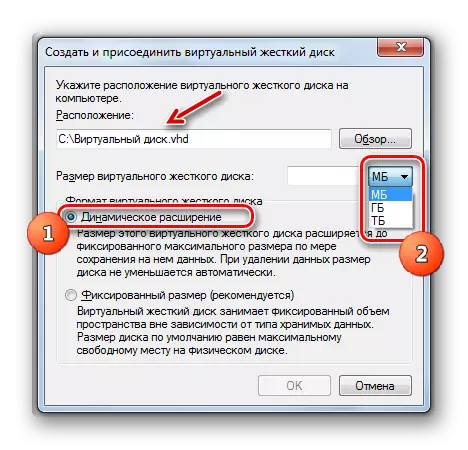
After performing the specified manipulations, press OK.
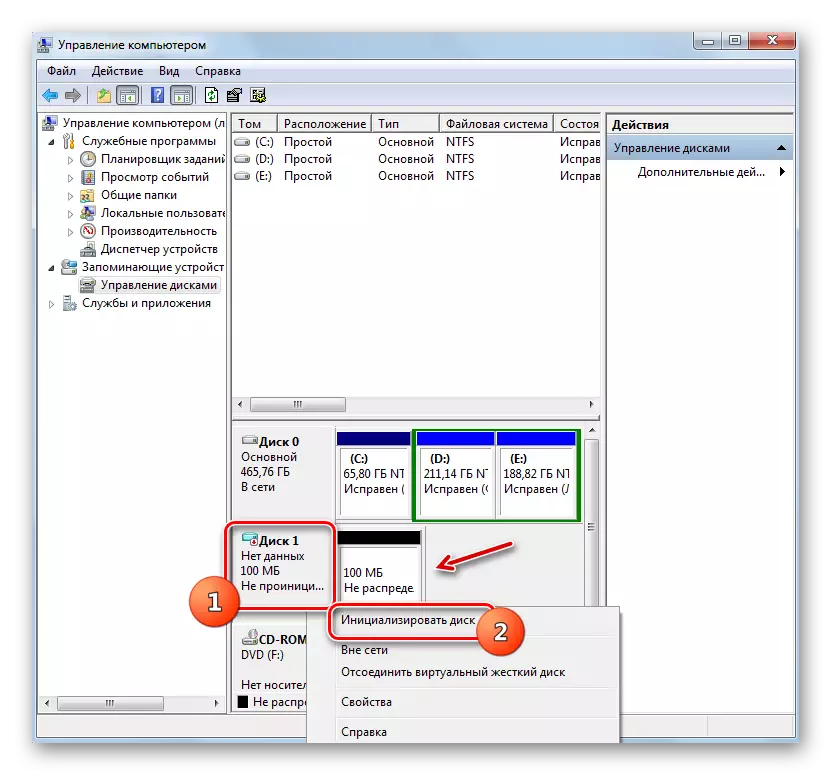
- Returning to the main section of the section management window, it can be observed in its lower area that a unallocated drive has now appeared. Click PCM by its name. Typical template of this name "Disc No.". In the menu that appears, select the option "Initialize Disk".
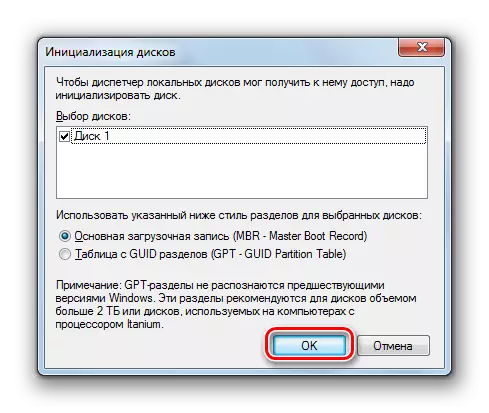
- Opened disk initialization window. Here you just follow "OK".
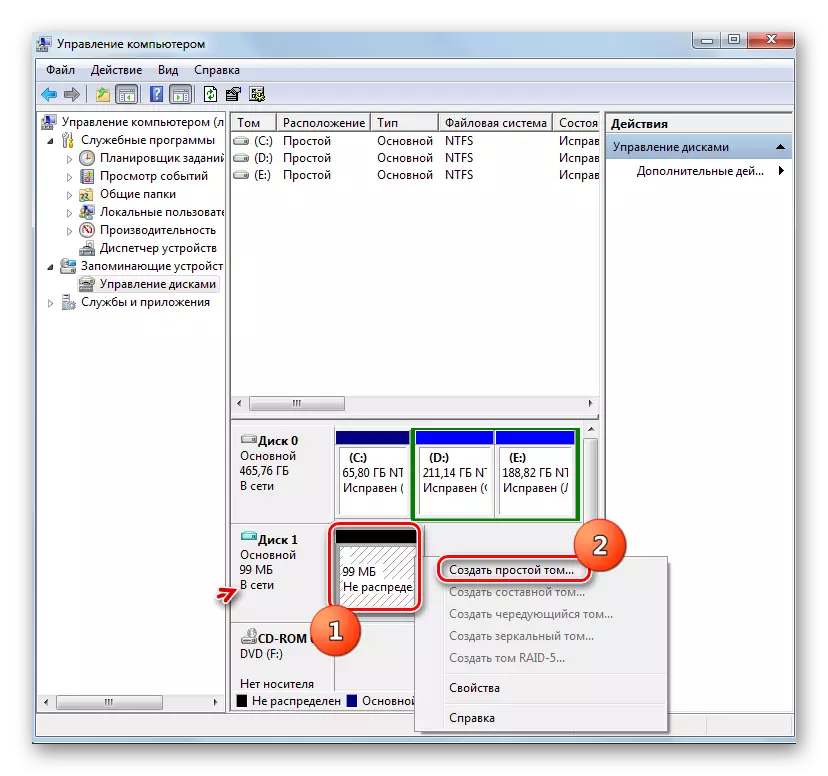
- After that, the list of "online" appears in the list of our item. Click the PCM on an empty place in the "not distributed" block. Choose "Create a simple volume ...".
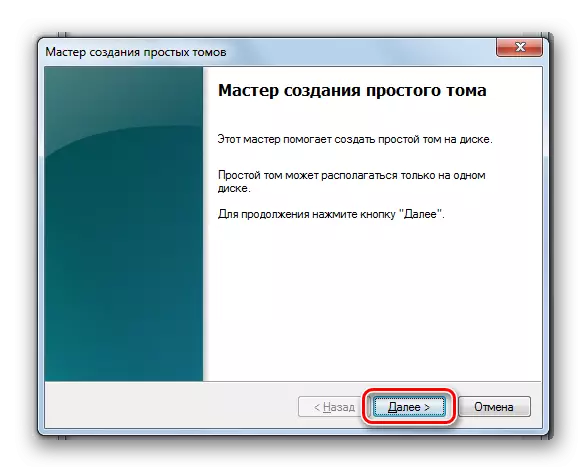
- A welcome window "Wizard creation masters" is launched. Click "Next".
- The next window indicates the size of the volume. It is automatically calculated from the data that we laid when creating a virtual disk. So here you do not need to change anything, just press "Next."
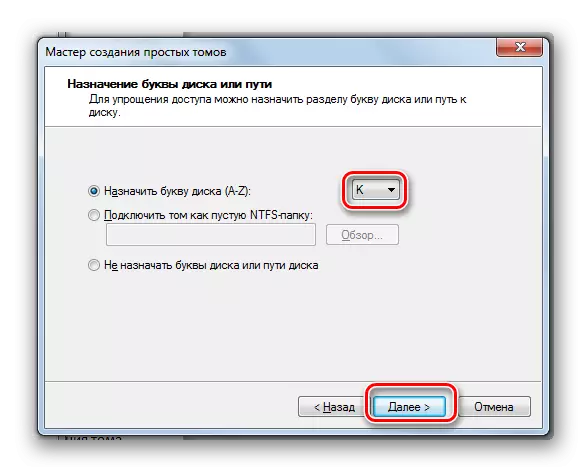
- But in the next window, you need to select the letter of the name of the volume from the drop-down list. It is important that on a volume computer that has the same designation has not been. After the letter is selected, press "Next".
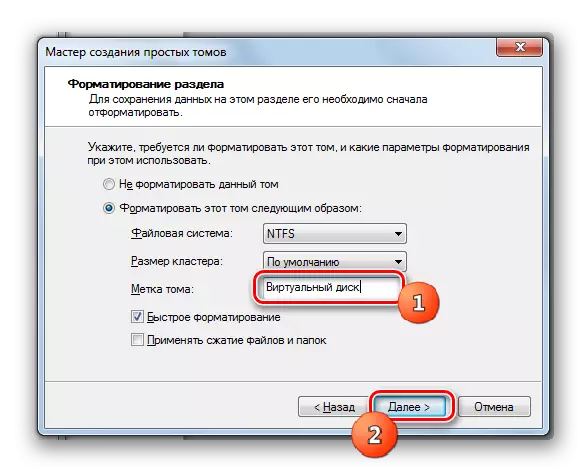
- In the next window, make changes not necessarily. But in the Tom label field, you can replace the standard name "New Tom" to any other, such as "Virtual Disk". After that, in the "Explorer", this element will act as a "Virtual Disk K" or with another letter you have chosen in the previous step. Click "Next".
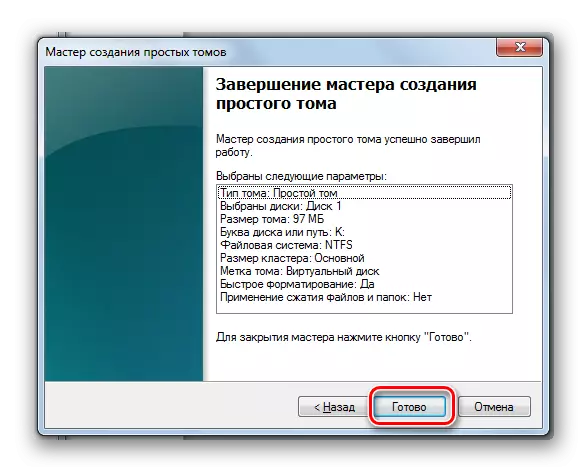
- Then the window opens with the summary data that you entered into the "Wizard" fields. If you wish to change something, then press "back" and spend changes. If everything suits you, then click "Finish."
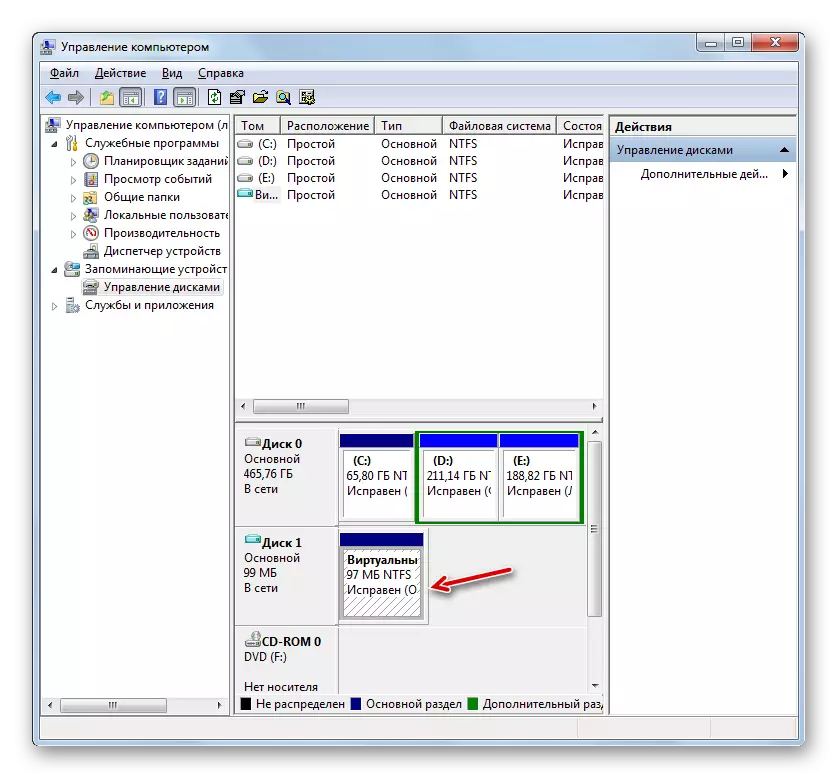
- After that, the created virtual drive is displayed in the Computer Management window.
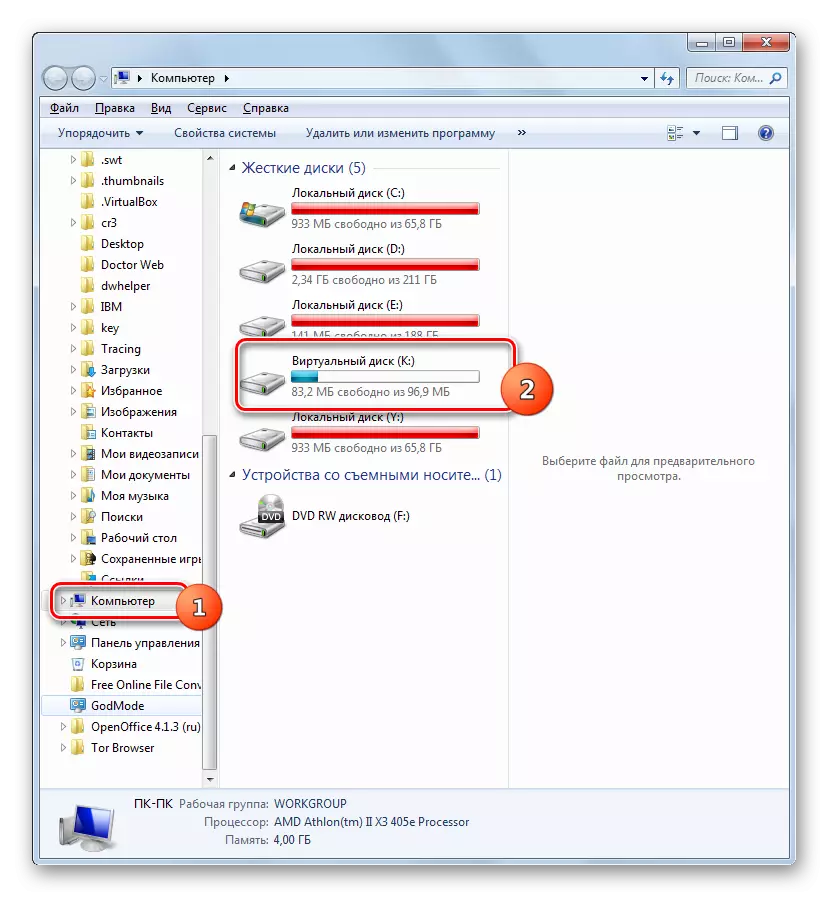
- You can proceed with the "Explorer" in the "Computer" section, where there is a list of all disks connected to the PC.
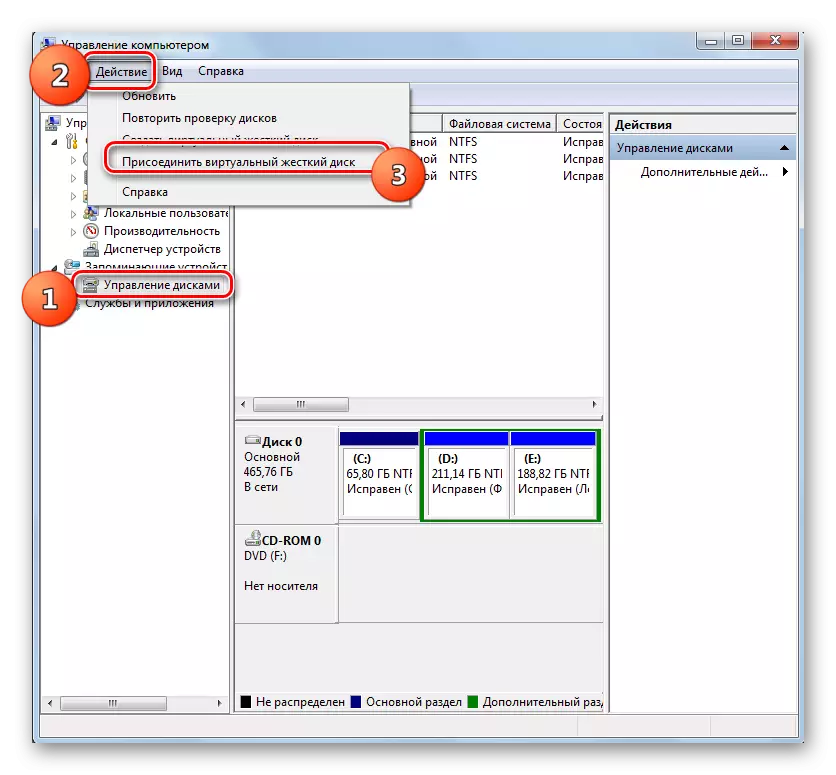
- But on some computer devices after a reboot in the specified section, this virtual disk may not appear. Then run the Computer Management tool and go to the Disk Management Division again. Click in the "Action" menu and select the "Attach Virtual Hard Disk" position.
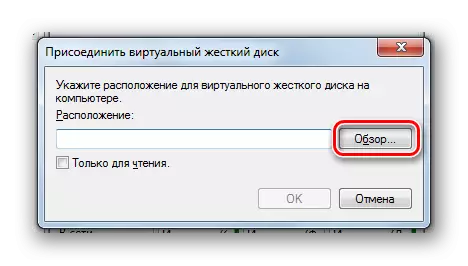
- The drive attachment window is started. Click "Review ...".
- File viewing tool appears. Go to the directory where you previously saved the VHD object. Highlight it and press "Open".
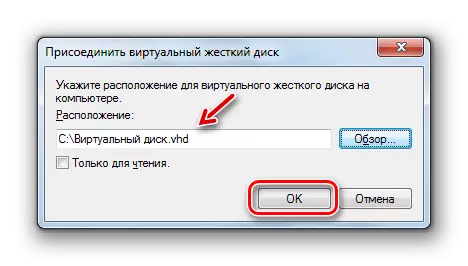
- The path to the selected object will be displayed in the "Connect the Virtual Hard Disk" field. Click "OK".
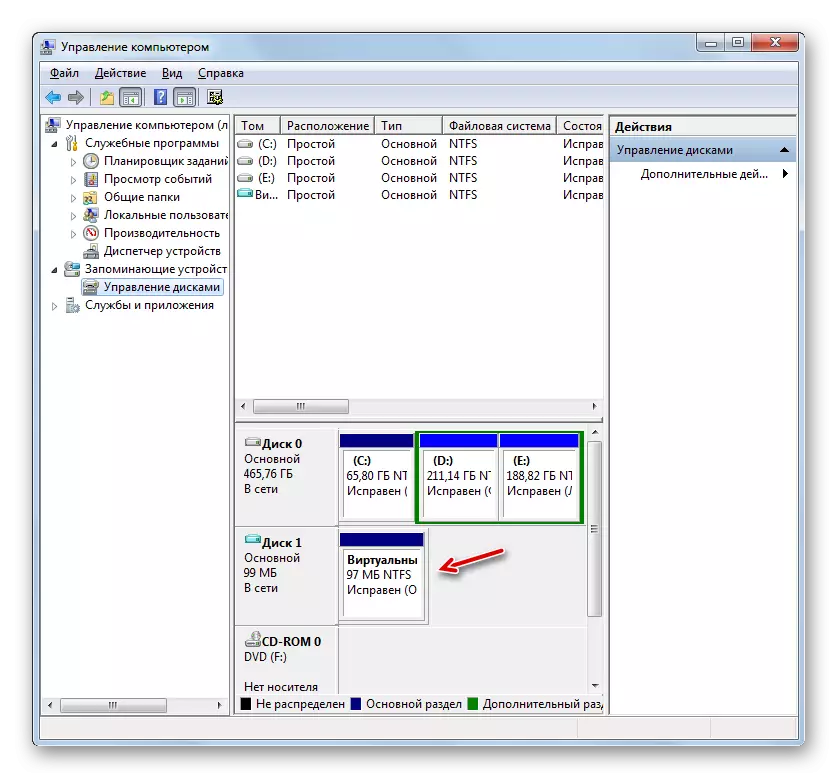
- The selected disk will be available again. Unfortunately, some computers have to do this operation after each restart.


Method 4: Ultraiso
Sometimes you need to create a not hard virtual disk, and the virtual CD drive and run the ISO image file. In contrast to the previous one, this task cannot be performed solely using the operating system tools. To solve it, it is necessary to use third-party software, for example, Ultraiso.
Lesson: How to create a virtual drive in Ultraiso
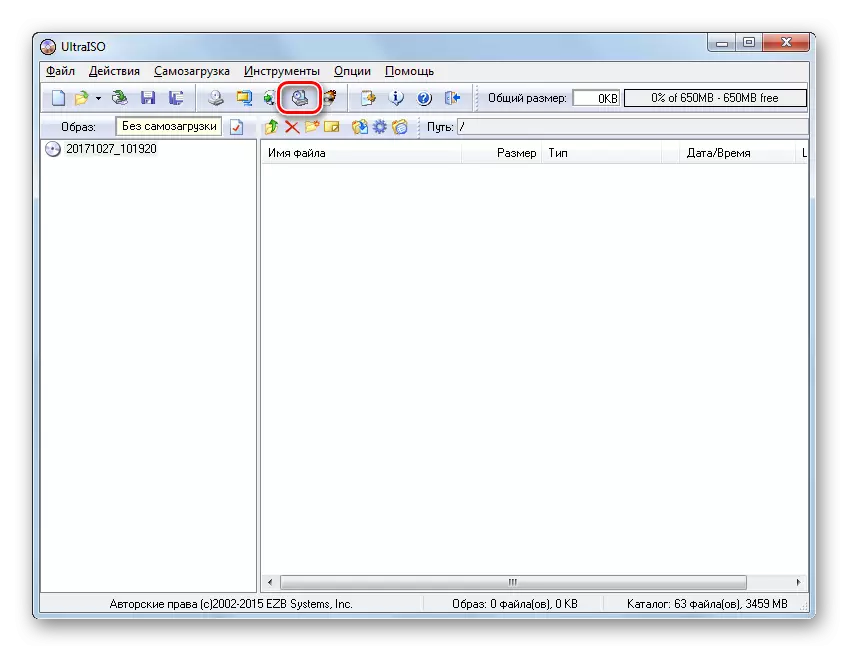
- Run ultraiso. Create a virtual drive in it, as described in the lesson, the reference to which is given above. On the control panel, click the "Mount to Virtual Drive" icon.
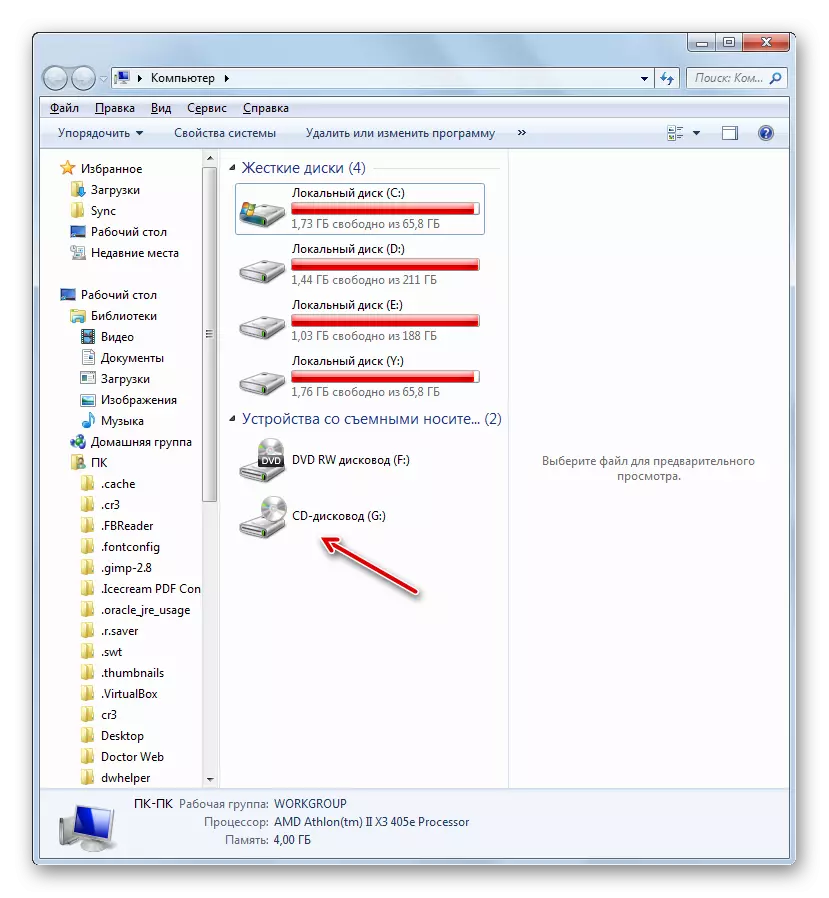
- When you click on this button, if you open the list of disks in the "Explorer" in the "Computer" section, you will see another drive to the list of devices with removable media.
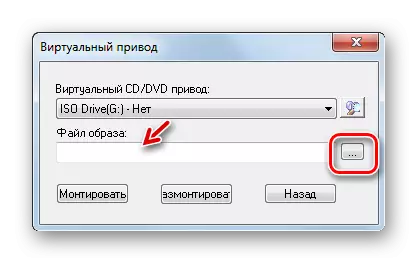
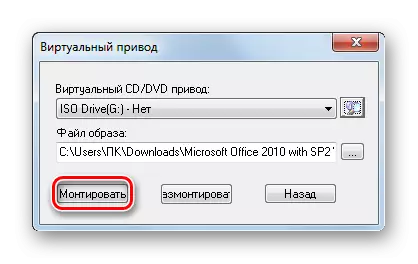
But we return to Ultraiso. A window appears, which is called - "Virtual Drive". As you can see, the field "image file" here is currently empty. You must register the path to the ISO file containing a disk image that should be launched. Click on the element to the right of the field.
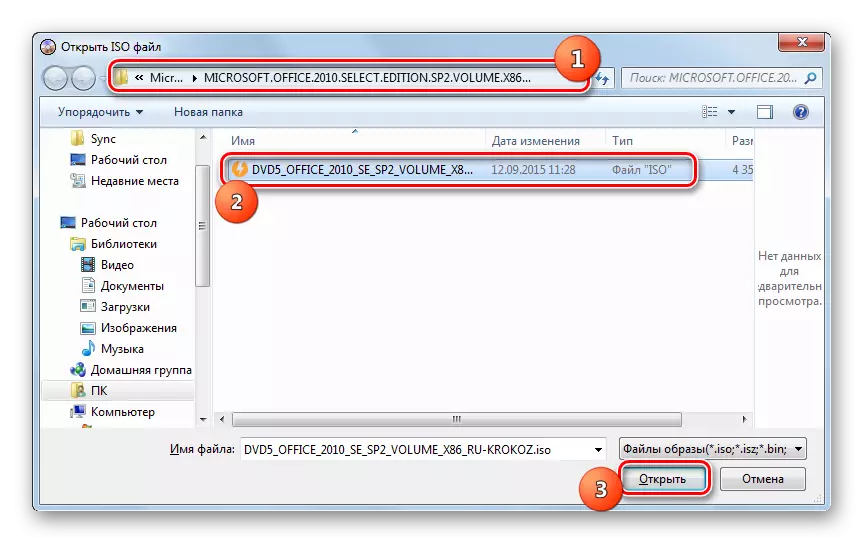
- The "Open ISO file" window appears. Go to the directory of placement of the desired object, mark it and press "Open".
- Now the path to the ISO object is registered in the "Image File" field. To run it, click on the "Mount" element located in the bottom of the window.
- Then press the "autoload" to the right of the name of the virtual drive.
- After that, the ISO image will be launched.

We figured out that virtual disks can be of two types: hard (VHD) and CD / DVD images (ISO). If the first category of objects can be created both using third-party software and using internal Windows tools, then with the ISO mounted task, you can cope only by using third-party software products.