

One of the most massive folders in Windows 7, which occupies a significant space on the C drive, is the "WINSXS" system directory. In addition, he has a trend towards constant growth. Therefore, many users have a temptation to clean this directory to make room on Winchester. Let's figure out what data is stored in "WINSXS" and can it brush this folder without negative consequences for the system.
Next, we consider various ways to clean the "WINSXS" directory using the CleanMGR utility.
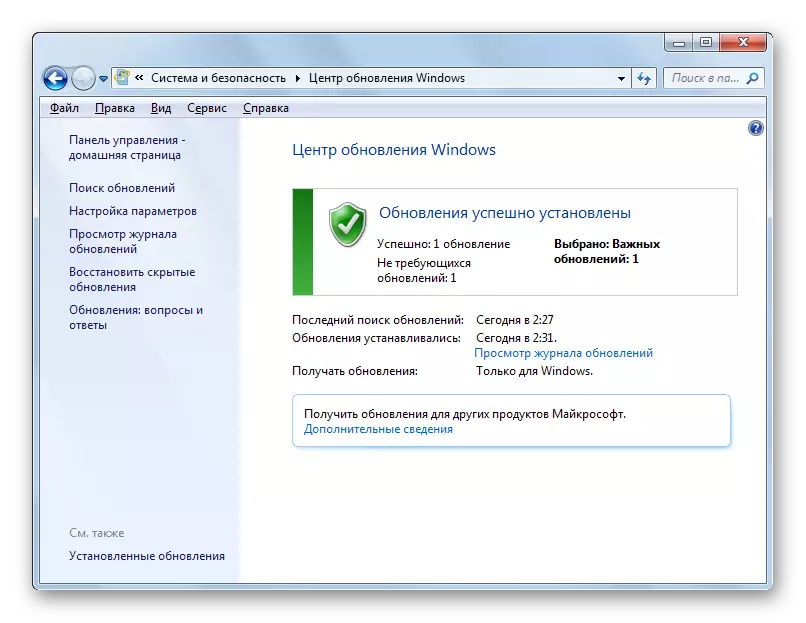
Lesson: Installing Windows Updates 7 manually
Method 1: "Command Line"
The procedure you need can be performed using the "command line" through which the CleanMGR utility is launched.
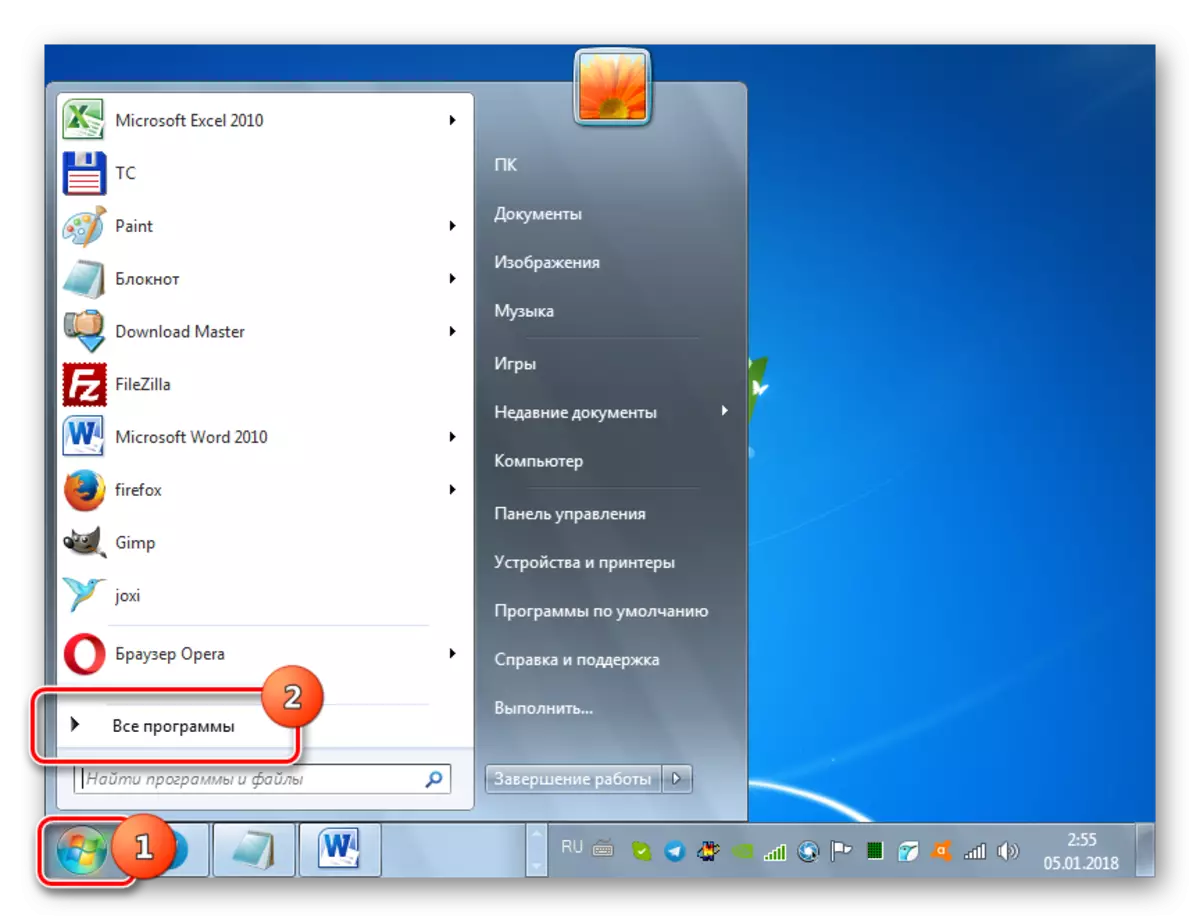
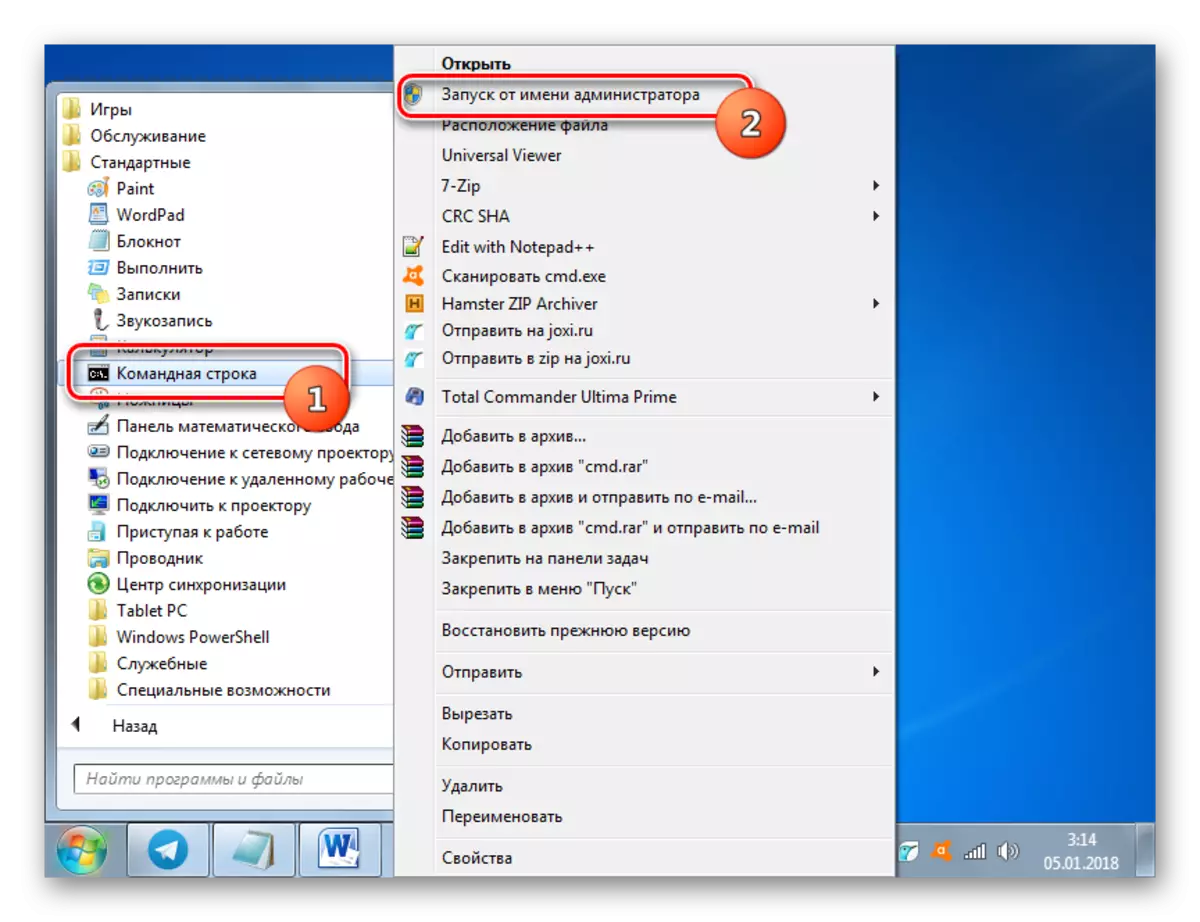
- Click "Start". Click "All Programs".
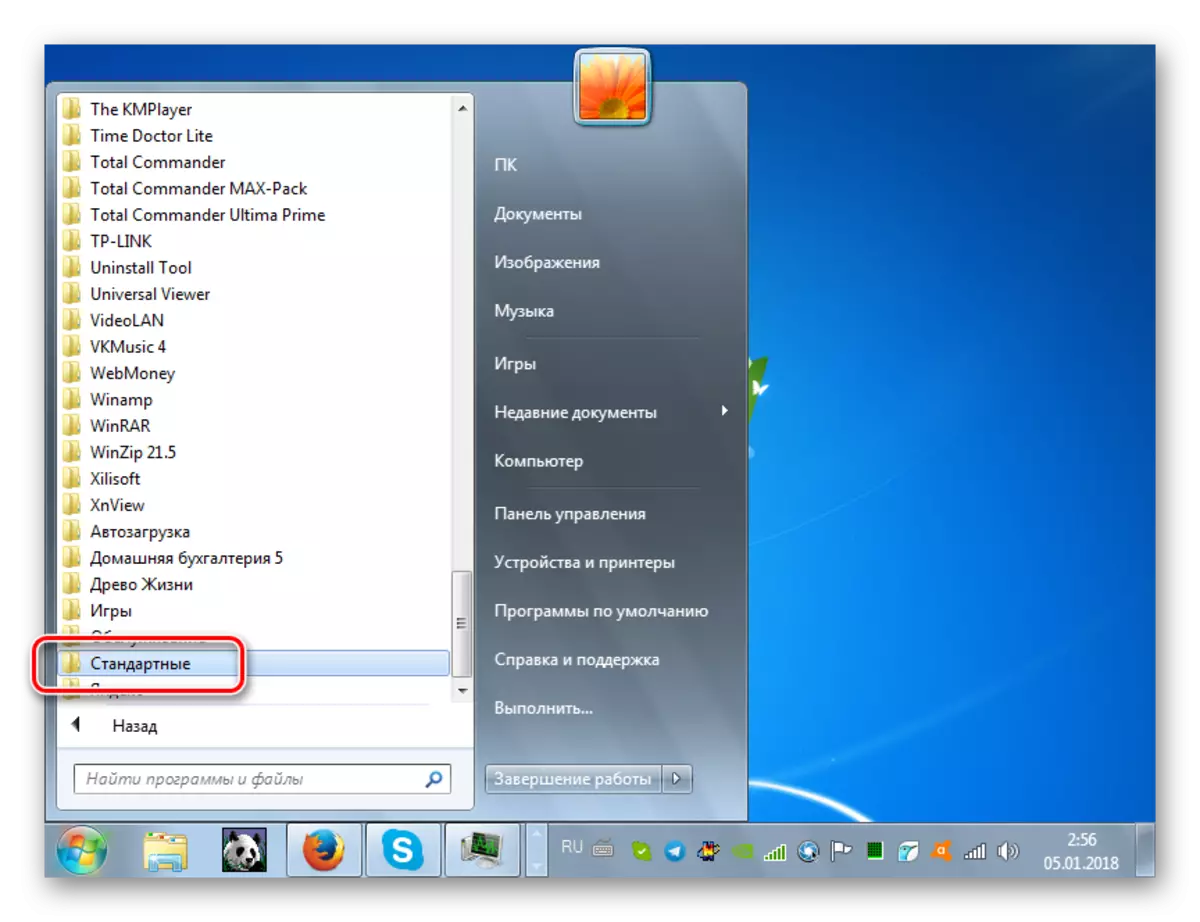
- Come to the "Standard" folder.
- In the list, find the "Command Line". Click on the name of the right mouse button (PKM). Choose the option "Run on the administrator".
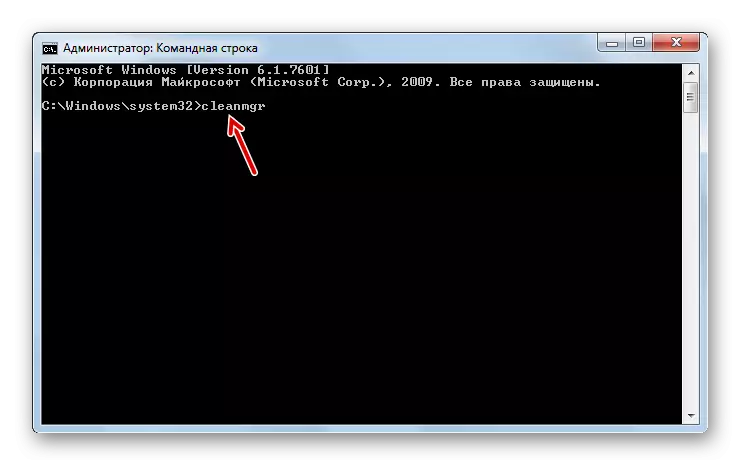
- Activation "Command Line" is performed. Drive the following command:
Cleanmgr.
Press ENTER.
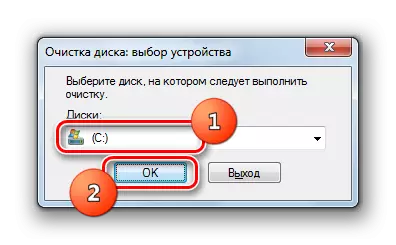
- A window opens where it is proposed to select a disk in which cleaning will be performed. By default, the C section must stand it and leave if your operating system has a standard location. If it, for any reason, is installed on another disk, then select it. Click "OK".
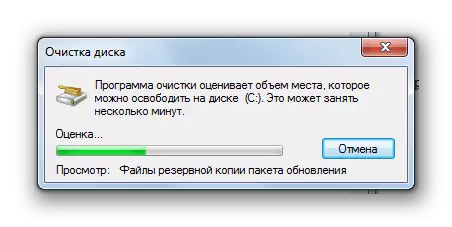
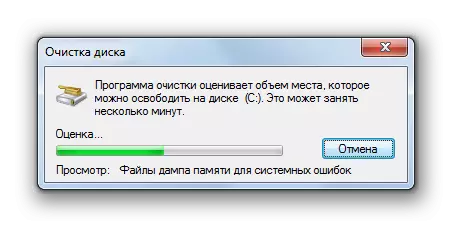
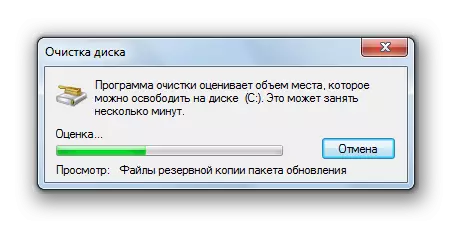
- After that, the utility assesss the amount of space that it can be cleaned when the appropriate operation is carried out. It may take a certain time, so take patience.
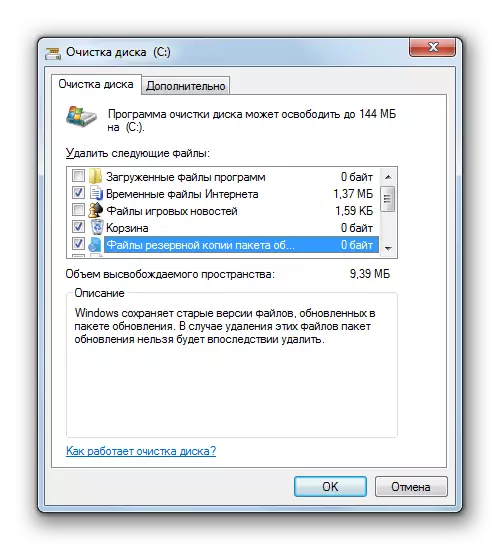
- A list of the system objects that are subject to cleaning will open. Among them, be sure to find the position "Clearing Windows Updates" (or "Backup files of the update package") and put the mark near it. This position is responsible for cleaning the WINSXS folder. Opposite the remaining items, place the flags at their discretion. You can remove all other marks if you do not want to clean anything else, or note those components where you also want to remove the garbage. After that click "OK".
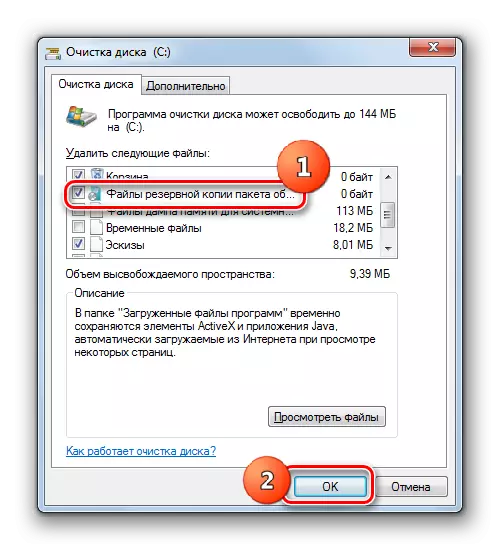
Attention! In the "Clearing Disk" window, the "Clearing Windows Updates" item may be missing. This means that in the WinSXS catalog there are no elements that could be removed without negative consequences for the system.
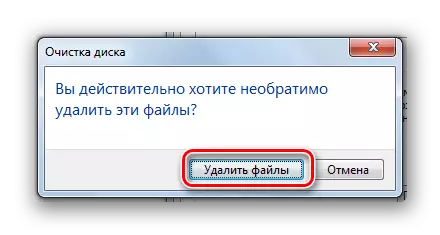
- A dialog box opens where the question is asked if you want to clean the selected components. Create by clicking "Delete Files".
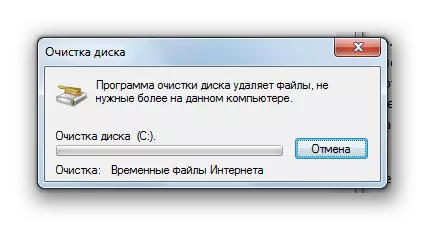
- Next, the CleanMGR utility will clean the WINSXS folder from unnecessary files and then automatically closes.
Lesson: Activation of the "Command Line" in Windows 7
Method 2: Windows graphical interface
Not every user is convenient to run utilities through the "Command Line". Most users prefer to do this using the OS graphical interface. It is quite fulfilled in relation to the CleanMGR tool. This method, of course, is more understandable for a simple user, but as you will see, will take more time.
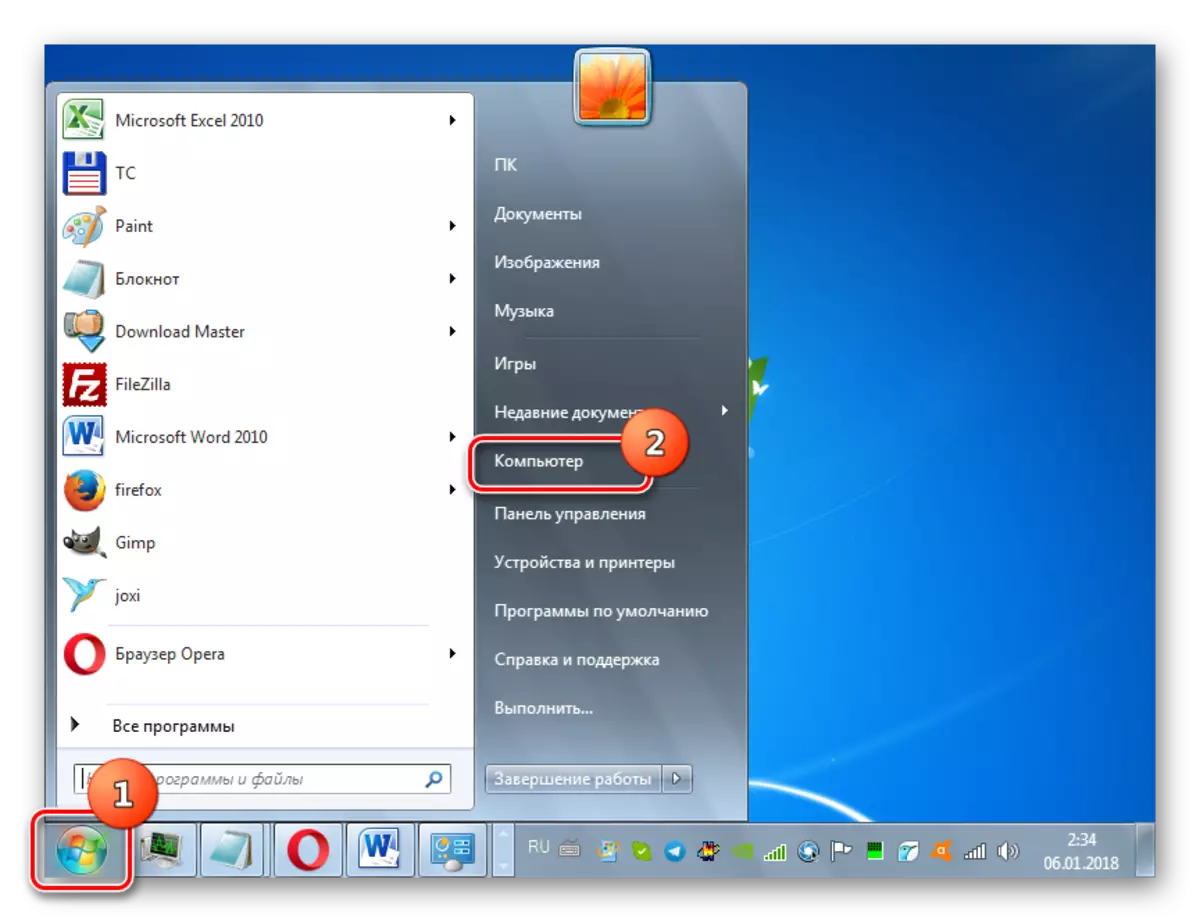
- Click "Start" and go on the inscription "Computer".
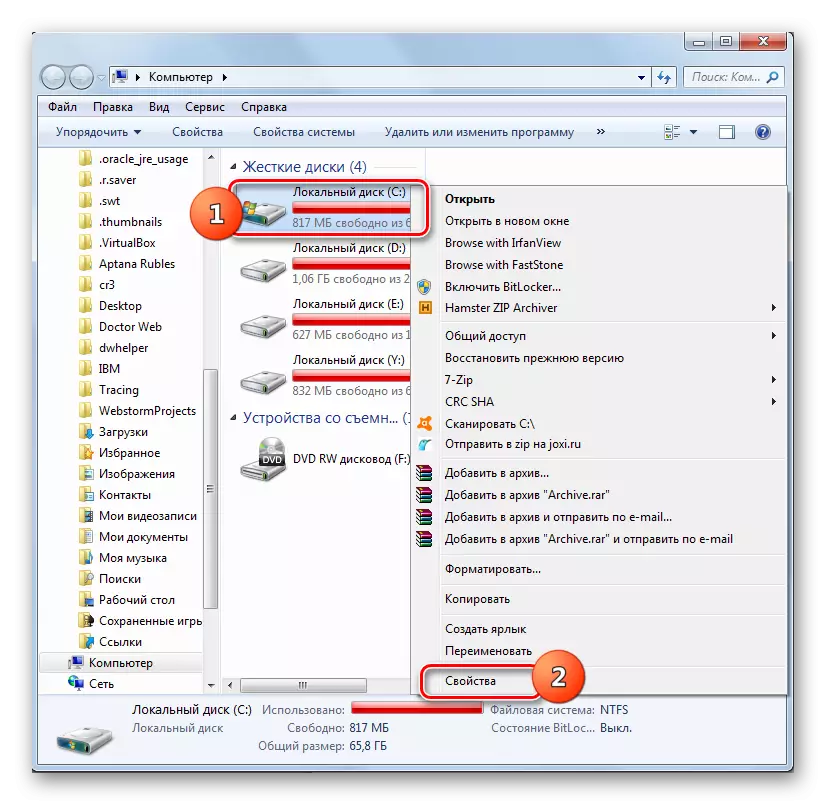
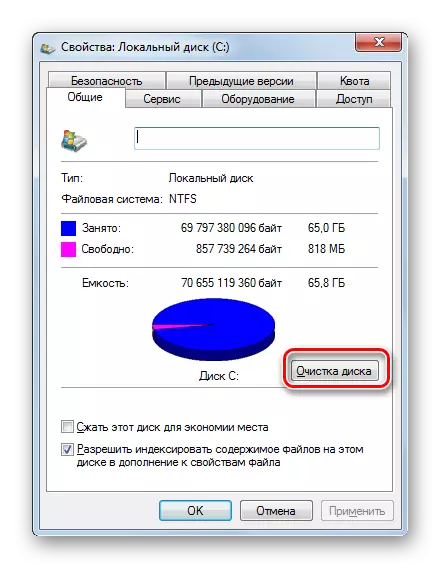
- In the opened "Explorer" window in the list of hard drives, find the name of that partition where the current Windows OS is installed. In the overwhelming majority of cases, this is a C drive. Click on the PCM. Choose "Properties".
- In the appeared window, press "Cleaning the disk".
- Exactly the same procedure for evaluating the cleaned space, which we have seen when using the previous method will be launched.
- In the window that opens, do not pay attention to the list of items to be cleaned, and press "Clear System Files".
- A re-evaluation of the exempted place on the drive will be performed, but already taking into account the system elements.
- After that, exactly the same window "Cleaning the disc", which we observed in the method 1. Next, you need to produce all the actions that have been described in it starting from paragraph 7.

Method 3: Automatic cleaning "WINSXS"
In Windows 8, it is possible to configure the WinSXS folder cleaning schedule through the job scheduler. In Windows 7, such an opportunity, unfortunately, is missing. Nevertheless, you can still schedule periodic cleaning through the same "command line", although without a flexible schedule setting.
- Activate the "Command Line" with administrative rights by the same method that was described in the method of this manual. Enter the following expression:
:: WinSXS Catalog Cleaning Options
REG Add "HKEY_LOCAL_MACHINE \ Software \ Microsoft \ Windows \ Currentversion \ Explorer \ VOLUMECACHES \ UPDATE CLEANUP" / V stateflags0088 / t reg_dword / d 2 / f
:: Time Cleaning Parameters
REG Add "HKEY_LOCAL_MACHINE \ Software \ Microsoft \ Windows \ Currentversion \ Explorer \ Volumecaches \ Temporary Files" / V StateflagS0088 / T Reg_DWORD / D 2 / F
:: Generation of the planned task "CleanUpwinsxs"
Schtasks / Create / TN CleanUpwinsxs / RL HIGHEST / SC MONTHLY / TR "CLEANMGR / SAGERUN: 88"
Click ENTER.
- Now you have scheduled the procedure for the monthly cleaning of the "WINSXS" folder using the CleanMGR utility. The task will be performed automatically 1 time per month of the 1st, without direct user participation.

As you can see, in Windows 7, you can clear the "WINSXS" folder both through the "Command Line" and through the OS graphical interface. You can also by entering commands to schedule periodic launch of this procedure. But in all cases listed above, the operation will be performed using the CleanMGR utility, a special update to which in the case of its absence on the PC, you need to install through the standard Windows Update algorithm. It is very important to remember any user: to clean the "WINSXS" folder manually by deleting files or using third-party programs is strictly prohibited.