
For any modern person, it is relevant that it surrounds a huge number of different documentation. These are reports, research work, reports and so on. The set will be different for each person. But there is one thing that unites all these people - the need for a printer.
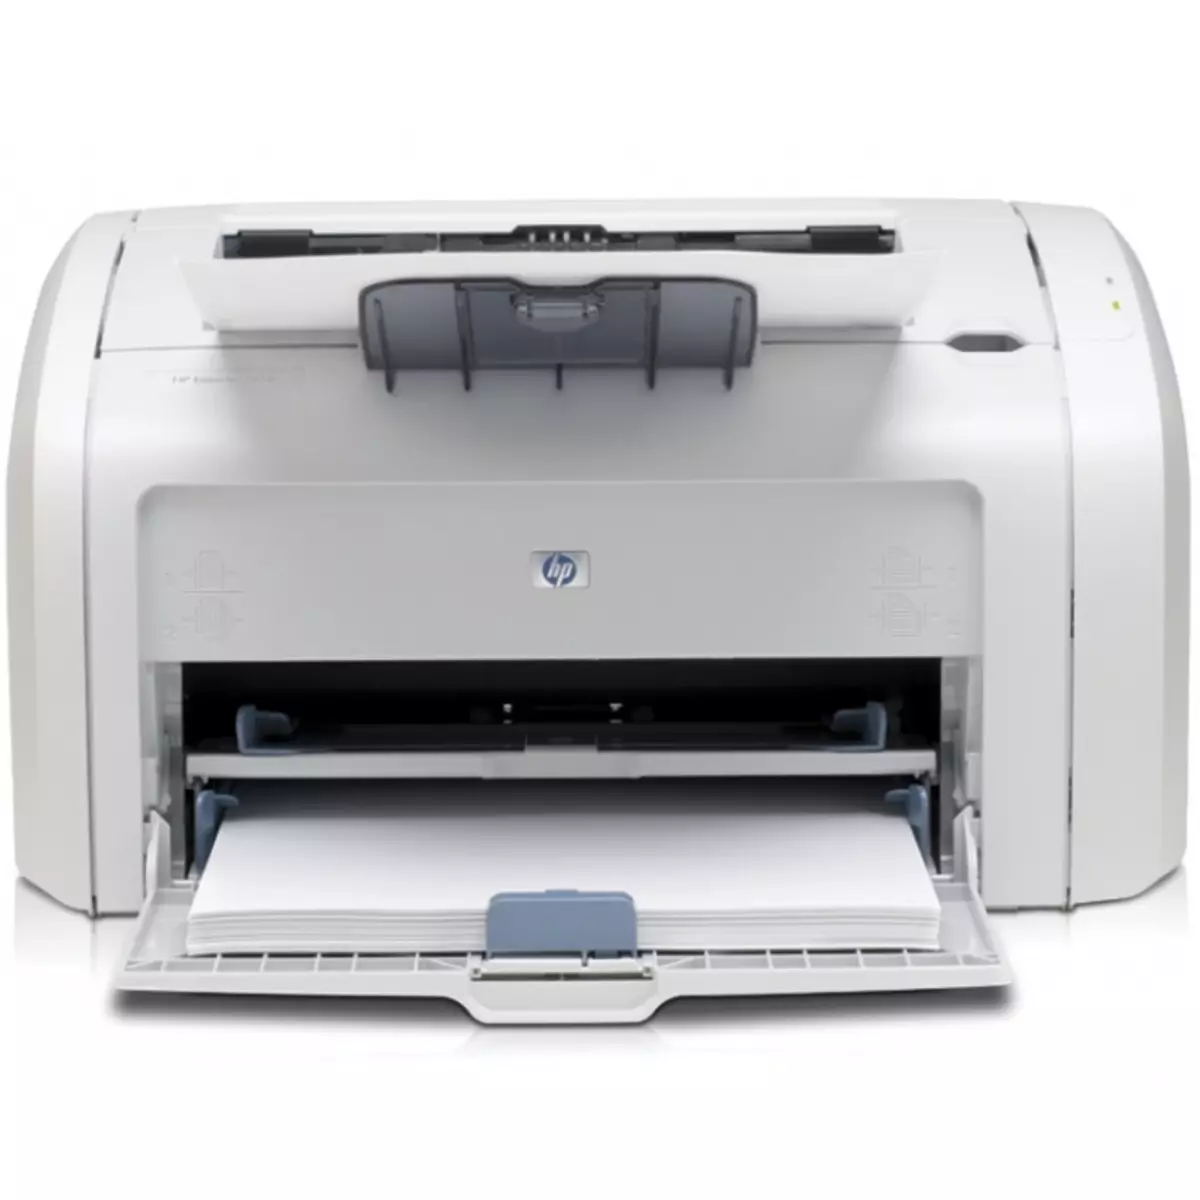
Installing the HP LaserJet 1018 printer
Those people who did not have previously had any cases with computer equipment, and have enough experienced people who, for example, there are no drives with drivers may be encountered. Anyway, the procedure for installing the printer is quite simple, so let's find out how it is done.
Since HP LaserJet 1018 is a fairly simple printer that can only print, which is often enough to use another connection we will not. It's simply no.
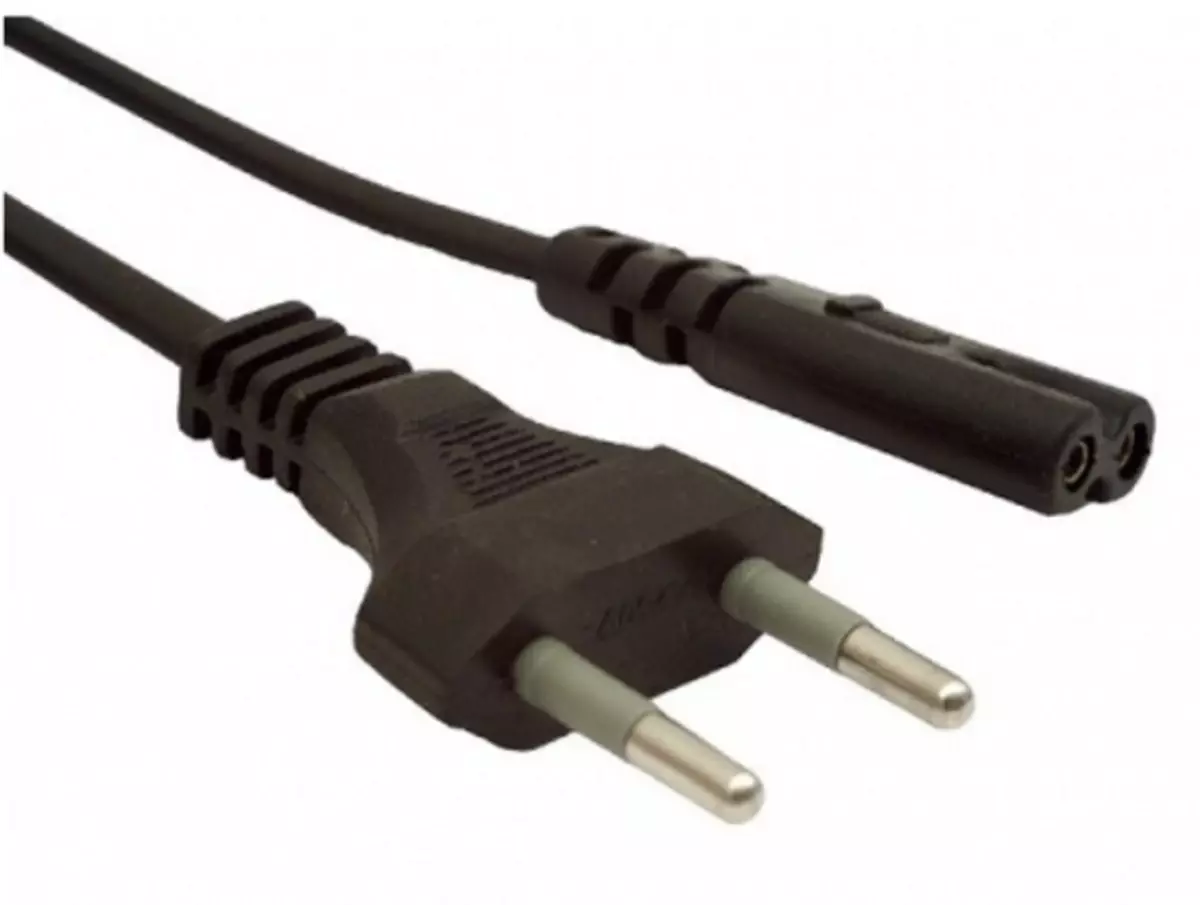
- To begin with, connect the printer to the electrical network. To do this, we will need a special cord that must be supplied in a set with the main device. It is easy to identify, because on one side fork. In the printer itself, there are not many places where you can attach such a wire, so the procedure does not need a detailed description.
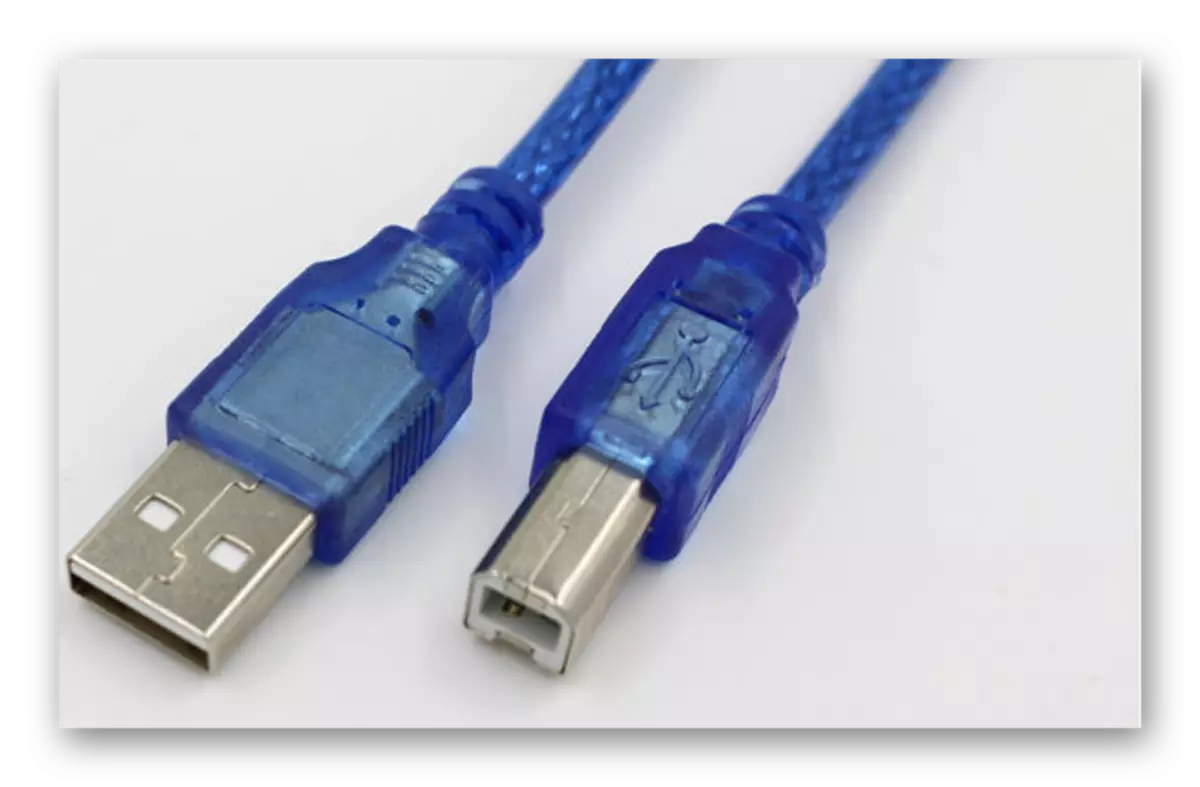
- As soon as the device starts its work, you can proceed to connecting it to the computer. It will help us in this special USB cable, which is also included. It is already worth noting that the cord is connected to the printer, and the familiar USB connector should be signed on the rear panel of the computer.
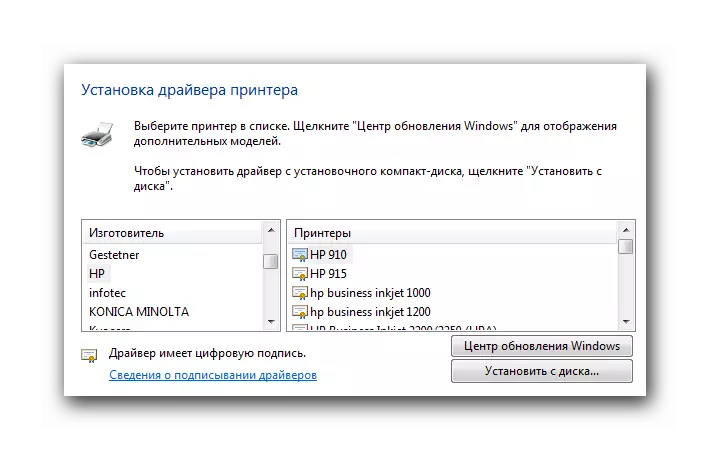
- Next you need to install the driver. On the one hand, the Windows operating system can already choose in its bases standard software and even create a new device. On the other hand, such a software from the manufacturer is much better, because it was developed specifically for the printer under consideration. That is why we insert the disk and follow the instructions of the "Wizard Installation".
- If for some reason you do not have a disk with such software, and a qualitative driver for the printer is necessary, then you can always contact the official site of the manufacturer.
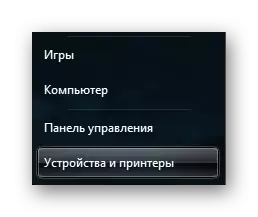
- After actions, the printer is ready to work and can be used. It remains only to go to the "Start" menu, select "Devices and Printers", find a shortcut with the image of the installed device. Click on it with the right mouse button and select the default device. Now all the files that will be sent to print will fall into the new, just installed apparatus.
As a result, it can be said that the installation of such a device is not at all a long matter. Just do everything in the correct sequence and have a complete set of necessary parts.