

Small-extreme users who first have installed an instagram application to their telephone on their telephone, are set by many questions regarding its use. For one of them, namely, how to add a photo from the phone, we will reply in our current article.
Option 2: New photo from the camera
Many users prefer to take photos not in a separate application "Camera" installed on a mobile device, but through its analog, built into Instagram. The advantages of this approach are to be in its convenience, the rate of implementation, that all necessary actions are essentially carried out in one place.
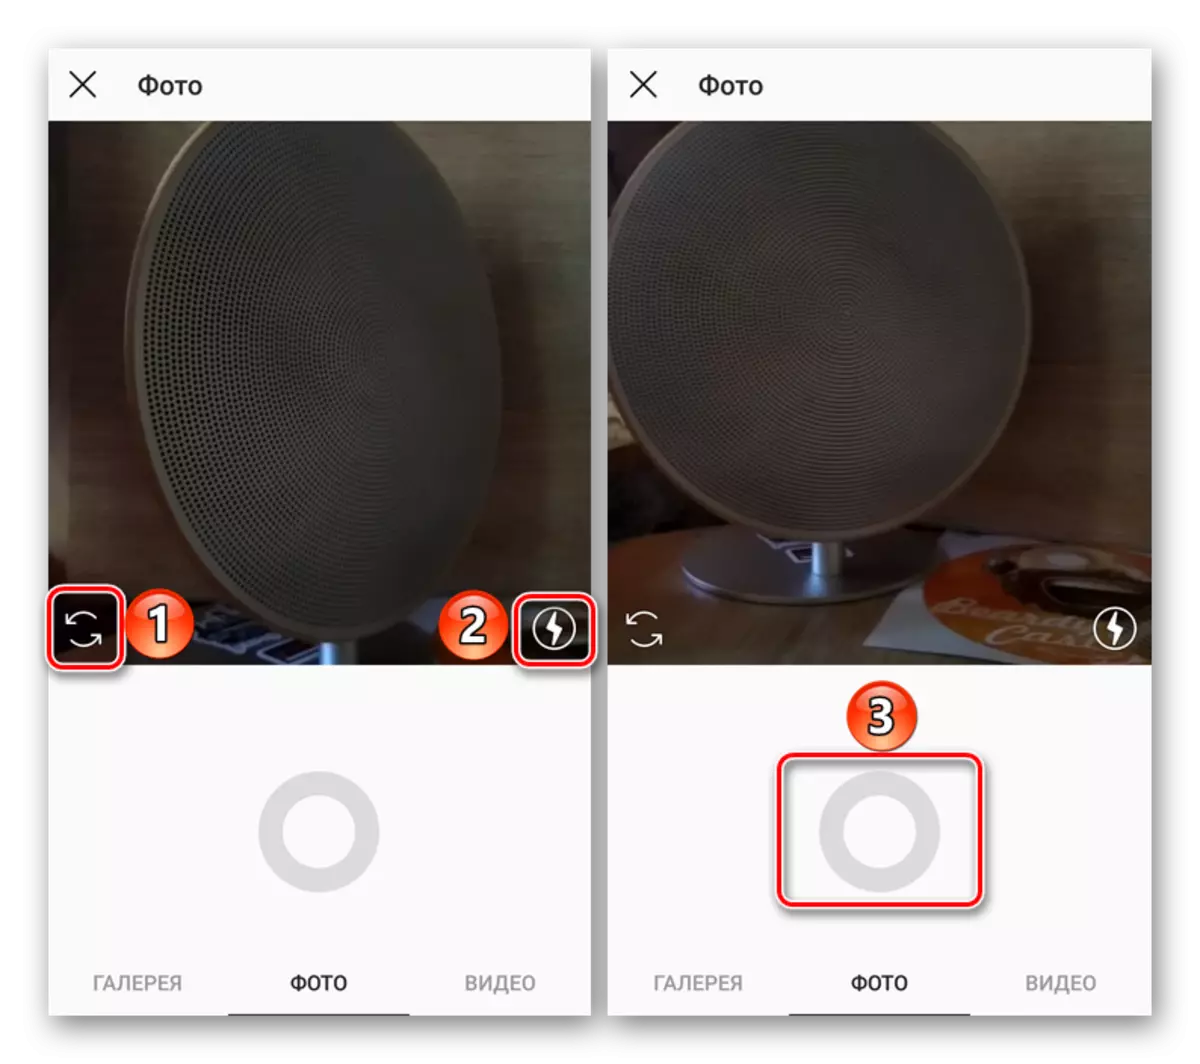
- As in the case described above, in order to start creating a new publication, tap the button located in the center of the toolbar. Go to the "Photo" tab.
- The interface built into instagram cameras will be opened, where you can switch between front and external, as well as enable or disable the flash. Deciding that you want to occupy, click on the gray circle shown on a white background to create a picture.
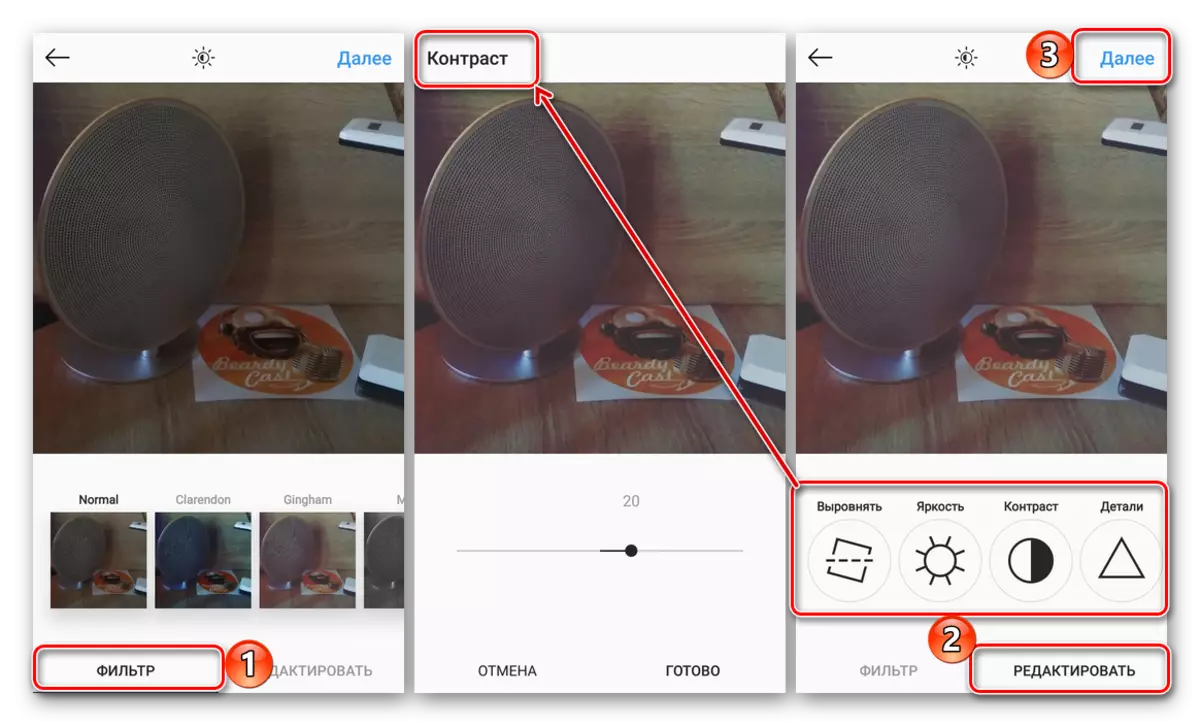
- Optionally, apply one of the available filters to the made photo, and then click "Next".
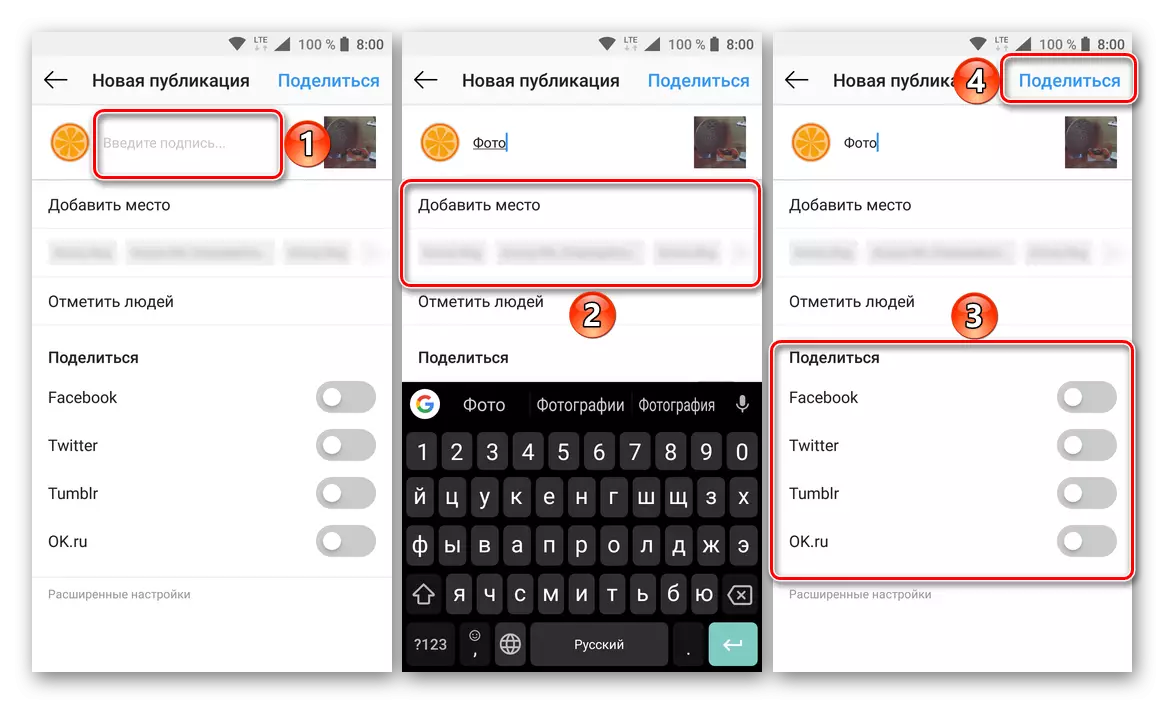
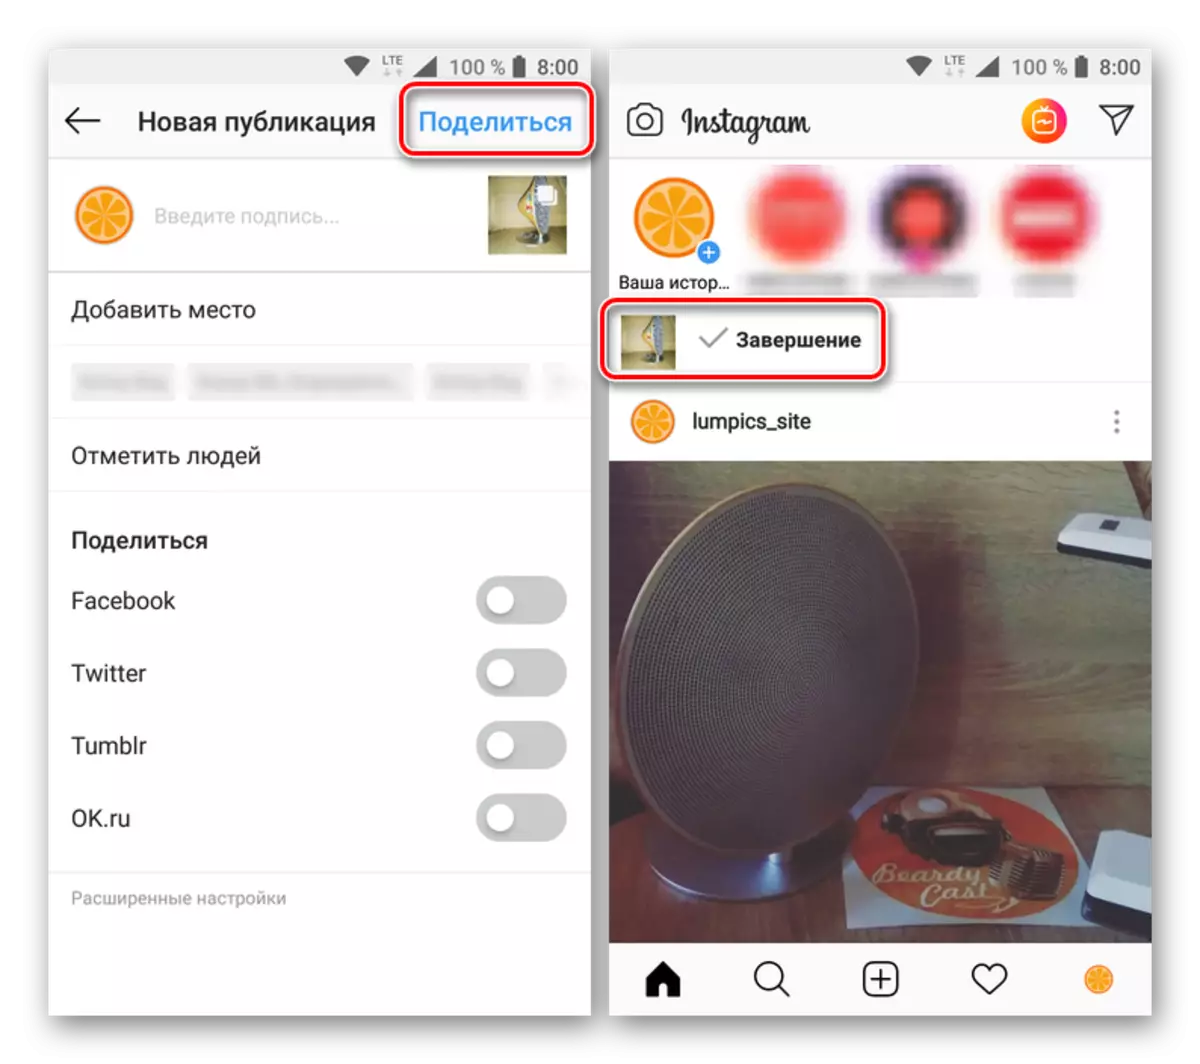
- On the creation page of the new publication, if you think necessary, add a description to it, specify the place of shooting, tick people, as well as squeeze your post to other networks. Having finished with the design, click "Share".
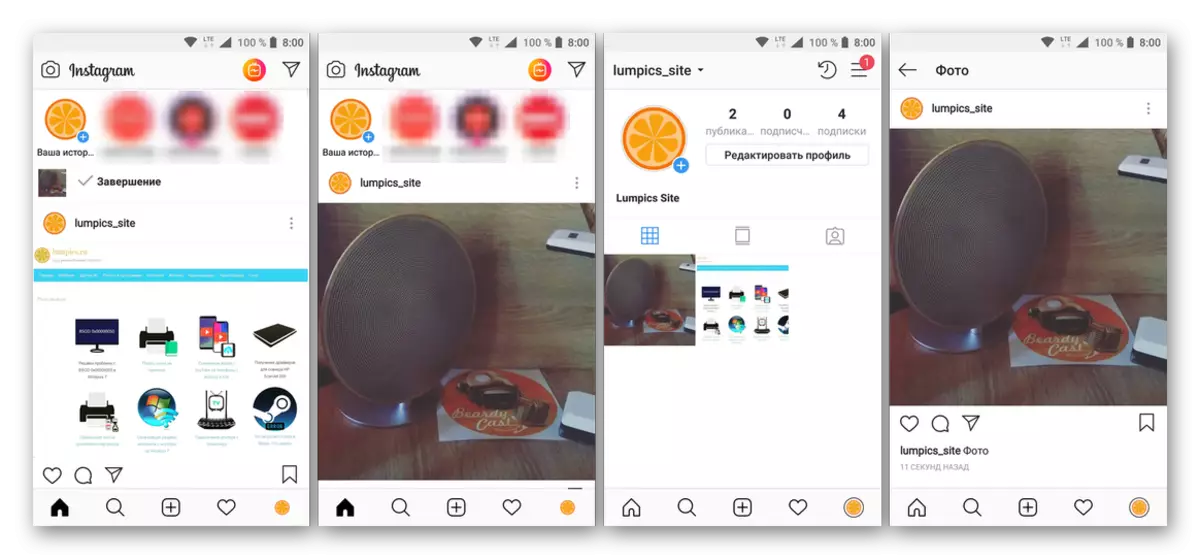
- After a small download created and the photo you processed will be published in Instagram. It will appear in the tape and on the page of your profile, where it can be viewed.

Thus, without leaving the application interface, you can make a suitable snapshot, process and improve it through embedded filters and editing tools, and then publish on your page.
Option 3: Carousel (several pictures)
Recently, instagram removed the restriction of "one photo - one publication" from my users. Now in the post can be contained up to ten pictures, the function itself received the name "Carousel". Tell me how to "ride".
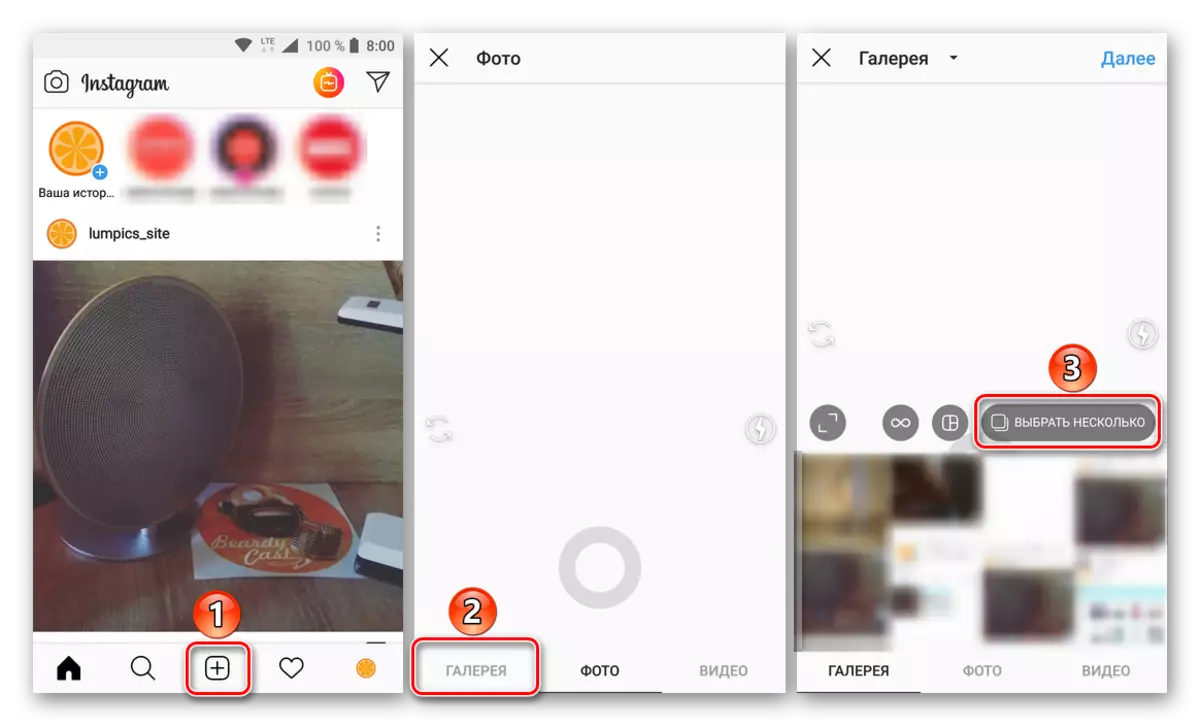
- On the main page of the application (tape with publications), tap the add button to add a new record and go to the "Gallery" tab, if it is not open by default. Click on the "Select Multiple" button.
- In the image list displayed in the bottom area, find and highlight the (tap on the screen) those you want to publish in one post.
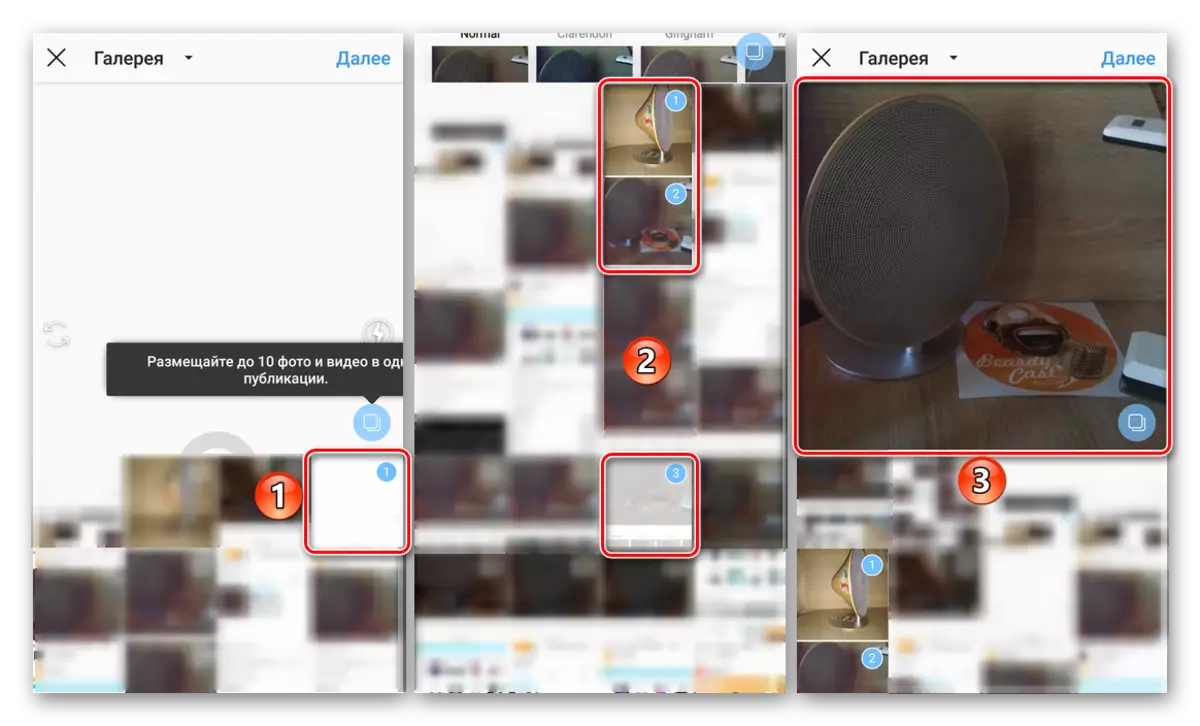
Note: If the necessary files are in another folder, select it from the drop-down list in the upper left corner.
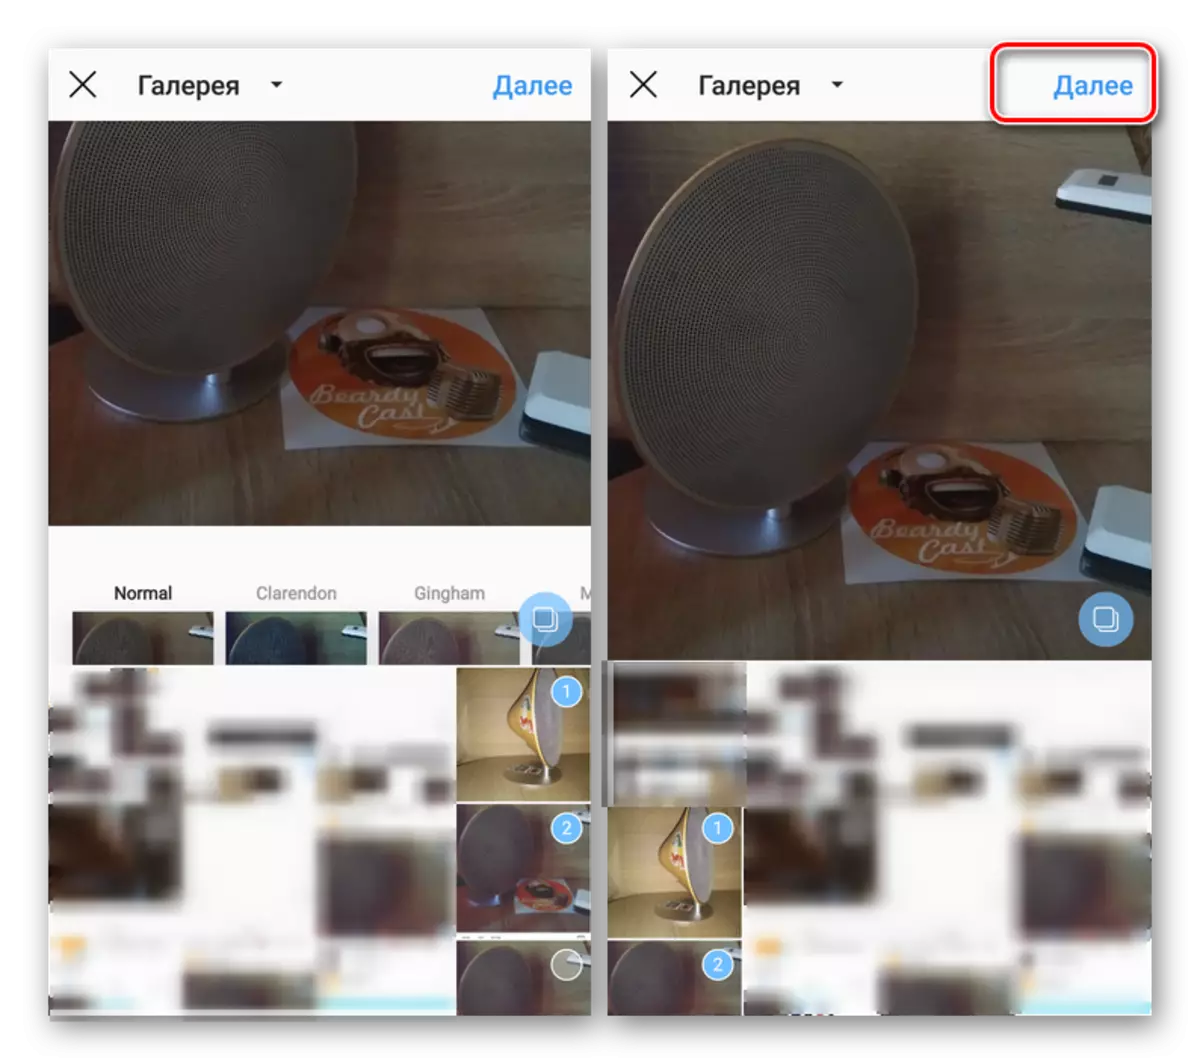
- Noting the necessary pictures and making sure that they would fall into the "Carousel", click on the "Next" button.
- Apply filters to images, if there is such a need, and again click "Next".
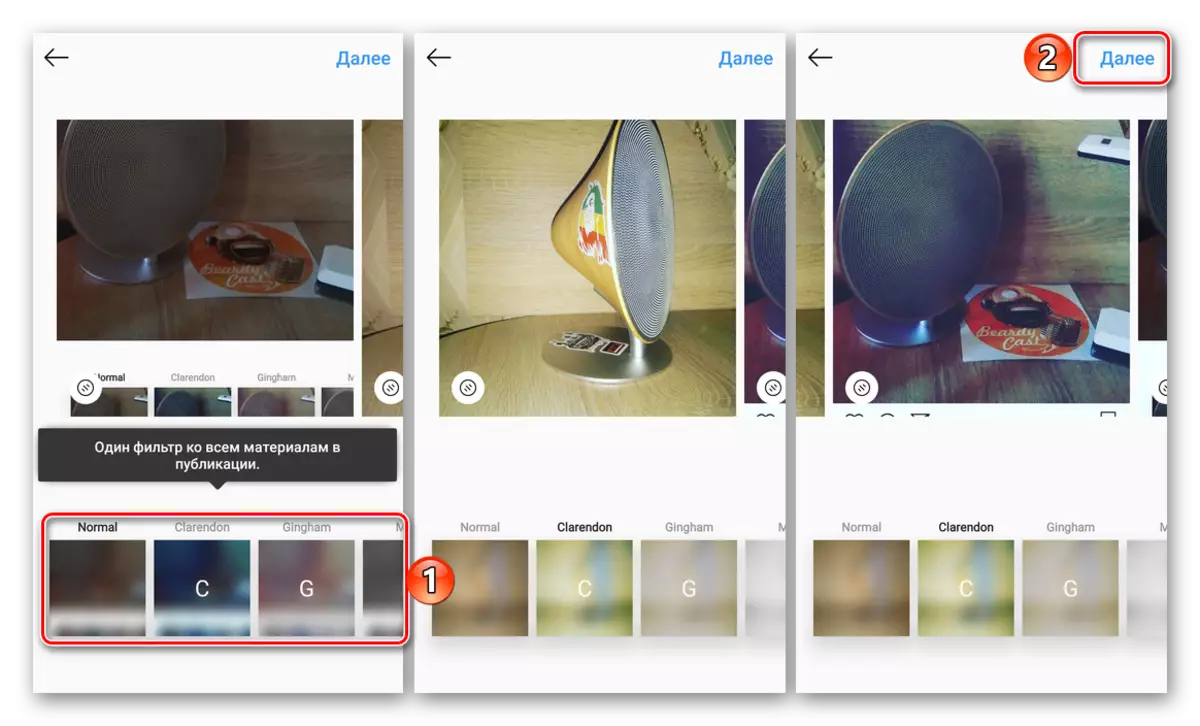
Note: According to quite obvious, the Instagram reasons do not provide the ability to edit several photos at once, but a unique filter can be applied to each of them.
- By adding a signature, location and other information or ignoring this feature, click "Share".
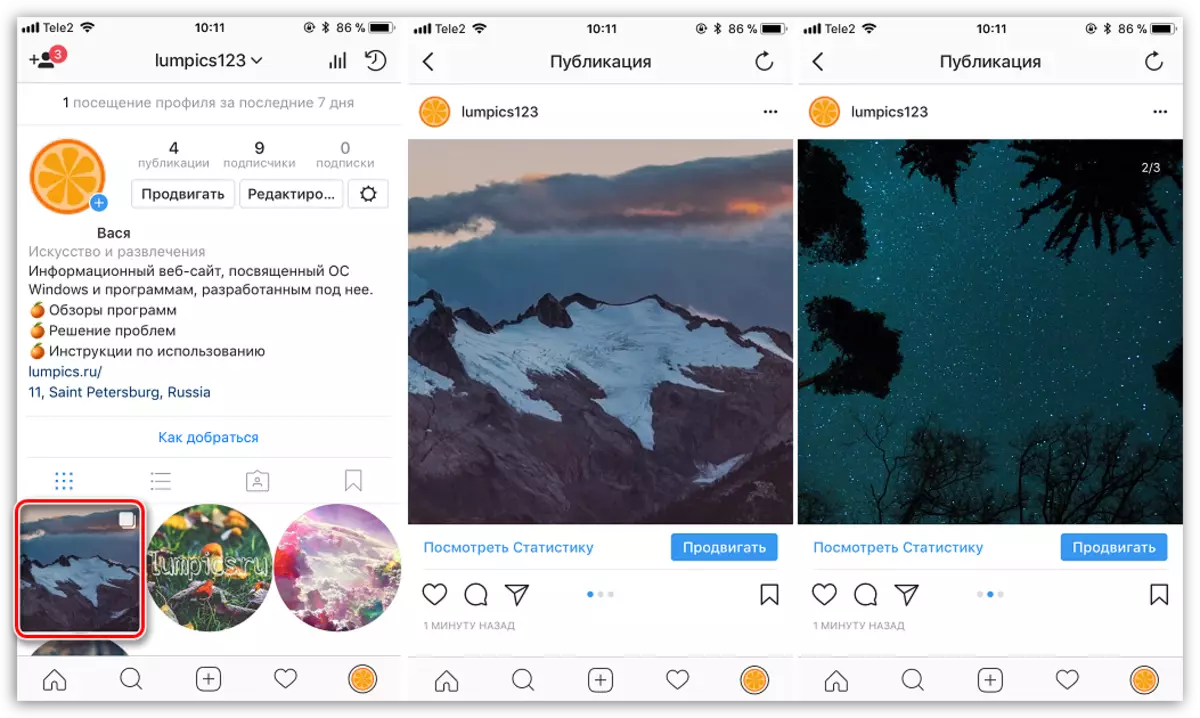
After a brief loading "Carousel" from your selected photos will be published. To view them, just swipe your finger across the screen (horizontally).

iPhone.
Holders of mobile iOS databases can also add their photos or any other ready-made images in Instagram by selecting one of the three available options. This is done in the same way as in the cases described above with Android, the difference lies only in small external differences between interfaces dictated by the features of operating systems. In addition, all these actions were previously reviewed by us in separate materials with which we recommend to familiarize themselves.

Read more: How to publish a photo in Instagram on the iPhone
Obviously, not only single photos or pictures can be published in Instagram for an iPhone. Users of the Apple Platform also access the "Carousel" function, which allows you to make posts containing up to ten photographs. In one of our articles, we already wrote, as is done.
Read more: How to create "Carousel" in Instagram
Conclusion
Even if you just start to master the instagram, deal with the work of the main function - the publication of the photo is not difficult, especially if you use the instructions offered by us. We hope this material turned out to be useful for you.