

There are situations where you want to disable the keyboard from the computer, for example, when it is damaged or simply to prevent accidental pressing on the buttons. In stationary PC, this is done elementary by disconnecting the plug from the socket of the system unit. But with laptops, everything is not so simple, since the keyboard is built into them. Let's figure it out how you can still turn it off from the specified type of computer devices with the Windows operating system 7.
There is another option to disconnect the keyboard in this program.
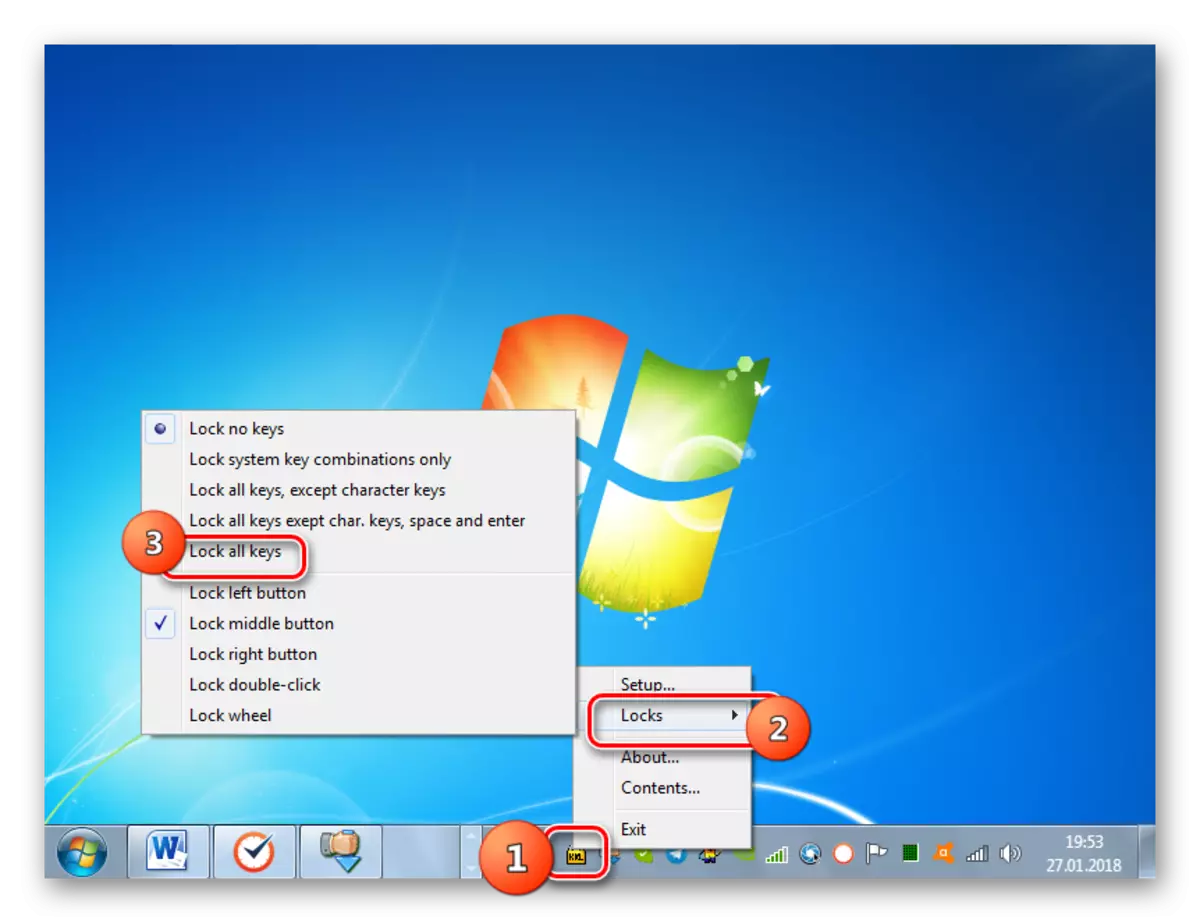
- Right-click (PCM) on its tray icon. Choose from the "Locks" list, and then put a mark near the position "Lock All Keys".
- The keyboard will be disabled.
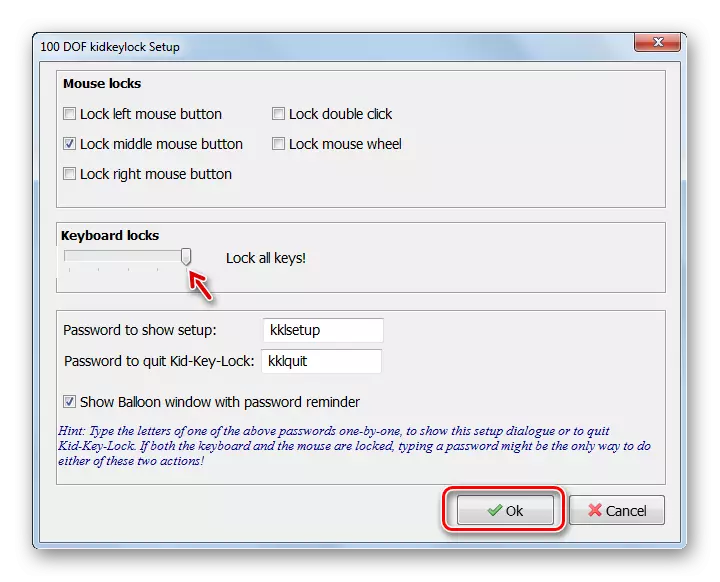
In addition, in this program in the Mouse Locks section, you can disable individual mouse buttons. Because if some button stops working, check the application settings.

Method 2: KeyFreeze
Another convenient program for disconnecting the keyboard on which I would like to stop in detail, called KeyFreeze.
Download KeyFreeze
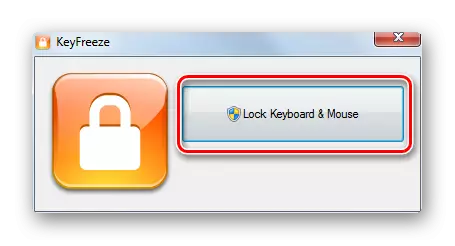
- Run the application file application. It will be installed on a computer. From the user no additional installation actions are required. The window will then open, in which there will be the only button "Lock Keyboard and Mouse". When you click on it, the mouse lock and keyboard procedure will start.
- Lock will occur in five seconds. The countdown timer will be visible in the program window.
- To unlock, apply the Ctrl + Alt + Del combination. The operating system menu opens and in order to exit it and go to normal operation, press ESC.

As you can see, this method is simple for simplicity what to many users like.
Method 3: "Command Line"
To disable the standard laptop keyboard, there are methods, when using which you do not need to install third-party software. One of these action options is to use the "command line".
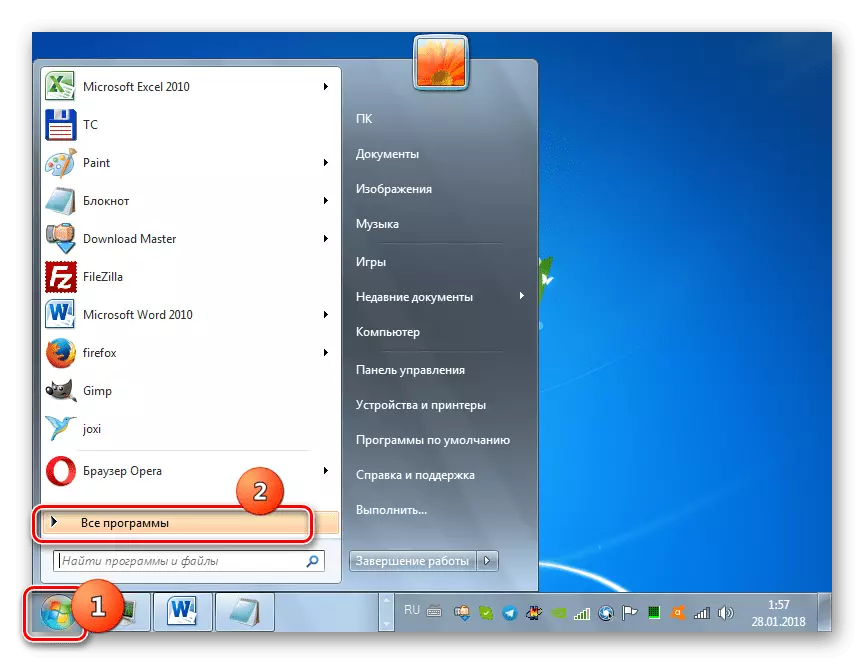
- Click "Menu". Open all programs.
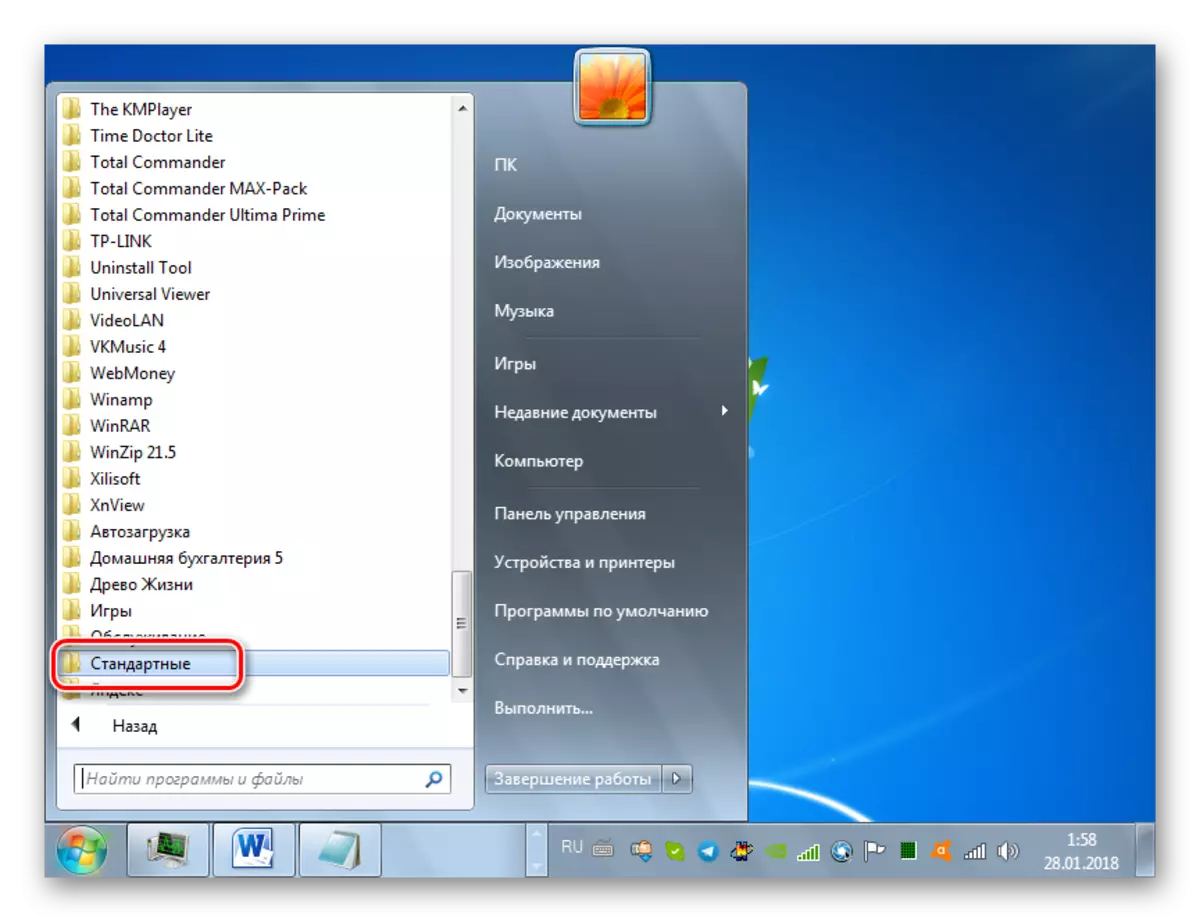
- Go to the "Standard" directory.
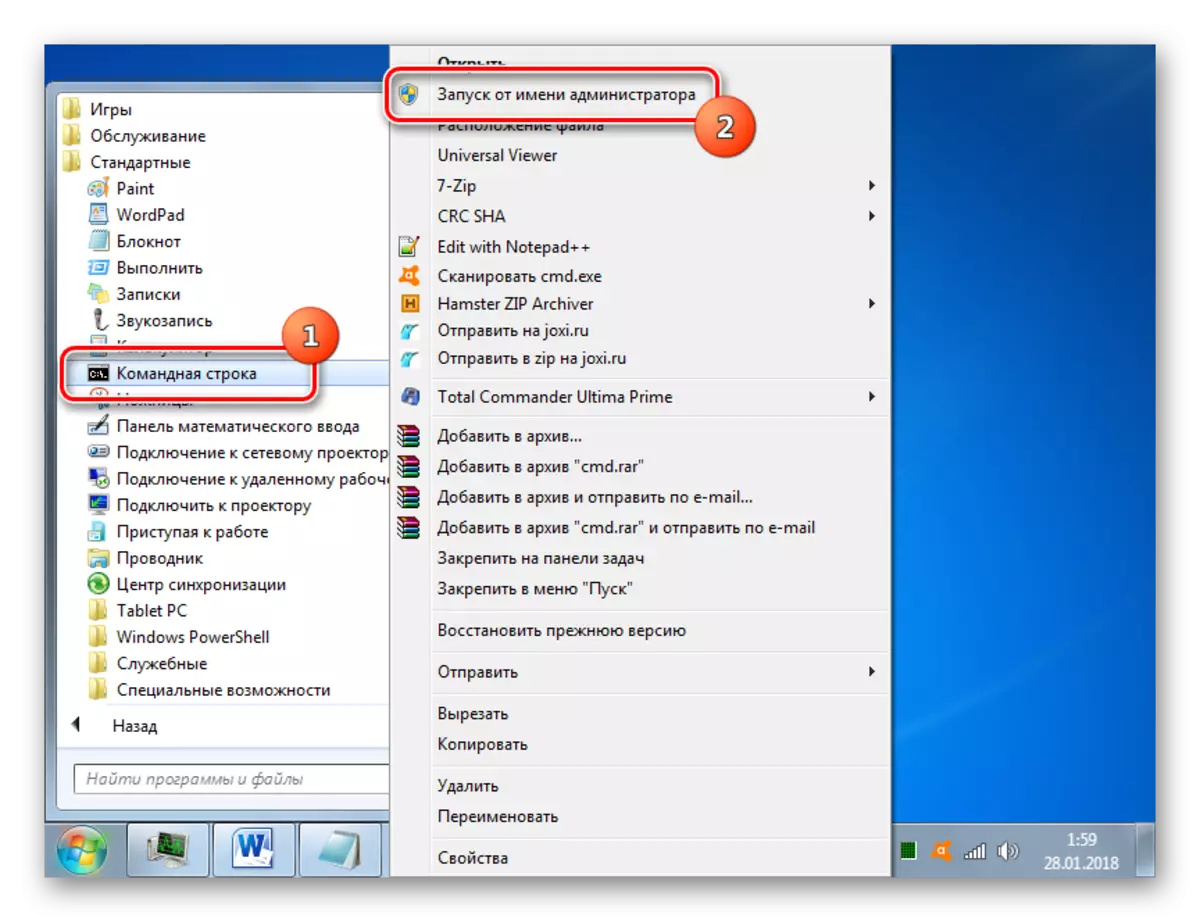
- Having found the Inscription "Command Line" Click on it PCM and click "Run on the name of the administrator."
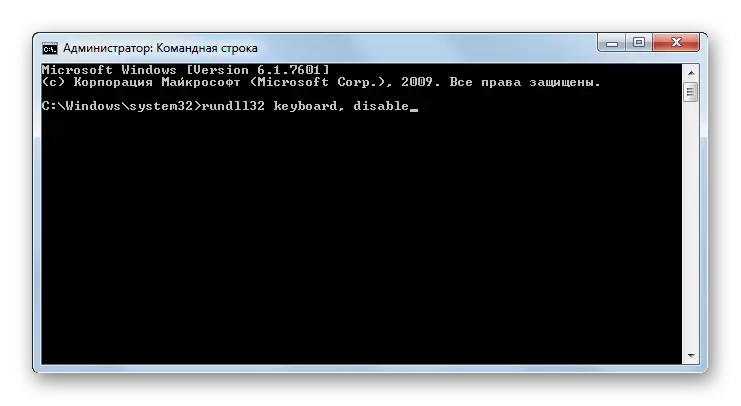
- The "Command line" utility is activated with administrative powers. Enter into its shell:
Rundll32 Keyboard, Disable
Apply Enter.
- The keyboard will be disabled. If necessary, it can be activated again through the "Command Line". To do this, enter:
Rundll32 Keyboard, Enable
Click ENTER.

If you have not connected to a laptop an alternative data entry device via USB or through another connector, you can enter the command using copy and insert using the mouse.
Lesson: Run "Command Line" in Windows 7
Method 4: "Device Manager"
The following method also does not intend to achieve the use of the software installed software to achieve the goal, since all the necessary actions are performed in the "Device Manager" windows.
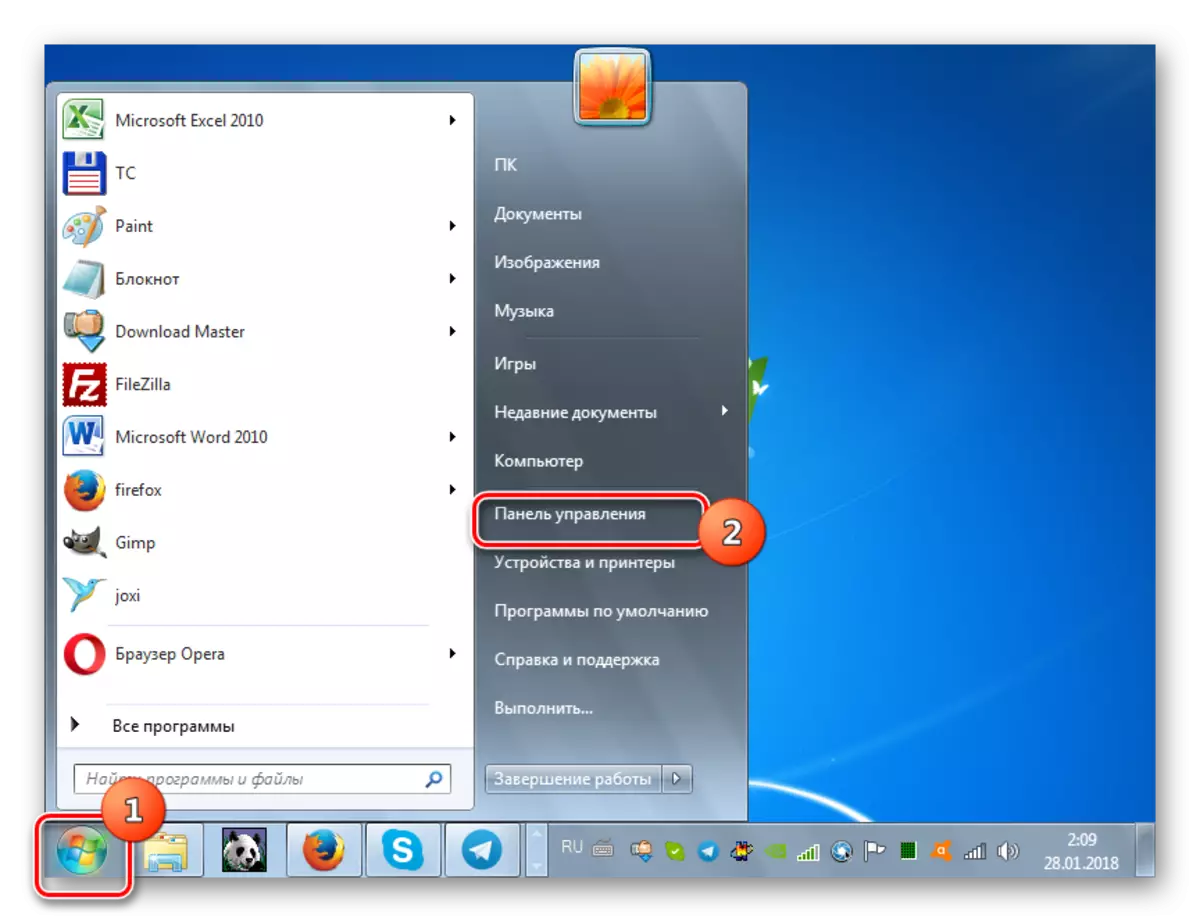
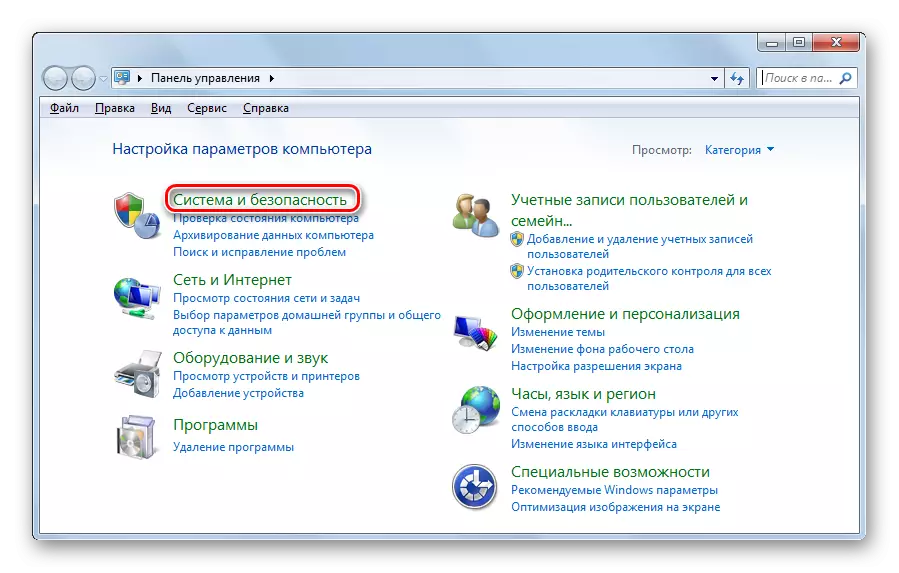
- Click "Start" and go to the control panel.
- Choose "System and Security".
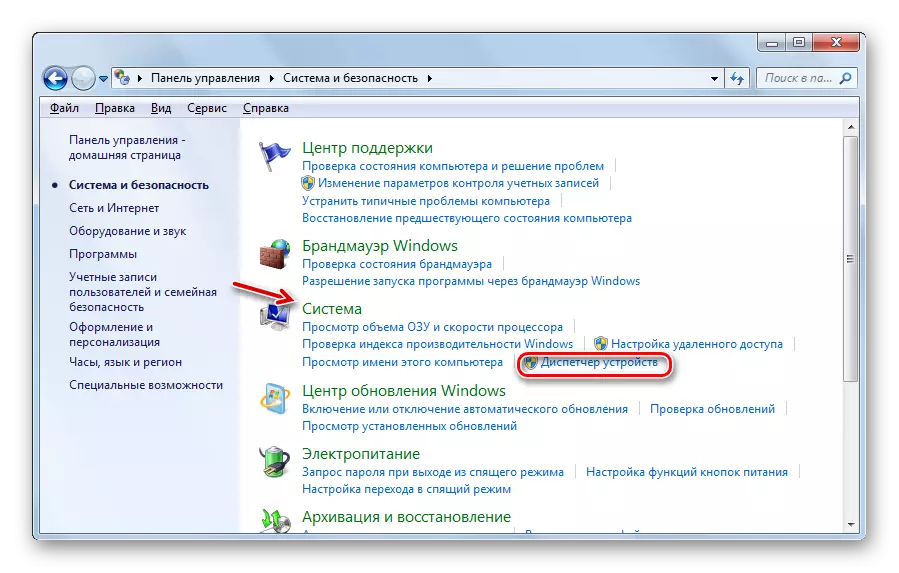
- Among the Block items "System", go to the "Device Manager".
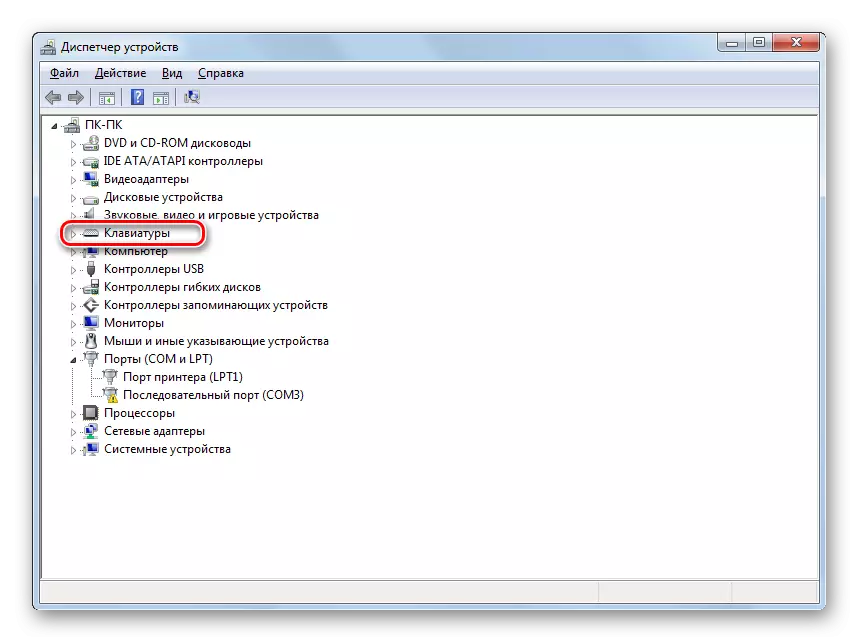
- The "Device Manager" interface will be activated. Find the "Keyboard" item in the list of devices and click on it.
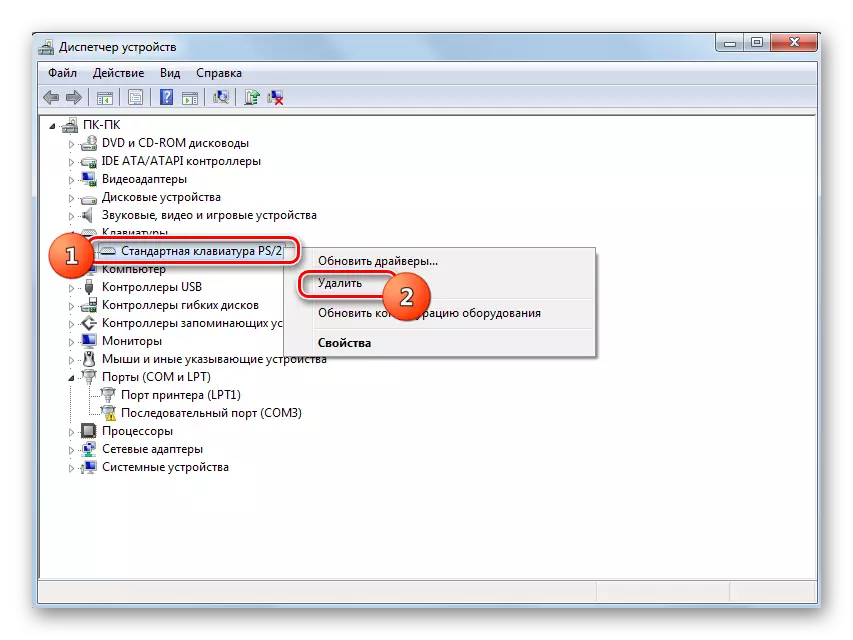
- The list of connected keyboards opens. If only one type of this type is connected at the moment, then only one name will be in the list. Click on the PCM. Select "Disable", and if this item is not, then "Delete".
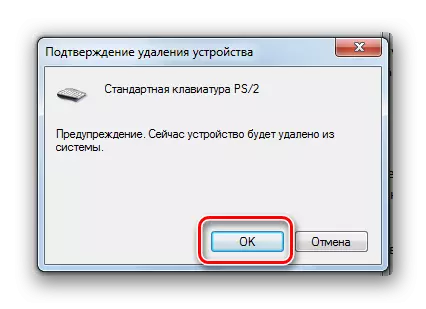
- In the dialog box that opens, confirm your actions by clicking OK. After that, the device will be disabled.
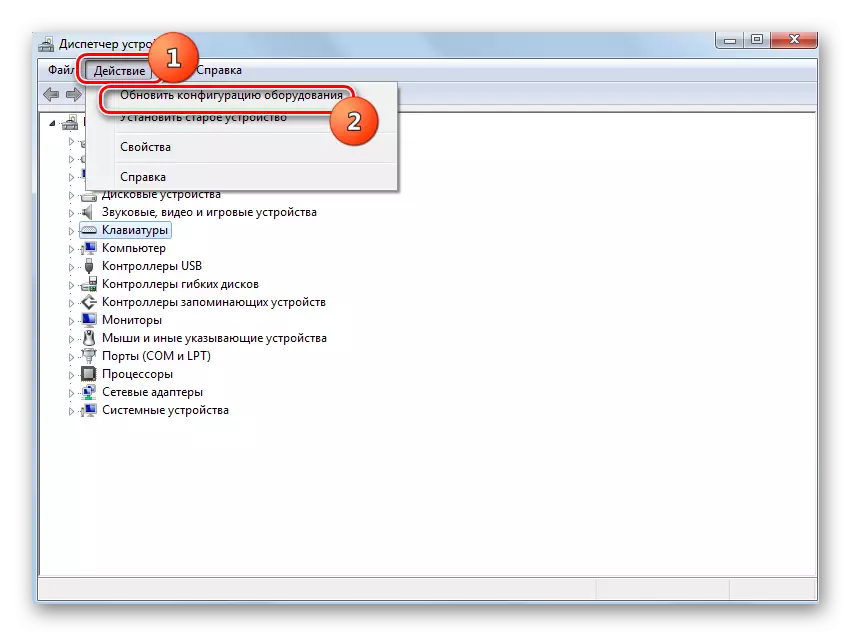
- There is a natural question, what to do if the standard input device is turned off in this way, you will need to activate again. Click in the horizontal menu "Device Manager" Position "Actions" and select the option "Update Equipment Configuration".
Lesson: Run "Device Manager" in Windows 7
Method 5: "Group Policy Editor"
You can also deactivate the standard data entry device using a built-in system tool, called the "Group Policy Editor". True, this way can only be used in the following editions of Windows 7: Enterprise, Ultimate and Professional. But in the editors of Home Premium, Starter and Home Basic, it will not work, as there is no access to the specified tool.
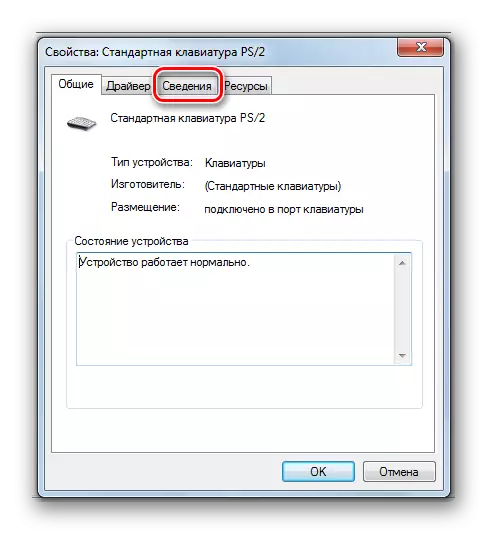
- But first of all, we will need to open the "Device Manager". How to do this, describes in the previous way. Click on the keyboard item, and then click on the name of a specific device. In the displayed list, select "Properties".
- In a new window, go to the "Details" section.
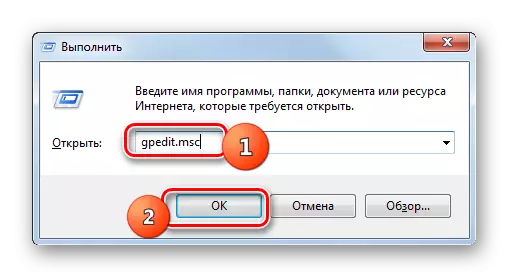
- Now you can activate the group policy editing shell. Call the "Run" window by typing Win + R. Drive in the field:
gpedit.msc.
Click OK.
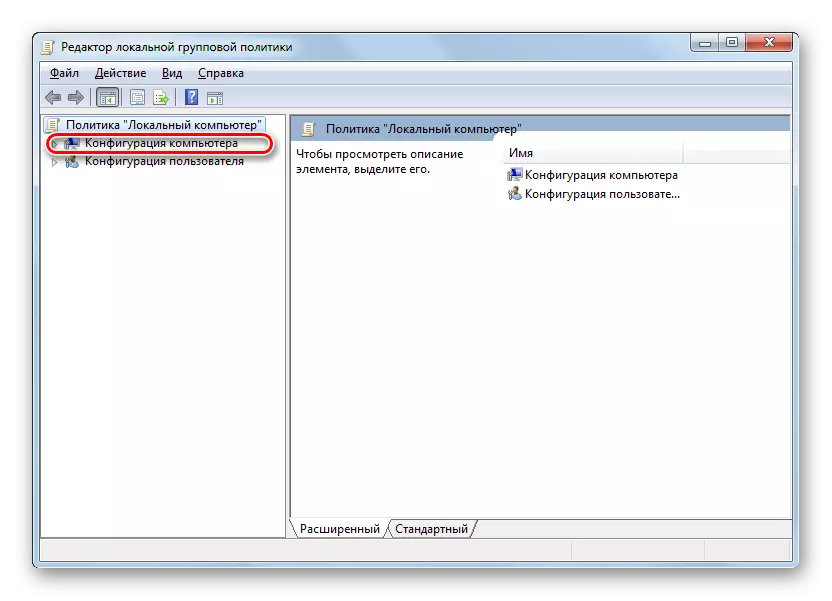
- The shell of the tool we need will be launched. Click on the computer configuration item.
- Next, choose "Administrative Templates".
- Now you need to go to the "System" folder.
- In the list of directories, log in to "Installing the Device".
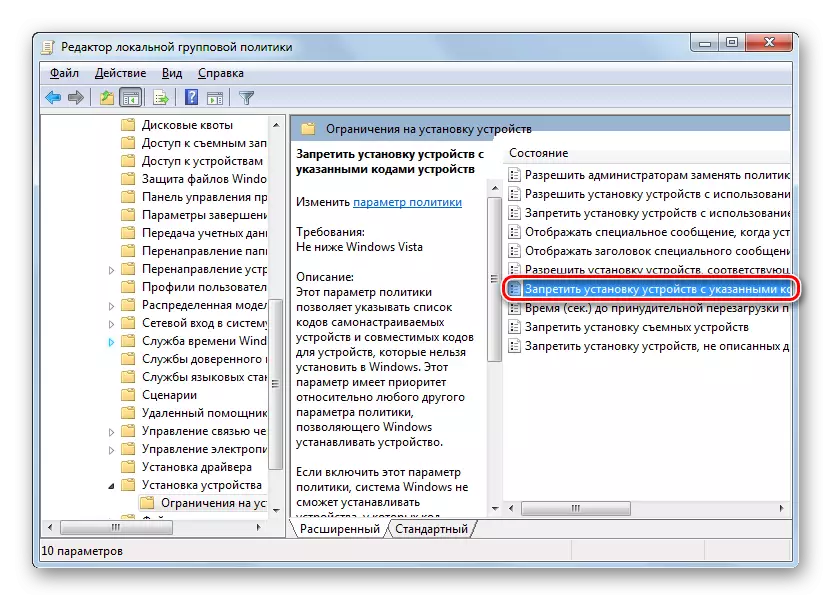
- Then go to the "Device Installation Restrictions".
- Select the "Control of the installation of devices with the specified codes ...".
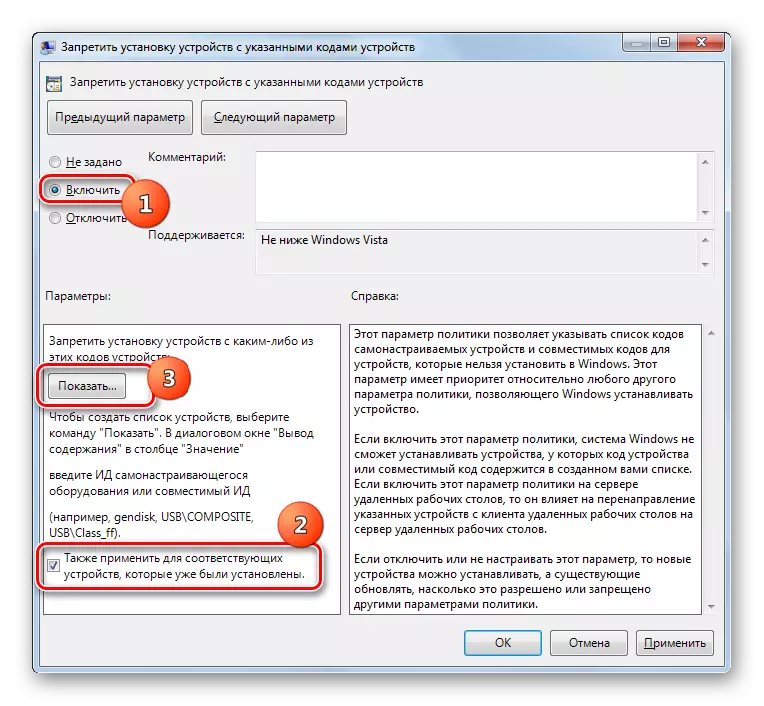
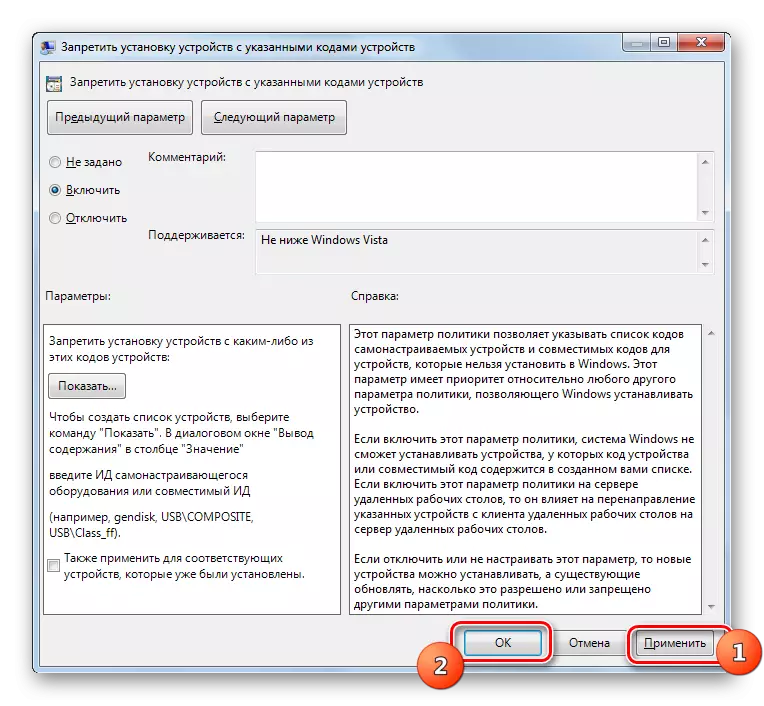
- A new window will be opened. Rearrange in it radio button to "Enable". Put the mark at the bottom of the window opposite the item "Also apply ...". Click on the "Show ..." button.
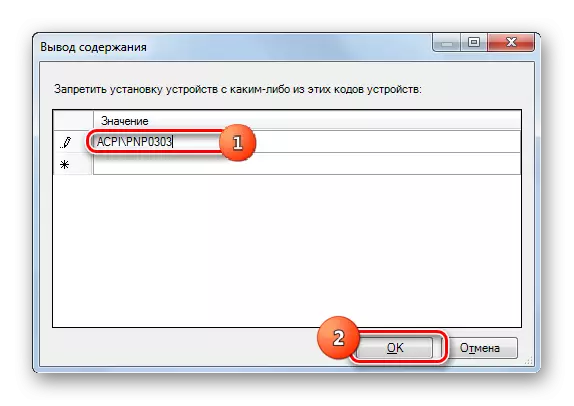
- The "Enter Content" window opens. Enter the information you copied in this window that you are copied or recorded by being in the keyboard properties in the Device Manager. Click "OK".
- Returning to the previous window, press "Apply" and "OK".
- After that restart the laptop. Click "Start". Next click on the triangle icon to the right of the "Shutdown" button. From the list, select "Reboot".
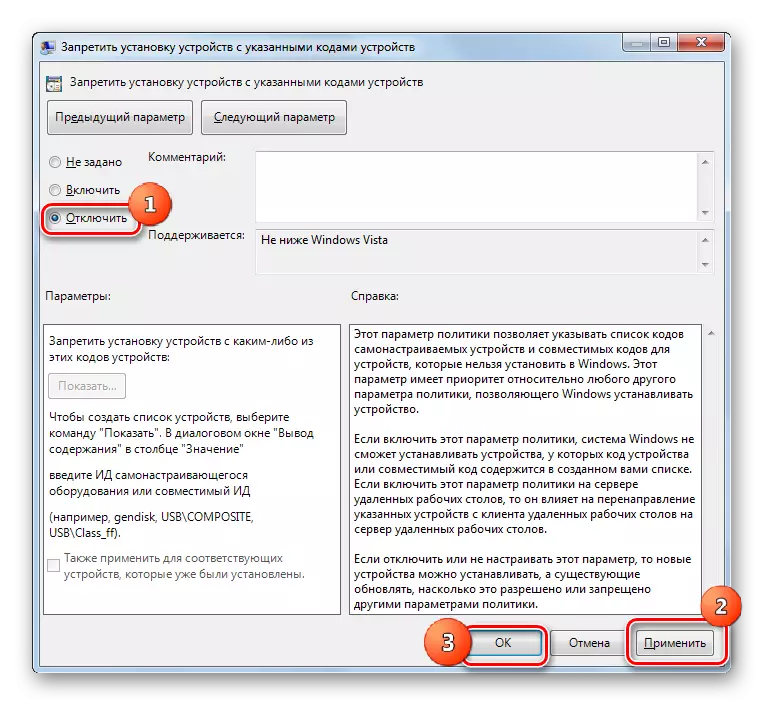
- After restarting the laptop, the keyboard will be disabled. If you want to turn it on again, then again go to the "Pre-install Device Installation" window in the Group Policy Editor, set the radio button to "Disable" and click on "Apply" and "OK" items. After rebooting the system, the standard data entry device will work again.

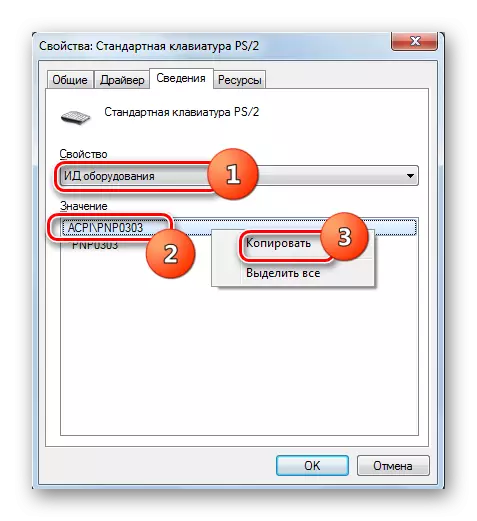
In the "Property" field from the list of the list, select "Equipment ID". In the "Value" area, the information you need will be displayed for further action. You can burn it or copy it. To copy, click on the inscription PCM and select "Copy".


As you can see, turn off the laptop keyboard in Windows 7, as standard, and by installing third-party programs. The algorithm of the second group of methods is somewhat simpler than operating with built-in system tools. In addition, the use of the "Group Policy Editor" is not available in all editions of the UK studied. But after all, the use of embedded utilities does not require the installation of additional software, and the manipulations that are necessary to perform with their help set task, if you figure it out, not so complex.