

Sometimes, with a continuous action of high temperatures, video cards or memory chips are sipped. Because of this, various problems occur, ranging from the appearance of artifacts and color strips on the screen, ending with the complete absence of an image. To correct this problem, it is better to contact the service center, but something can be done with your own hands. In this article, we will consider in detail the process of having a graphic adapter.
Heat video card at home
Warming the video card allows you to solder "fenced" elements back, thereby returning the device to life. This process is performed by a special soldering station, with the replacement of some components, however, at home, it is practically unrealistic. Therefore, let's analyze the heating in detail using a construction dryer or iron.Step 2: Warming the video card
The graphic chip is in full availability, now it is necessary to warm it. Please note that all actions should be performed clearly and neatly. Too strong or improper warming can lead to a complete breakdown of the video card. Be carefully follow the instructions:
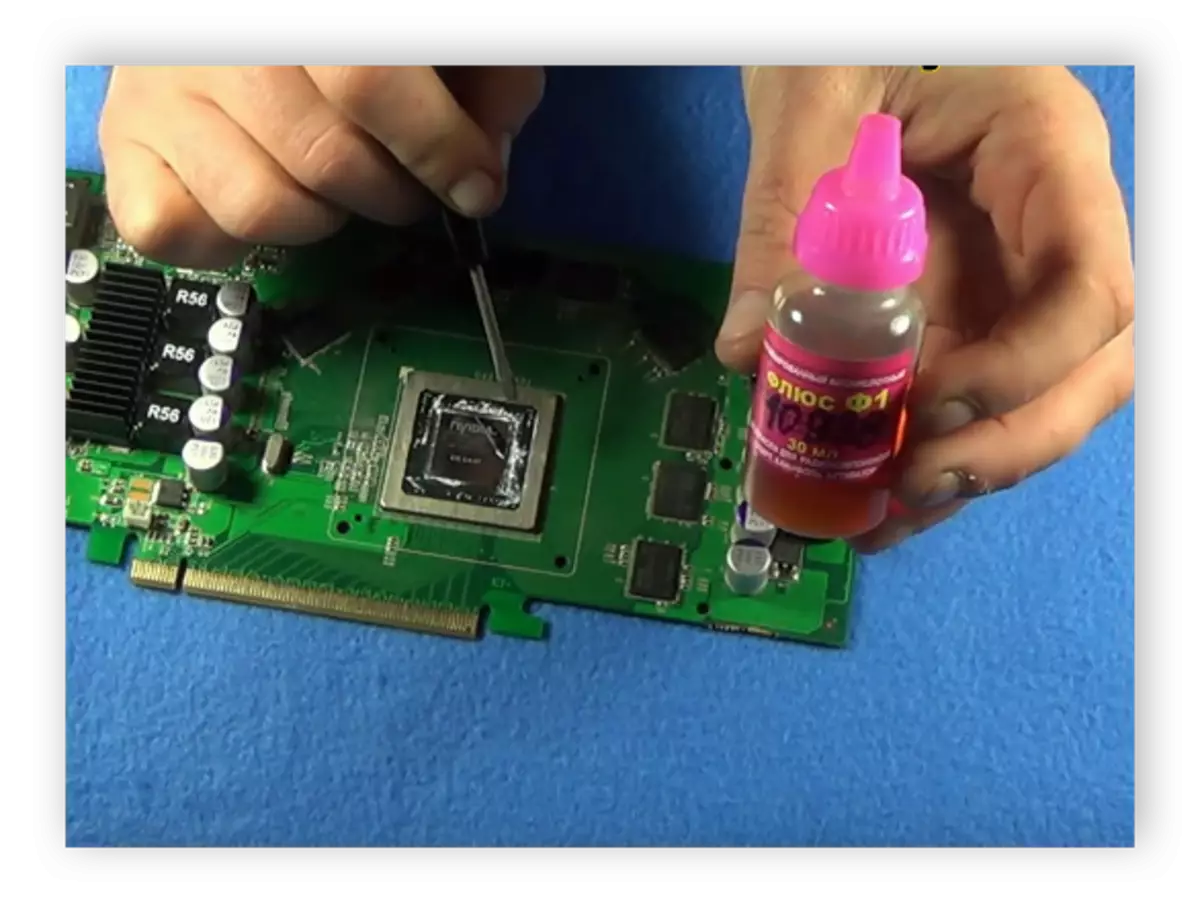
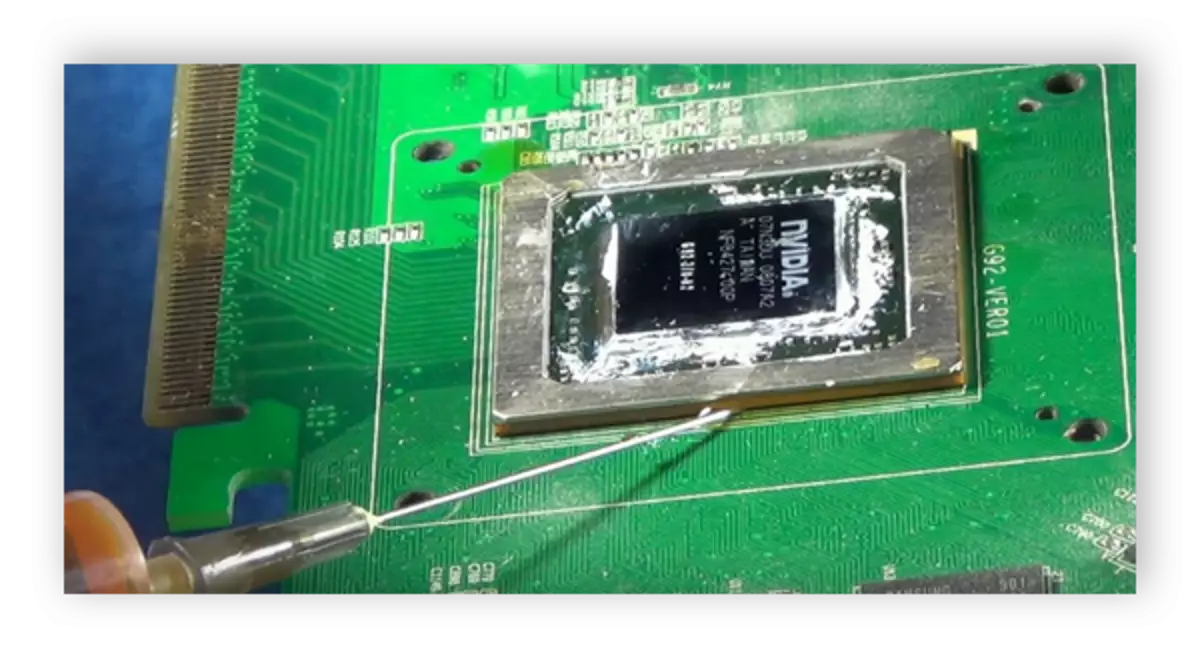
- If you use a construction hairdryer, then buy a liquid flux in advance. It is the liquid suitable that is best, as it is easier for him to penetrate into the chip and boils at low temperatures.
- Type it to the syringe and gently apply along the edge of the chip, without getting the rest of the board. If still somewhere fell extra drop, then it must be wiped out the napkin.
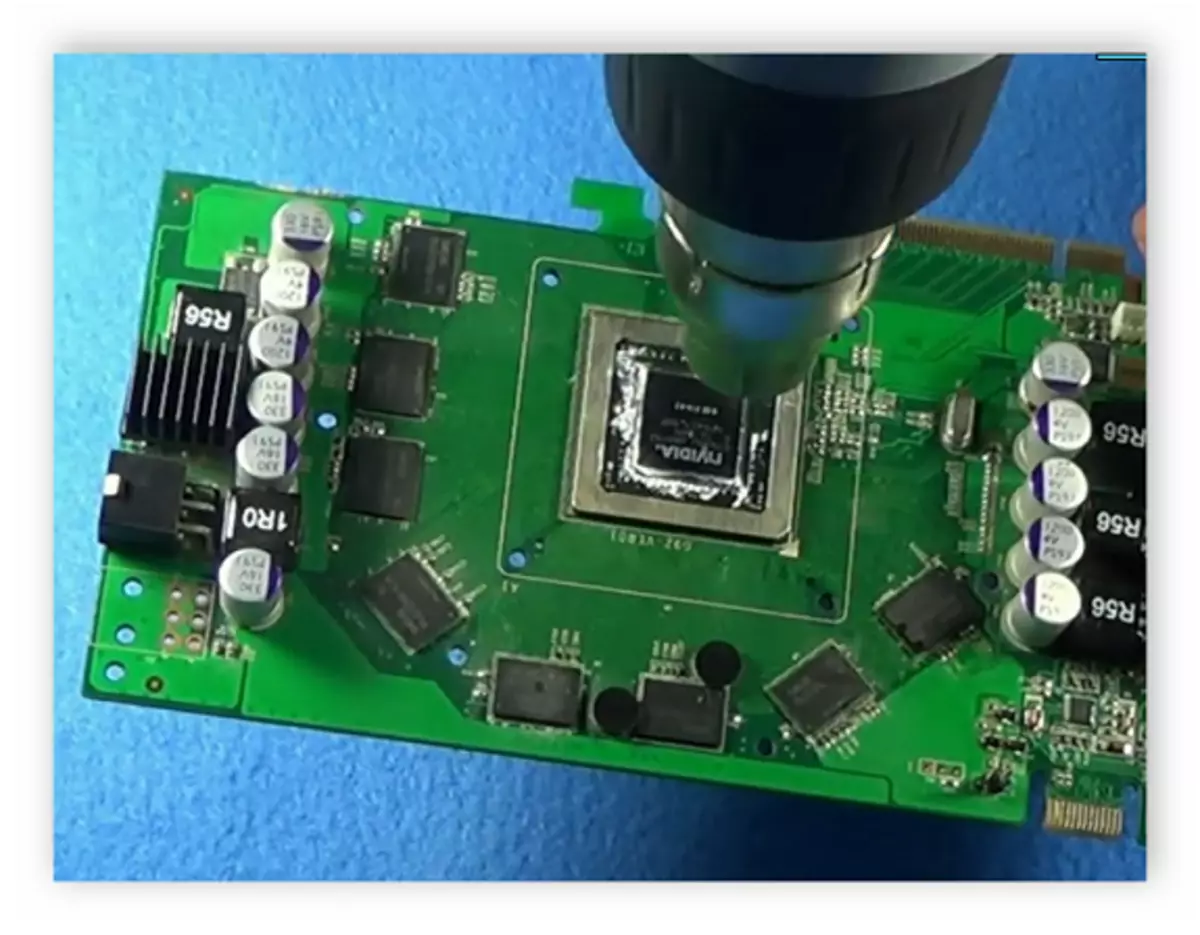
- It is best to put a wooden board under the video card. After that, send a hair dryer to the chip and warm up for forty seconds. After about ten seconds, you must hear how the flux boils, and this means that heating is normal. The main thing is not to bring the hair dryer too close and strictly speaking the warm-up time so as not to melt all other parts.
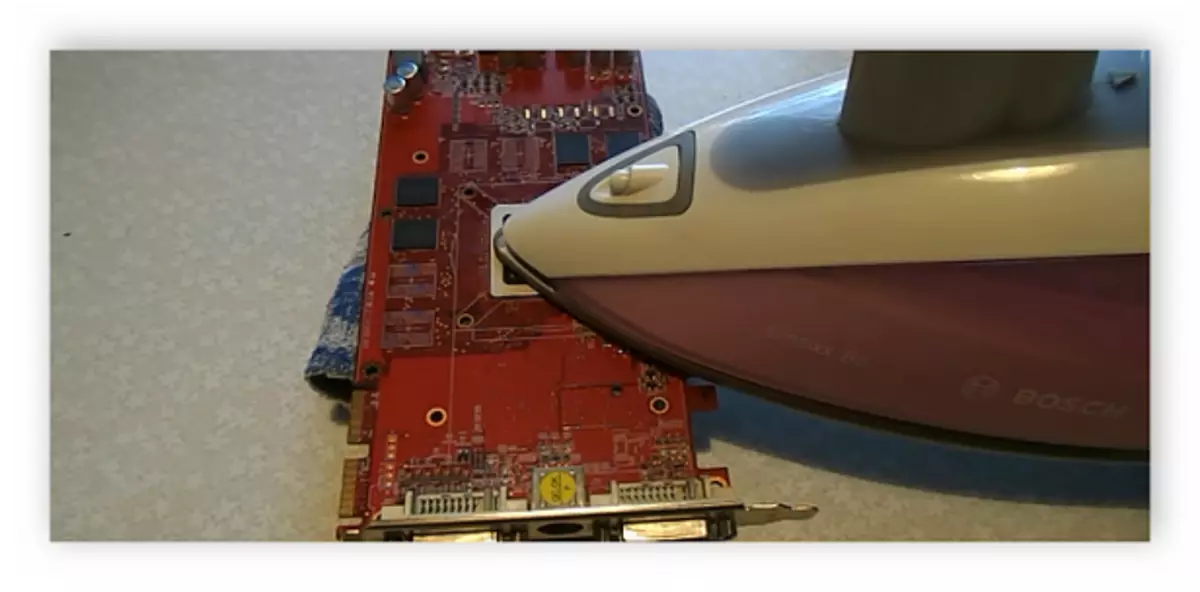
- Warming up the iron is slightly different in time and the principle. Put the cold iron completely on the chip, turn on the minimum power and warm up for 10 minutes. Then set the average value and check for another 5 minutes. It remains only at high power to hold 5-10 minutes, on which the warm-up process will be over. To warm up the iron flux is not needed.
- Wait until the chip cools, and proceed to assembling the map back.
Step 3: Assembling video card
Perform all exactly the opposite - first connect the fan power cable, apply a new thermalist, secure the radiator and insert the video card into the appropriate connector on the motherboard. If there is additional power, do not forget to connect it. Read more about mounting graphic chip in our article.
Read more:
We change the thermal chaser on the video card
Selection Thermal Pasts for Video Card Cooling System
Connect the video card to the PC motherboard
Connect the video card to the power unit
Today we examined in detail the process of heating the video card at home. There is nothing difficult in this, it is important only to perform all actions in the correct order, not to break the time of warming up and do not hurt the rest of the details. This is explained by the fact that not only the chip is heated, but the rest of the fee, as a result of which condensers disappear and it will be necessary to contact the service center for their replacement.
See also: Video card troubleshooting