

In some cases, the Windows operating system should be installed on top of the same operating OS. For example, it makes sense to perform this operation when failures are observed in the system, but the user does not want to fully reinstall, so as not to lose the current settings, drivers, or existing programs. Let's deal with how it can be done.
Step 2: Installation OS
After preparatory procedures were performed, it is possible to move to the immediate installation of the OS.
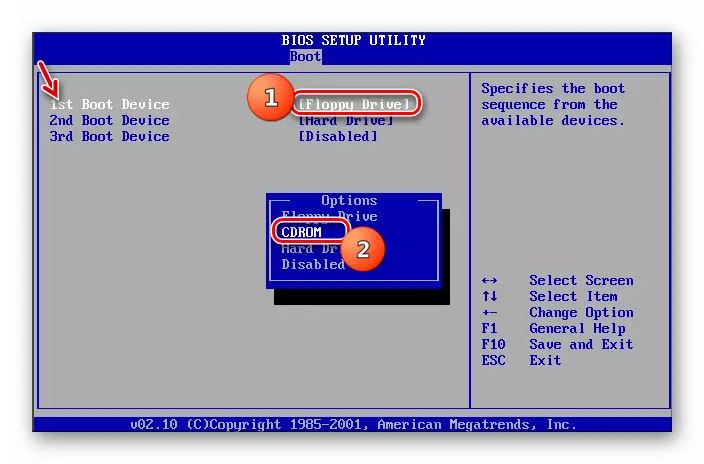
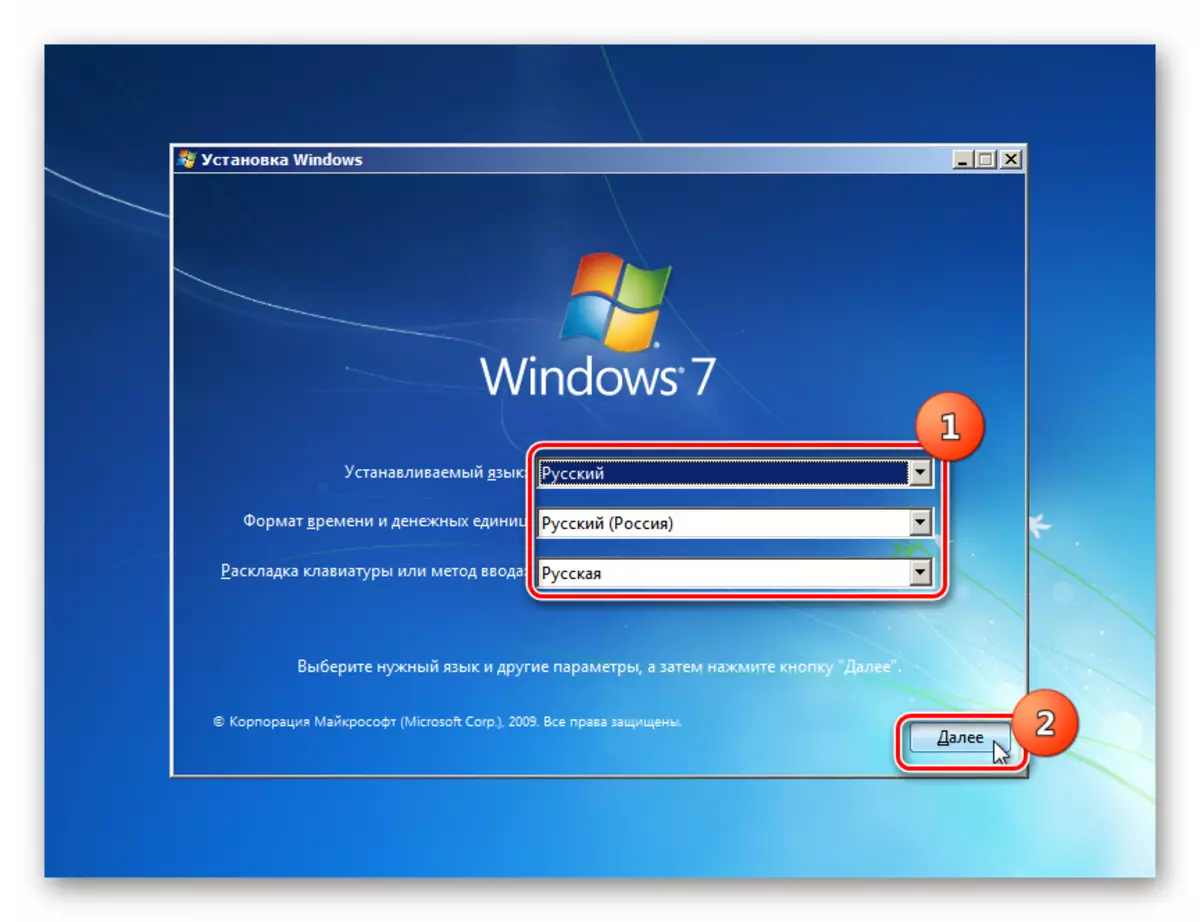
- Insert the disk with a disk drive or the installation flash drive into the USB connector and restart the PC. When you restart, the starting window of the installer will open. Here, specify the language, time format and keyboard layout depending on which initial settings it will be more convenient for the installation procedure. Then click "Next".
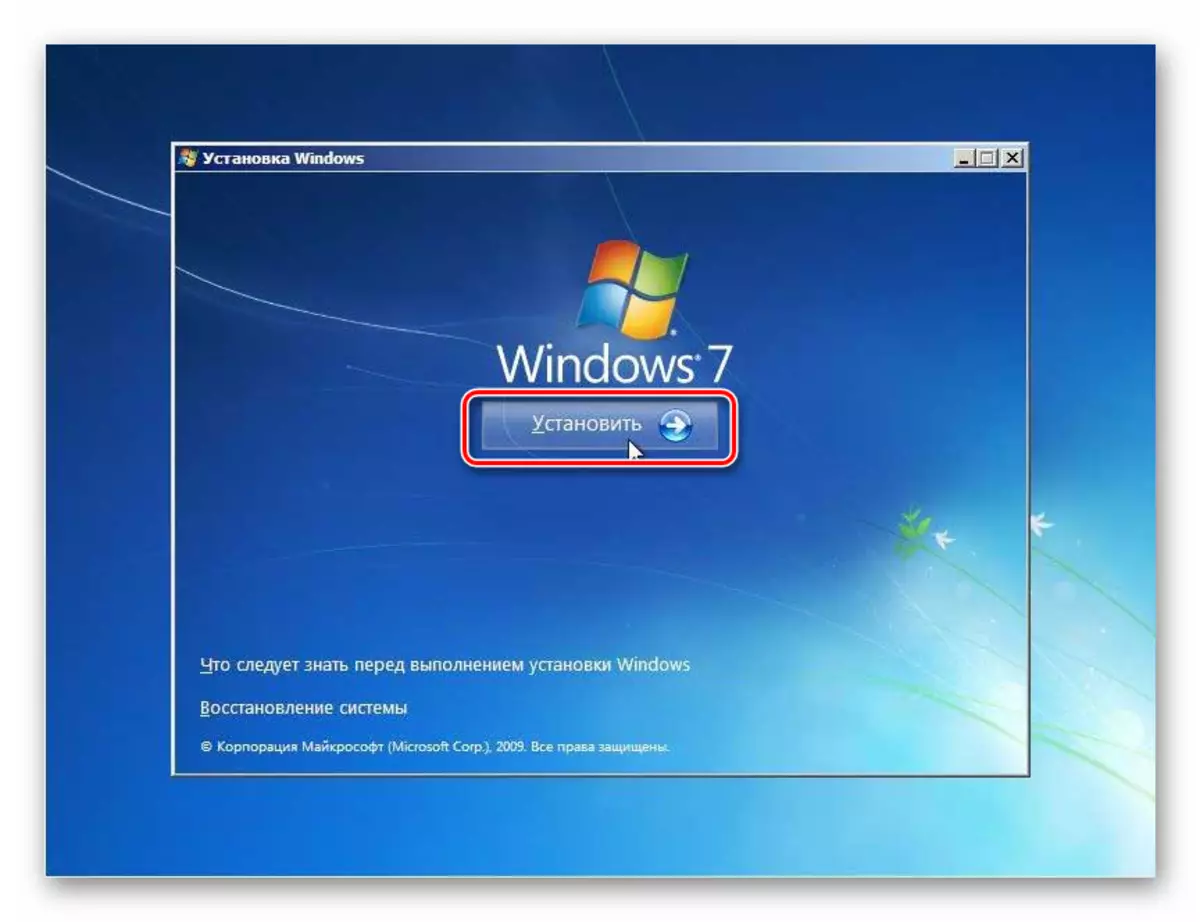
- In the next window, click on the Large "Set" button.
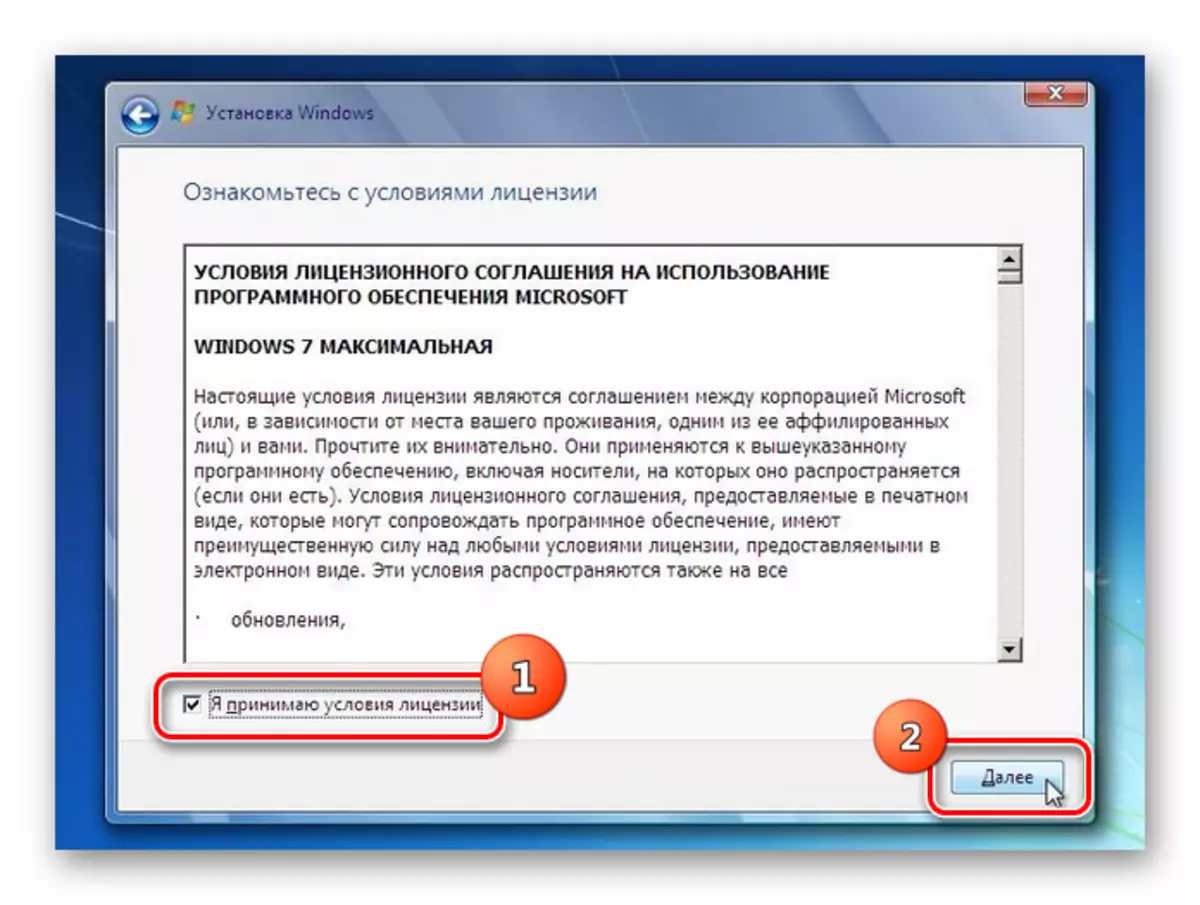
- Next opens the window with the license terms. Without their adoption, you will not be able to carry out further installation. Therefore, put the mark in the appropriate checkbox and click "Next".
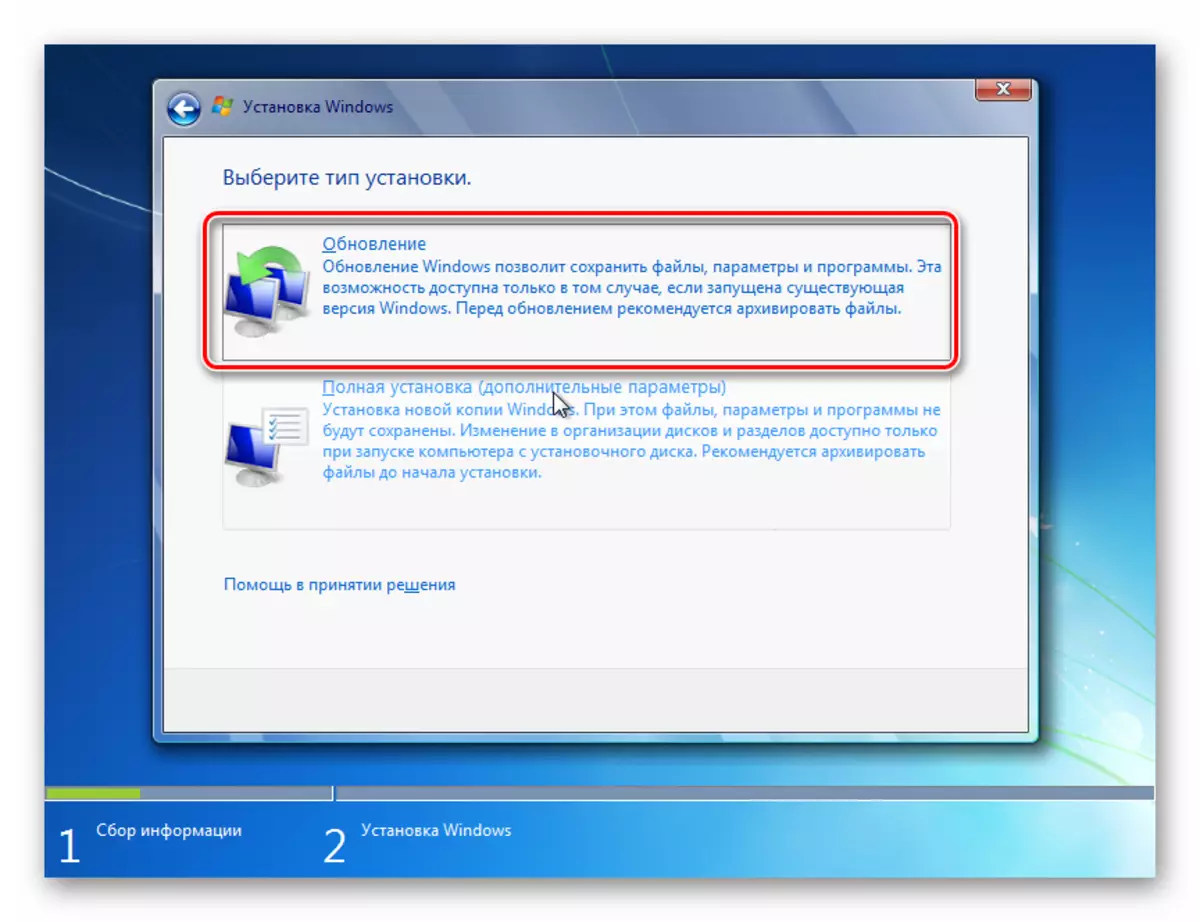
- The installation type selection window opens. Under normal conditions, the installation on the clean section of the Winchester should be selected option "Full Installation". But since we install the system over working windows 7, then in this case click on the "Update" inscription.
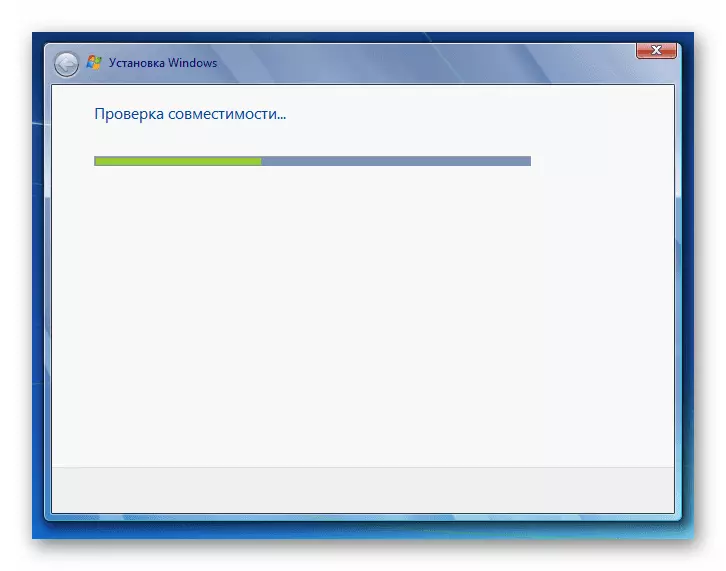
- Next will be completed a compatibility verification procedure.
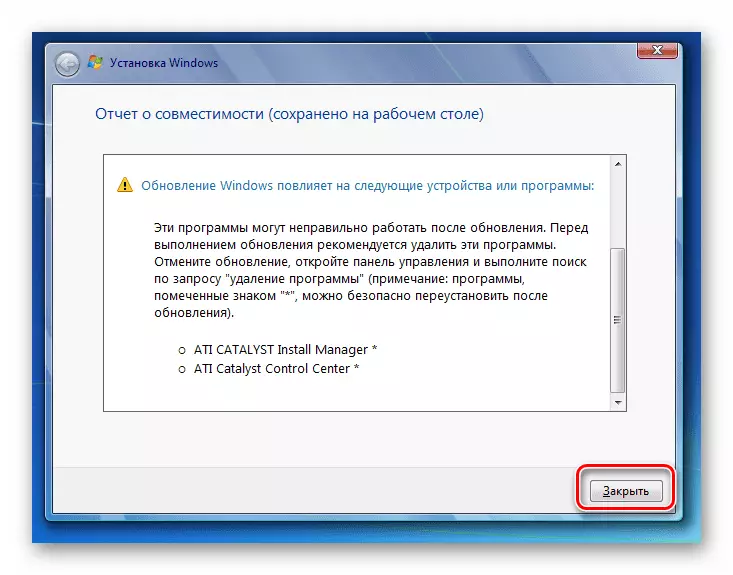
- After its completion, the window will open with a compatibility verification report. It will be indicated which components of the current operating system will affect the installation on top of it by another Windows 7. If the report result is satisfied you, then in this case press "Next" or "Close" to continue the installation procedure.
- Next will begin directly the process of installing the system, and more precisely to speak, its updates. It will be divided into several procedures:
- Copying;
- Collection of files;
- Unpacking;
- Installation;
- Transferring files and parameters.

Each of these procedures will automatically follow one after another, and they can be observed for their dynamics using the percentage informer in the same window. At the same time, the computer will be rebooted several times, but the user intervention is not required here.
Step 3: Post Installation
After the installation is completed, you need to make a number of actions to set up the system and enter the activation key in order to work with it.
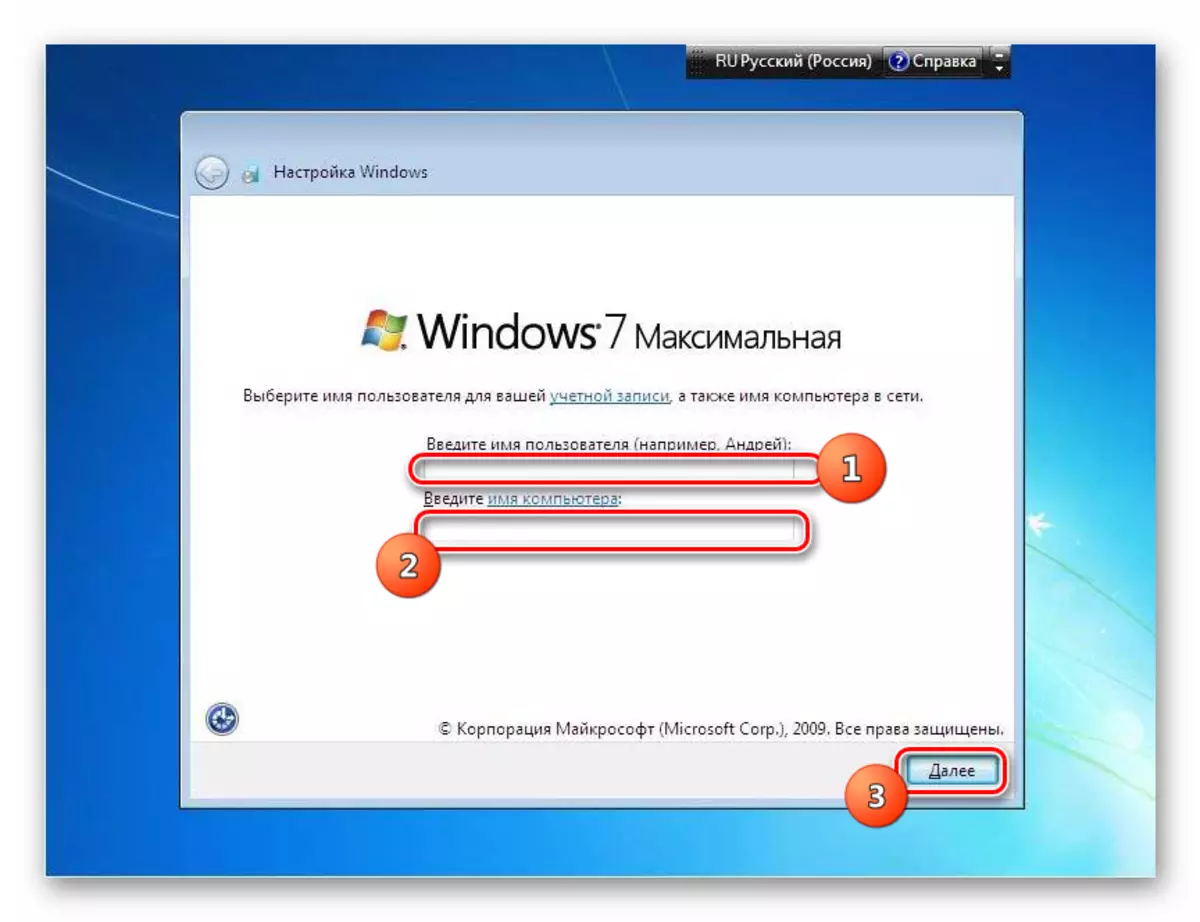
- First of all, the account creation window will open, where you must enter the name of the main profile in the "User Name" field. This may be like the name of the account from the system, on top of which the installation is made and a completely new option. In the bottom field, enter the computer name, but unlike the profile, use only latice letters and numbers. After that, press "Next".
- Then the password input window opens. Here, if you want to improve the security of the system, you must enter twice the password, guided by the generally accepted rules for selecting the code expression. If on the system, on top of which the installation is installed, the password has already been set, then it can be used. At the lowest field, a hint is entered if you forget the keyword. If you do not want to set a similar type of system protection, then just press "Next".
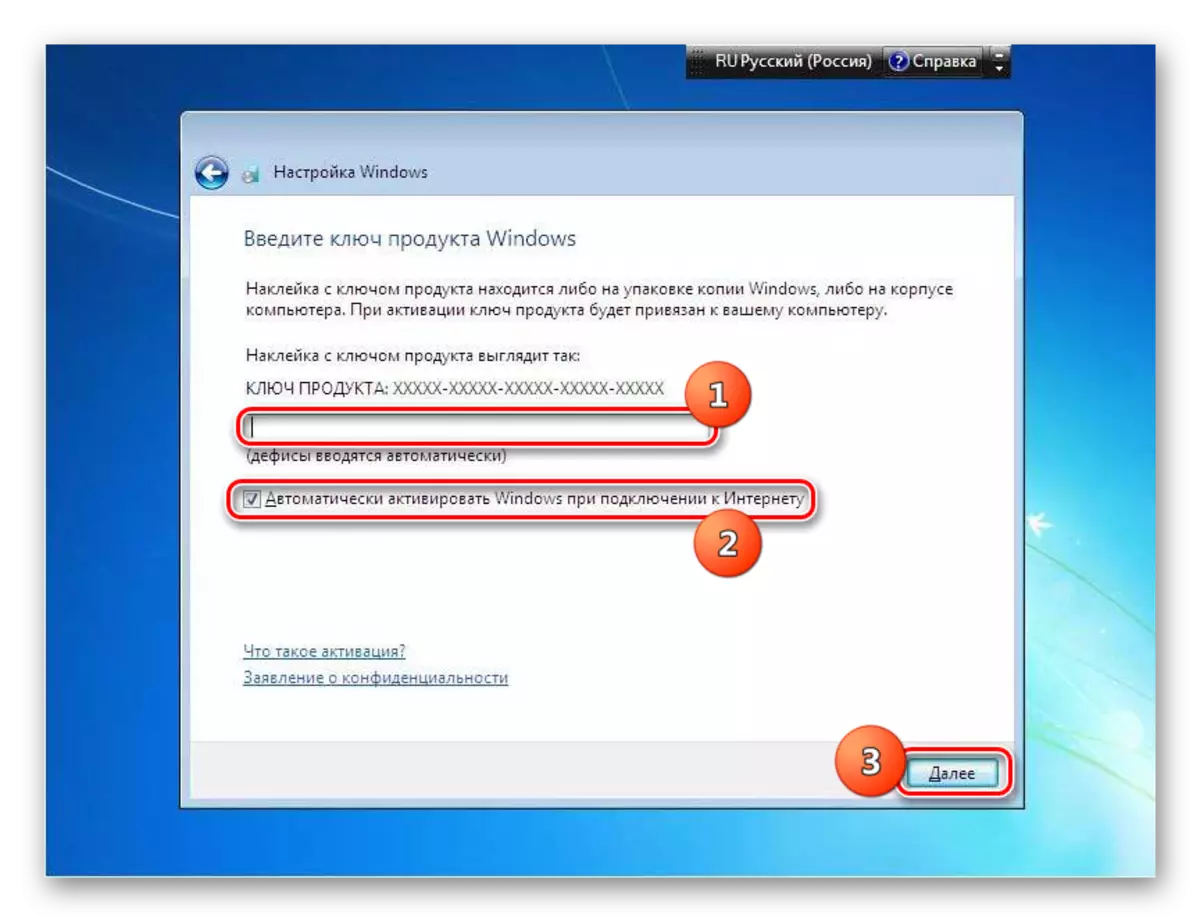
- A window will open where you need to enter the product key. This step puts into a deadlock of some users who think that activation will automatically be pulled from the OS on which the installation is made. But this is not so, so it is important not to lose this activation code, which remains with the time of purchase of Windows 7. After entering the data, press "Next".
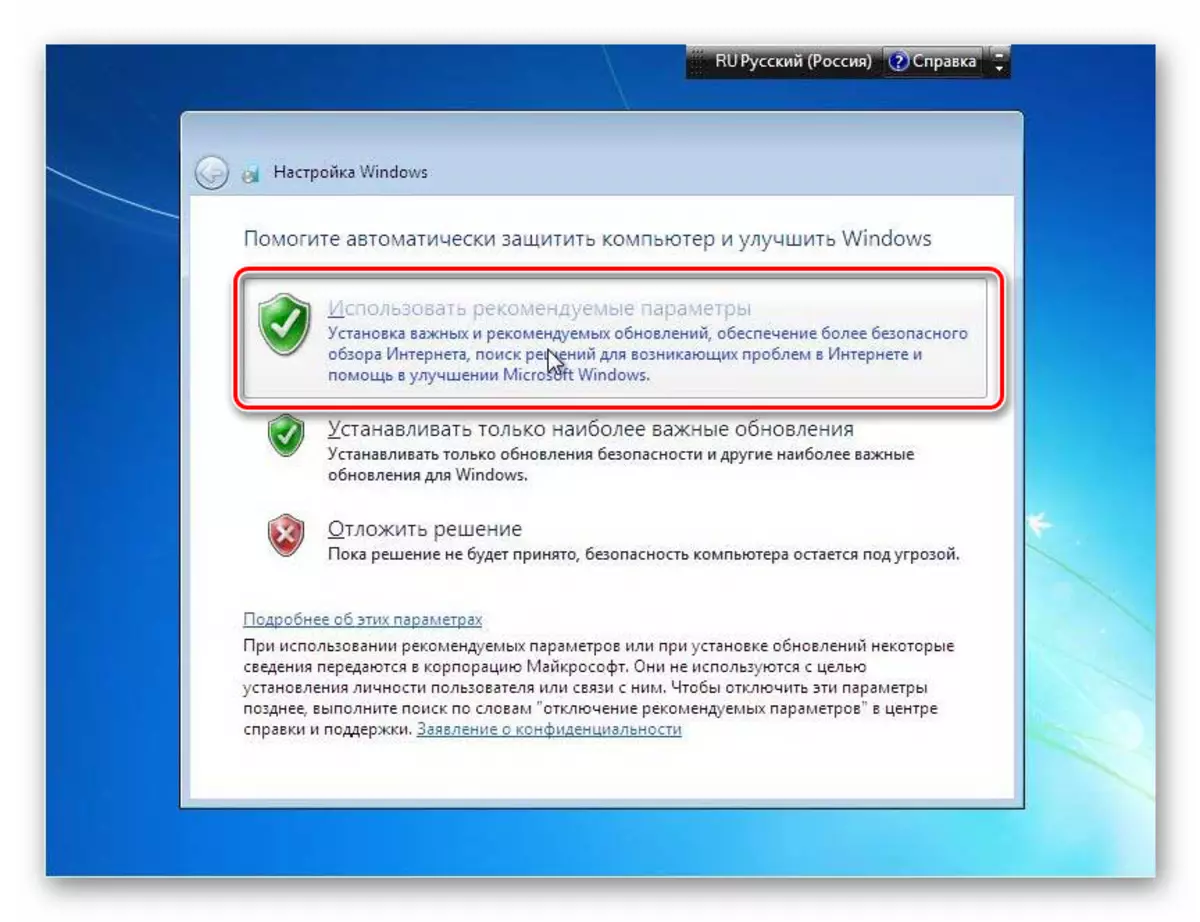
- After that, the window opens where you want to select the type of setting. If you do not understand all the intricacies of the settings, we recommend choosing the option "Use Recommended Parameters".
- Then the window opens where you want to build a time zone settings, time and dates. After entering the required parameters, press "Next".
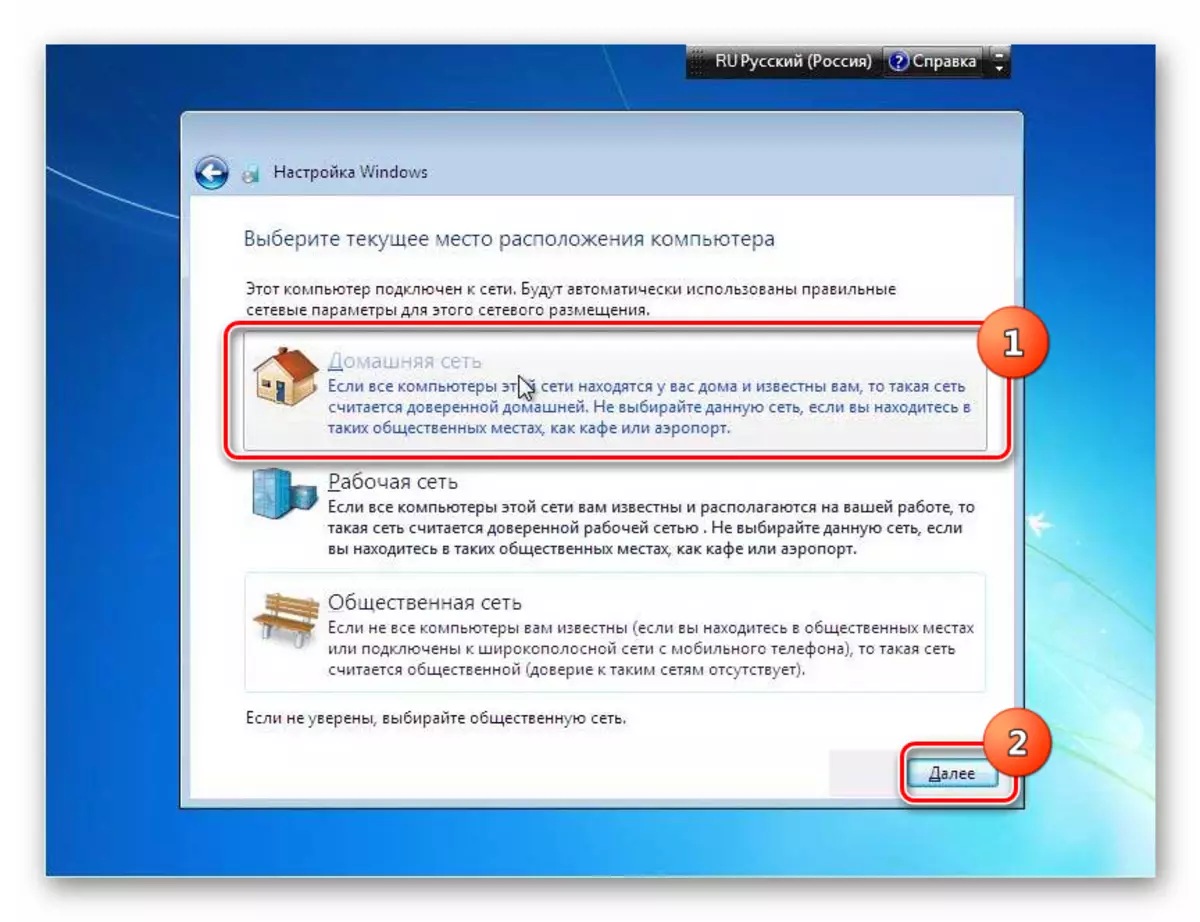
- Finally, the network setting window starts. You can make it immediately by entering current parameters, or postpone the future by clicking "Next".
- After that, the installation and pre-configuration of the system over the existing Windows 7 will be completed. A standard "desktop" opens, after which you can proceed to using a computer for direct purpose. In this case, the main system settings, drivers and files will be saved, but various errors, if they occur, will be eliminated.


Installing Windows 7 over the working system with the same name is not much different from the standard installation method. The main difference is that when the installation type is selected, it should be stopped at the "Update" option. In addition, you do not need to format the hard disk. Well, it is advisable to make a backup copy of the working OS before starting the procedure, this will help to avoid any unexpected problems and provide the possibility of subsequent recovery, if necessary.