

When using Denwer local server may need to remove it, e.g., for subsequent reinstallation. This can be done by hand, following the instructions provided below.
Denver remove from your PC
For a complete removal of Denver you do not need to install additional software - it is possible to confine standard system features. However, for the thorough cleaning of some software may still be required.Step 1: Stop the server
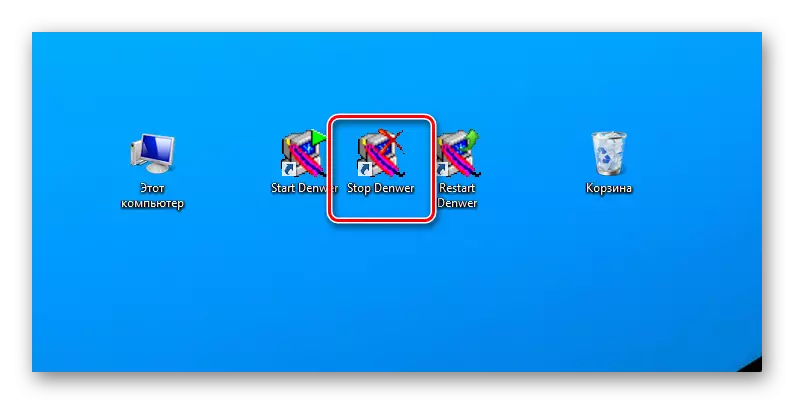
First of all it is necessary to stop the operation of the local server. The easiest way to take advantage of this special icons.
- On the desktop, double-click on the automatically generated thumbnails c signature «Stop Denwer».
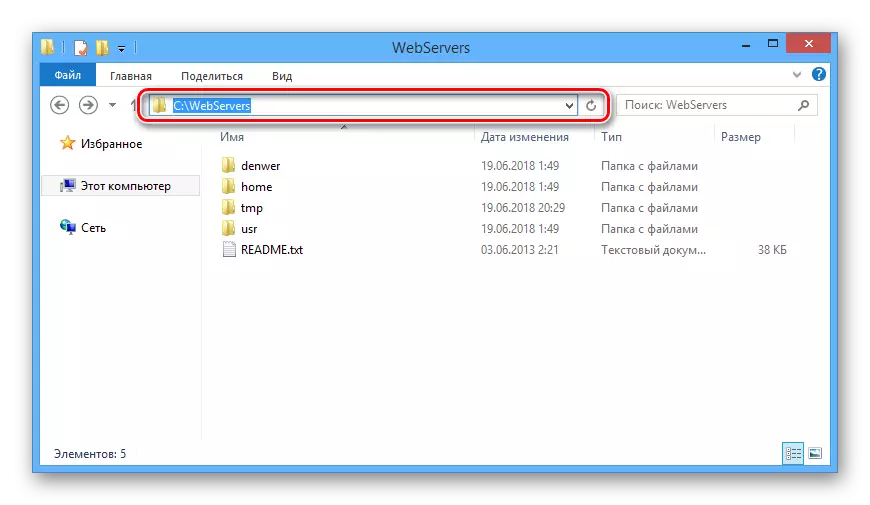
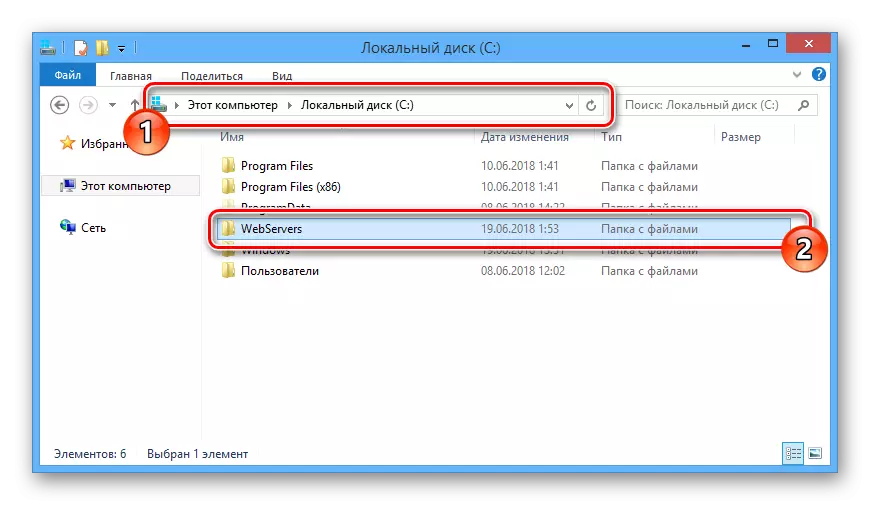
- If the installation has not been established icon, go to the Denver installation. By default, the local server is located on the system drive.
C: \ WebServers
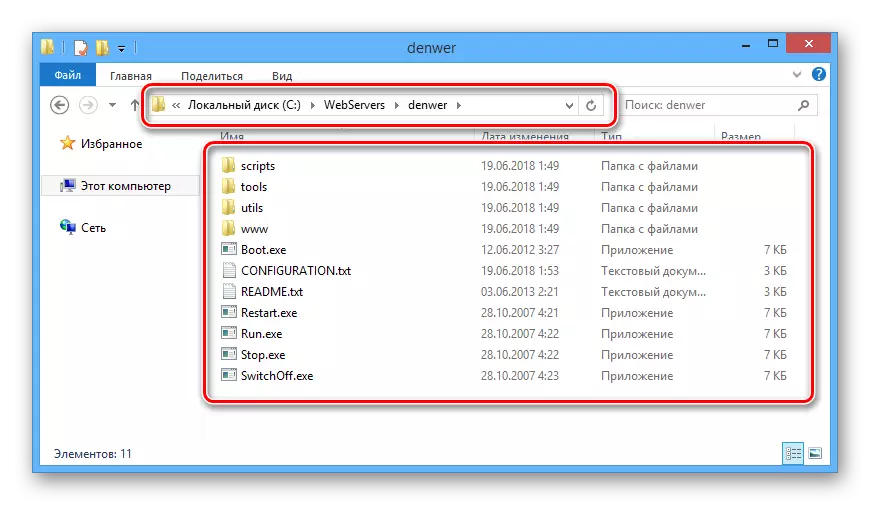
- It is necessary to open the directory «denwer».
- Double-click the «Stop» LMB on the executable file.
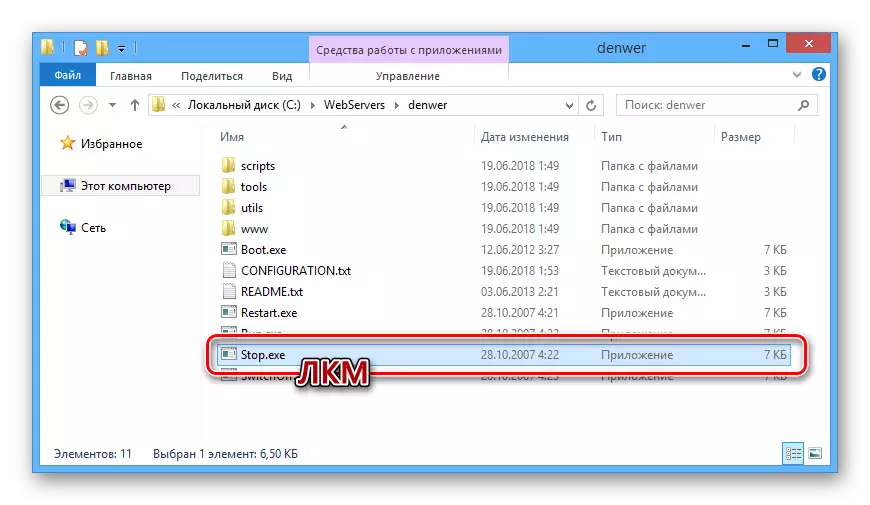
This opens the Windows command line, notifying you to stop processes as any related Denwer work.

Now you can go directly to the removal of Denver.
Step 2: Remove files
Due to the fact that during the installation of Denver in the folder with the program does not create files for automatic uninstallation, you must remove all manually.
Note: Since the deleted folder server files are located, do not forget to make a backup copy.
- Open the directory in which the local server was installed.
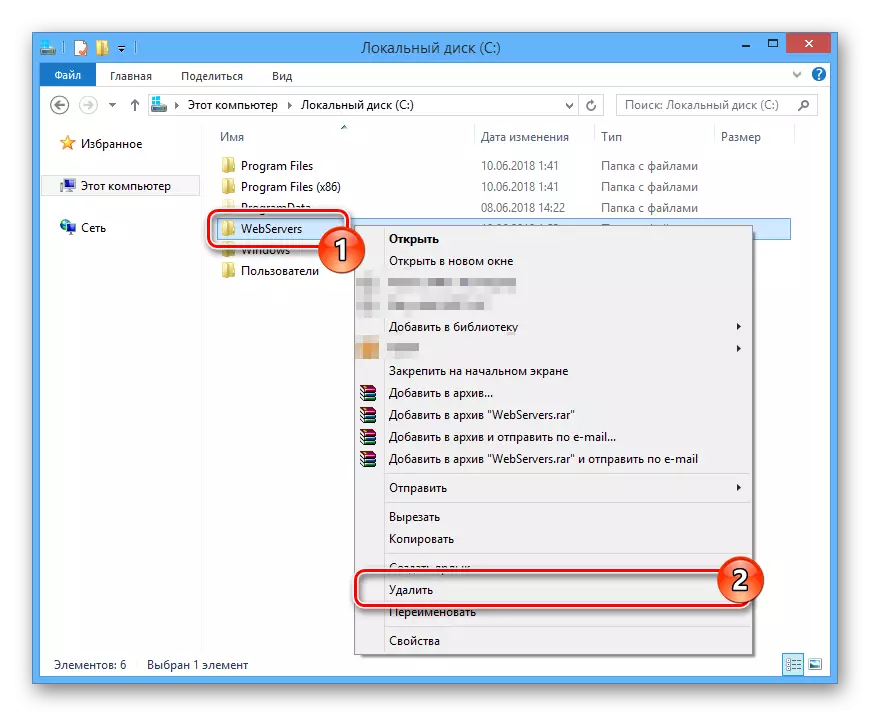
- Right-click on the "WebServers" folder and select "Delete."
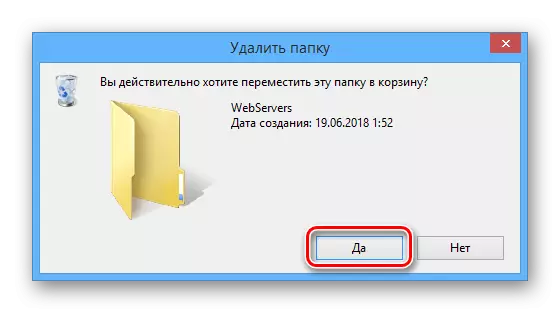
- Through appropriate to confirm erasure of files dialog box.
If for some reason the folder is not deleted, reboot the computer and make sure that the work of the local server has been successfully stopped. It is also possible to resort to third-party programs that allow you to erase non-removable files.
Details: Program for the removal of non-removable files
Step 3: Disable startup
The next step of removing the local server is disconnected from the associated process system startup. Action Required differ slightly depending on the set you version of Windows.
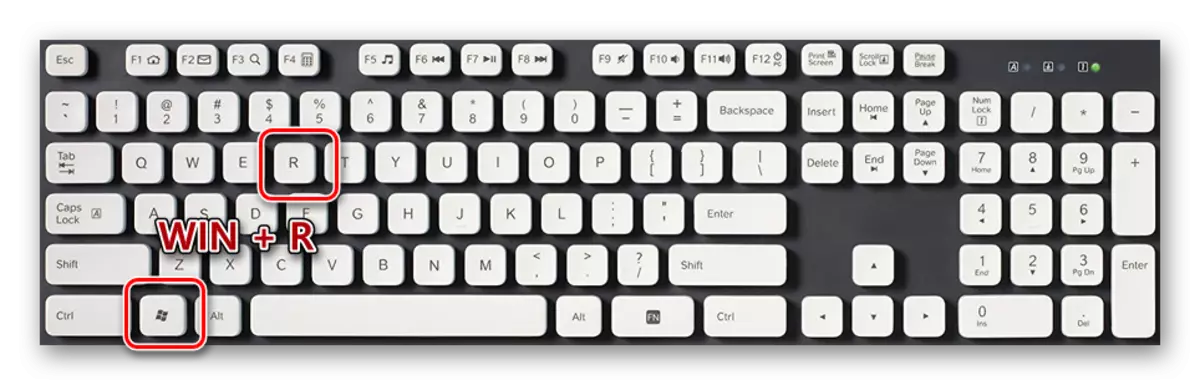
- On the keyboard, press the key combination «Win + R».
- In the "Run" window, enter the query submitted below and use the "OK" button.
msconfig
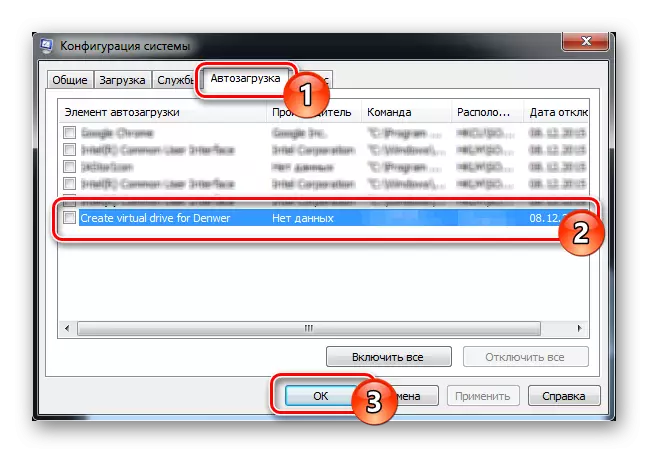
- Through the top menu in the "System Configuration" window, go to the "Auto-loading" section. If you use Windows 7, the presented list is removed next to the Create Virtual Drive For Denver item and click on the OK button.
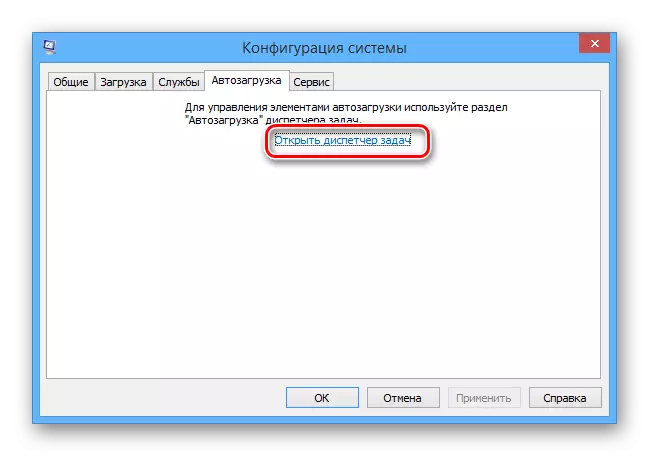
- In the case of Windows 8 and 10, click on the "Open Task Manager" link.
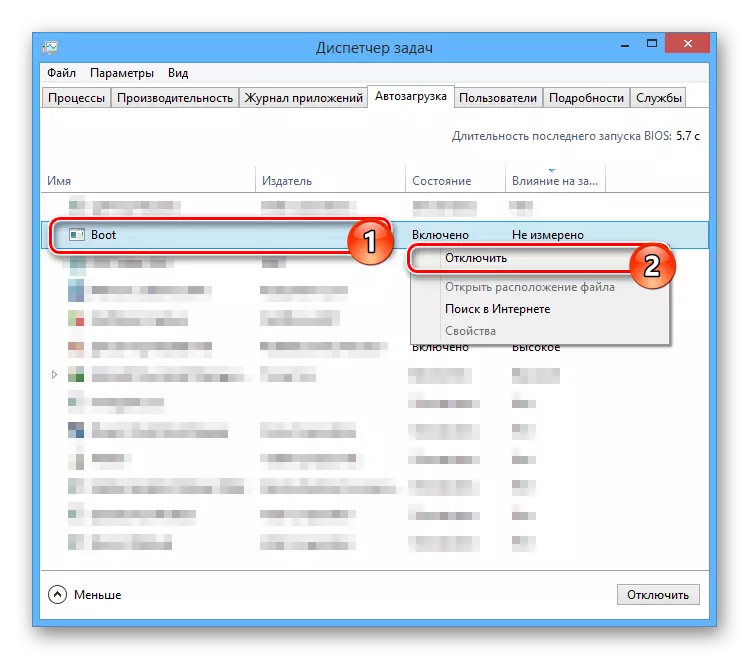
- Being on the "Auto-loading" tab in the task manager, find the string with the "BOOT" process, click the right mouse button and select "Disable".

When the shutdown is completed, restart the computer and on this, the main actions to remove the Denver can be considered complete.
Step 4: Deleting a local disk
This manual is relevant only in cases where you were created a separate section on an ongoing basis, and not only during the operation of Denver. At the same time, the disk is usually deleted by itself, after turning off the process in autoloading and rebooting the computer.
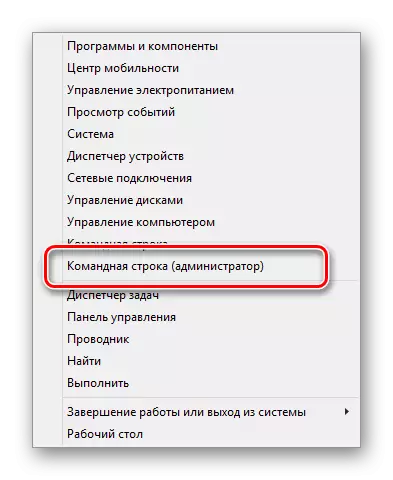
- Through the Start menu, open the "Command Line" on behalf of the administrator. In different versions of Windows, windows differ, albeit slightly.
- Now enter the following command, where the "Z" symbol must be replaced by the letter of the disk.
SUBST Z: / D
- Press the Enter key to remove the unnecessary partition.

As you can see, there is nothing complicated in the process of deleting Denver and related files.
Step 5: Cleaning System
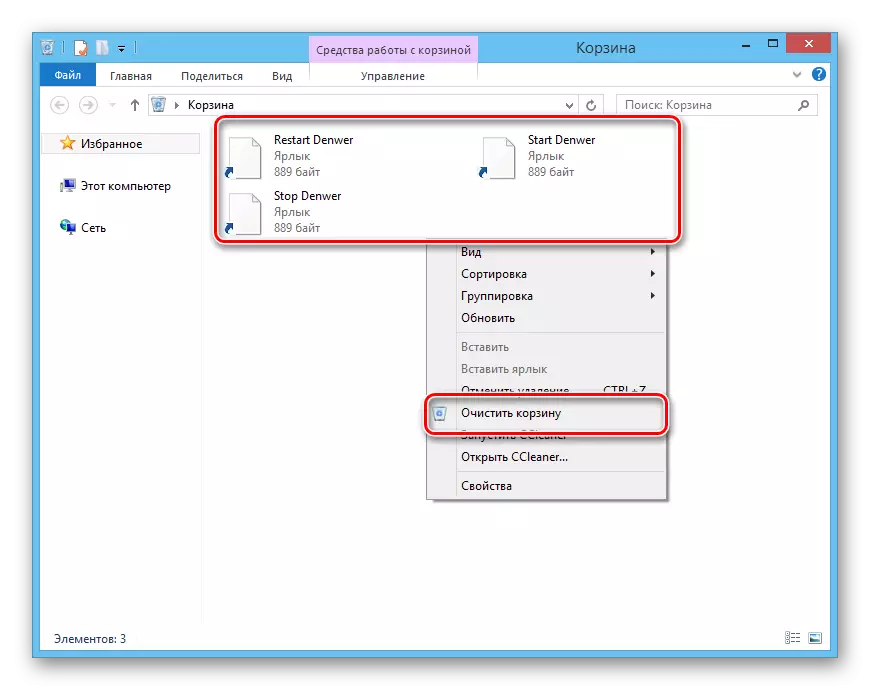
After completing the process of deleting the local server files and after performing a restart system, it is necessary to get rid of garbage. Manually, you can remove automatically created shortcuts and clear the basket as needed.
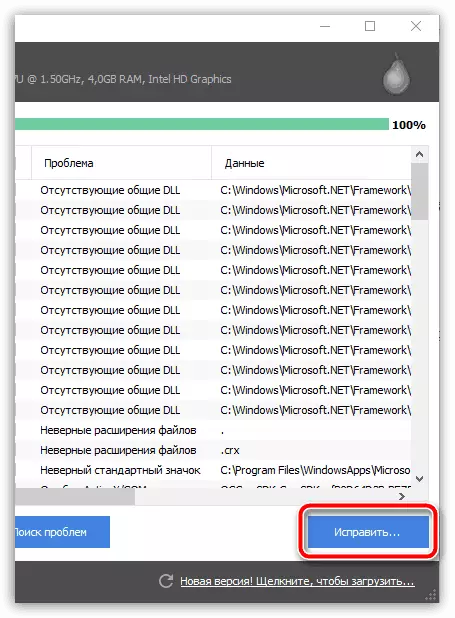
As an additional measure, especially if you are going to install a local server again, you need to clean the system using a special software. For these purposes, the CCleaner program will be perfectly suitable, the instructions for using which is present on our website.
Note: This program allows not only to delete unnecessary files, but also disconnect the processes from the startup in the same way as described in the third step.
Read more: Cleaning a computer from garbage with CCleaner
Conclusion
A complete deletion of Denver from the computer is not a challenge and therefore, following the actions from our instruction, you can easily decide it. In addition, we are always ready to support you with any questions in the comments.