

Skype is a popular voice and video message program. In order to take advantage of its capabilities, the program must be downloaded and installed. Read later, and you will learn how to install Skype.
First you need to download an appropriate distribution of applications from the official site.
Now you can proceed to the installation.
How to install Skype
After starting the installation file, the following window will appear.

Select the desired settings: program language, installation location, add a label to start. For most users, the default settings are suitable, the only thing is to pay attention to the "Run Skype when the computer starts". Not everyone needs this feature, besides, it will increase the system load time. Therefore, this tick can remove. In the future, these settings can be easily changed in the program itself.
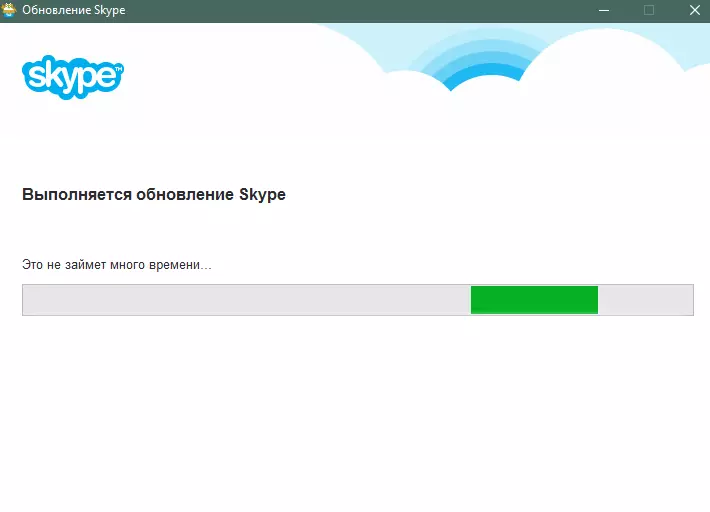
The installation process and update will begin.
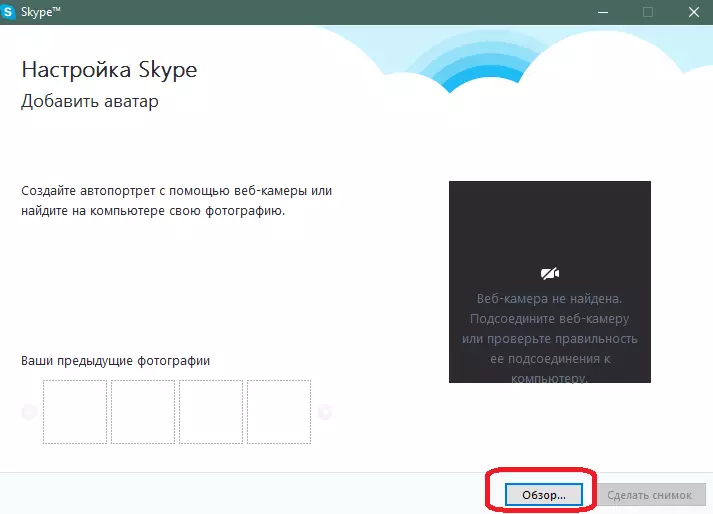
After Skype is installed, you will be offered an initial configuration of the program so that it is ready for work.

Configure your audio equipment: headphone volume, microphone. On the same screen you can check whether everything works correctly.
In addition, pre-configuration allows you to select a suitable webcam if you have such.

Next you will need to choose a suitable picture as an avatar. If you wish, you can use photos from webcams.
This installation is completed.

You can proceed to communicate - add the necessary contacts, collect a conference, etc. Skype is great for friendly dialogue and business conversations.