
Make a snapshot interesting and original with the help of texture overlay is not so difficult. You just need to know the main techniques.
For such a snapshot you will need: Adobe Photoshop, the original photo and, of course, to create thirst itself.
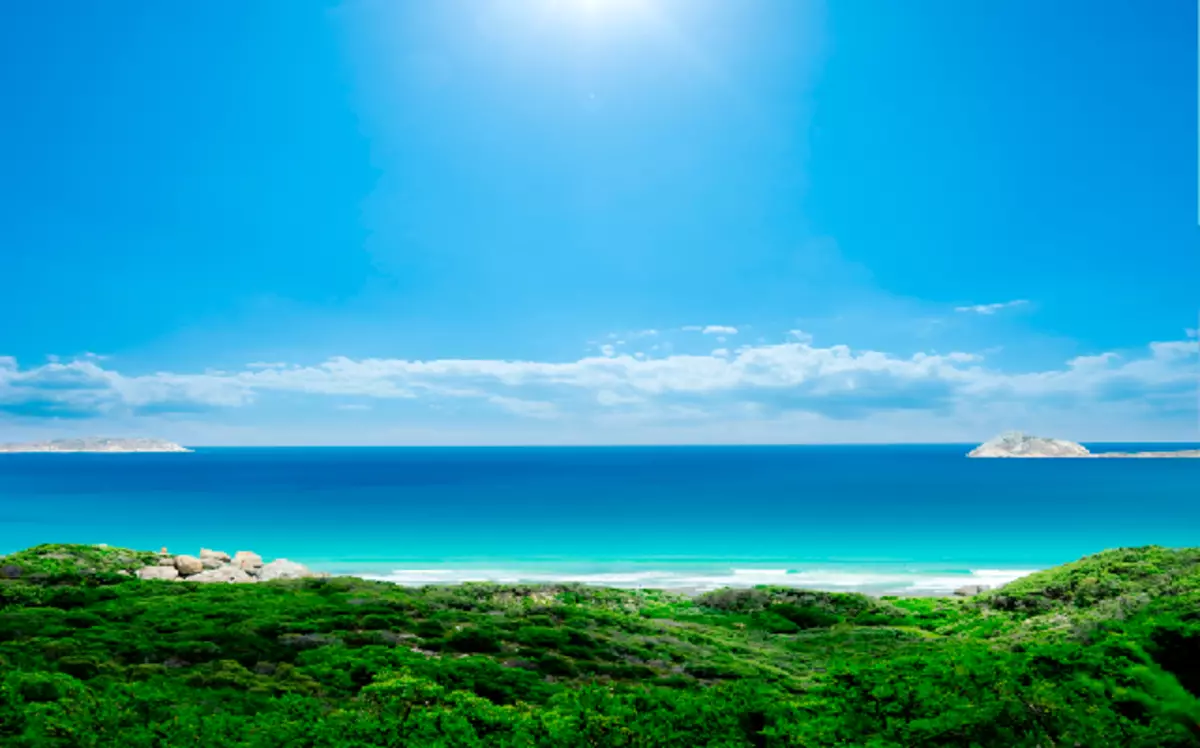
Initially, open the original photo. We will handle it yourself. And the processing will be carried out qualitatively!
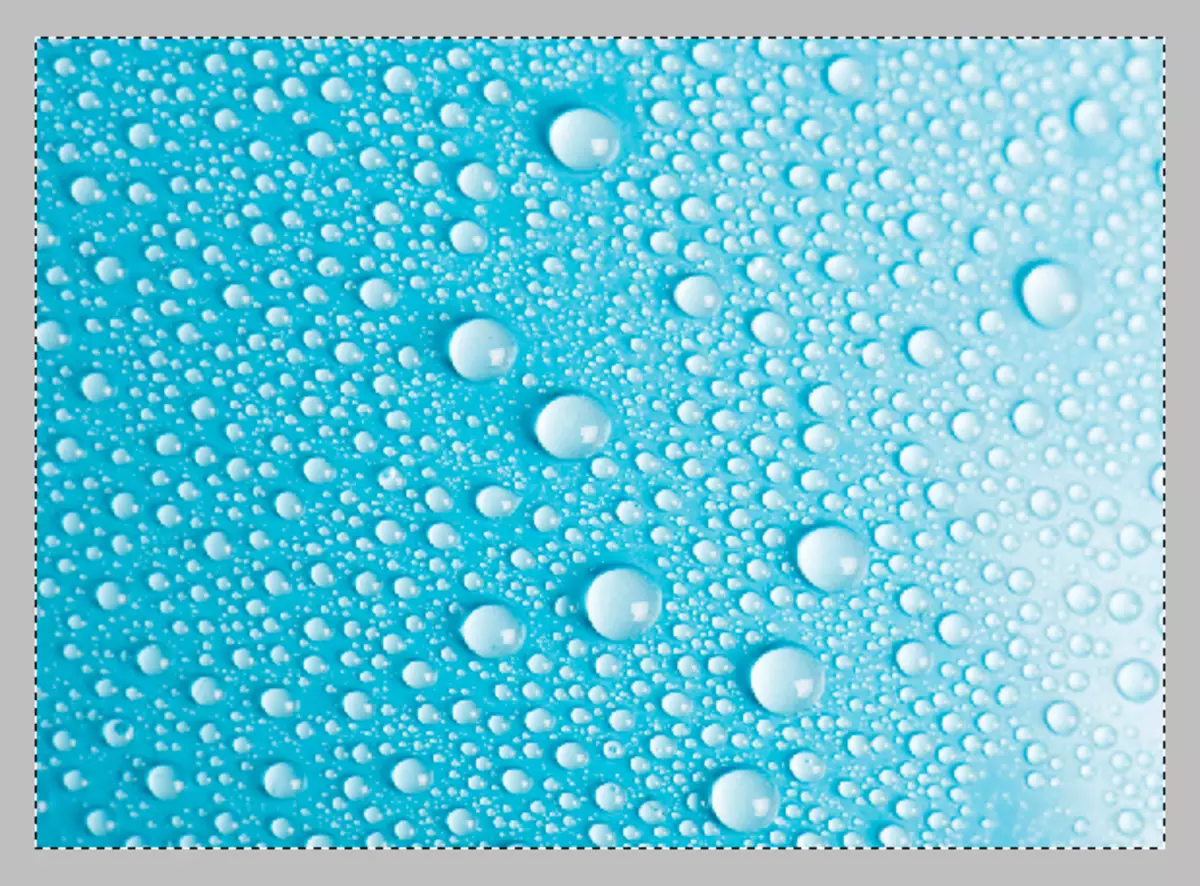
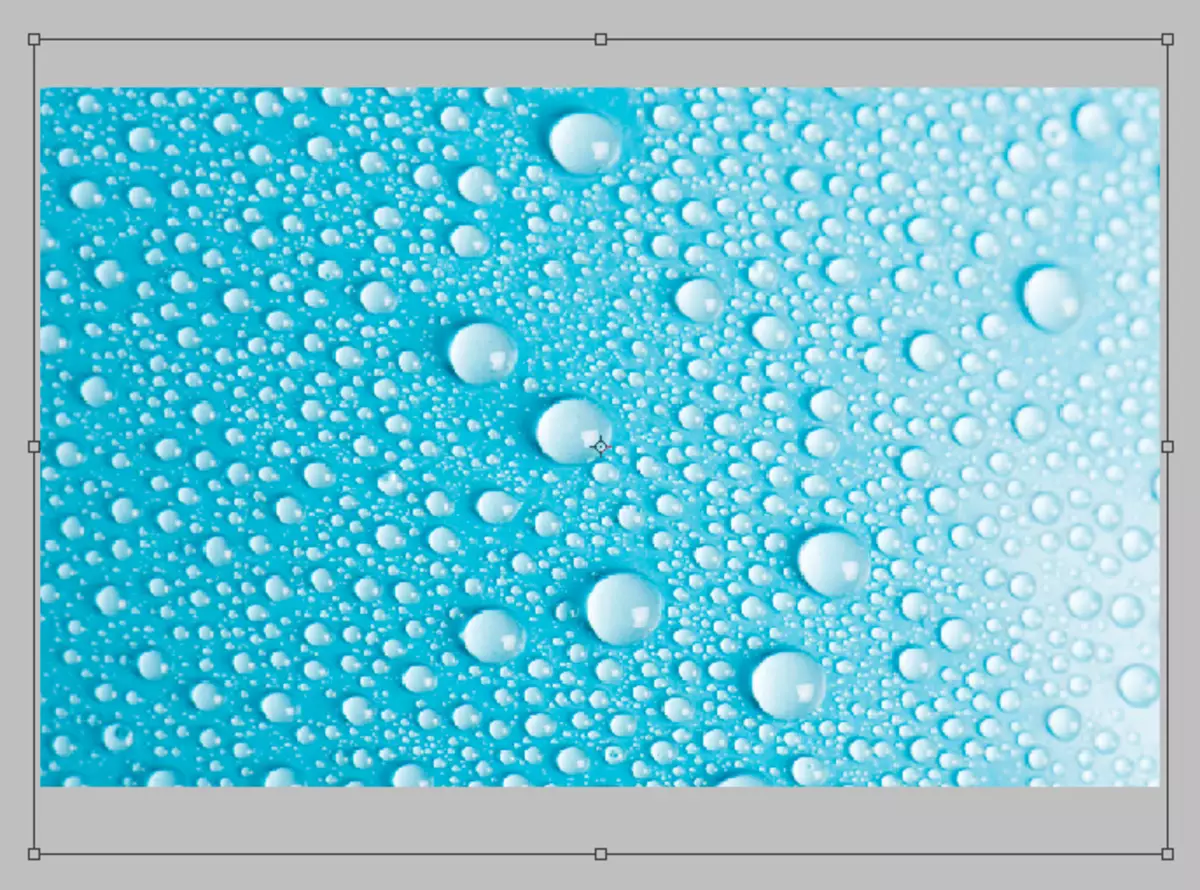
Then you need to open in Photoshop texture. We put it from above the photo itself.
After opening the texture, press the combination Ctrl + A. . So the entire image will be selected and a thin frame will arise around it.
We send an image to a combination clipboard Ctrl + C..
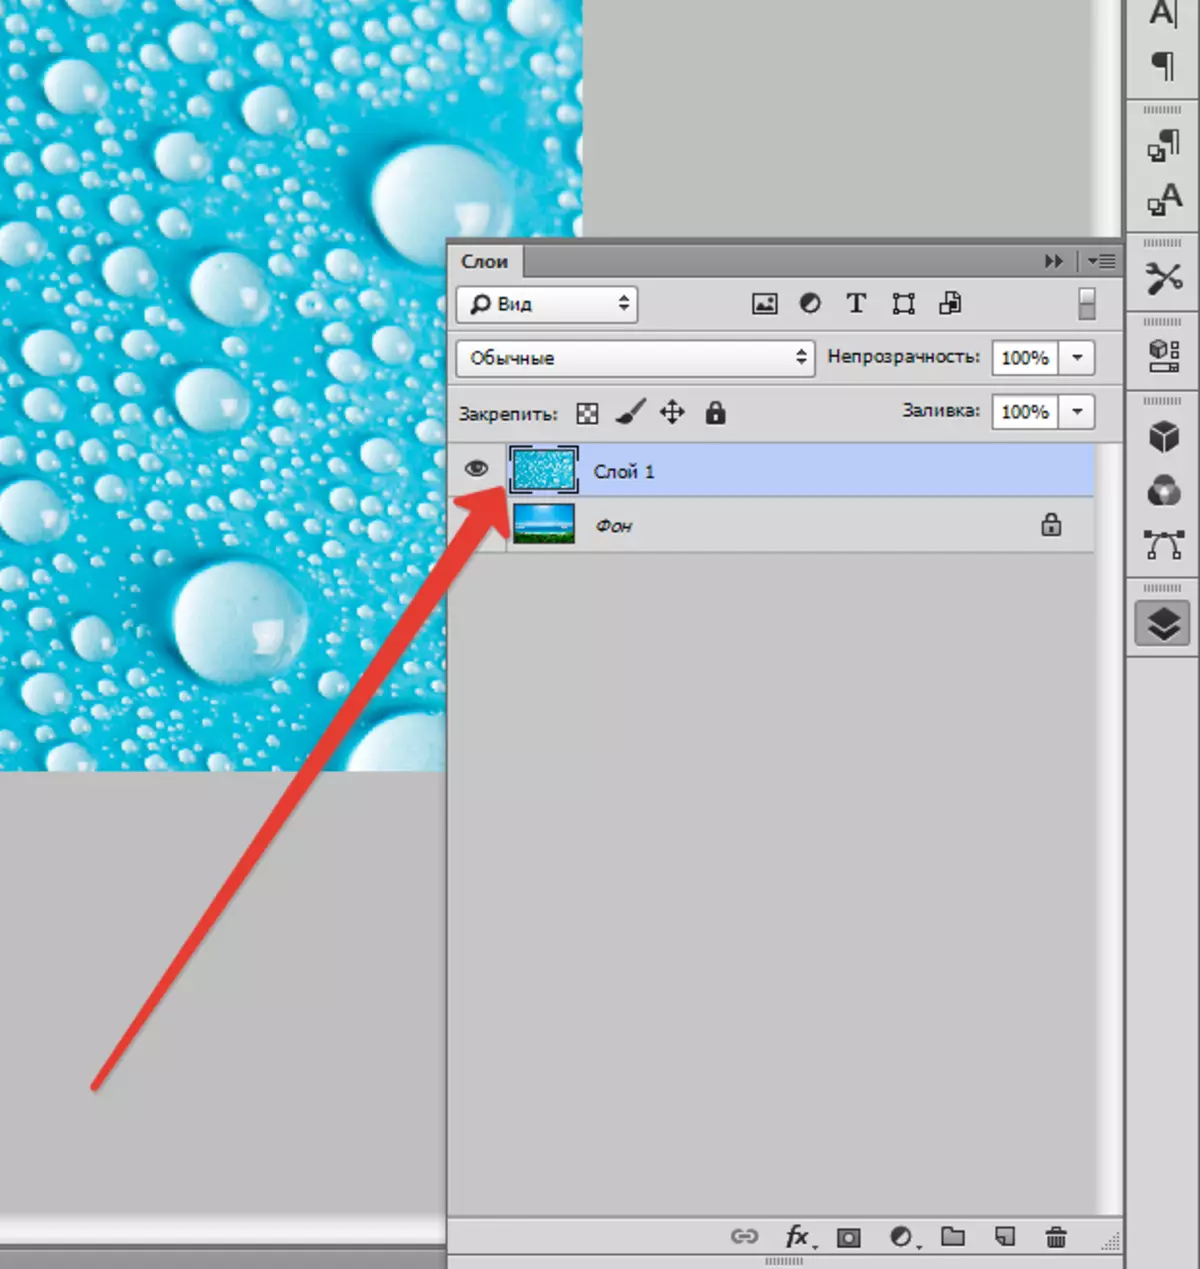
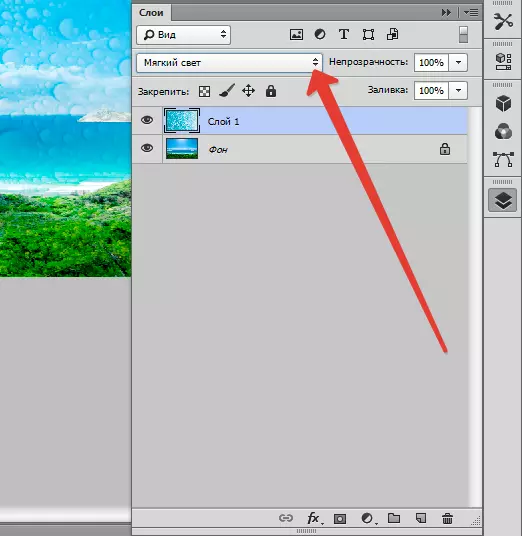
Next, go to a document with a photo on which you need to impose textures, and then press the combination Ctrl + V. . The program itself will insert the texture into a specific layer.
For fitting texture size click Ctrl + T. And transform it.
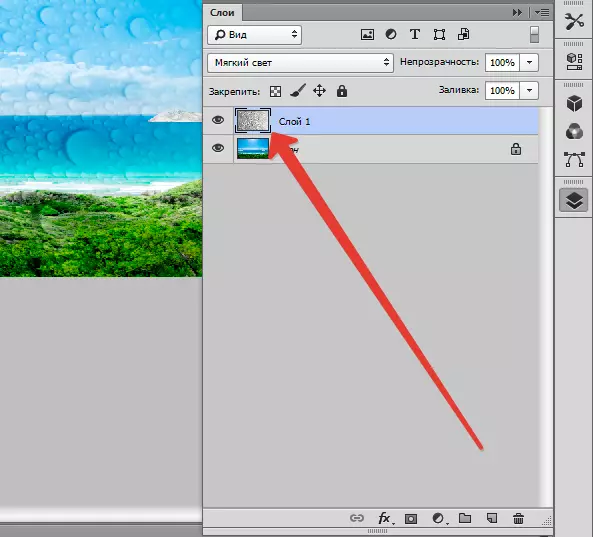
Now you need to set the overlay mode for the layer with the texture. Apply either "Soft light" either "Overlapping" . The overlay mode will determine the texture display intensity.
For the best result, the texture can be discouraged by pressing SHIFT + CTRL + U . This technique will make it neutralize the tones on the image and improve its display.
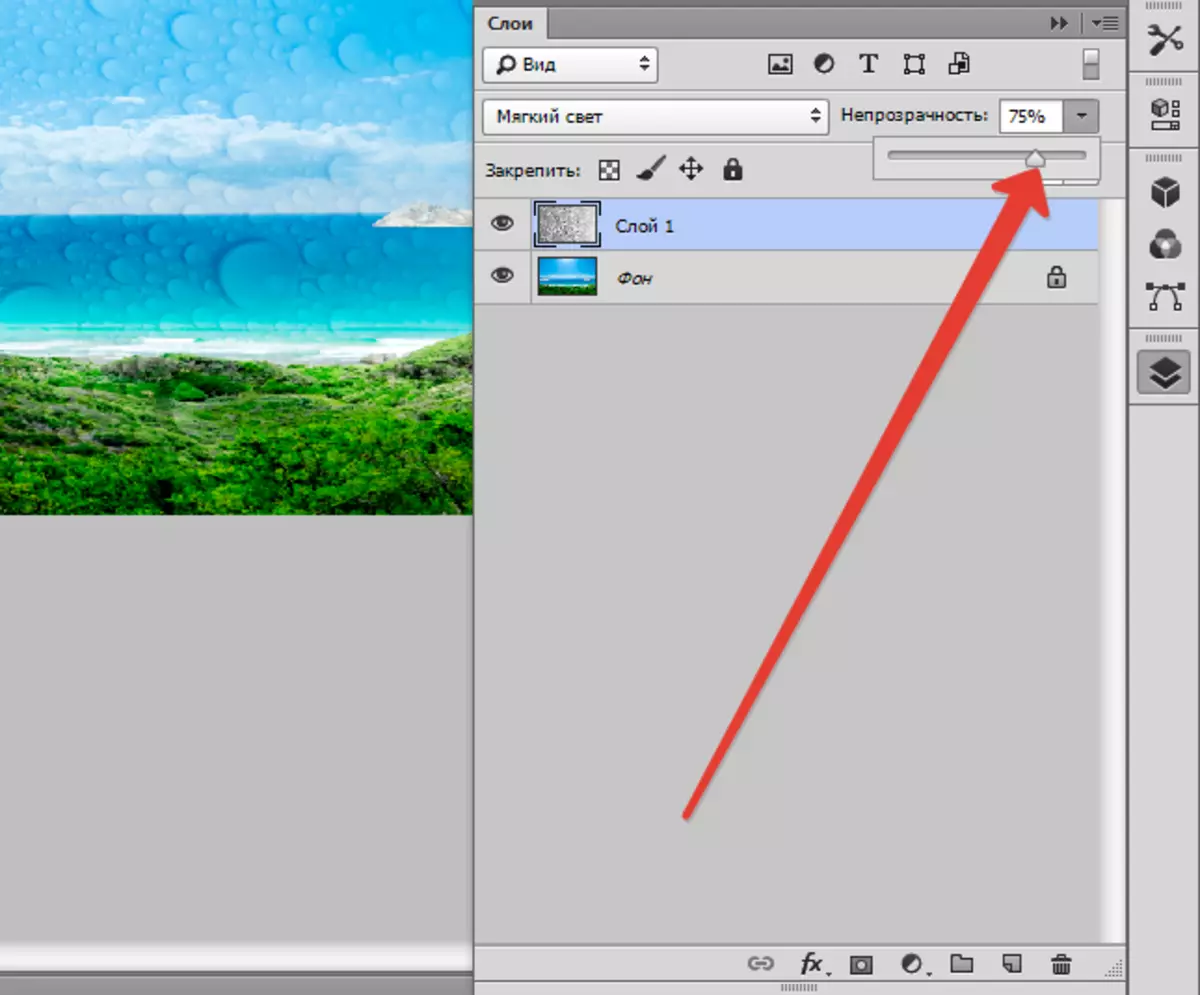
The last step will be a decrease in the opacity of the texture. The layer tab has the desired item. There in% are the level of opacity (one hundred% is the whole opaque texture).
Thus, in this lesson you got the initial skills in working with textures. These knowledge will greatly increase the level of your work in Photoshop.