

Proper time synchronization in Linux is the key to the correct work of the preemptive majority of applications and services, which is especially concerned with those tools that are somehow connected with the Internet. In all distributions of this operating system, a special utility is responsible for synchronizing the date and time. It is in an active default state, so users have no need to somehow configure it or change it. However, sometimes such a need still appears due to different reasons, for example, random failures. Today we want to consider the principle of this configuration and shift the synchronization service to more familiar to many users.
Synchronizing time in Linux
To begin with, let's clarify that it is absolutely all distributions in the framework of one article will not work, so for example, we will take the most popular assembly - Ubuntu. In the remaining OS, everything happens almost identically, and differences are observed only in the elements of the graphical interface. However, if you do not find information in this article, you will have to use the official Distribution documentation to cope with the task.Setting the date through the graphical interface
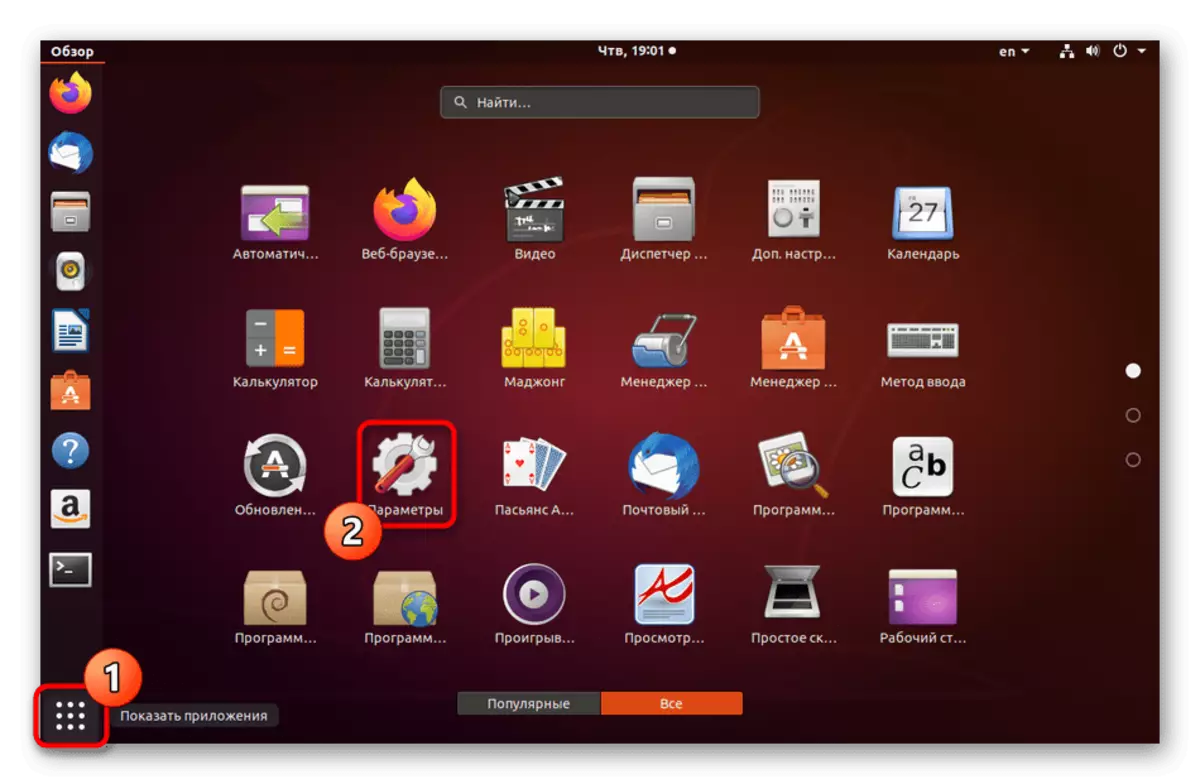
Before we proceed to the discernment of services for time synchronization, let's consider the configuration important for beginners. Most novice owners of Linux prefer to use a graphic menu to configure the required parameters, this applies to time. The whole process is carried out as follows:
- Open the application menu and find "Parameters" there.
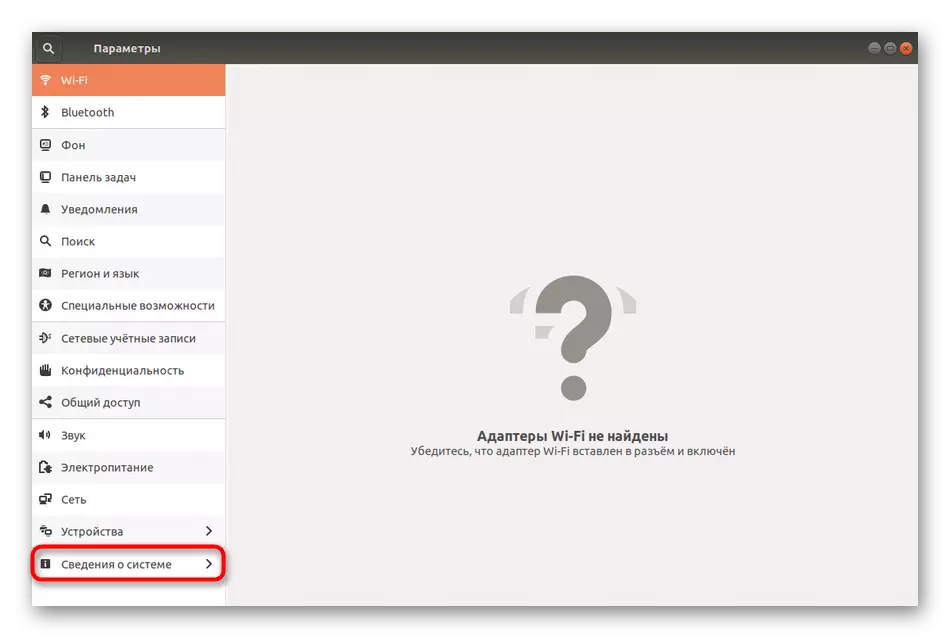
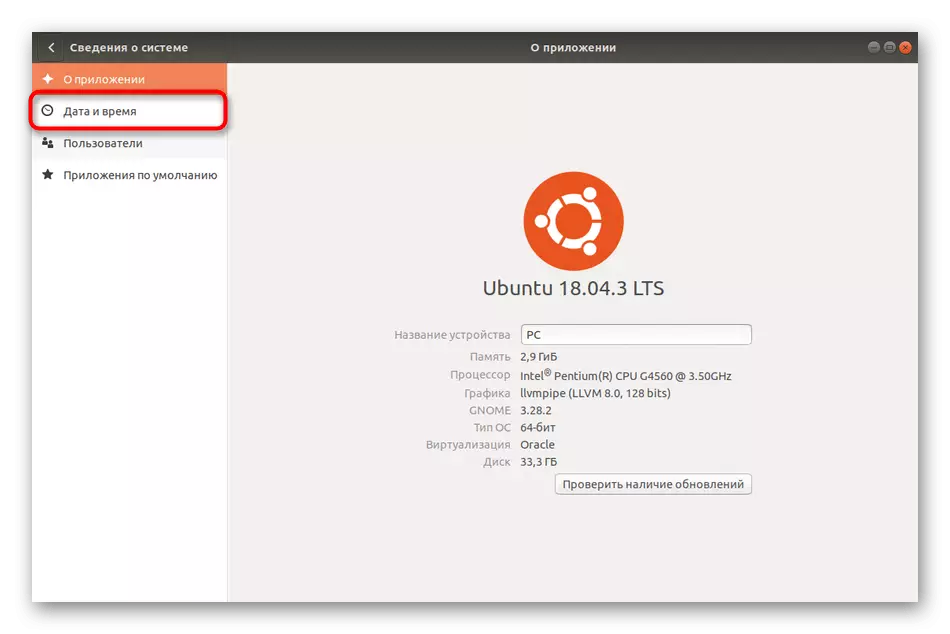
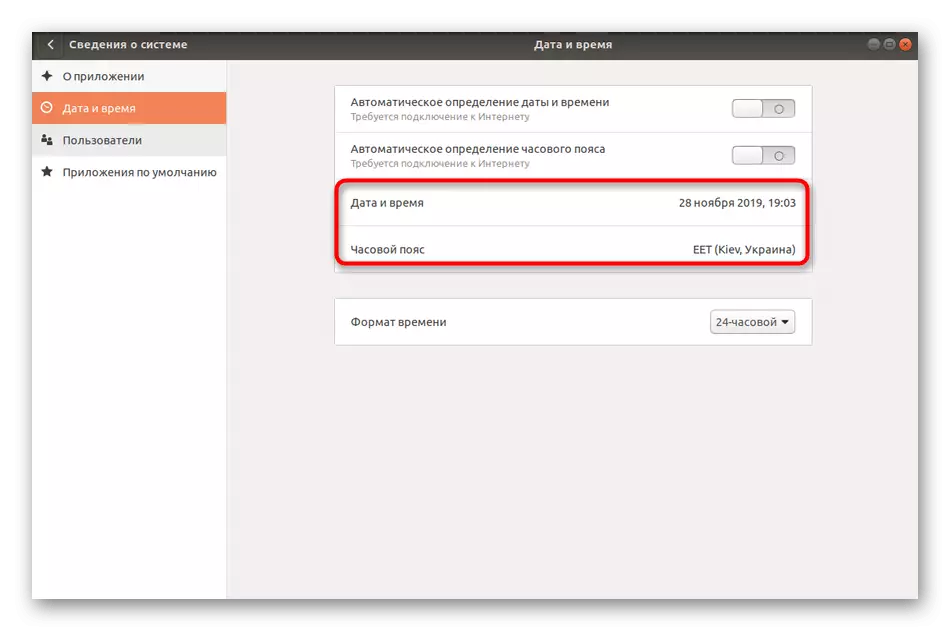
- Go to the System Information section.
- Here you are interested in the category "Date and Time".
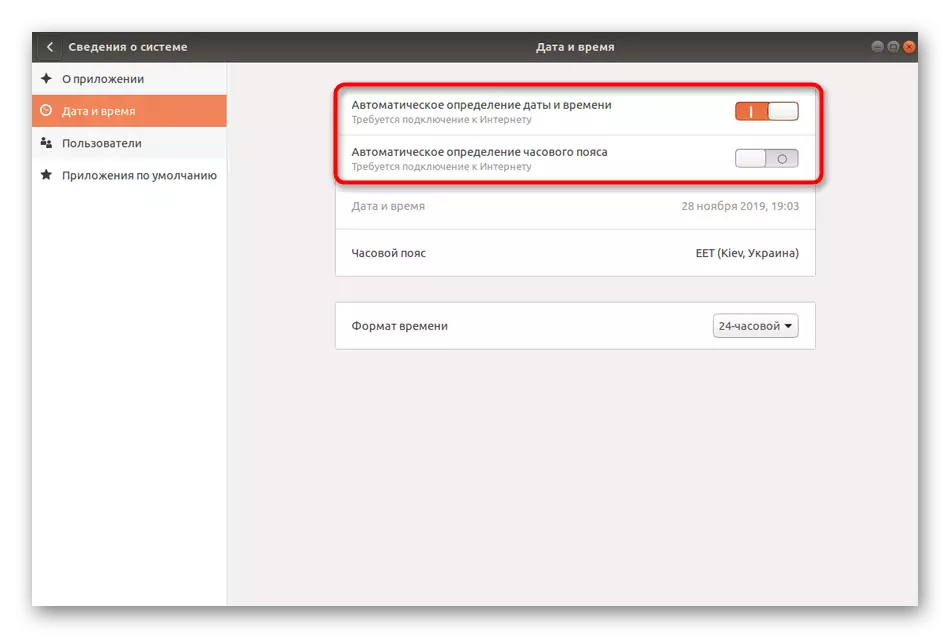
- Pay attention to the items of automatic detection of the date and time. They use the Internet to exhibit optimal settings that depend on the selected time zone. You can activate or disable these settings by moving the slider.
- When you turn off the row with the date, time and time zone are activated, which means that now nothing will prevent you from installing user parameters.
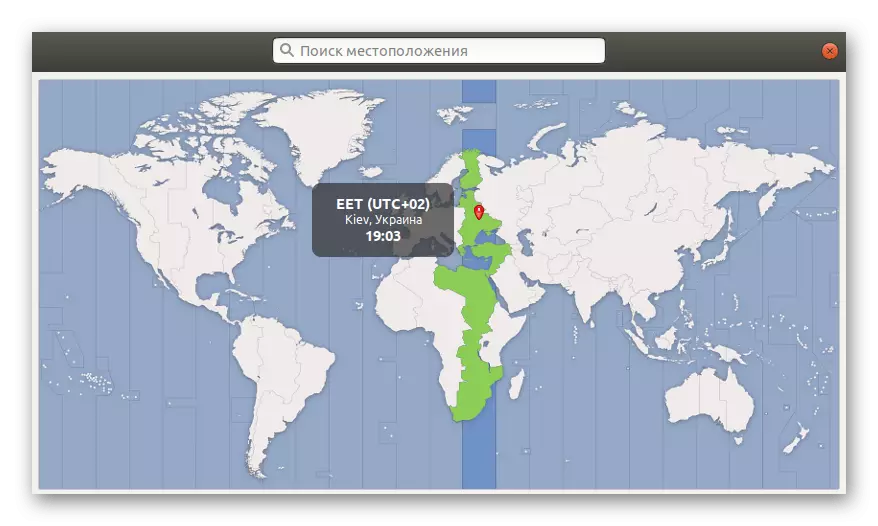
- In the location window, select a point on the map or use the search.
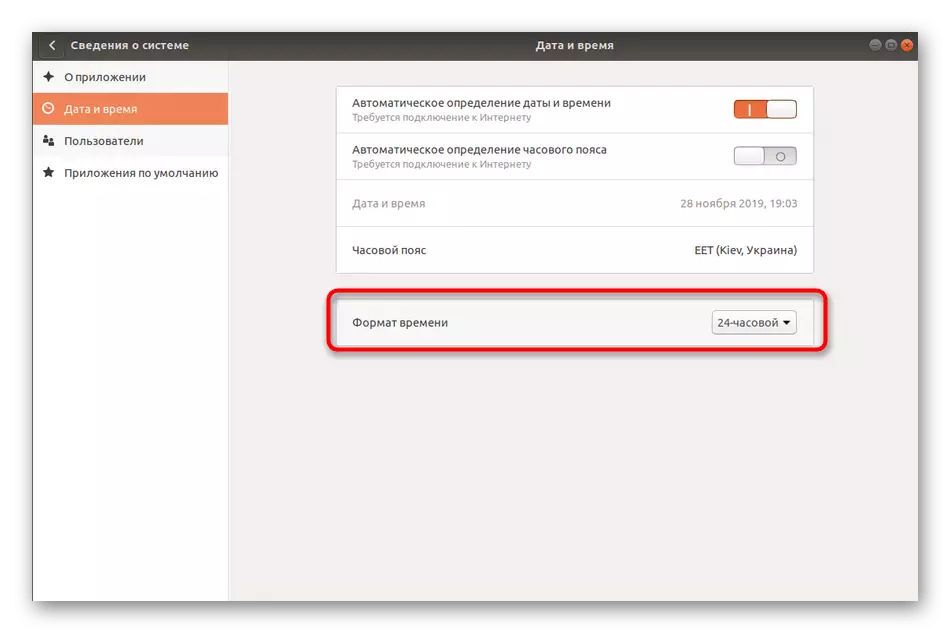
- Additionally, the "Date and Time" indicates the format. By default it is 24-hour.
As you can see, there is nothing complicated in the interaction with the graphical interface. However, the lack of this method is that there are no important settings for managing the synchronization service in the menu, so in certain situations to use "Parameters" will not work.
Standard Time Management Commands
All other instructions that you will see within today's material are to use terminal commands. First of all, we want to affect the topic of standard options that allow you to manage the current date and time or view the necessary information.
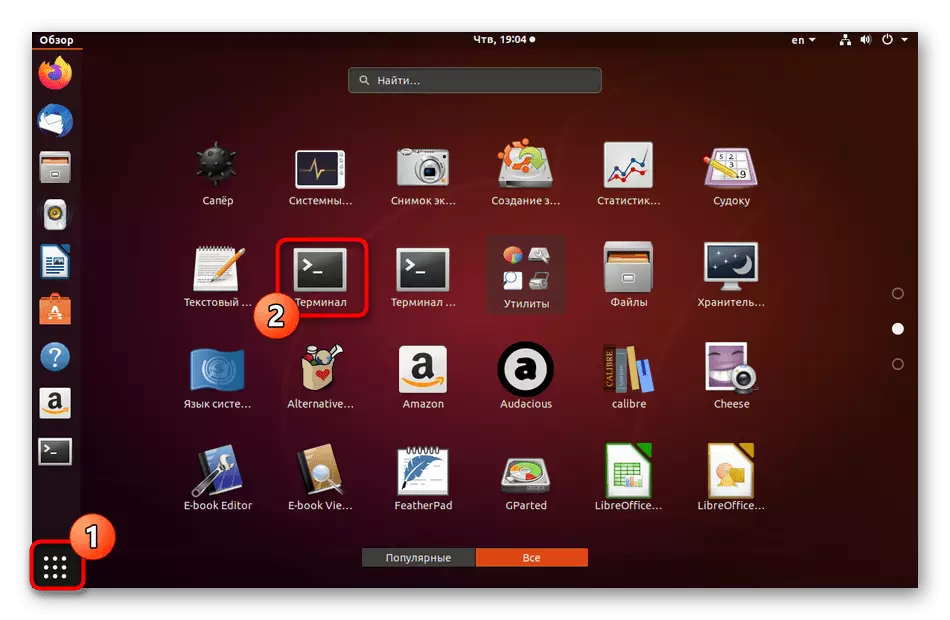
- Start from starting the "Terminal". You can do this, for example by clicking on the appropriate icon in the application menu.
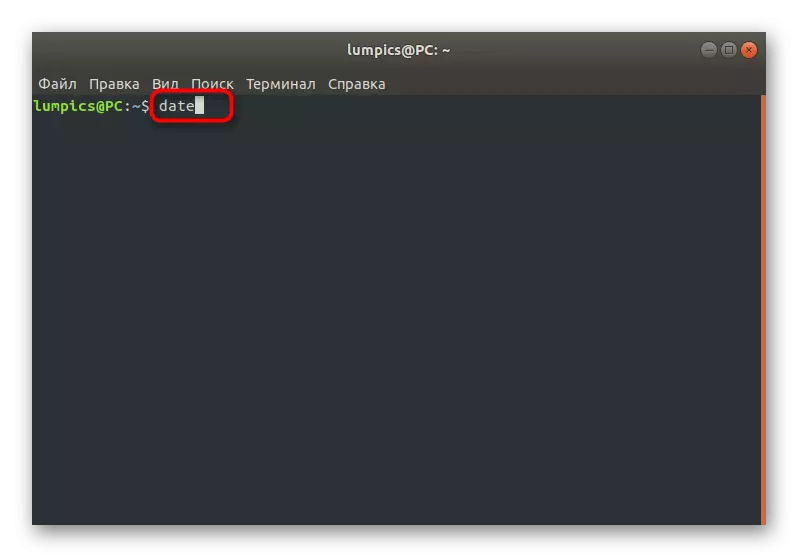
- Enter the Date command to determine the current date and time.
- The new line will display information that interests you in standard format.
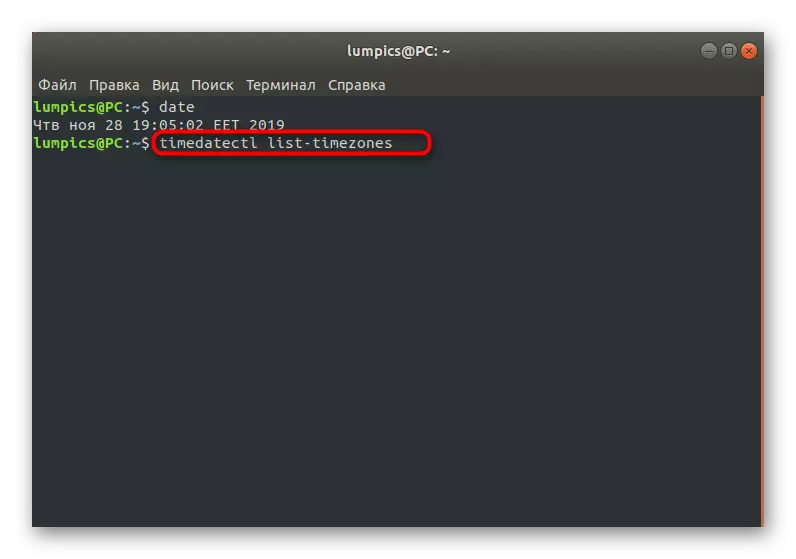
- Through the standard command, you can change the time zone. First you need to view the available list of belts and remember the name of the required. Type Timedatectl List-Timezones and click on ENTER.
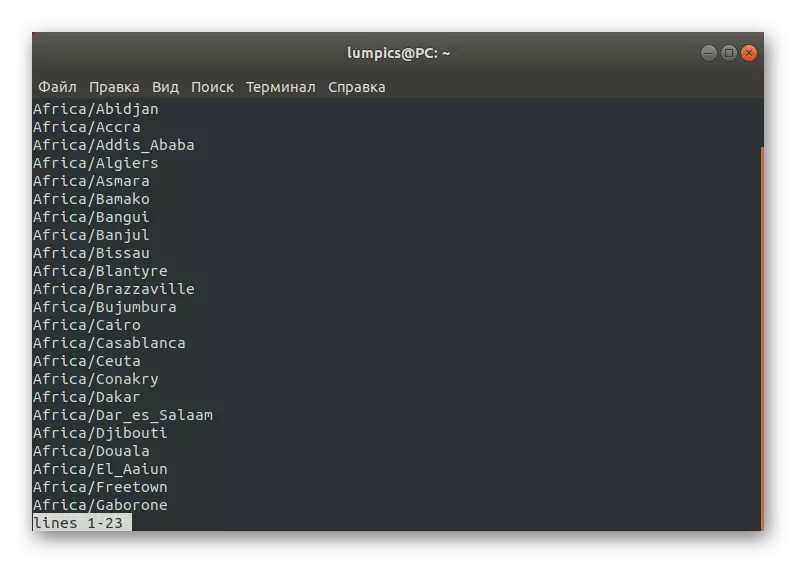
- Move down the list using the Space key. After you find the desired belt and remember the rule of writing, press Q to exit.
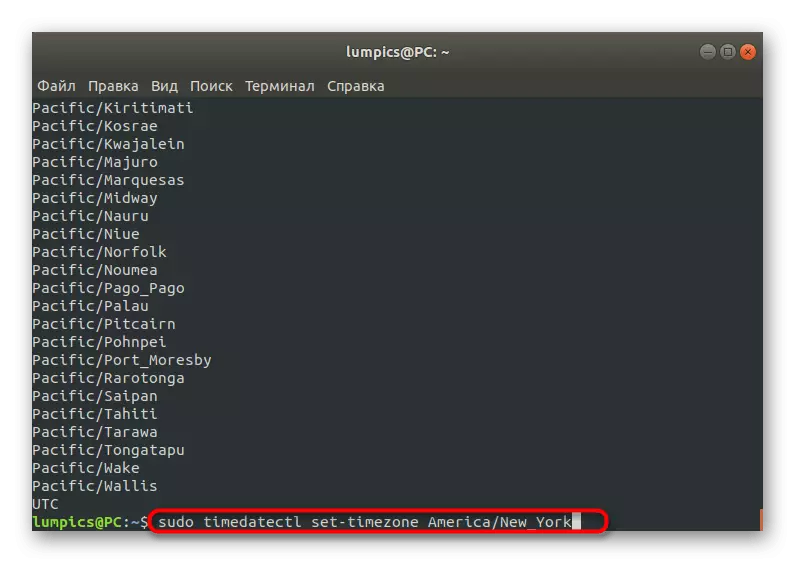
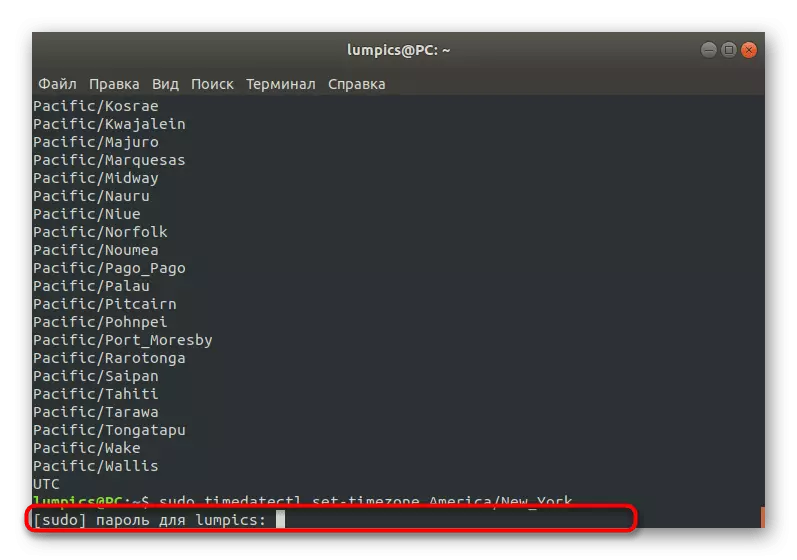
- The Sudo TimeDatectl Set-TimeZone America / New_york command is responsible for changing the time zone on the selected. Instead of America / New_york, you should write a certain previous option.
- To confirm the actions, you will have to enter a superuser password, since the command was executed with the sudo argument.

After making all changes, it remains to make sure that they all have entered into force. For more information about TIMEDATECTL, we offer to learn in official documentation, since the remaining options are no longer included in the subject of time synchronization theme, however, it can be useful to specific users.
Interaction with the TimeSyncd service
Above we advised to explore the information about TIMEDATECTL through the official documentation, but we suggest a week a minute to familiarize yourself with the TimeSyncd service. It is this utility that is responsible for synchronizing the time in the default operating system.
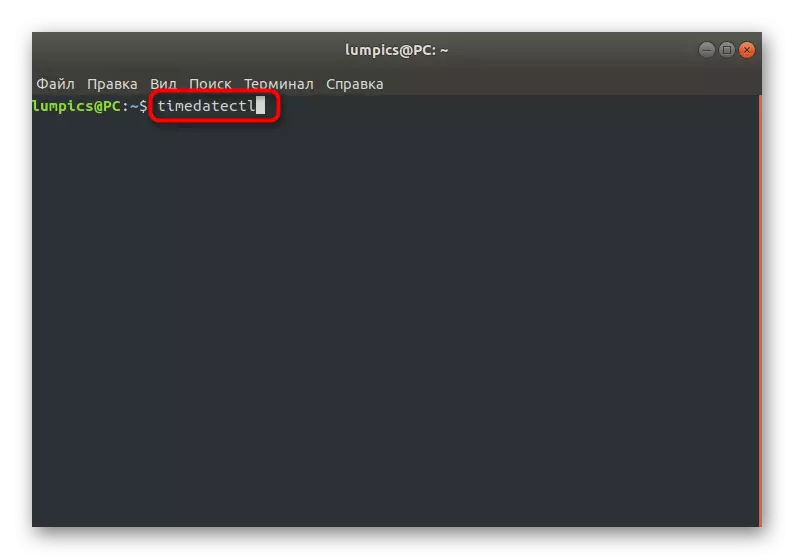
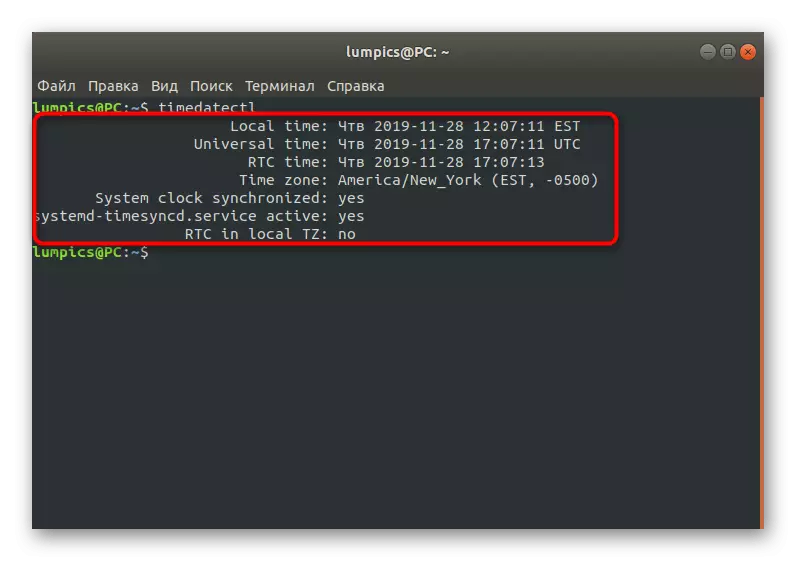
- To determine the current TimeSyncd status, use the Timedatectl command in the console.
- In the new lines you will receive all the necessary information where the local time is set, the installed area and data on the synchronization and activity of the service itself.
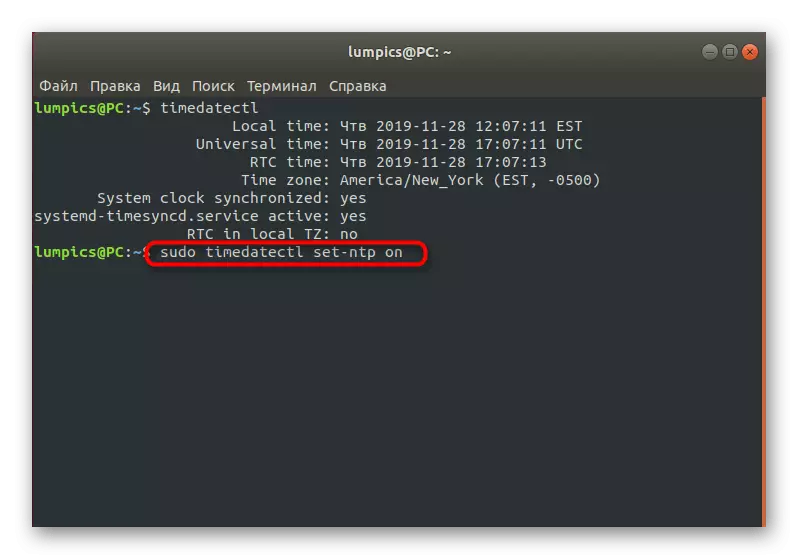
- If you see that this tool is now disconnected for some reason and want to start it to adjust synchronization, use the Sudo Timedatectl Set-NTP ON string.
Installing NTPD.
The last section of our today's material will be devoted to replacing the time synchronization service mentioned above on a more reliable NTPD protocol (Network Time Protocol Daemon). It was he who used to be involved in many distributions by default and praised for correct interaction with the applications particularly sensitive by time. Installation and service replacement occurs like this:
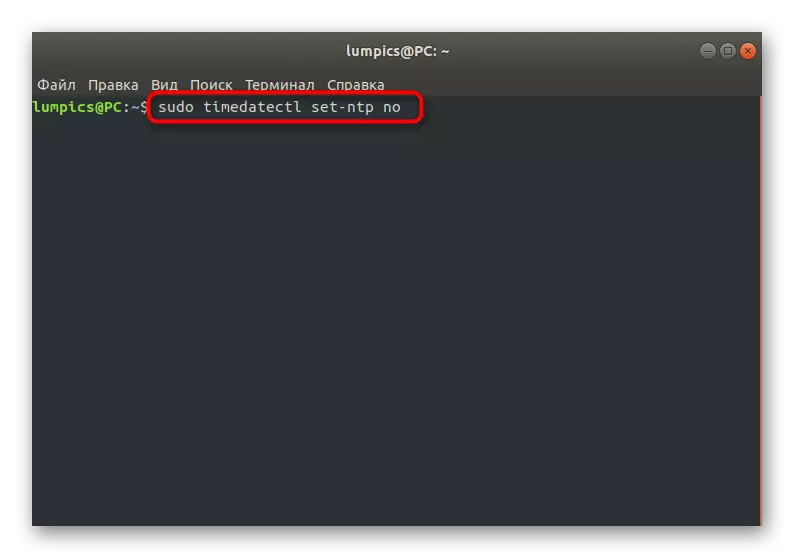
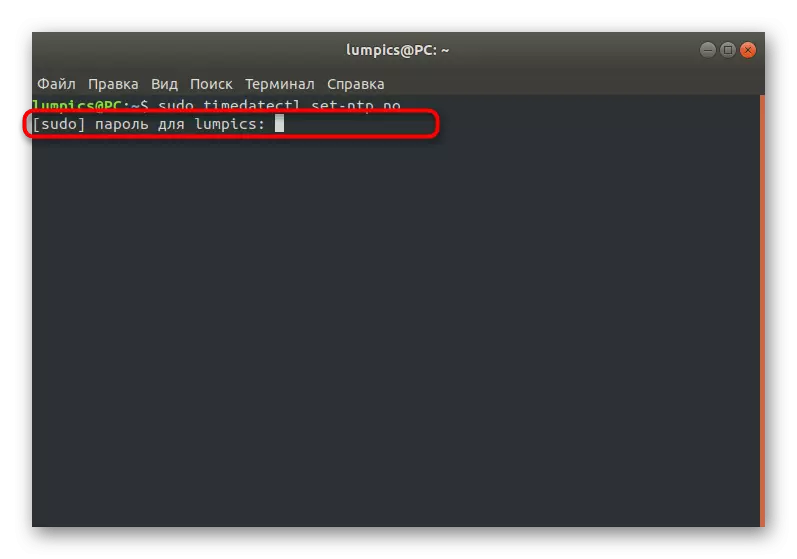
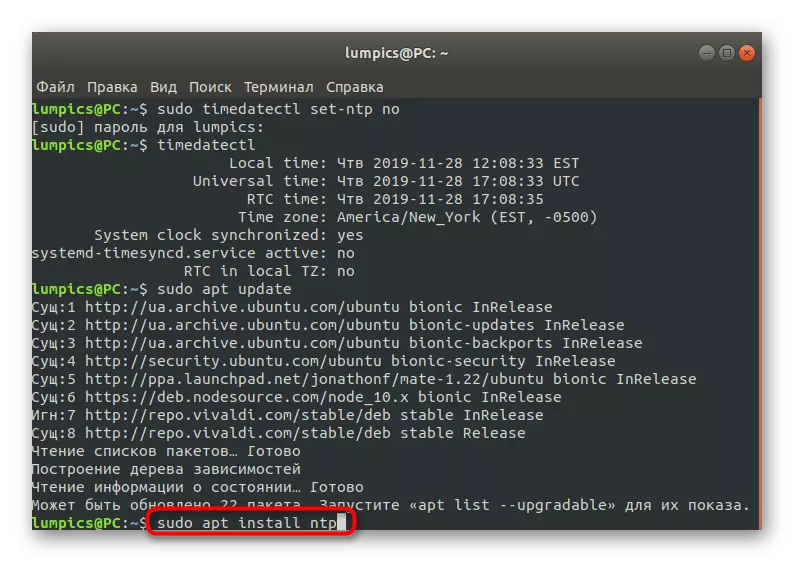
- To begin with, disconnect the standard utility by entering Sudo Timedatectl Set-NTP NO.
- You will have to confirm the authentication of the account by writing a superuser password.
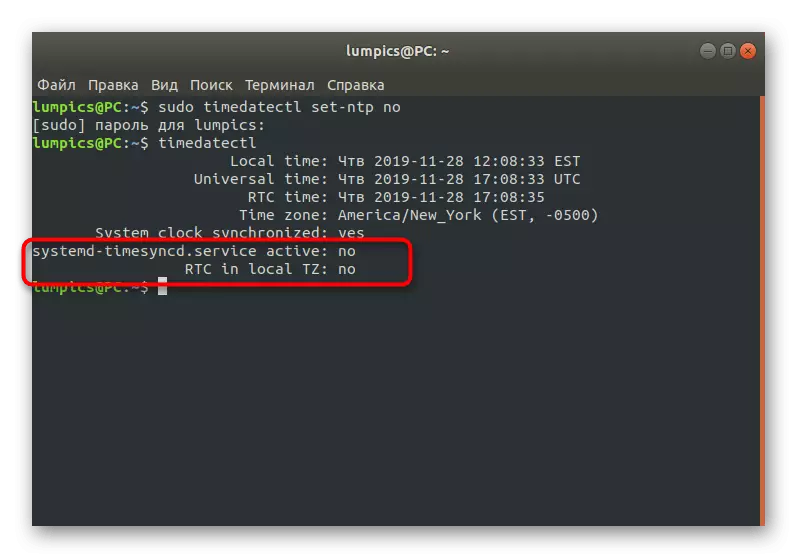
- After you can use the already familiar TIMEDATEctL command in order to make sure the tool state is disconnected.
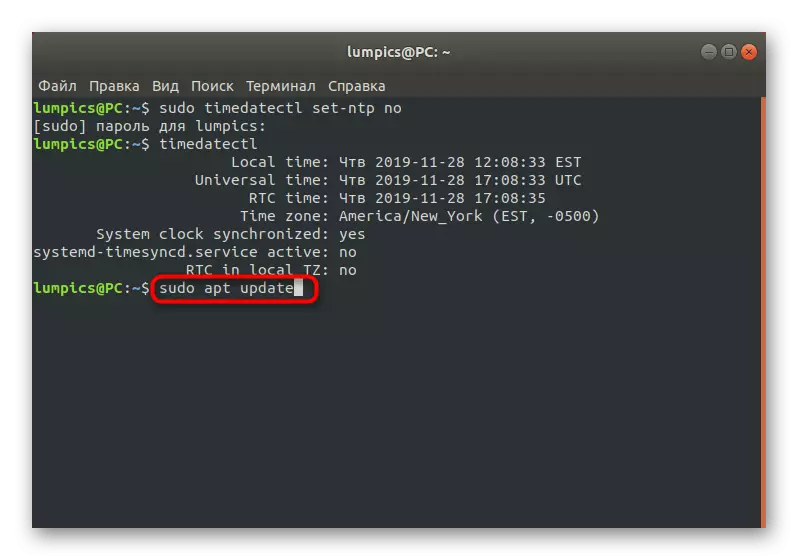
- Before installing the new software, it is recommended to install the latest updates. This is done through sudo apt update.
- After the end of this process, use the Sudo Apt Install NTP command.
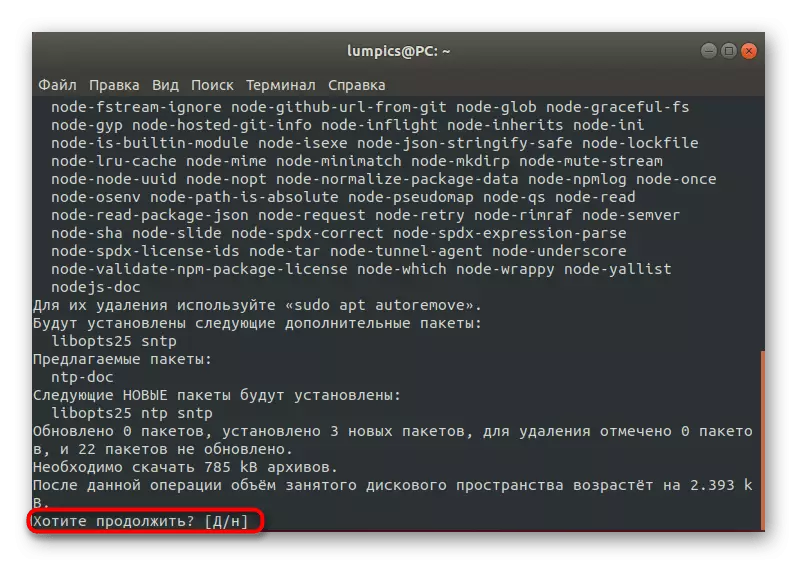
- Confirm the notification of the need for downloading archives.
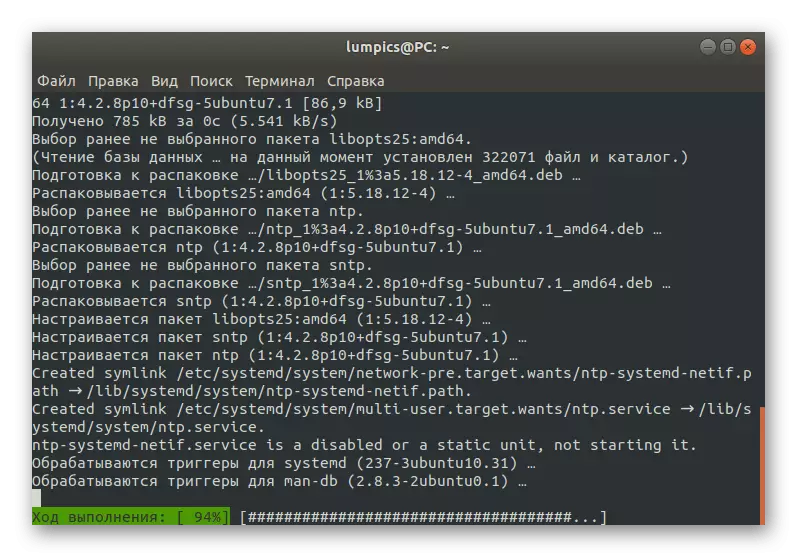
- Expect the download and install packages.
- You can now use a new protocol, entering the appropriate attributes in the Terminal. View basic information occurs via NTPQ -P.
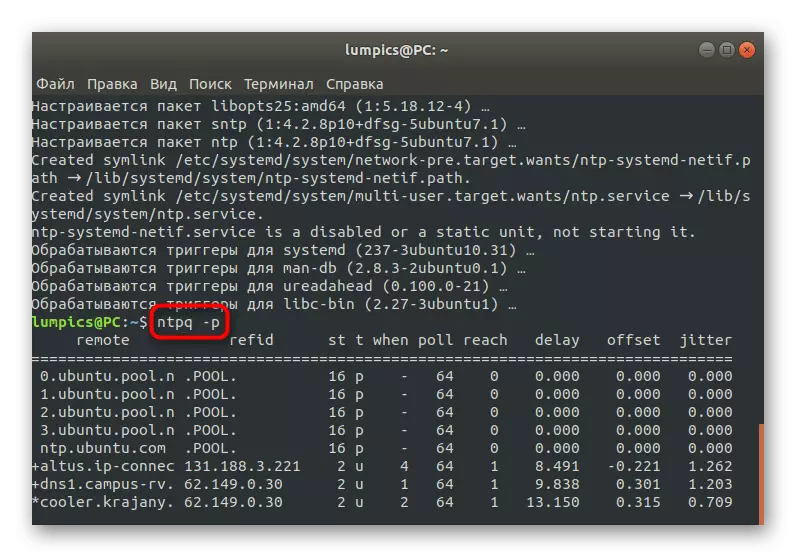
Network Time Protocol Daemon will be activated automatically, so no additional commands are needed. You can immediately begin testing problem applications or perform other actions for which the new time synchronization service was installed.
As you can see, sync time and dates in Linux is automatically carried out, so there are very rare situations when you want to activate this parameter or change other options. Now, having studied the presented material, you know that there are different synchronization tools, and the setting can also be carried out through the graphic menu.