
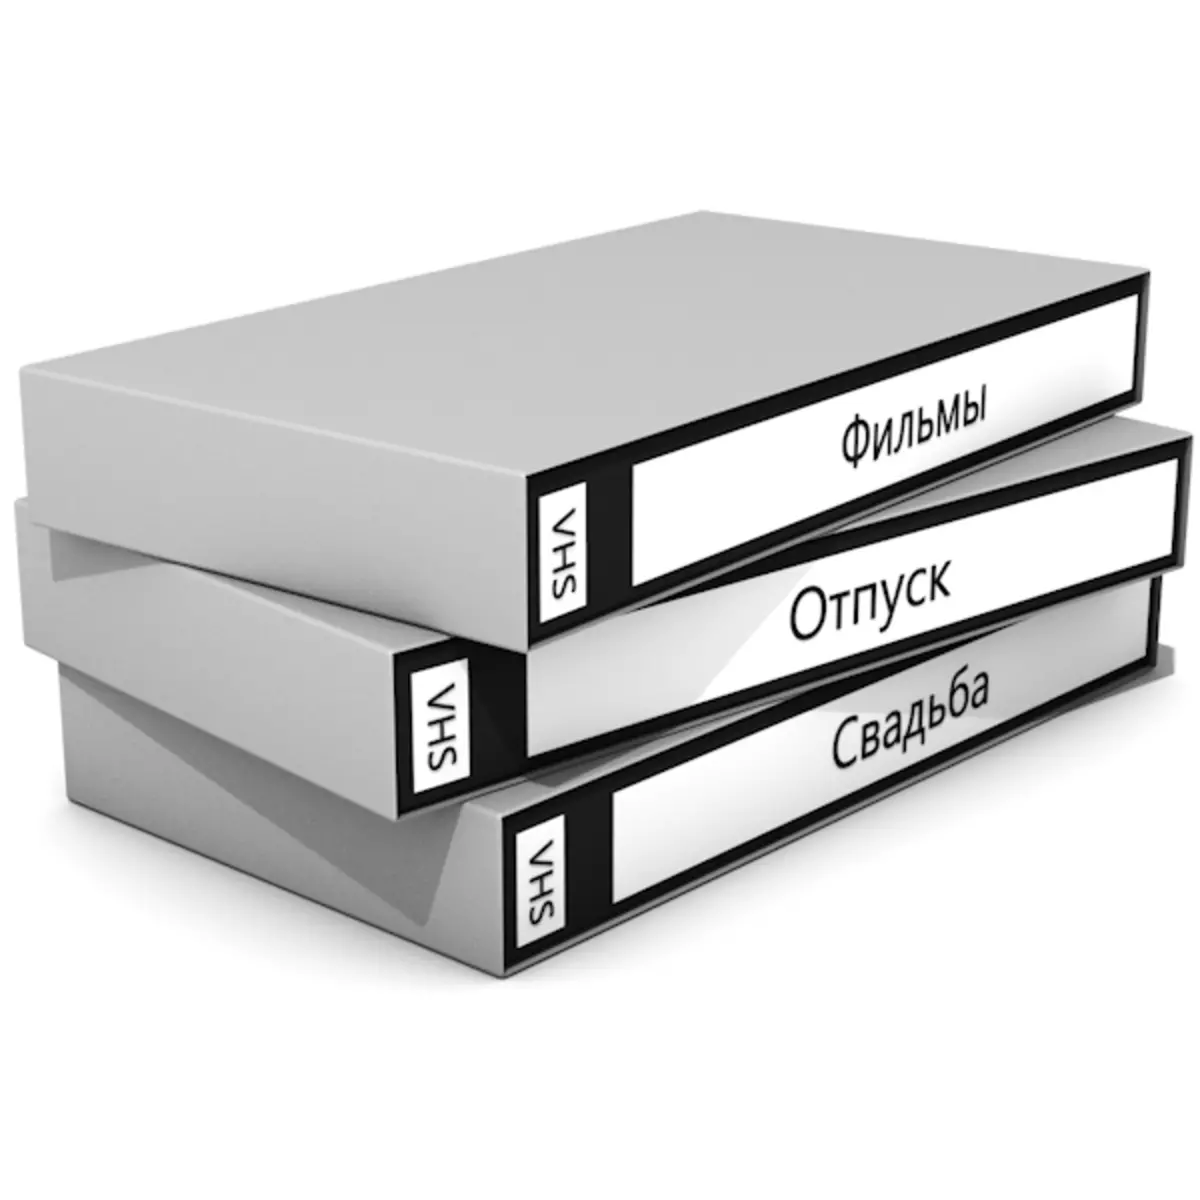
Magnetic carriers in general and video tapes in particular for quite a long time were the main storage agent. To date, their use is inappropriate due to various reasons - physical sizes, speed and other speeds. In addition, the magnetic film has a property to come into disrepair, thereby destroying a memorable video or collection of old films. In this article, we will analyze the transfer options from the video cassette to the hard disk of the computer.
Transfer video on PC
The procedure that will be discussed will correctly call the digitization, as we translate the analog signal into digital. The only way to do it is to use any video capture device from a video player or camera. We also need a program that is capable of writing data into files.Step 1: Select video capture device.
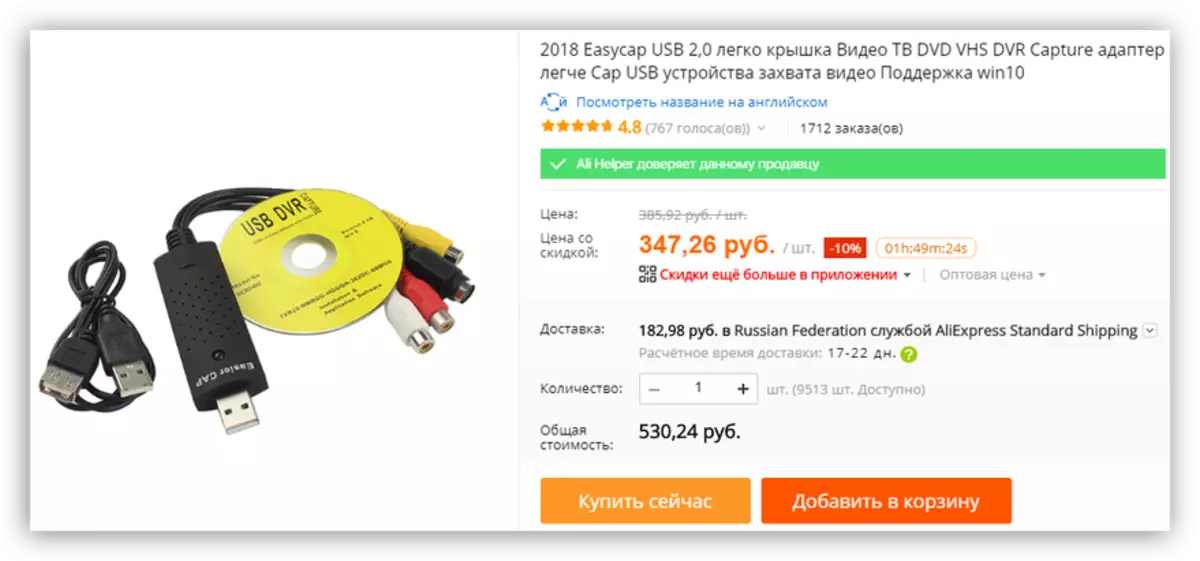
Such devices are analog-to-digital converters that can record video from cameras, tape recorders and other devices capable of playing video sequence. When choosing a device, it is necessary to be guided, first of all, the price. This is precisely the feasibility of acquiring a particular fee. If you need to digitize a few cassettes, then you should look in the direction of external USB devices. Our Chinese partners have long been released to the EasyCAP market, which can be ordered from the Middle Kingdom on a very good price. The disadvantage here is one - low reliability, which eliminates high loads and, as a result, professional use.
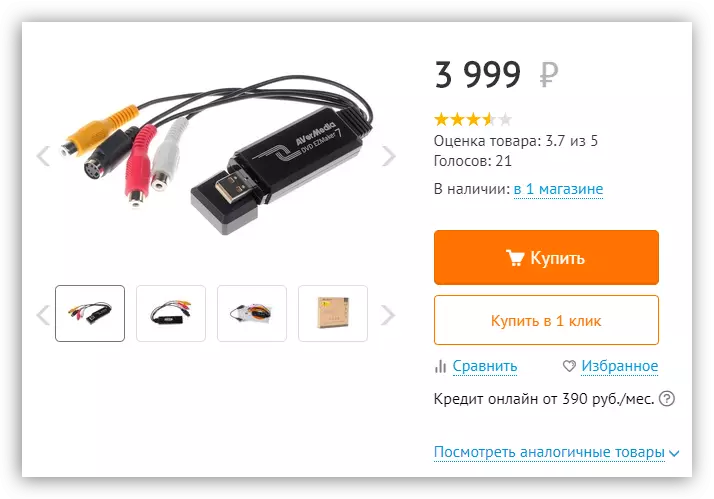
There are also devices from the famous manufacturers who cost more. Choice for you is a high price and warranty service or risk and low cost.
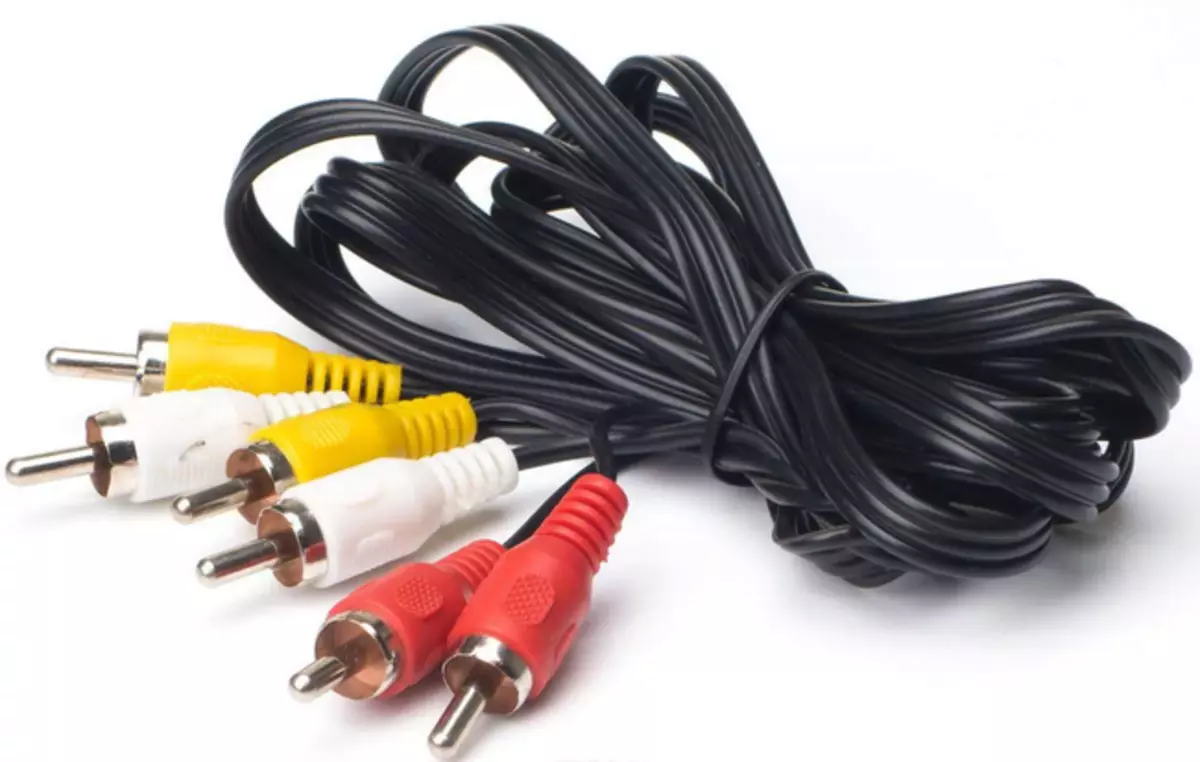
Since we will use an external device, you will also need an additional RCA standard adapter cable - "Tulips". The connectors on it should be a kind of male-male, that is, fork fork.
Step 2: Selection of the program
So, with the selection of the capture device, we decided, now it is necessary to choose a program that will record data on the hard disk in the form of multimedia files. For our purposes, free software with the name VirtualDub is perfect.Step 3: Digitization
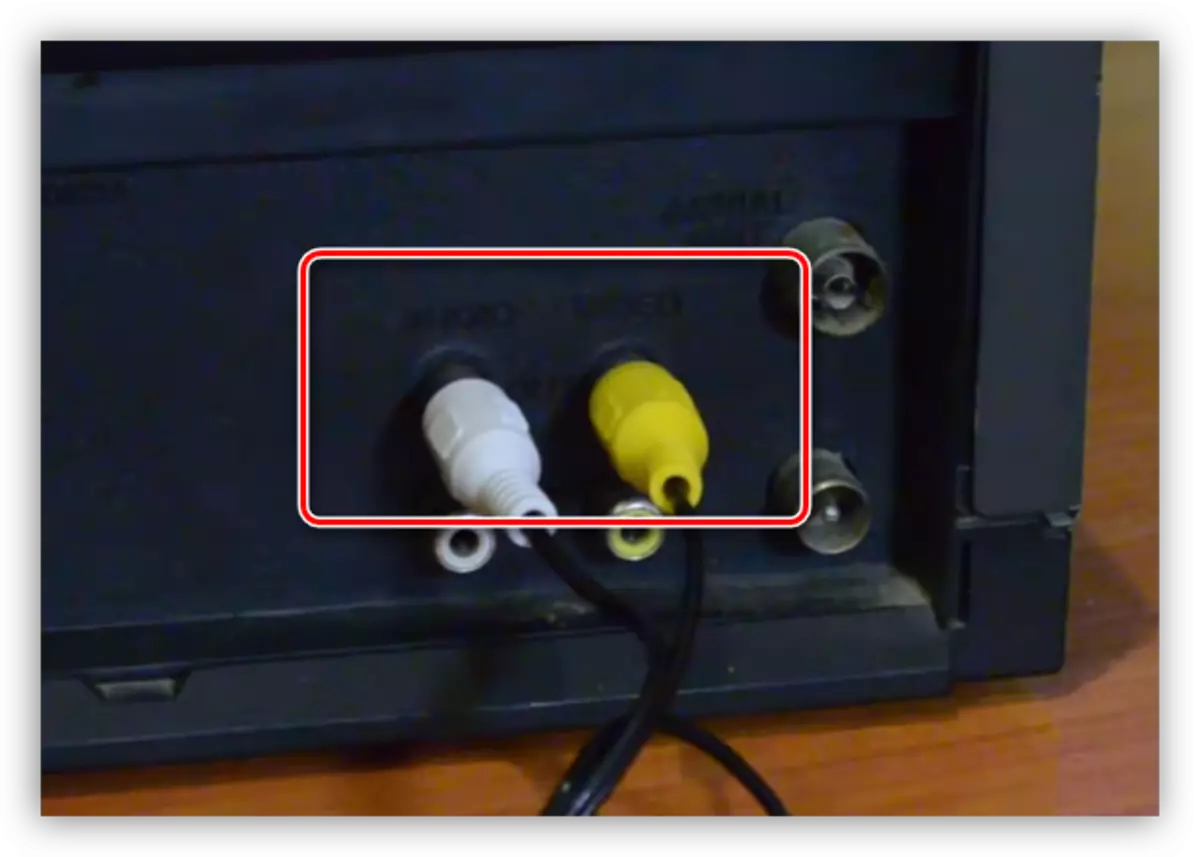
- Connect the cable to the VCR. Please note that it must be outgoing nests. You can determine the assignment on the inscription above the connector - "Audio Out" and "Video Out".
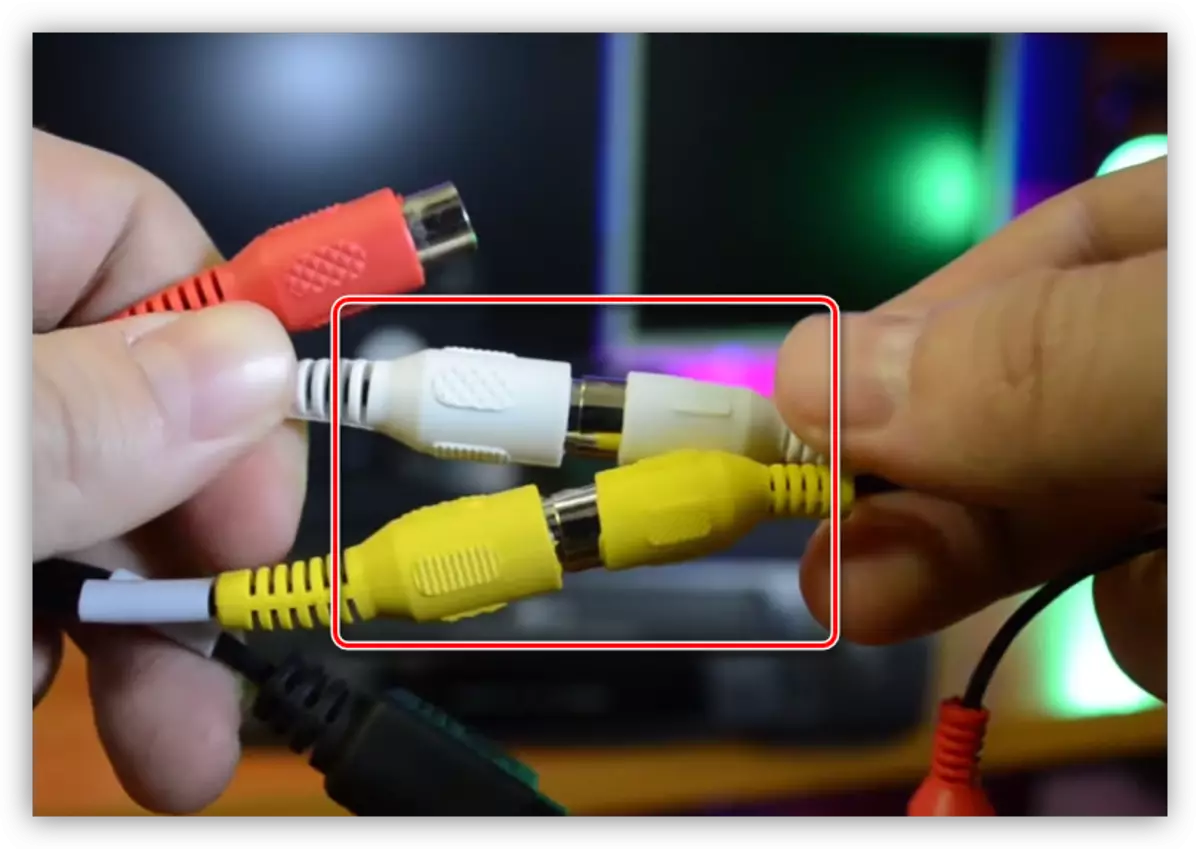
- Next, the same cable connect to the video capture device, guided by the color of the plugs.
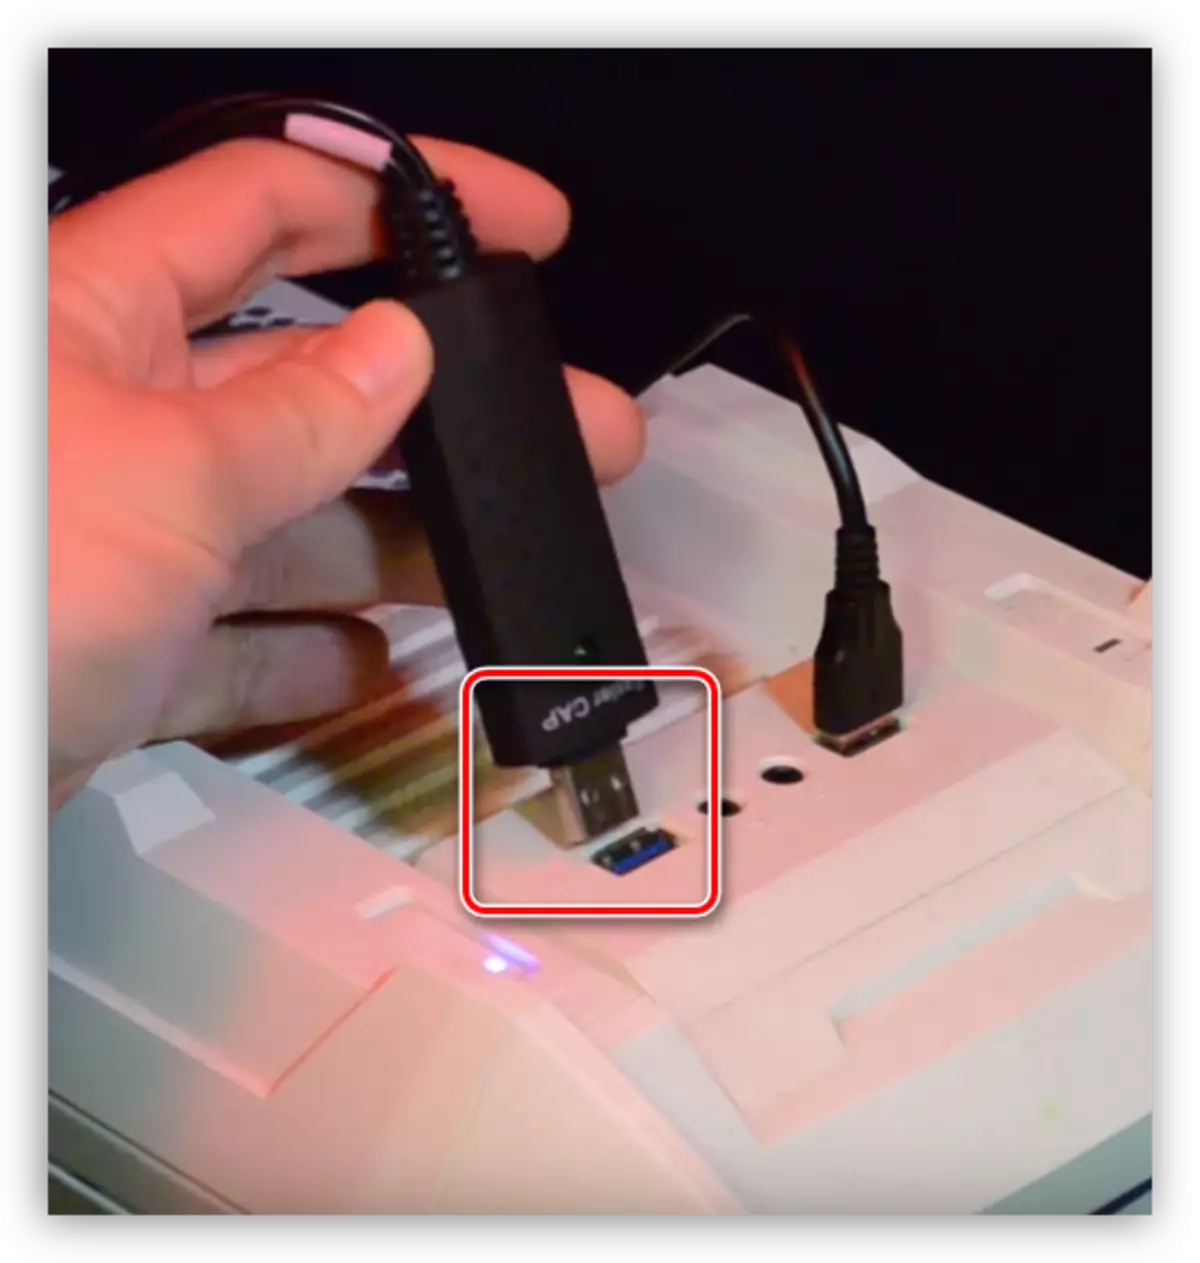
- Insert the device to any of the USB port available on the PC.
- Turn on the VCR, insert the cassette and rewind it at the beginning.
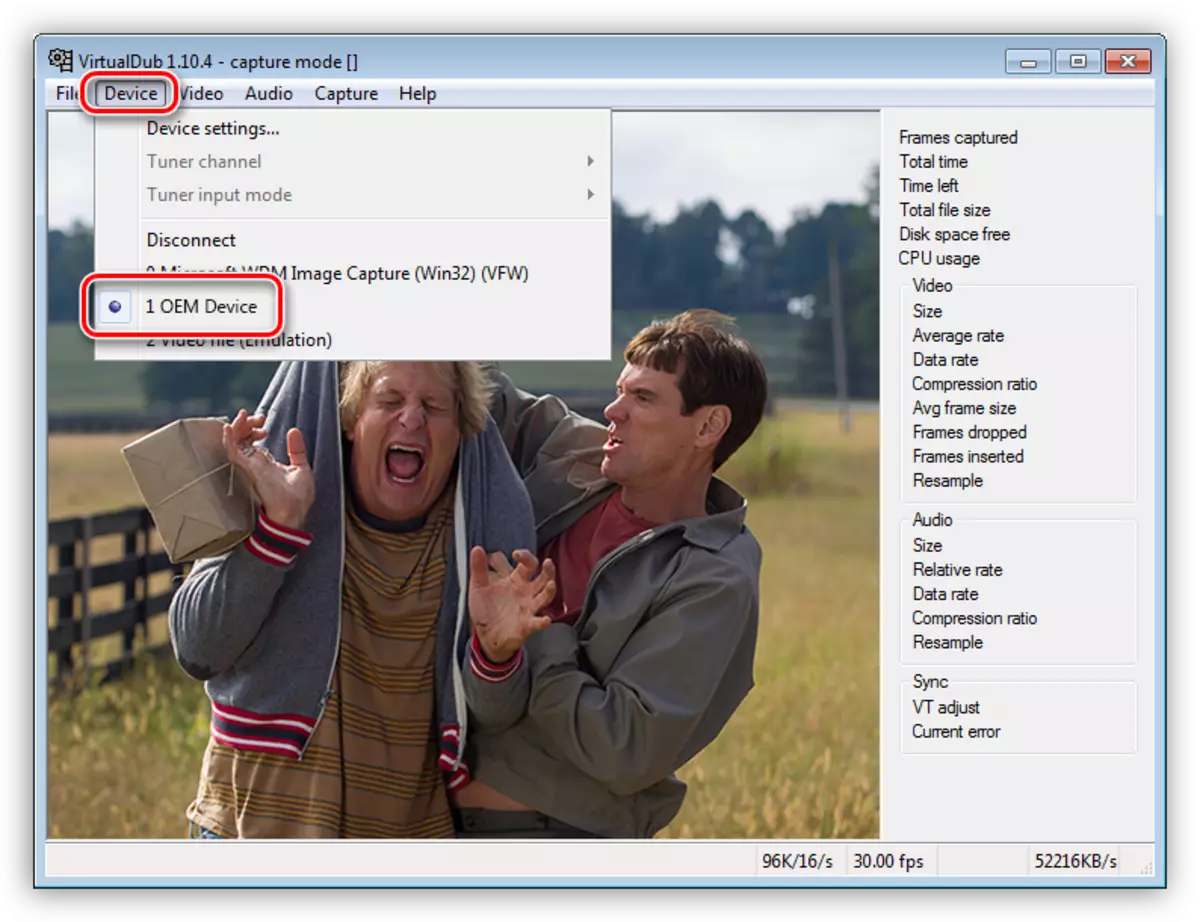
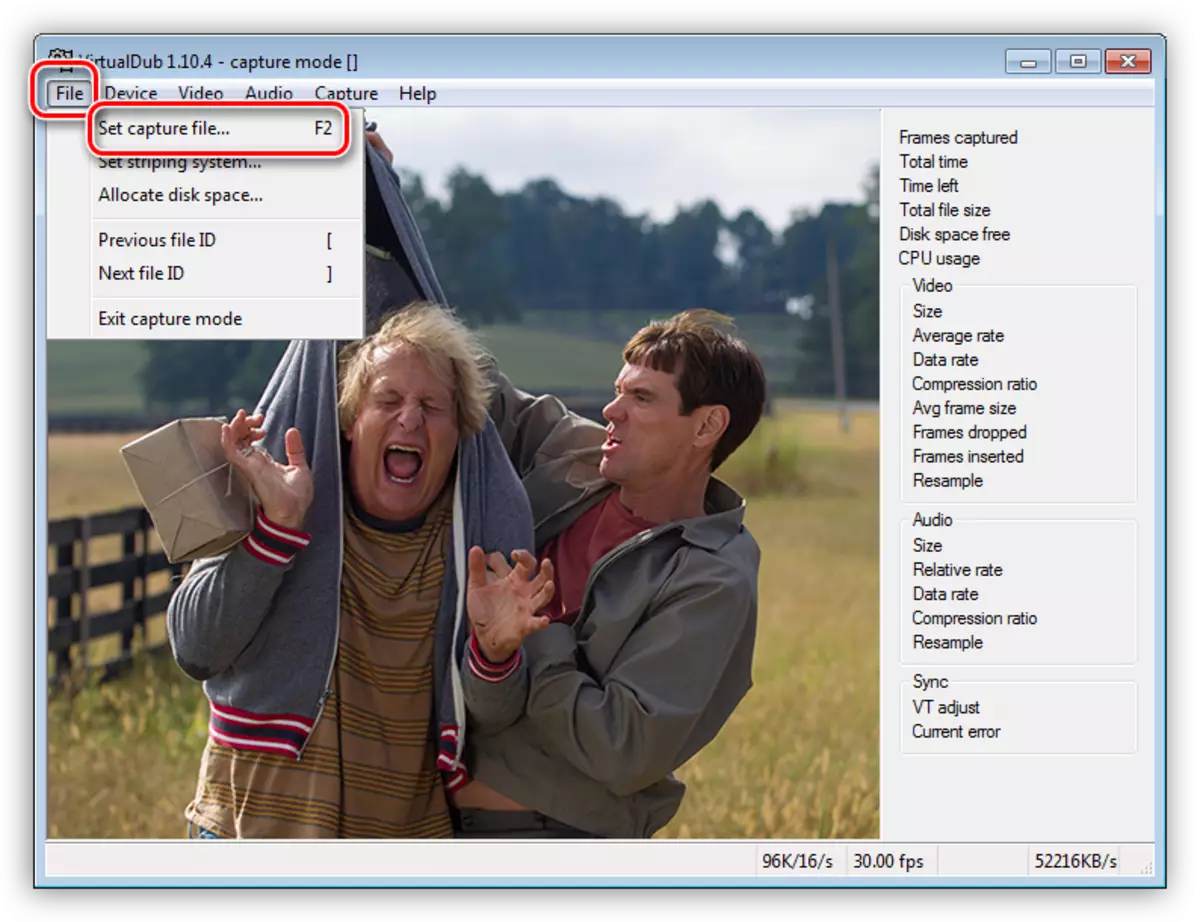
- We run VirtualDub, go to the "File" menu and turn on the recording mode by clicking on the item specified in the screenshot.

- In the Device section, select our device.
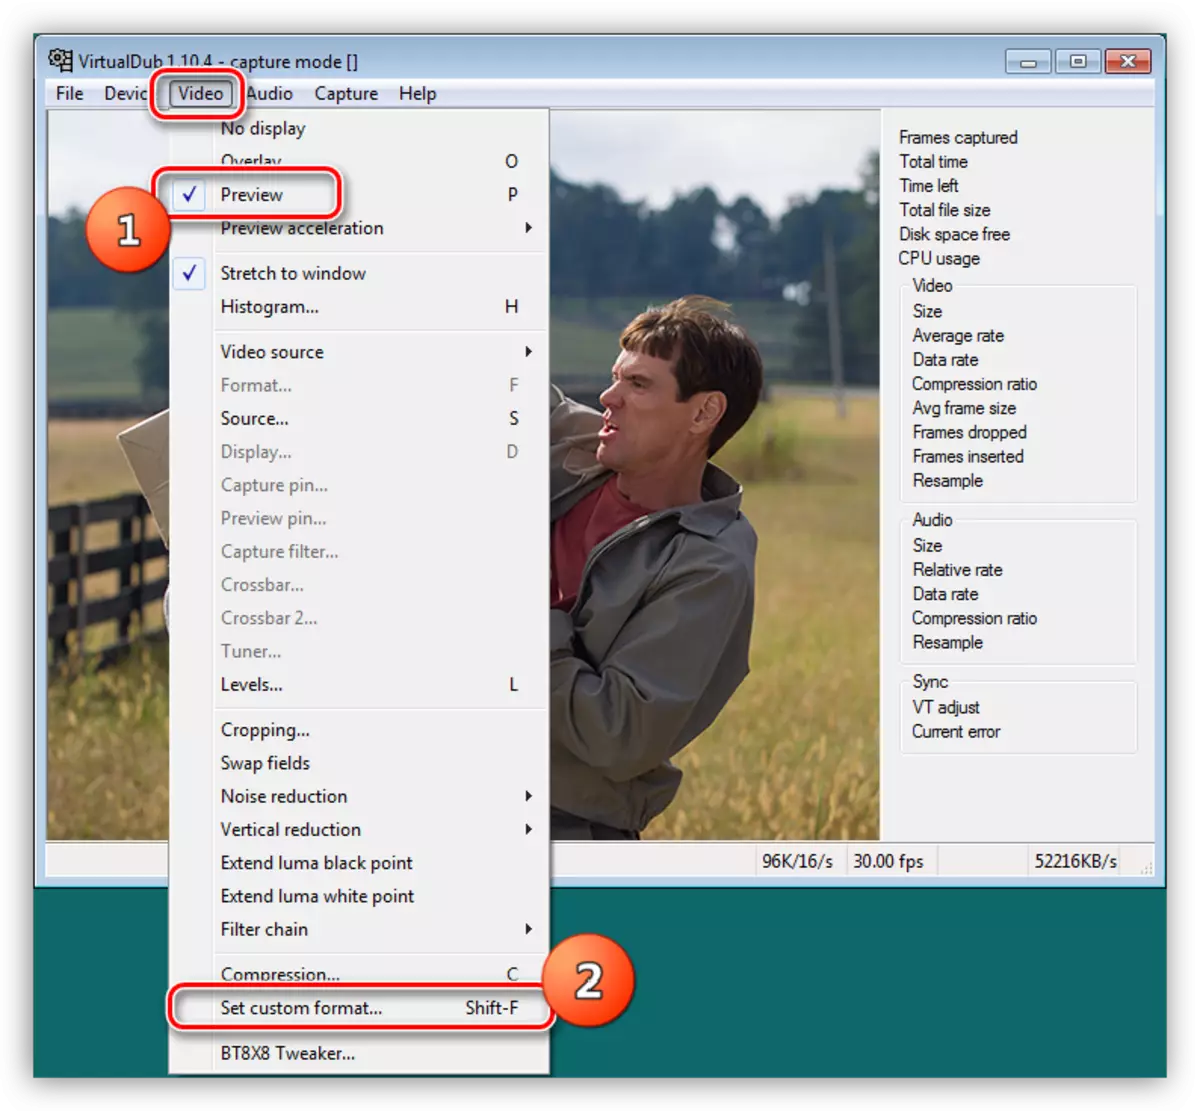
- Open the "Video" menu, activate the "Preview" mode and go to the Set Custom Format item.
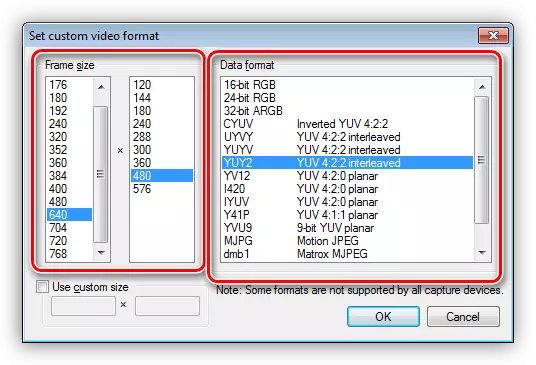
Here we configure video format. It is recommended to set the value indicated in the screenshot below.
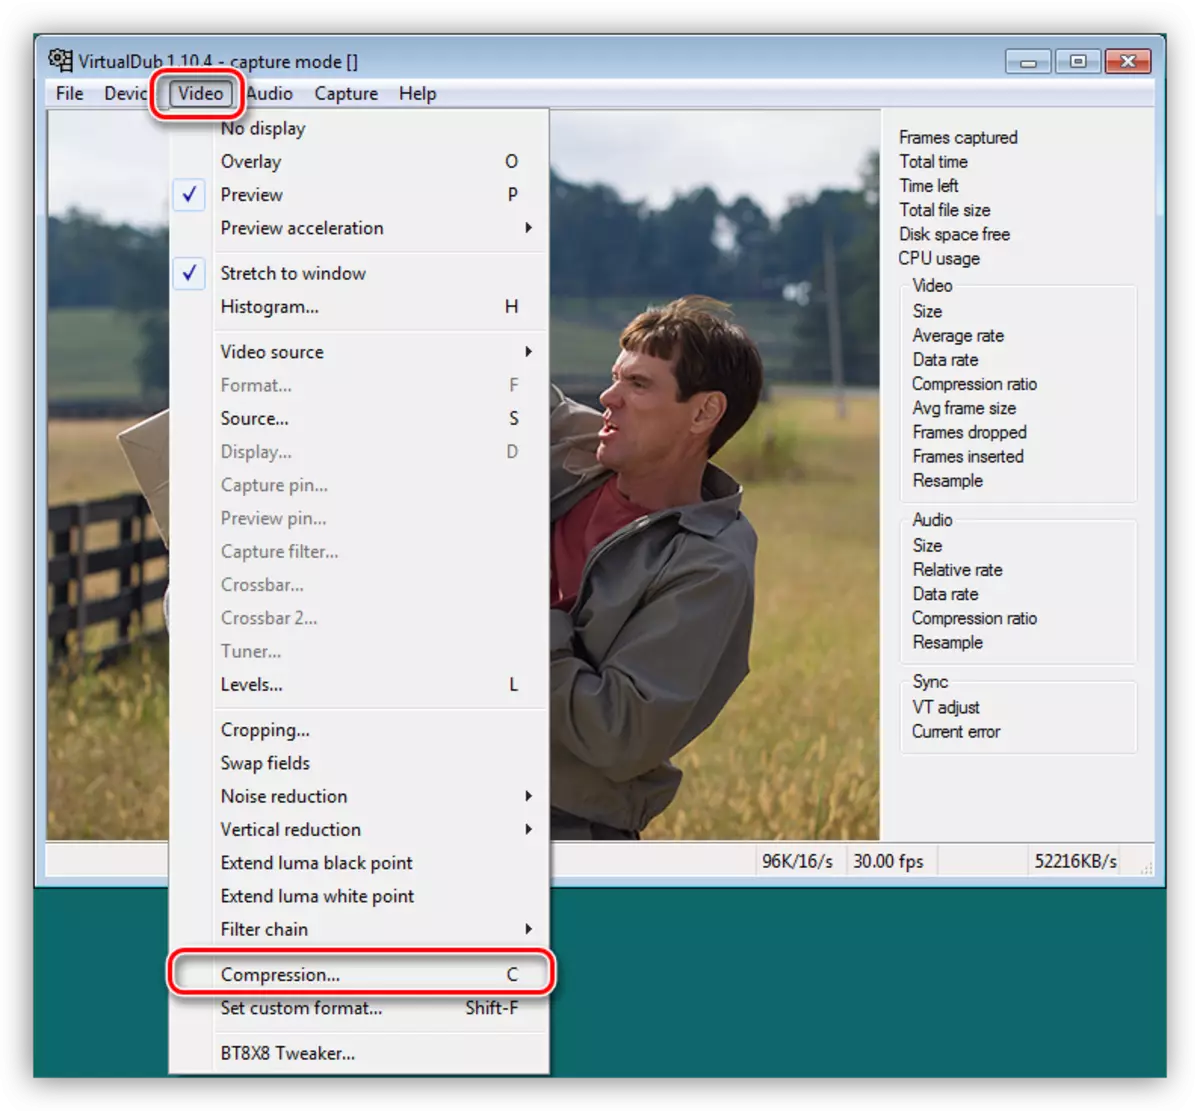
- Here, in the "Video" section, click on the COMPRESSION point.
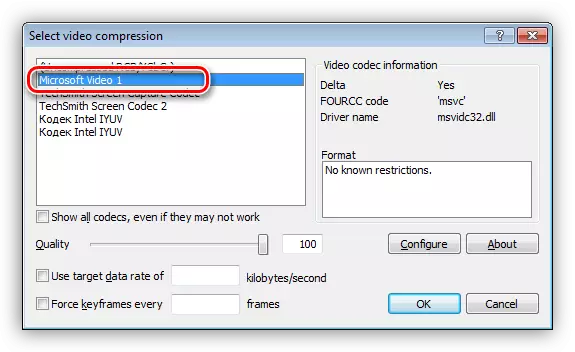
Select the codec "Microsoft Video 1".
- The next step is to configure the output video file. Go to the "File" menu and click on "SET CAPTURE FILE".
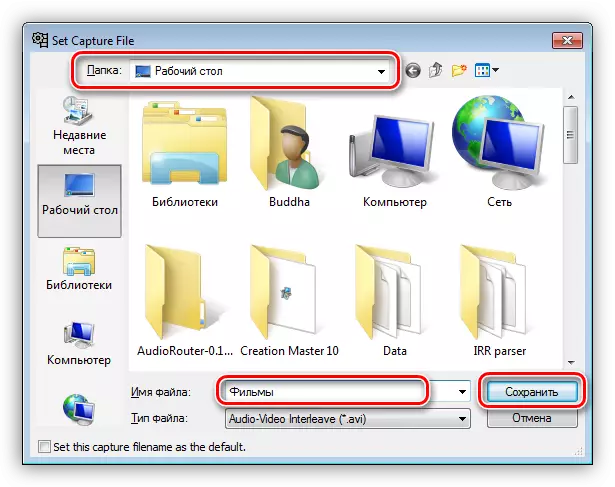
Select a place to save and give file name. Please note that the output video will be a rather large AVI file. For storage of 1 hour of such data, approximately 16 gigabytes of free space on the hard disk will be required.
- We turn on the playback on the VCR and start the entry with the F5 key. Conversion of content will occur in real time, that is, one hour of video on the cassette will require the same time for digitization. After the process is completed, press ESC.
- Since it makes no sense to store huge files on the disk, they must be converted to a convenient format, for example, MP4. You can do this with the help of special programs - converters.
Read more: Convert videos in mp4
Conclusion
As you can see, rewrite the video tape on the computer is not so difficult. To do this, it is enough to purchase the necessary equipment and download and install the program. Of course, it is also necessary to stock up and patience, since this process takes a lot of time.