

It is known that the program part of any router plays an equally important role when performing its functions by the device than its hardware components. The firmware device operation requires periodic maintenance, which is most often carried out by the user independently. Consider ways to reinstall, update, lowering the version, as well as restoring the firmware of the common router created by the famous TP-Link company - Models TL-WR740N.
Operation on the firmware TL-WR740N, as, however, and all other TP-LINK routers, the official method - an easy procedure. During reinstallation of the firmware, with careful execution of instructions, problems are extremely rare, but still it is impossible to guarantee the outbreak of processes. Therefore, before switching to manipulations with a router, you need to consider:
All instructions from this material are performed by the owner of the device at its own discretion, at your own risk! Responsibility for possible problems with the router, which arose during the firmware or result, the user carries independently!
Preparation
In independence, from the objectives of reinstalling the TP-LINK TL-WR740N firmware, there should be some aspects of the procedure, as well as several preparatory steps before interfering with the software. This will avoid errors and failures while working with router, as well as ensure the rapid obtaining the desired result.

Admin panel
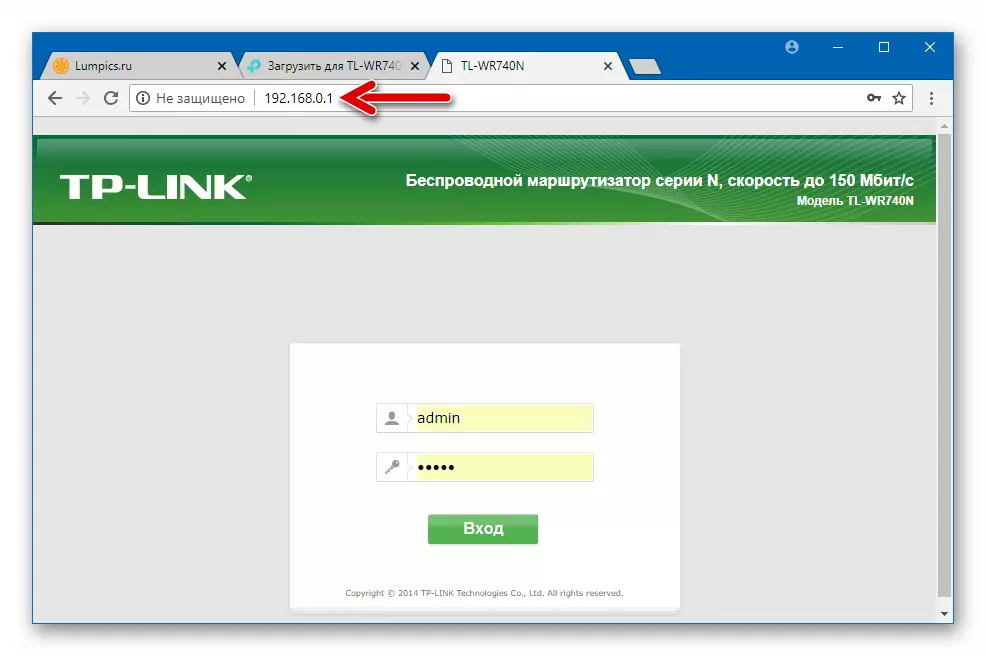
Those users who follow the TP-LINK TL-WR740N parameters independently know that all manipulations for the settings of this router are carried out through the web interface (administrative panel).

If you have to deal with the router and the principles of his work for the first time, it is recommended to familiarize yourself with the article on the link below, and, at a minimum, learn how to go to the "admin", since the firmware of the router by the official method is carried out through this web interface.
Read more: Configure the TP-LINK TL-WR740N router
Hardware audits and firmware versions
Before reinstalling on the router, you need to find out what exactly it will have to deal with. Over the years, during which the model TL-WR740N was produced, it was improved by the manufacturer, which led to the release of as many as 7-hardware modifications (revisions) of the router.
Firmware, managers for the operation of routers differ depending on the hardware version and are not interchangeable!
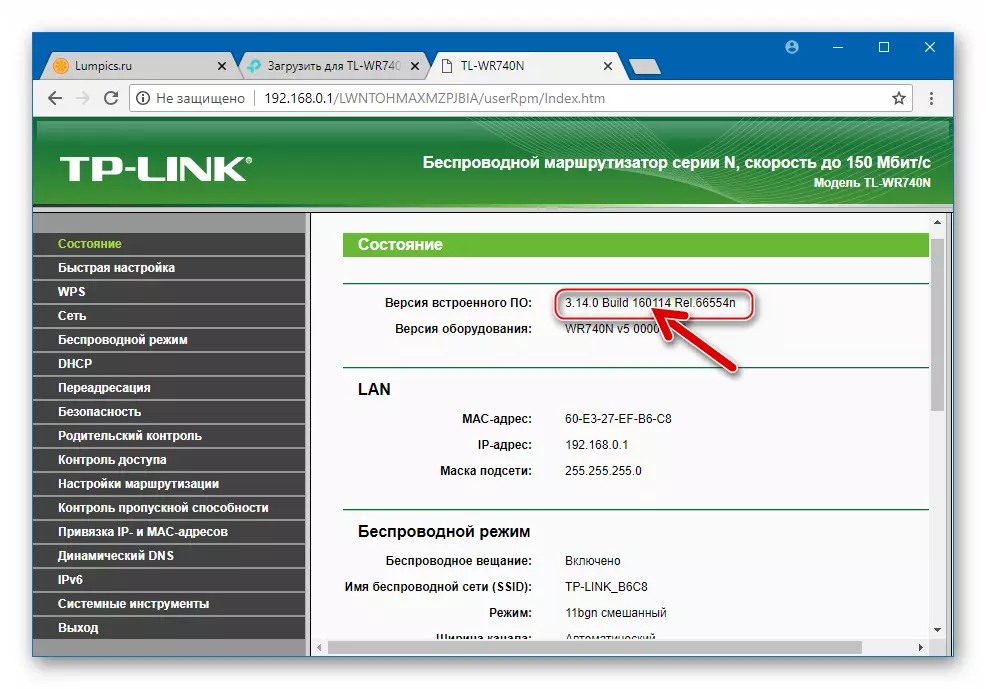
In order to find out the modification of TL-WR740N, logging in the router web interface and see the information specified in the "Status" section, the Equipment Version: "
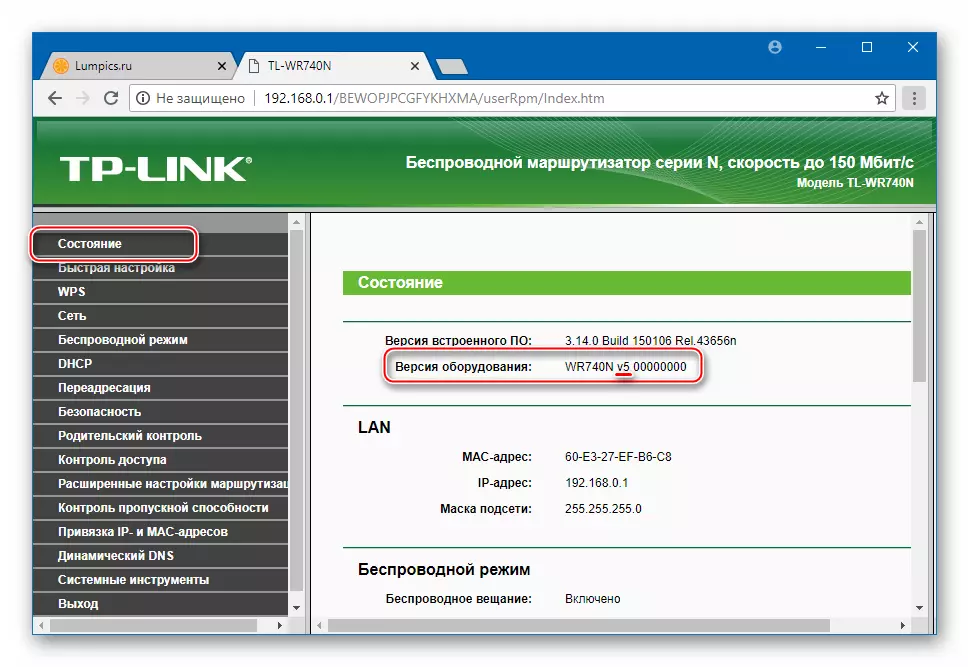
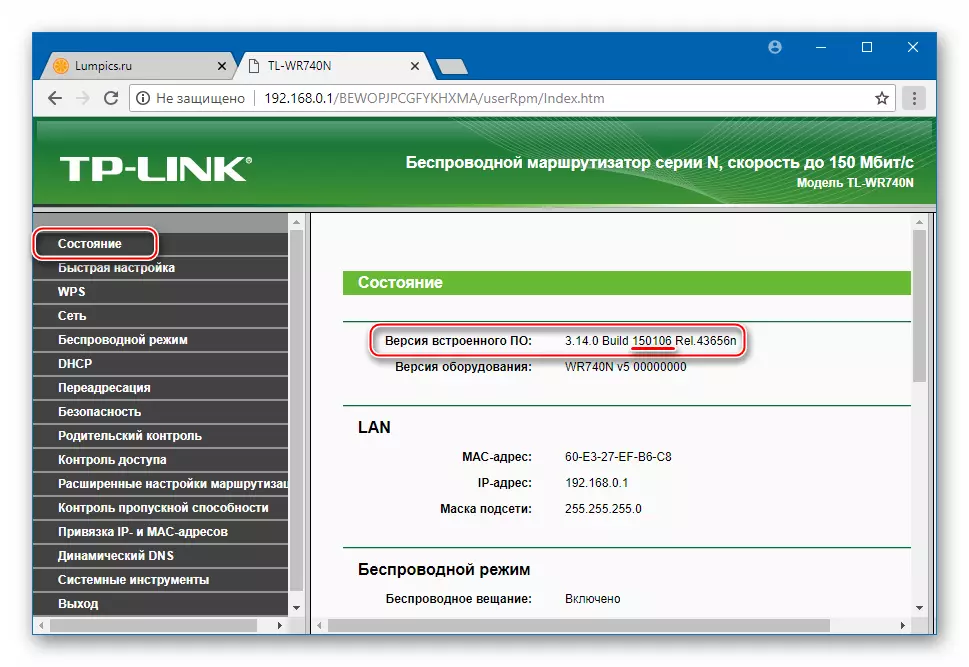
Here you can also get information about the microprogram assembly number, the device management operation at the current time - the item "Embedded Software:". In the future, this will help to decide on the choice of firmware, which it makes sense to install.
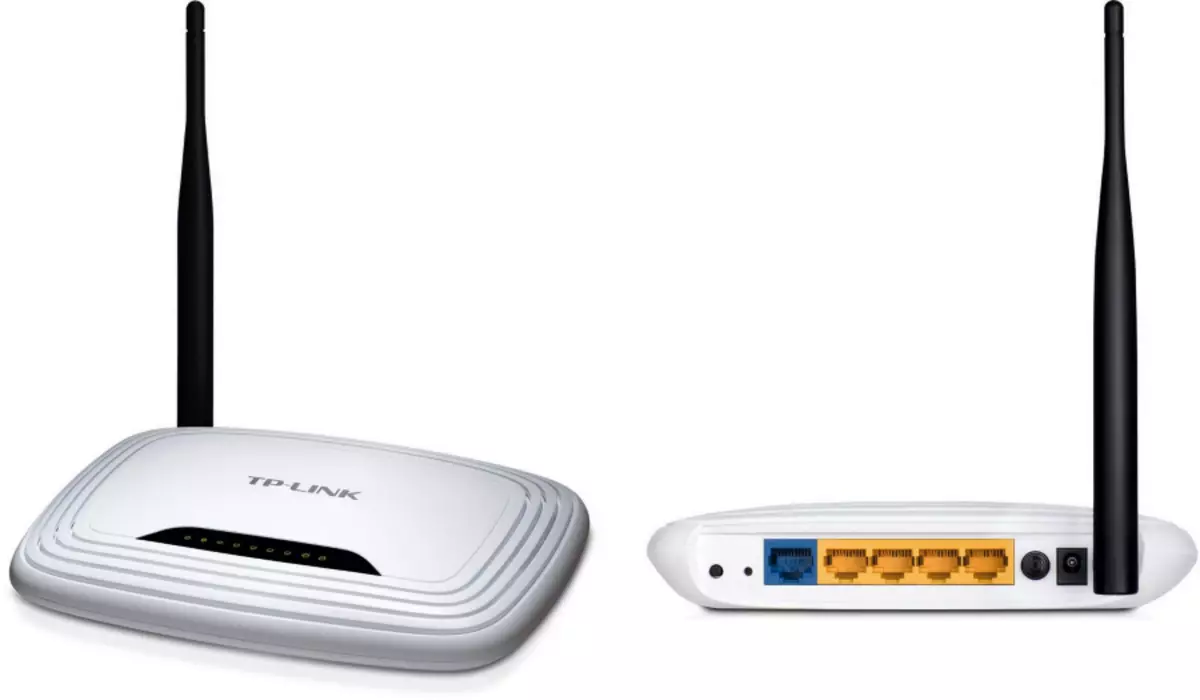
If there is no access to the admin names of the router (for example, the password is forgotten or the device is programmively inoperative) to find out the hardware version you can, looking at the sticker below the TL-WR740N case.
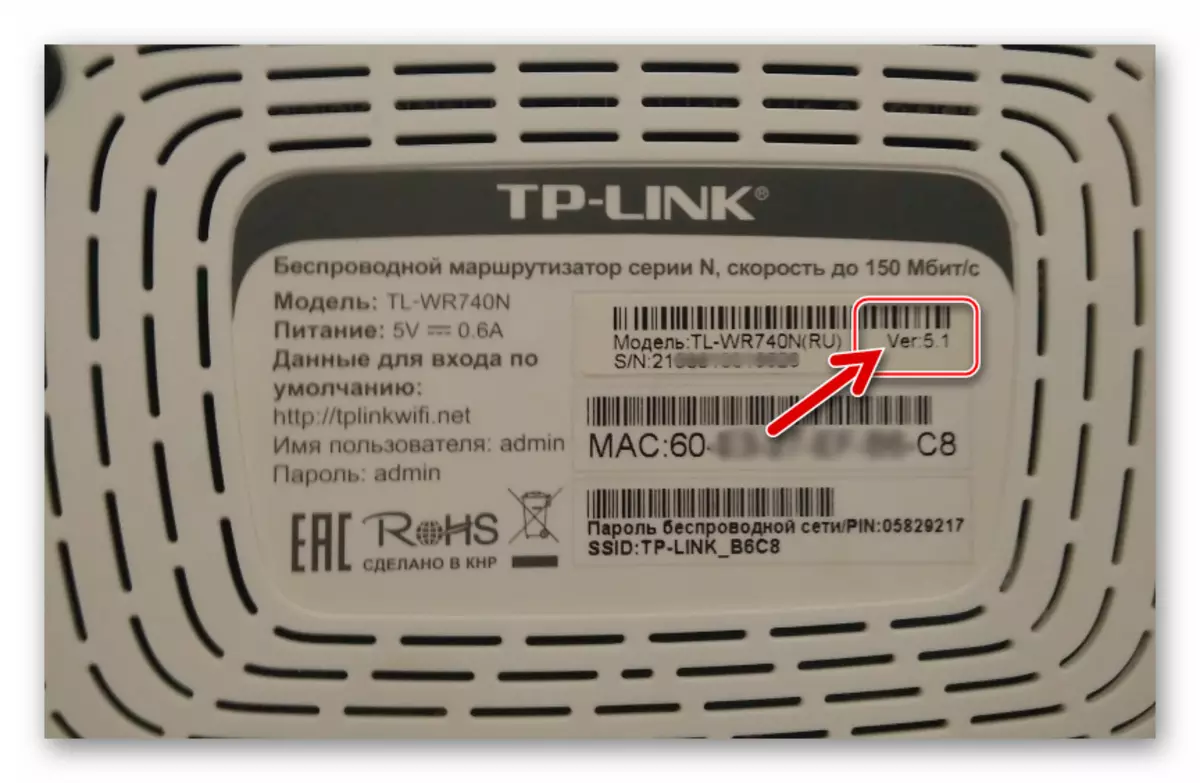
Mark "Ver: X.Y" indicates a revision. The desired value is X. , and the number (s) after the point ( Y. ) It is not important with the further definition of a suitable firmware. That is, for example, for the "Ver: 5.0" and "Ver: 5.1" routers, the same systemic software is used for the fifth hardware revision.
Bacup
Proper configuration of the router to achieve its optimal functioning in a particular home network sometimes requires a lot of time as well as certain knowledge. Since in some situations before the firmware, it may be necessary to reset all the parameters of the device to the factory state, it is advisable to pre-create a backup copy of the settings by copying them to a special file. In the "admin" TP-Link TL-WR740N there is an appropriate option.
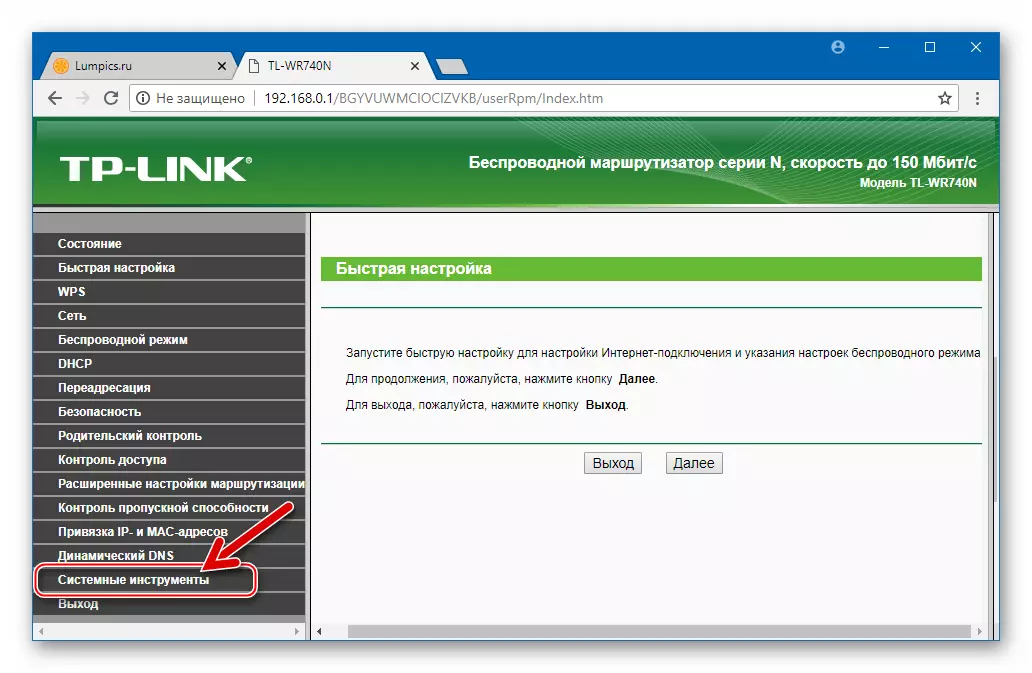
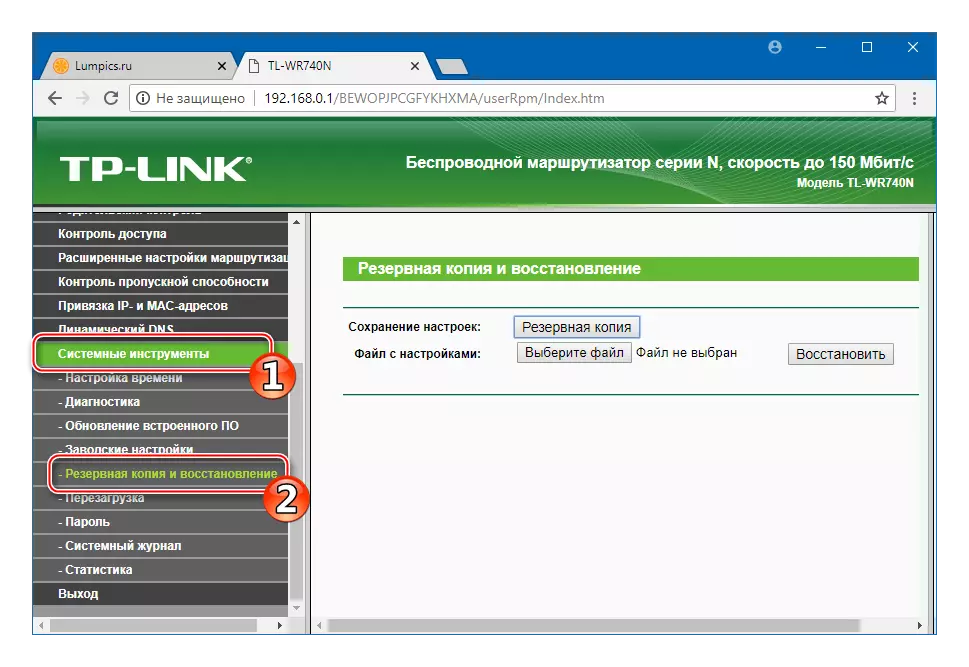
- Authorizes in the administrative panel, open the System Tools section.
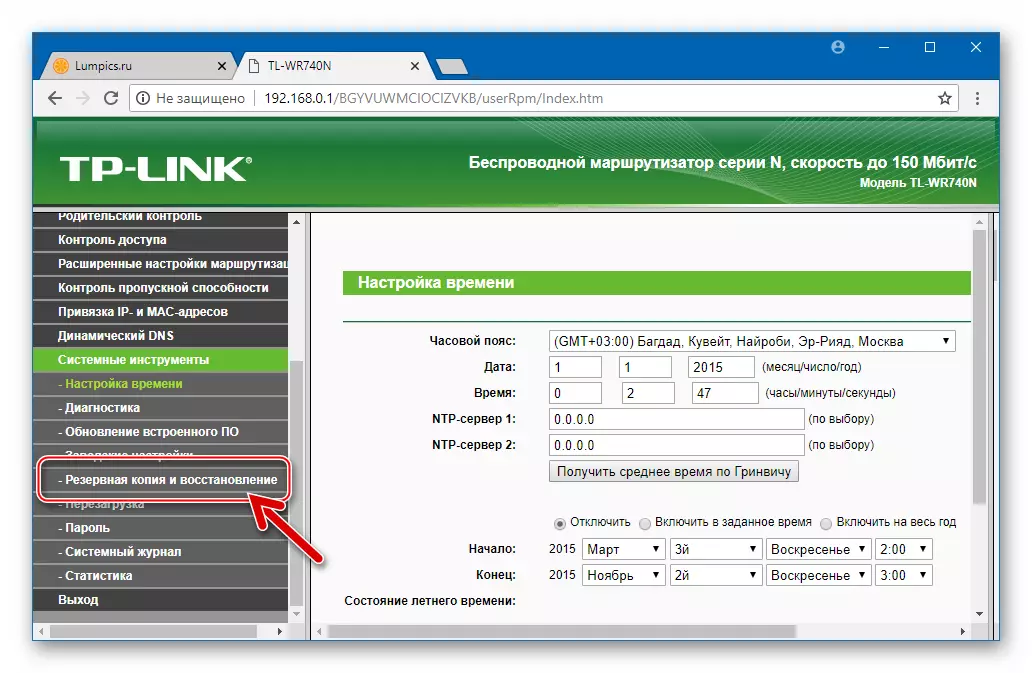
- Click "Backup and Restore".
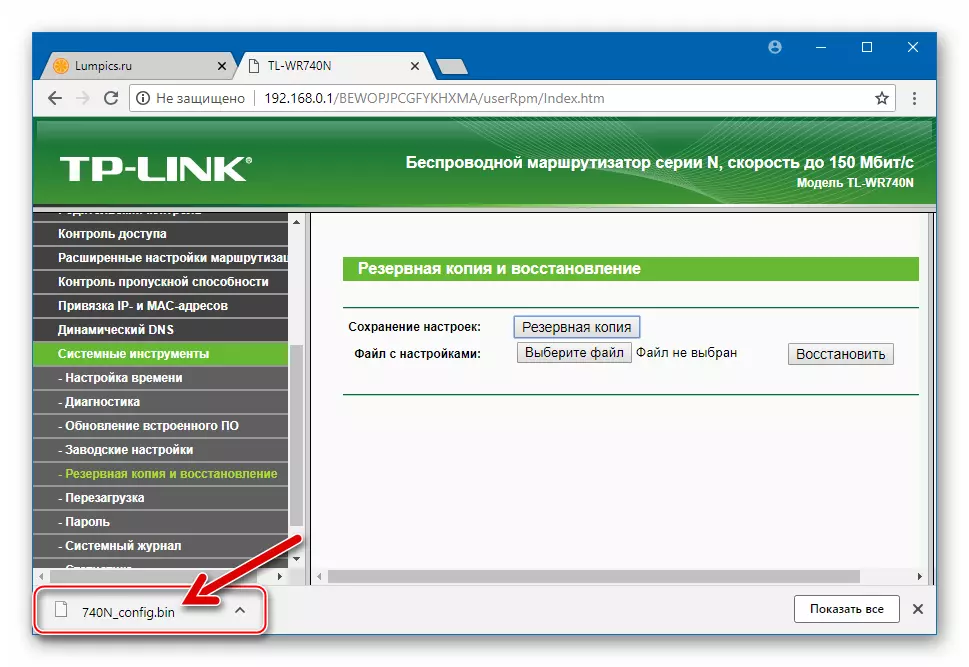
- Press the "Backup" button located near the name "Saving settings" functions.
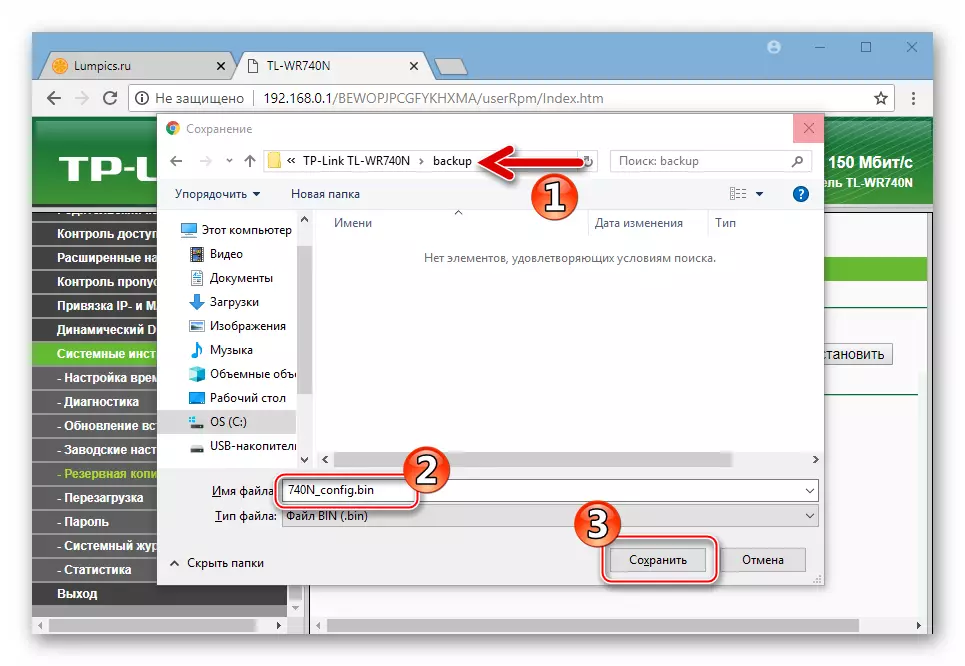
- Choose the path to which backup will be saved and (optional) indicate its name. Click "Save".
- The file containing information about the parameters of the router is preserved at the above path almost instantly.

If you need to restore the router settings in the future:
- Just as when saving a backup, go to the "Backup and Recovery" web interface section.
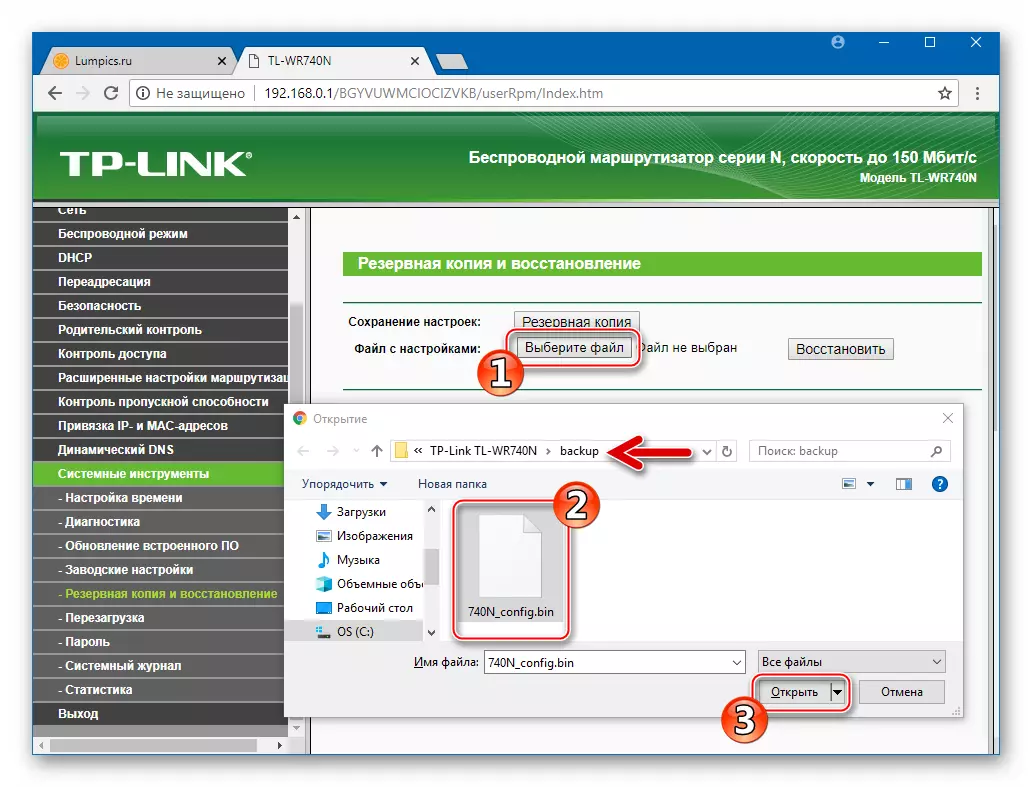
- Next, click the button near the "File with Settings" inscription, select the path to which the backup is located. Open the previously created bin file.
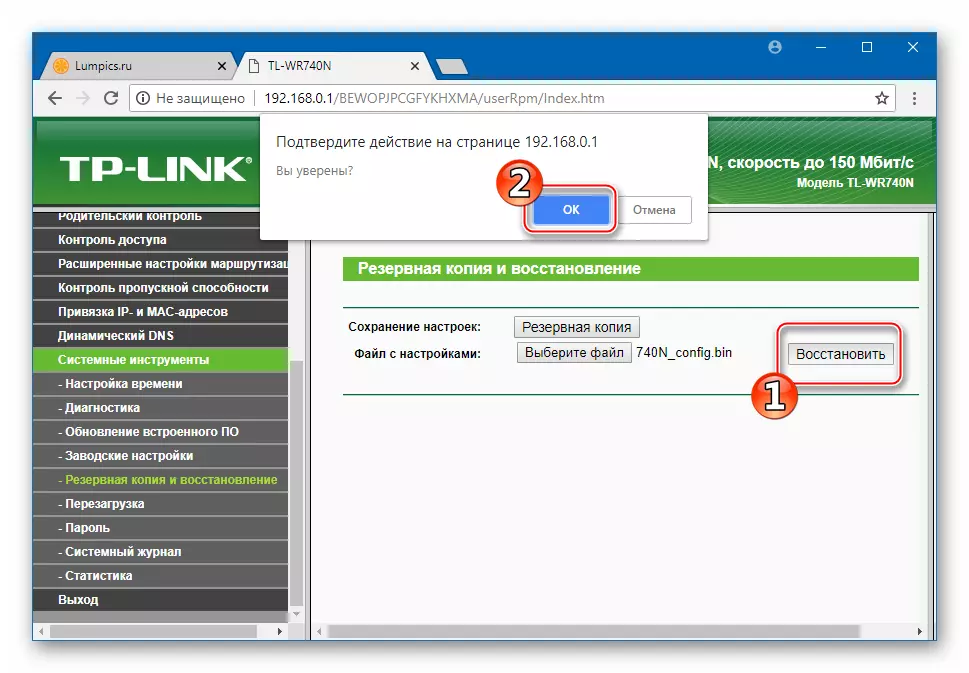
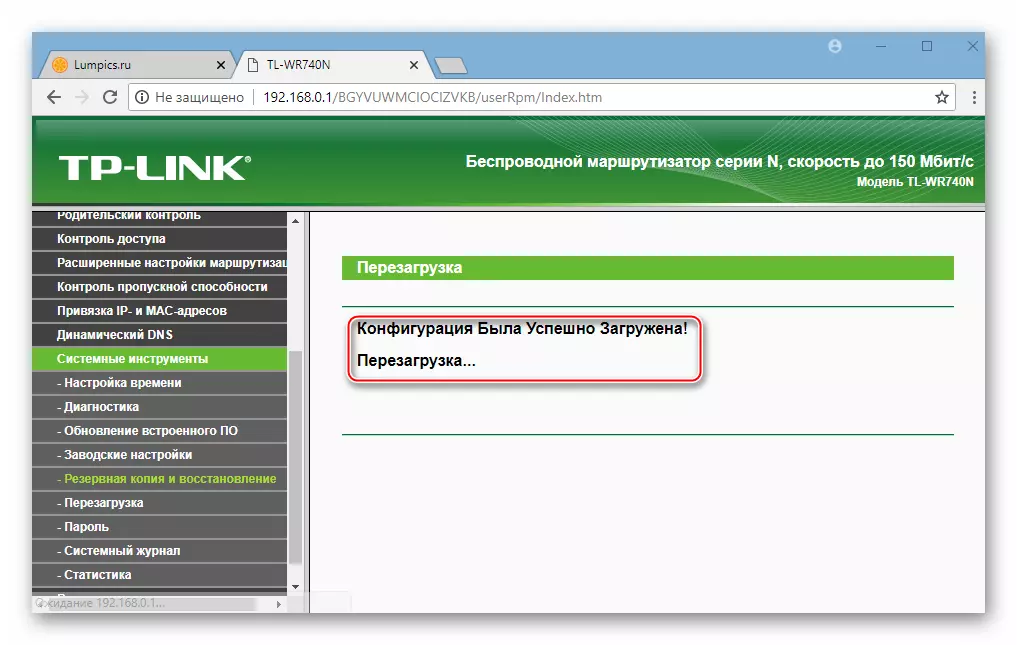
- Click "Restore", after which the question of readiness to return all the router settings to the values stored in the backup is received. Respond to the request in the affirmative, clicking ok.
- We wait for the automatic reboot of the router. In the admin panel will need to be logged in again.
Reset
In some situations, to ensure or restore the normal operation of the router, it is required to a greater degree of refractive device, and its correct setting. To configure "from scratch", you can return the router to the factory state, and then override its parameters in accordance with the requirements of the network, the center of which TP-LINK TL-WR740N is called up to become. The users of the model are available two methods of reset.
- Through Admin Paul:
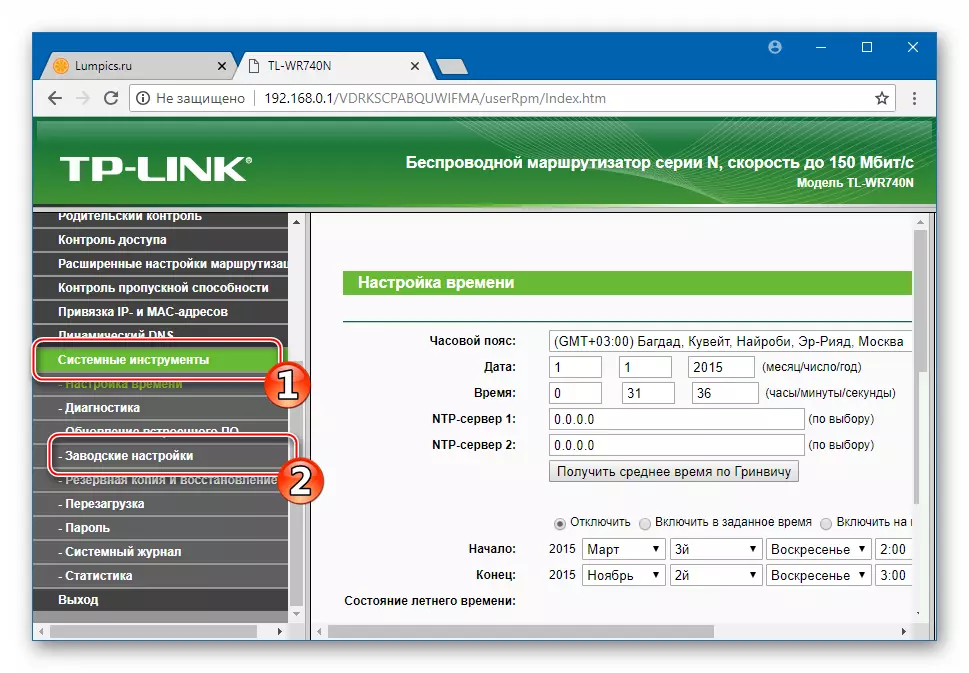
- In the Admin TL-WR740N, you open the list of the "System Tools" menu options. Click "Factory Settings".
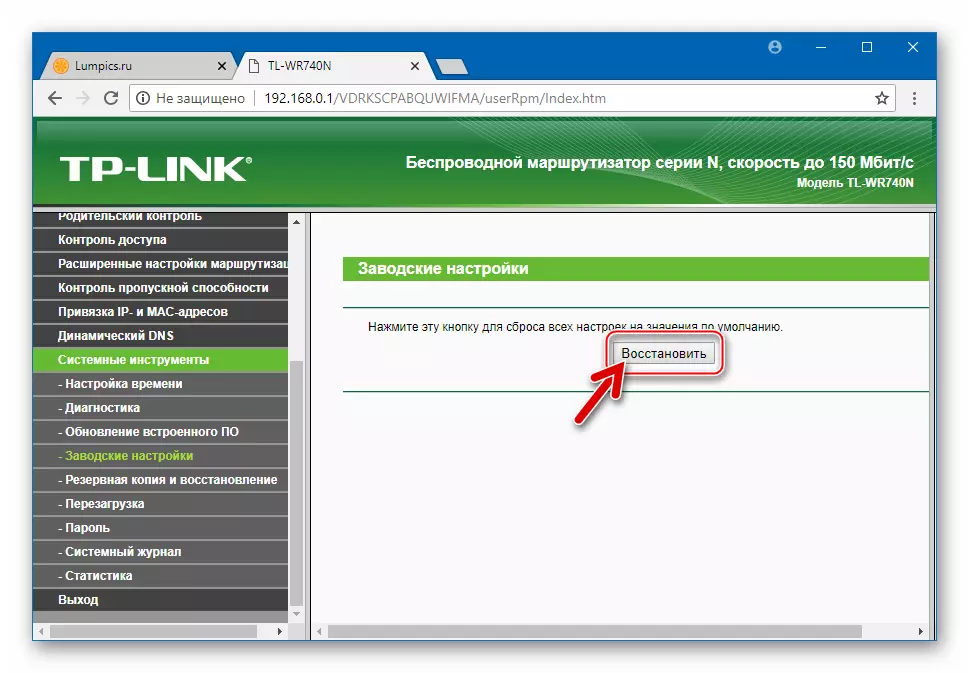
- Press the only button on the page that opens is to "restore".
- I confirm the initialization request received the parameter reset procedure by clicking OK.
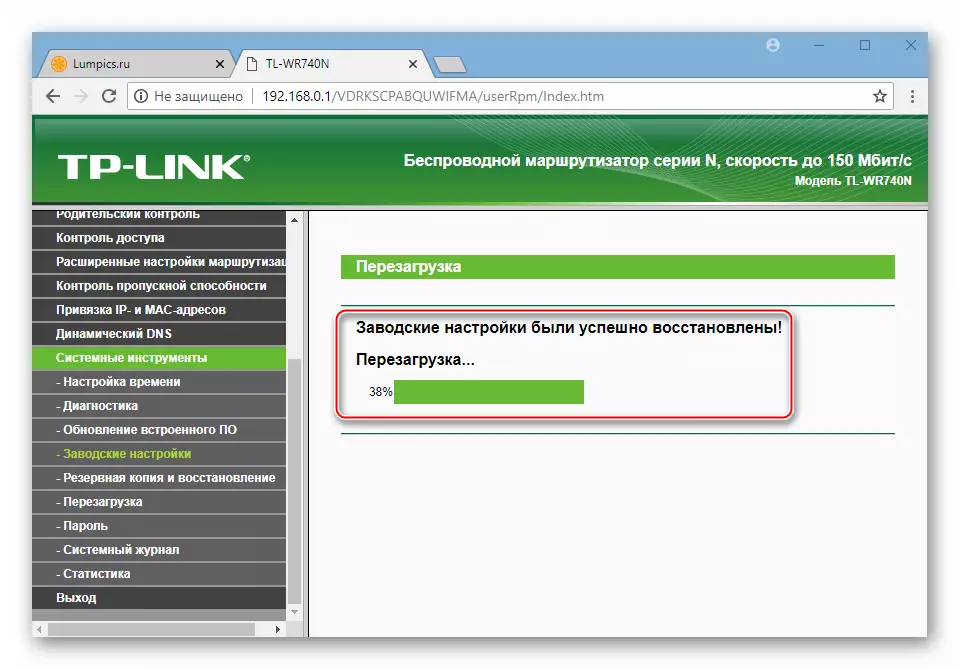
- The router will be restarted automatically and will already be loaded with the default firmware settings.

- C hardware button:
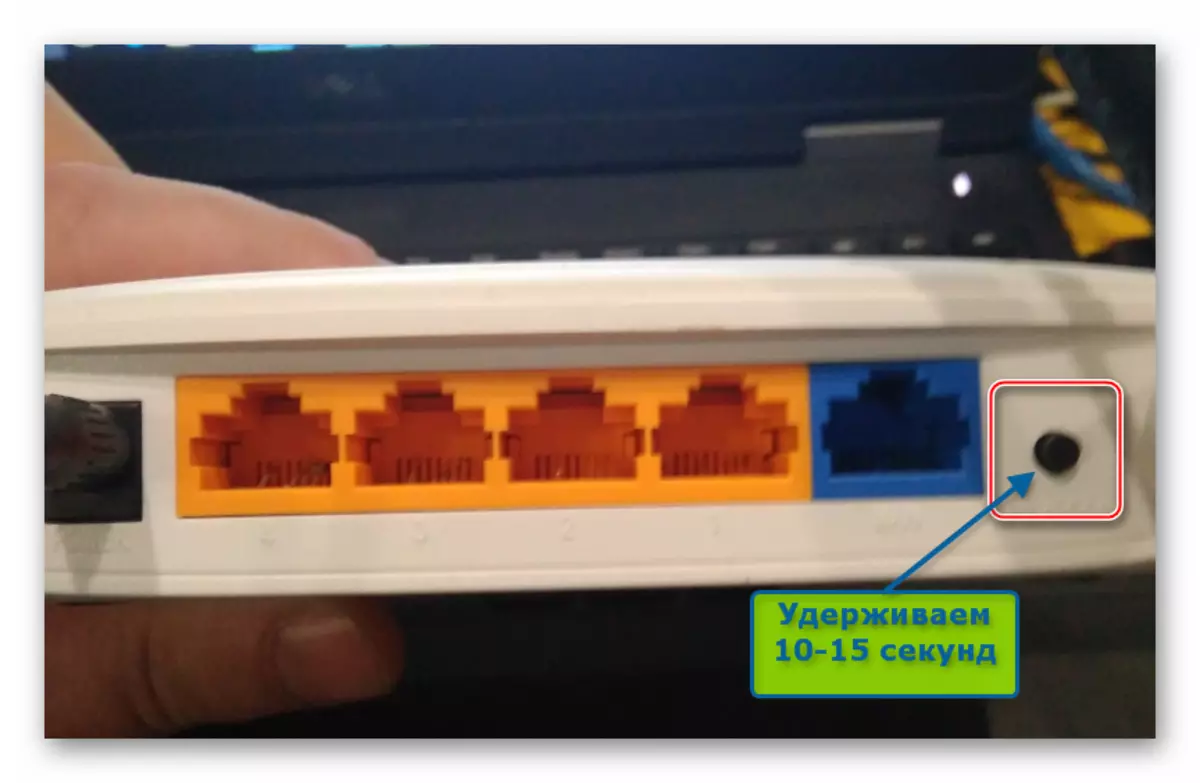
- We have a device so that it may be possible to observe the indicators on its enclosure.
- On the router turned on, press the WPS / Reset key.
- Hold "Reset" and look at the LEDs. After 10-15 seconds, all the bulbs on the WR740N housing simultaneously flare, and then let go of the button.
- The device will automatically reboot. Open the admin panel by authorizing using the standard login and password combination (Admin / Admin). Next, configure the device or restore its parameters from the backup, if such has been previously created.

Recommendations
To successfully reinstall the TP-LINK TL-WR740N firmware and minimize risks that are inevitably emerging in this process, we use multiple tips:- We carry out the firmware by connecting the router and the computer's network adapter cable. Experience shows that reinstalling the firmware through Wi-Fi connection, which is less stable, rather than wire, use more risk and with this version of the operation, the failures occur.
- We provide a reliable supply of electricity in a PC and router. The best solution will be the connection of both devices to the UPS.
- Turn to the selection of the firmware file for the router very carefully. The most important point is the compliance of the hardware revision of the device and the firmware estimated to the installation.
Firmware procedure
Reinstalling the TP-WR740N TP-WR740N system, which can be carried out independently, is made using two main tools - web interface or Specialized TFTPD software. Thus, there are two methods for manipulations used depending on the state of the device: "Method 1" for workable as a whole apparatus, "Method 2" - for routers that have lost the ability to load and work in normal mode.
Method 1: Admin Paul
For most users, the purpose of the firmware TP-LINK TL-WR740N is to actualize the firmware, that is, updating its version to the latter released by the device manufacturer. Achieving exactly this result is demonstrated in the example below, but the proposed instruction can be used and to reduce the version of the built-in one or the usual reinstallation of the firmware on the same assembly, which is already installed in the router.
- We download the firmware file to the PC disc:
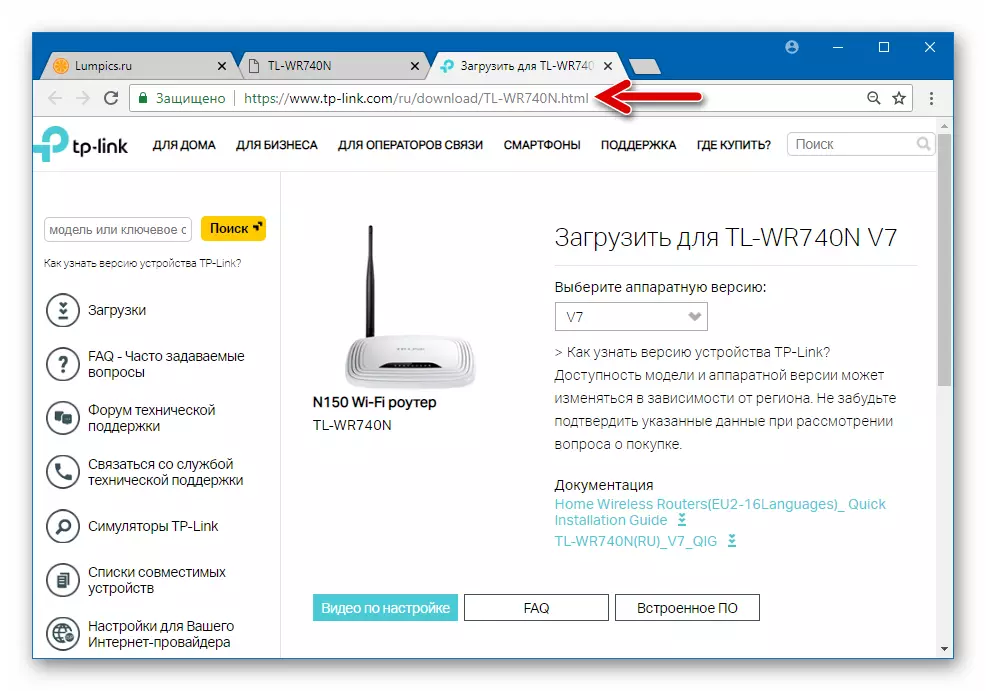
- Go to the technical support model for the following link:
Download firmware for router TP-LINK TL-WR740N C official website
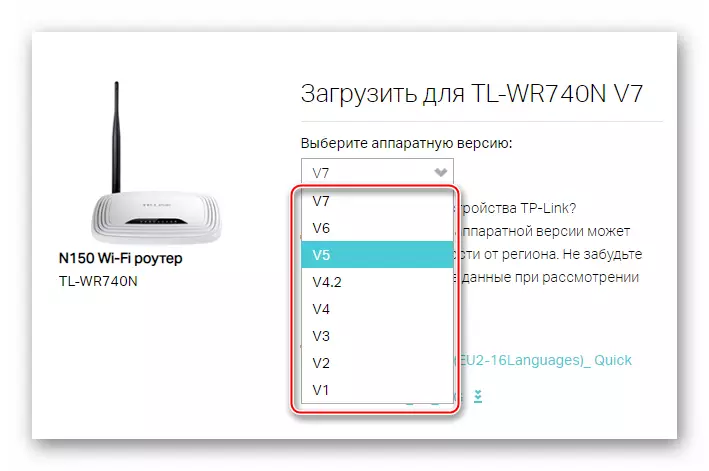
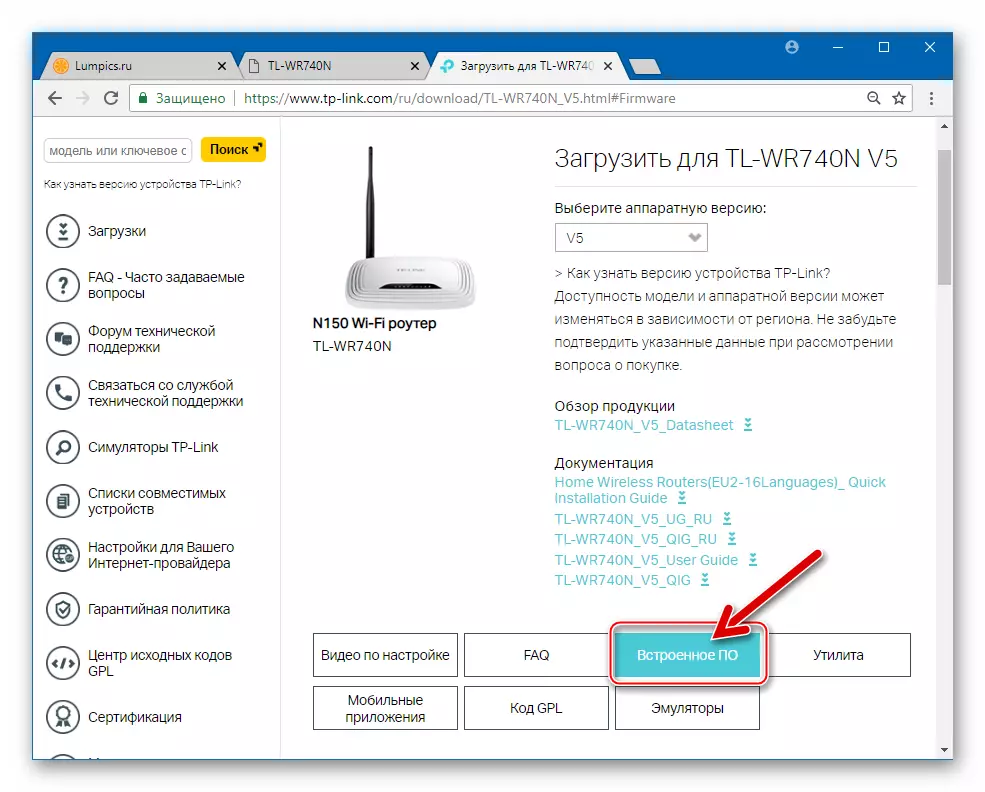
- In the drop-down list, select the revision of the situation of TL-WR740N.
- Press the "Built-in software" button.
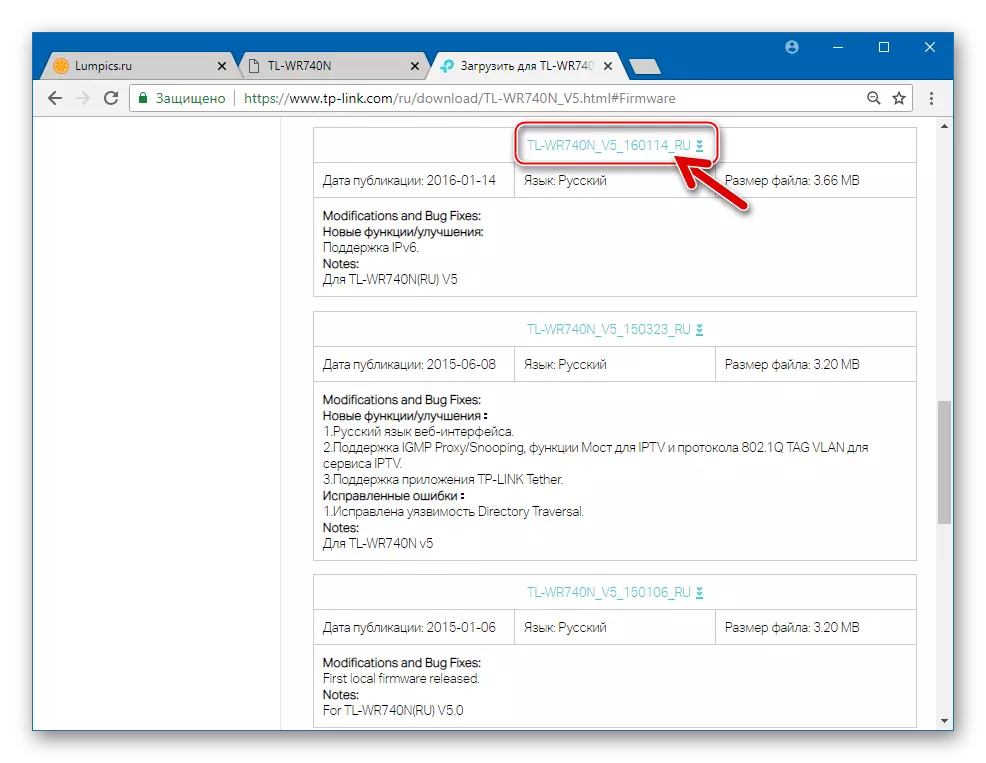
- Sheet page with a list of devices available for downloading microprogram assemblies, we find the desired version and click on its name.
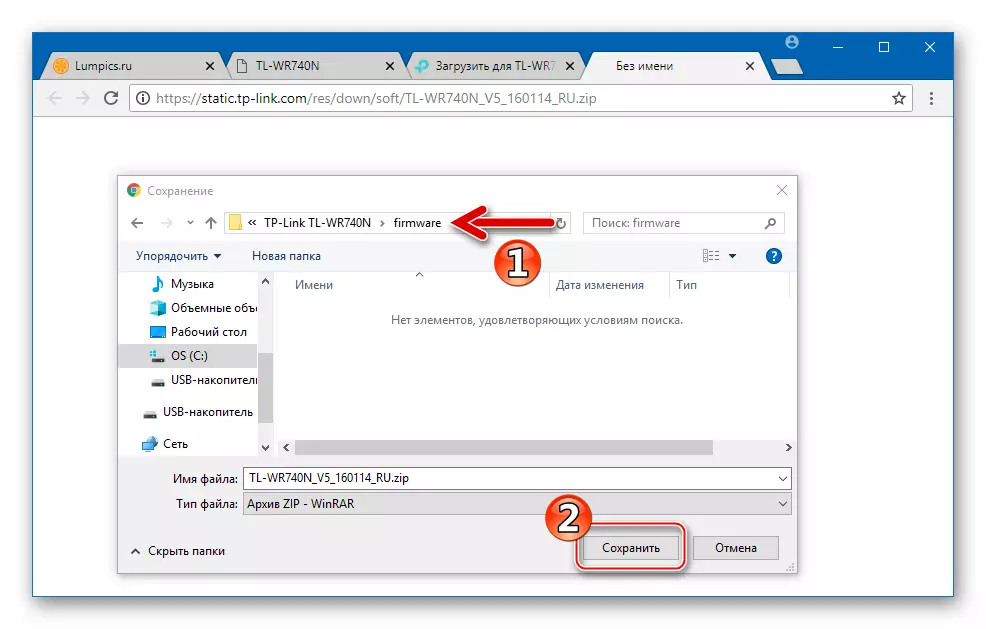
- Specify the path to which the archive will be located containing the system by the router, click "Save".
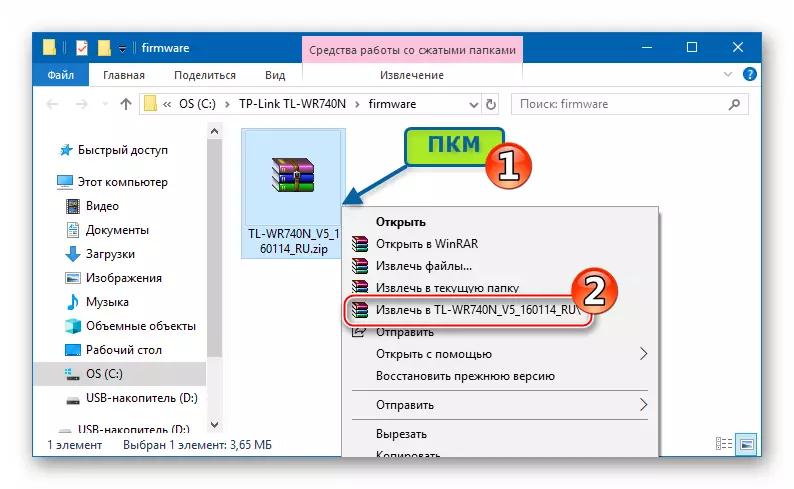
- We are waiting for the completion of the downloading firmware, go to the directory with the loaded package and unpack the last one.
- As a result, we get the firmware ready to install in the router - a file with the .bin extension.


- Go to the technical support model for the following link:
- Install the firmware:
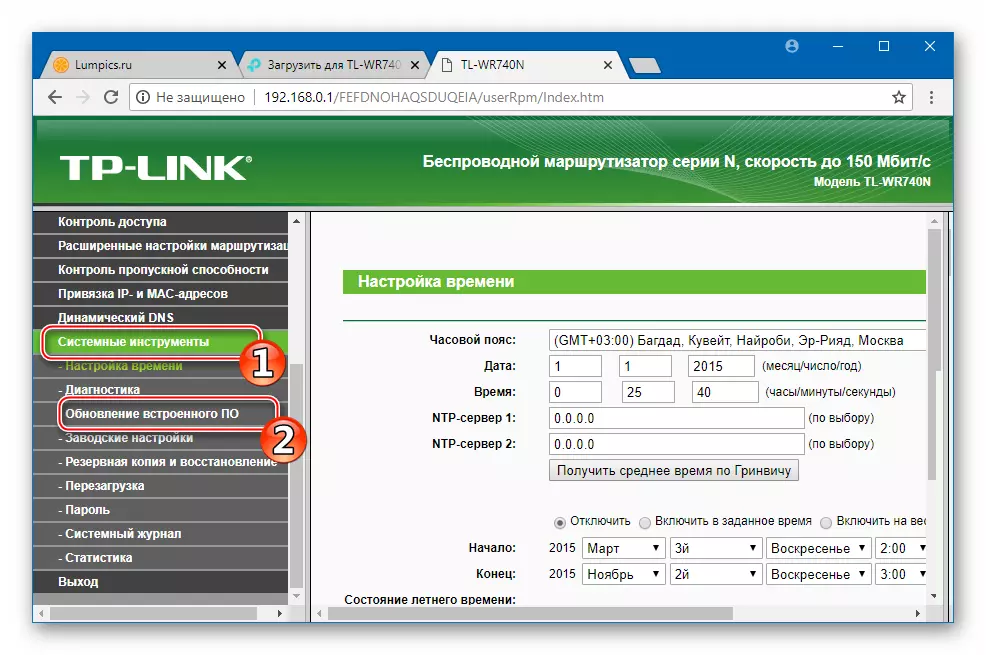
- We go into the adminpanel, go to the "System Tools" section and open the "update of the built-in software".
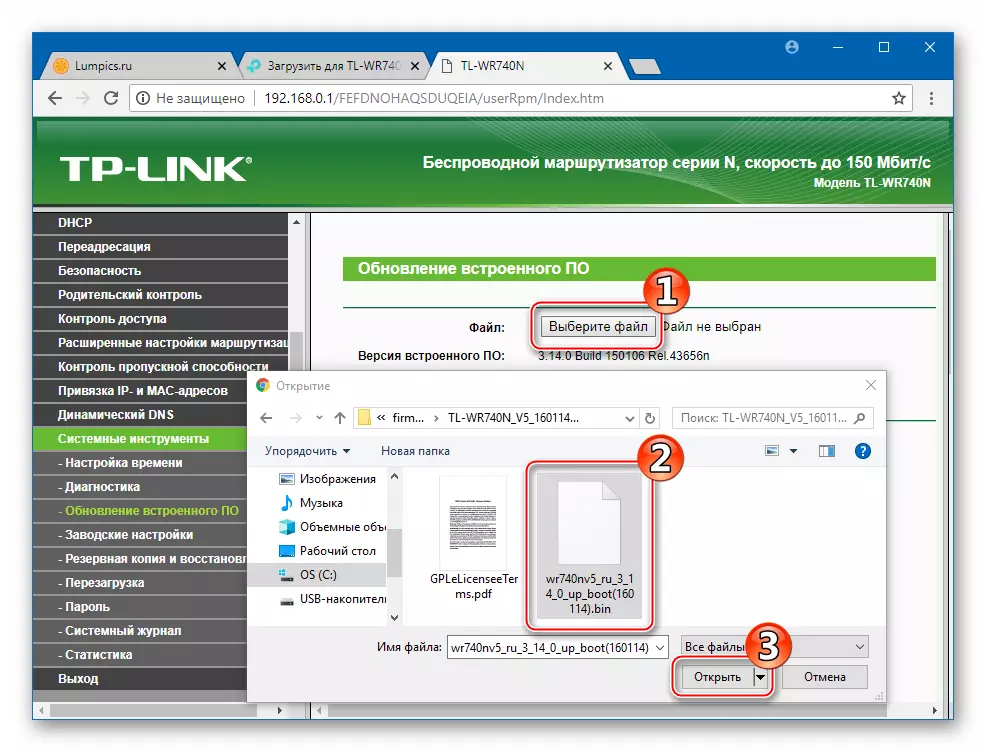
- On the next page near the inscription "Path to the File File:" The "Select File" button is present, click it. Next, specify the system path to the microprogram file loaded before and click "Open".
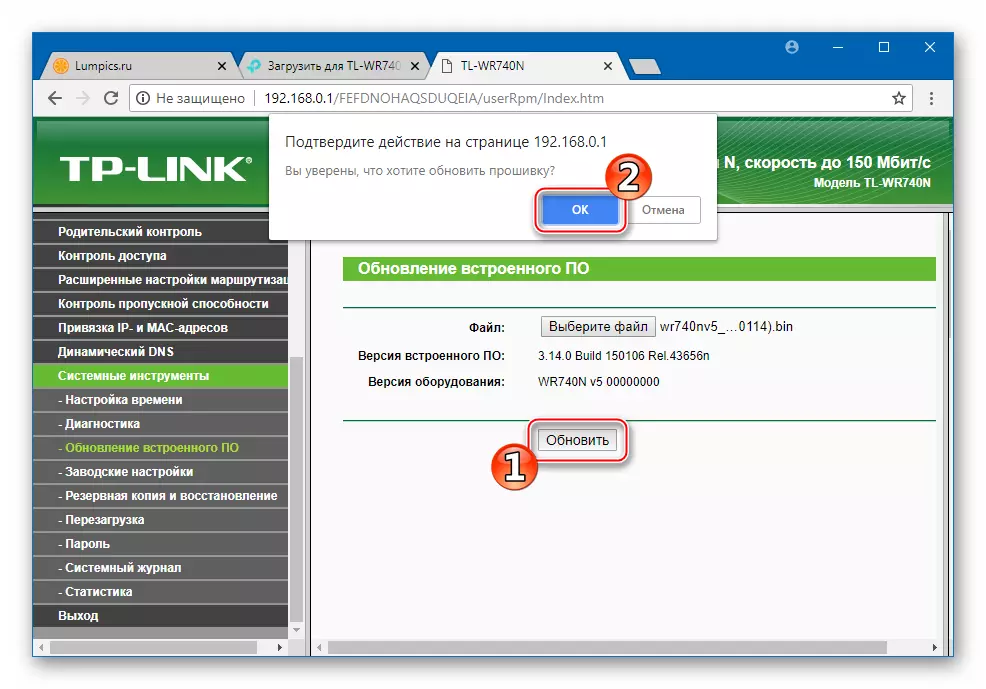
- To start the firmware file transfer procedure, click "Update" to the router, after which I confirm the request for readiness to initiate the process by clicking ok.
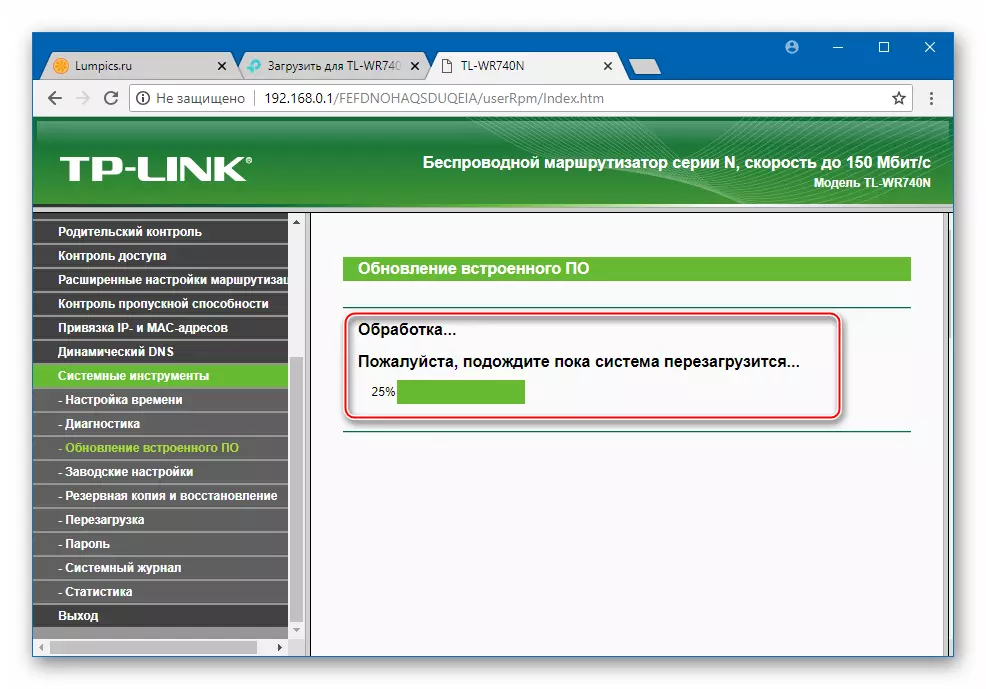
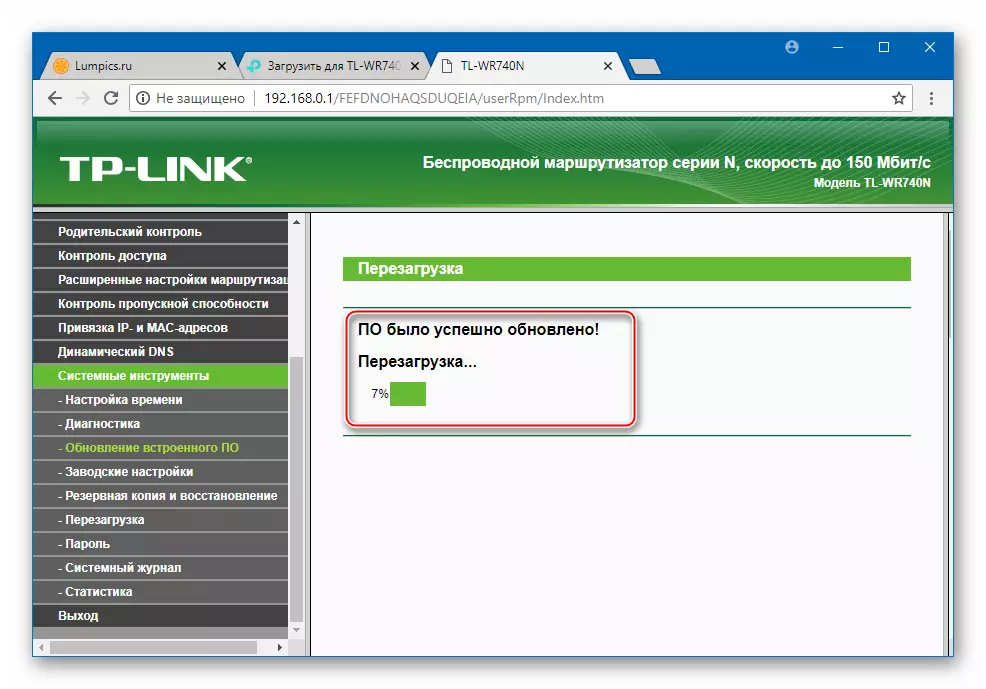
- The process of transferring the firmware into the memory of the router is completed quite quickly, after which it is rebooting.
In no case do not interrupt the processes that happens to any actions!
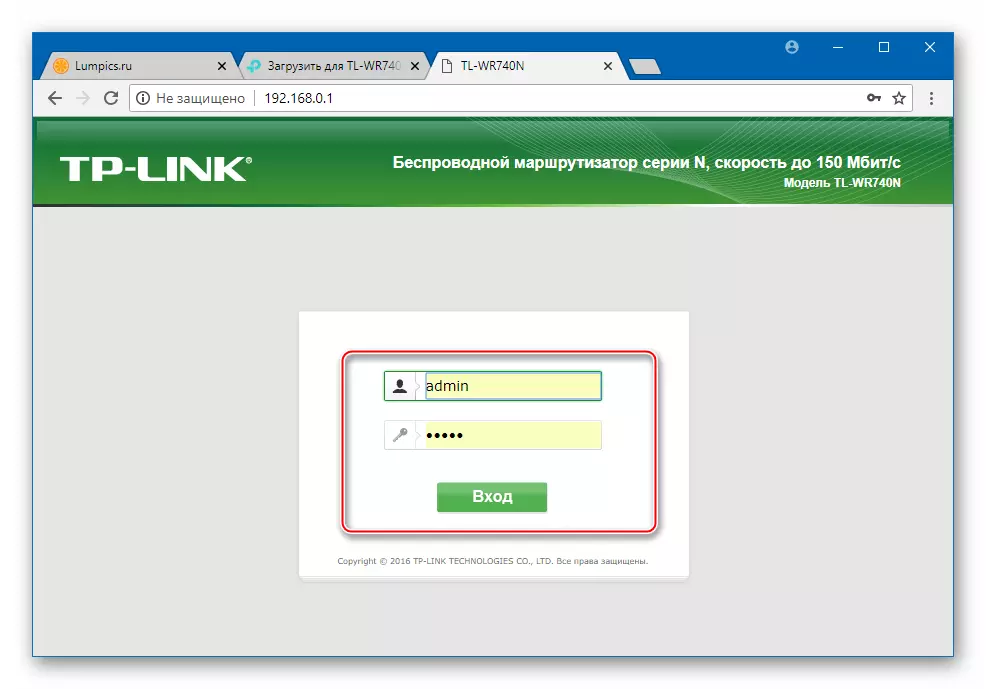
- Upon completion of the reinstallation procedure of the built-in router, the authorization page is displayed in the web interface.
- As a result, we obtain TL-WR740N with the firmware of the version selected at the download stage from the manufacturer's official website.
Method 2: TFTP server
In critical situations, if the router software is damaged as a result of the incorrect actions of the user, for example, interrupting the process of reinstalling the firmware, the installation of non-compliant firmware devices, etc. You can try to restore the performance of the Internet center through the TFTP server.
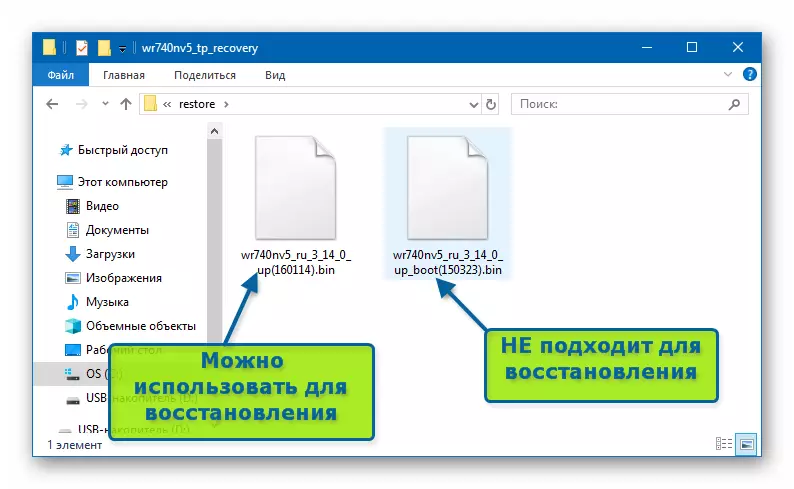
- Download and prepare the firmware. Since to restore the built-in device, the proposed method is not suitable for any microprogram option, carefully select the bin file!
- It will most correctly download all the archives with firmware that correspond to the revisions of their instance of the router from the official TP LINK site. Next, the packages should be unpaid and find the firmware file in the received directories, in the name of which there is no word "boot".
- If the package is not suitable for restoring the device via the TFTP package on the manufacturer's website, you can not find the ready-made solutions from users who conducted the recovery of the device under consideration and posted applied files into open access:
Download TP-LINK TL-WR740N Firmware Recovery Files
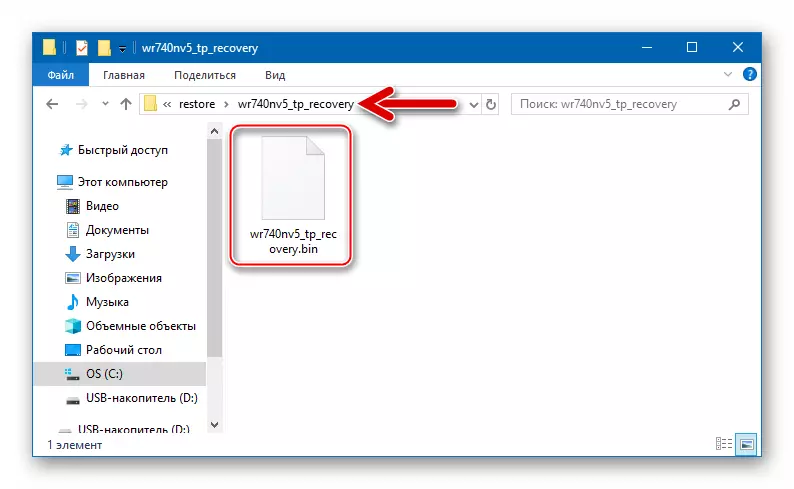
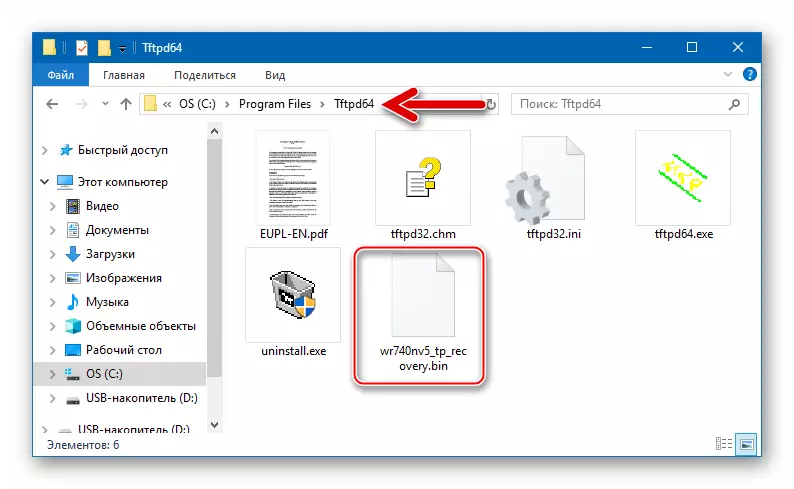
- Rename the resulting firmware file in "WR740NVX_TP_RECOVERY.BIN". Instead of X. You should put a digit corresponding to the revision of the restored router.
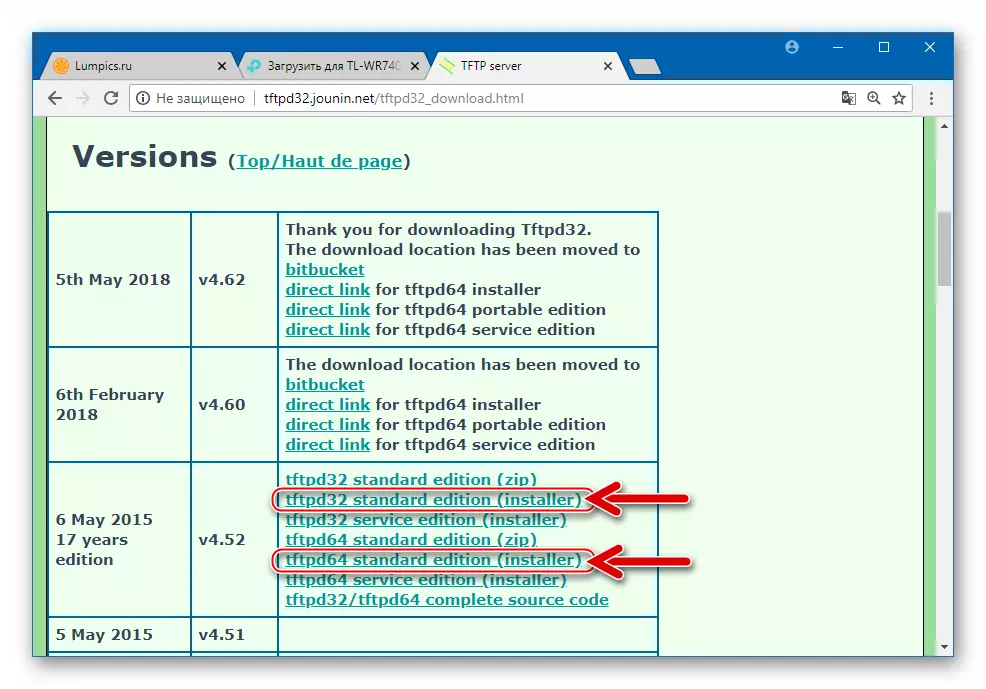
- Download the distribution utility that provides the ability to create a TFTP server. The product got the name TFTPD32 (64) and can be downloaded from the author's official web resource:
Download TFTPD utility to restore the firmware of the TP-LINK TL-WR740N router
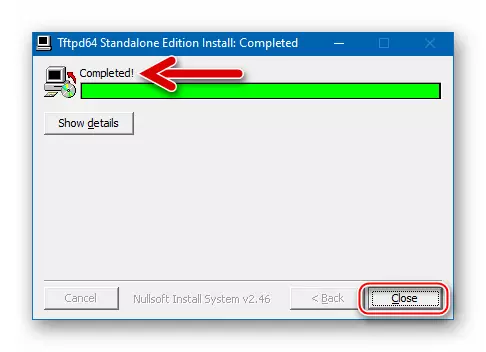
- Install TFTPD32 (64),
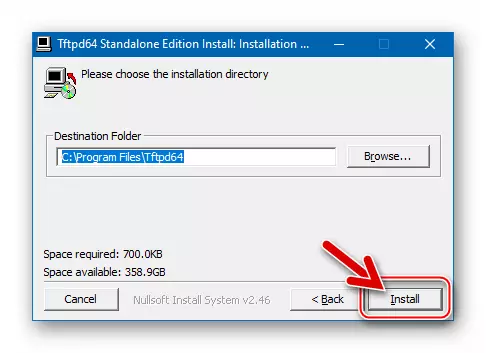
By specifying the installer program.
- Copy the file "WR740NVX_TP_RECOVERY.BIN" in the TFTPD32 (64) directory.
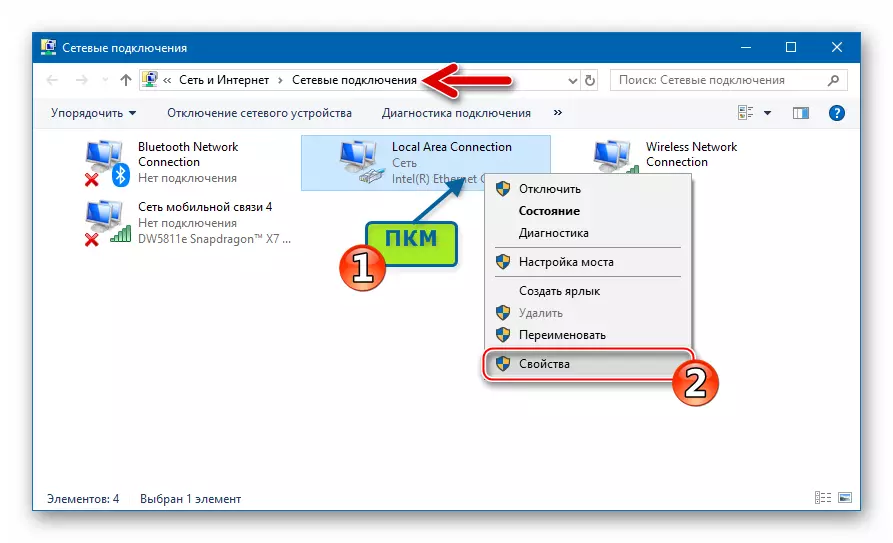
- We change the settings of the network card to which the TL-WR740N recovered is assumed.
- Open "Properties" from the context menu called by clicking right-click on the name of the network adapter.
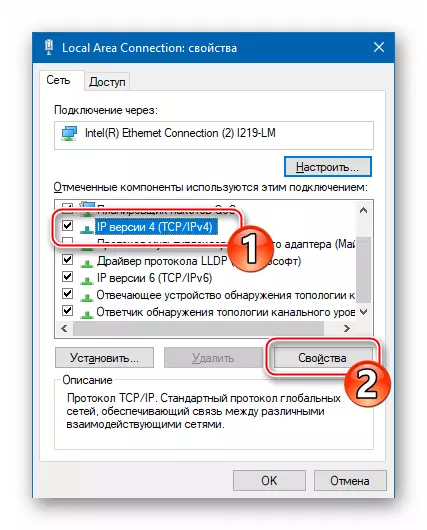
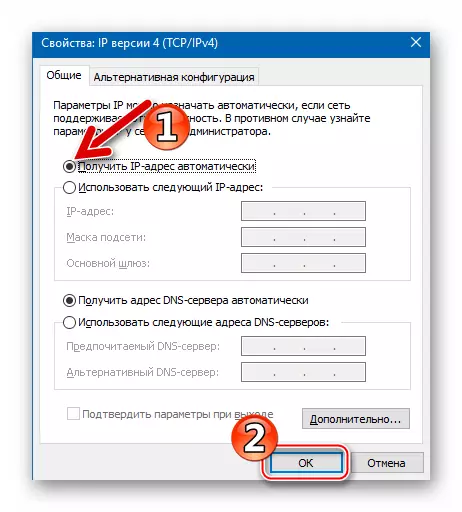
- We highlight the "IP version 4 (TCP / IPv4)" item, click "Properties".
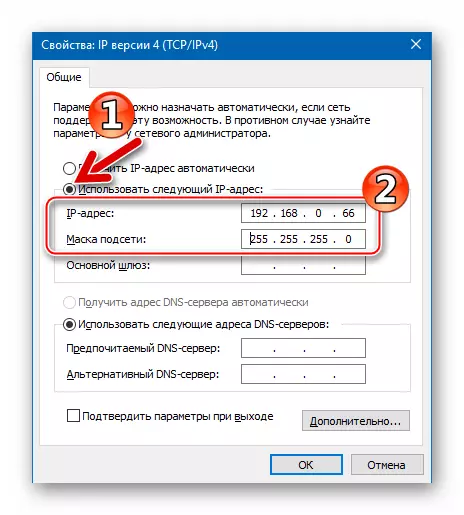
- We translate the switch to the position to make the IP parameters manually and specify 192.168.0.66 as an IP address. "Subnet mask:" must match the value 255.255.255.0.
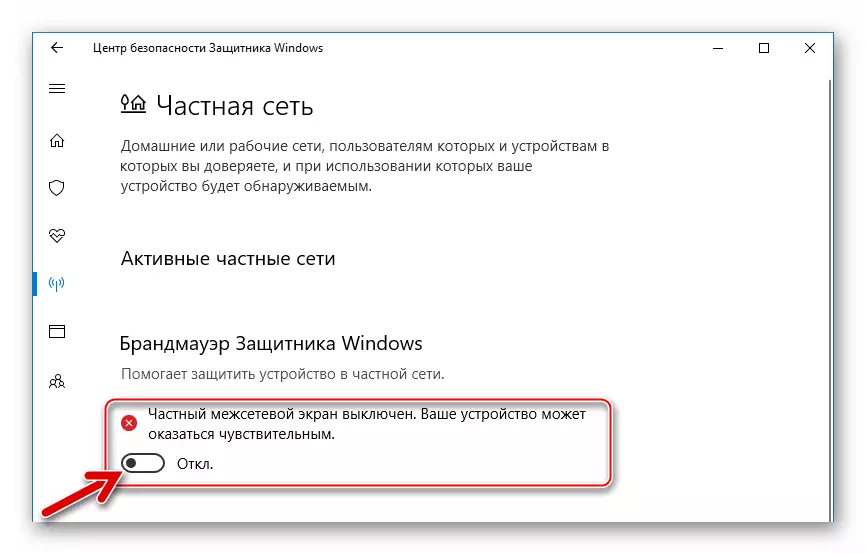
- Temporarily turn off the firewall and antivirus installed in the system.
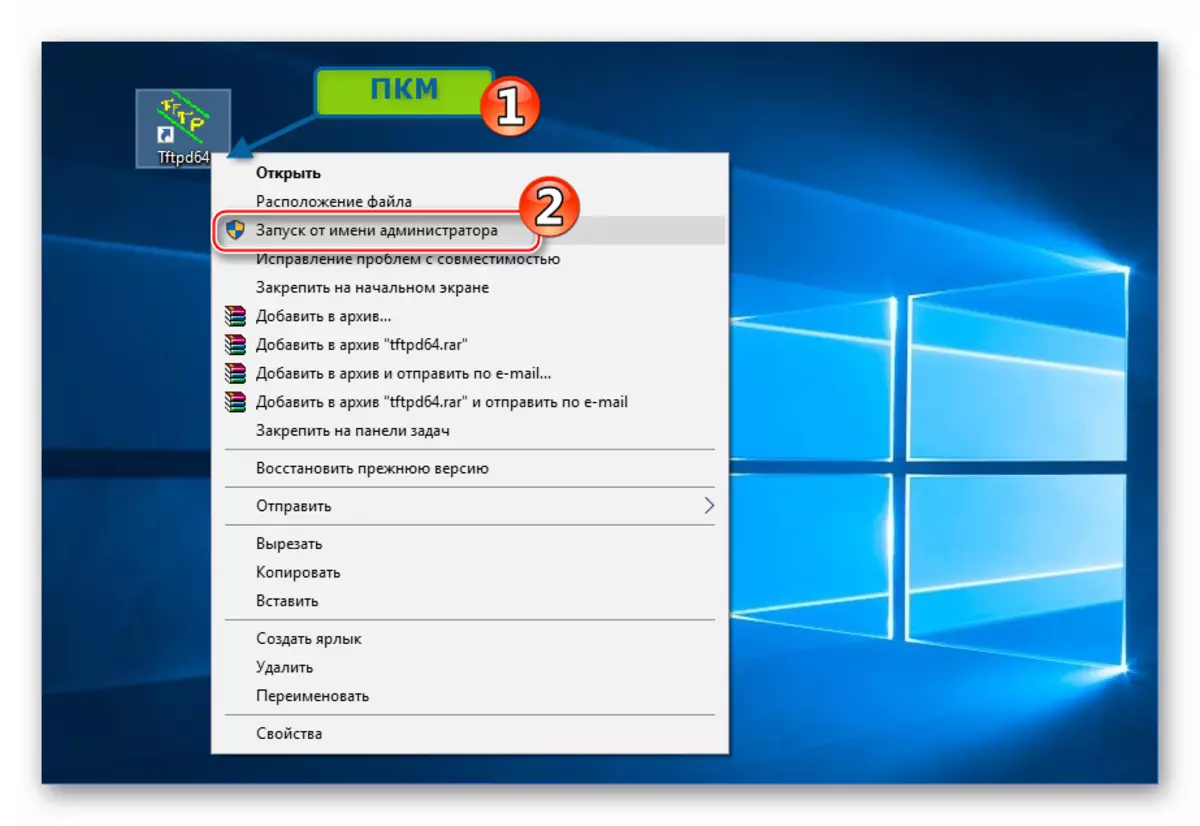
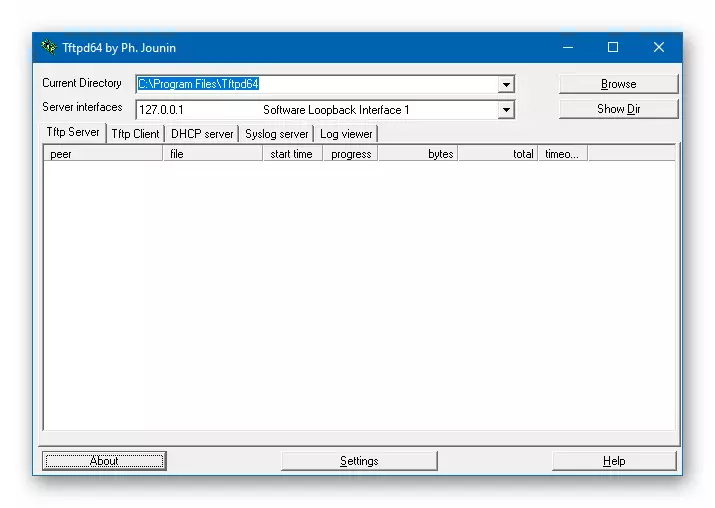
- Run the TFTPD utility. This is necessary on behalf of the administrator.
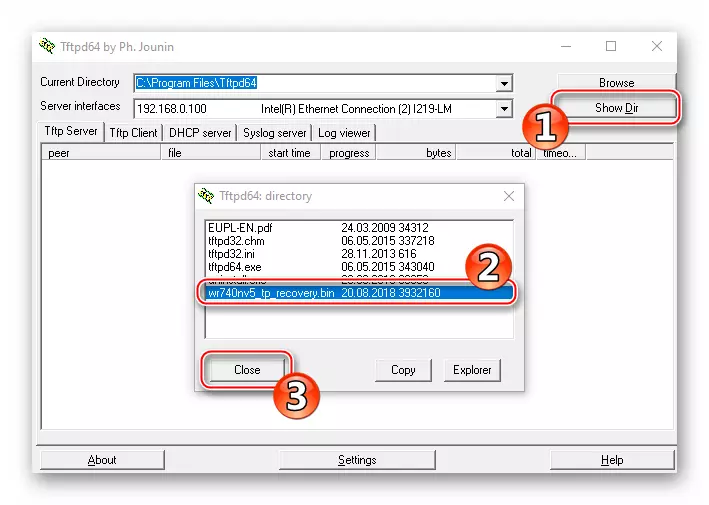
- In the TFTPD window click "Show Dir". Next, in the window that opens, "TFTPD: Directory" with a list of files, select the name "WR740NVX_TP_RECOVERY.BIN", then click "Close".
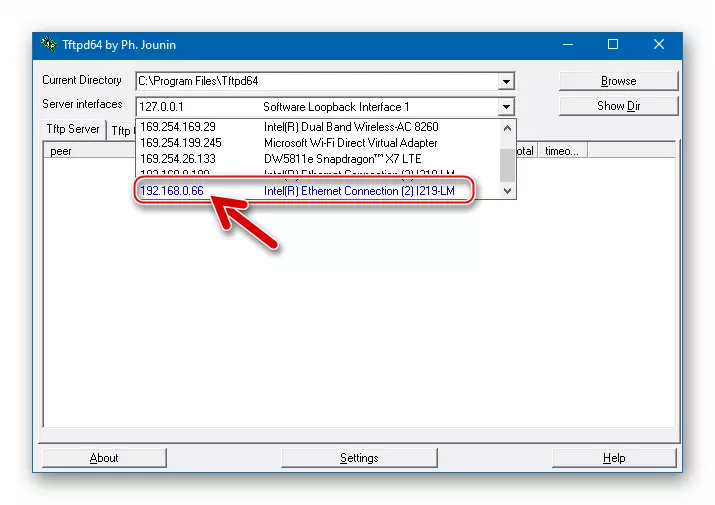
- Open the list of "Server Interfaces" and select the network interface in it to which IP 192.168.0.66 is assigned.
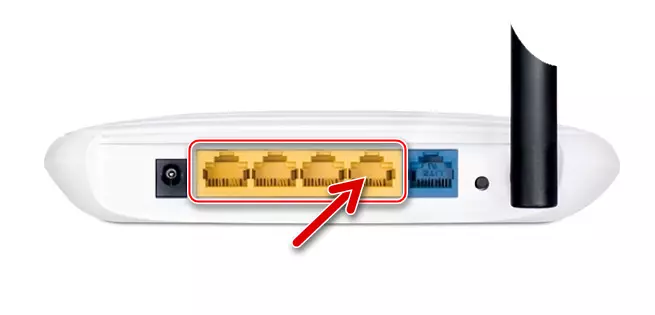
- Disconnect the power cord from the router and connect any of its LAN port with a patch cord, associated with a network card configured in paragraph 5 of this instruction.
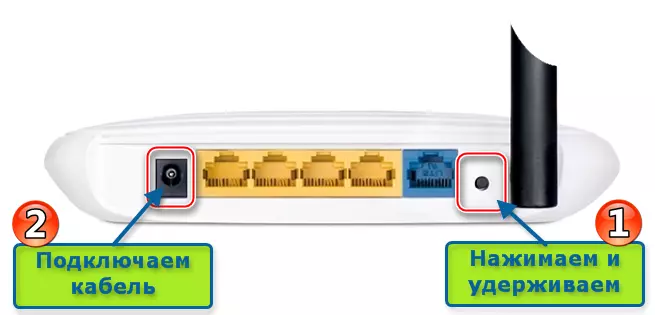
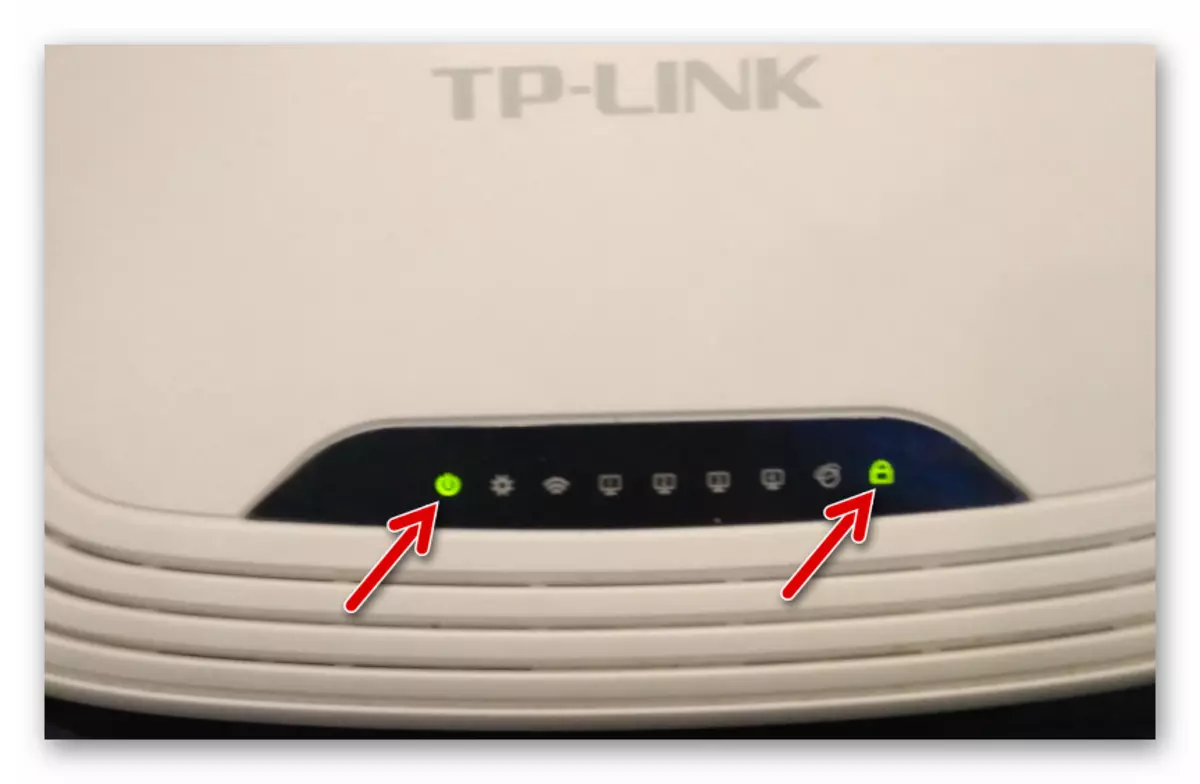
- Press the "RESET" key on the router housing. Holding "Reset" is pressed, we connect the power cable.
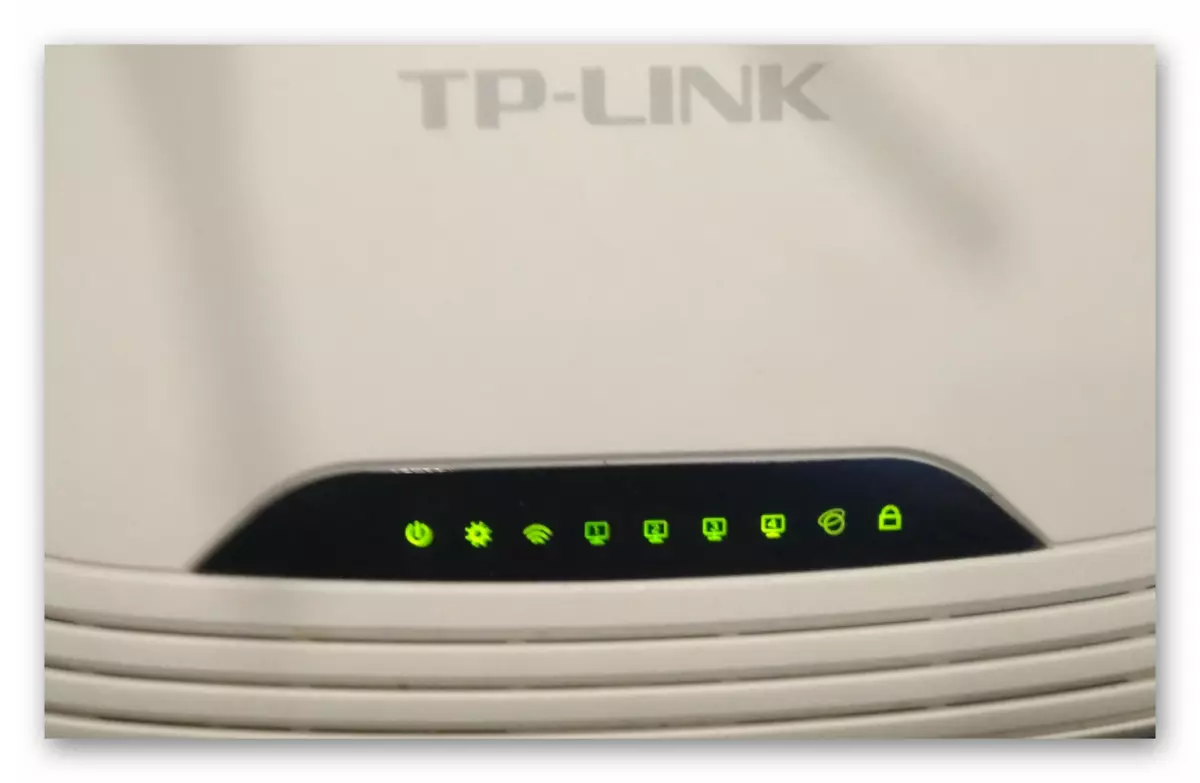
- The above action will translate the device in the recovery mode, release the reset button when the "Power" and "Castle" indicators will start on the router housing.
- TFTPD32 (64) automatically detects TP-LINK TL-WR740N in recovery mode and "sends" the firmware in its memory. Everything happens very quickly, an indicator of the procedure will appear for a short time and then disappears. The TFTPD window takes the view as after the first launch.
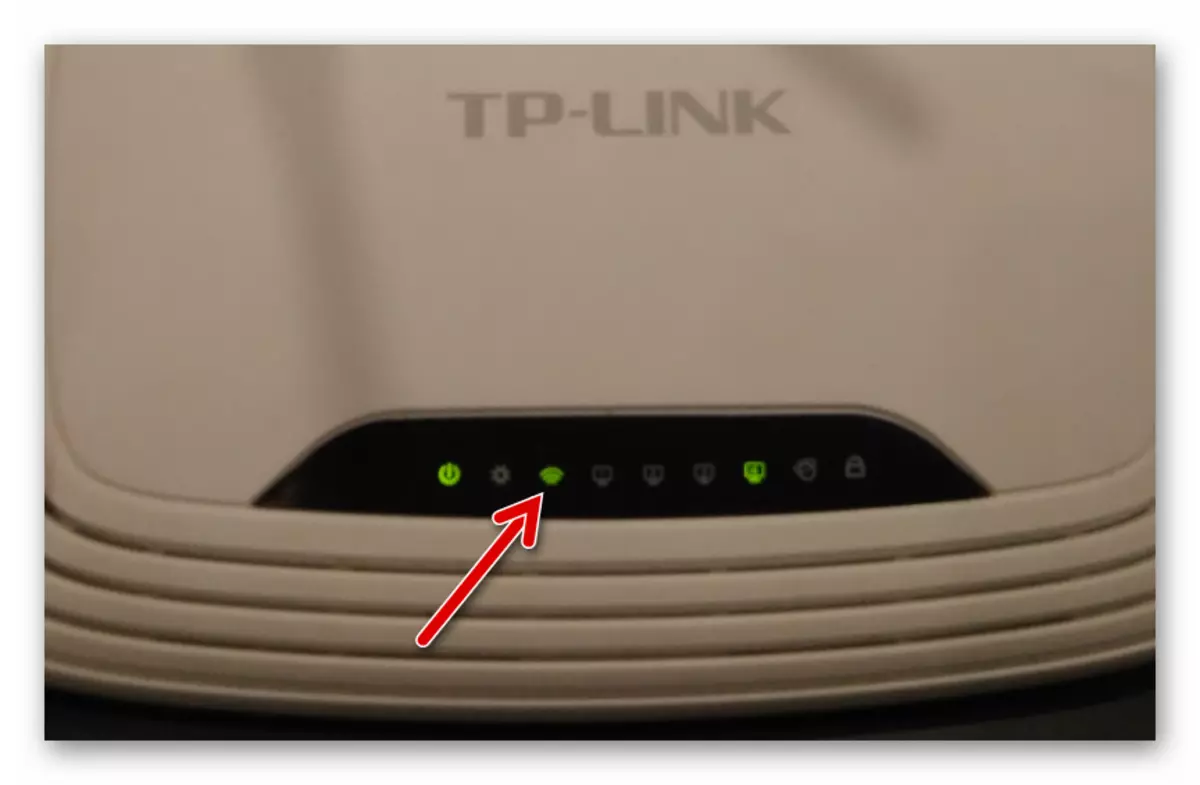
- We are waiting for about two minutes. If everything went to successfully, the router will restart automatically. It is possible to understand that this process ended, you can use Wi-Fi LED Indicator - if he began to flash, then the device is restored successfully and booted.
- Return the network card parameters to initial values.
- We open the browser and go to the TP-WR740N TP-WR740N adminpanel.
- The microprogram recovery is completed. You can configure and use a router for destination or first set any version of the built-in software using the instruction with "method 1" proposed above in the article.
Read more:
How to turn off antivirus
Disable firewall in Windows
As you can see, the TL-WR740N router firmware maintenance operations are not characterized by special complexity and generally available for sale by any owner of the device. Of course, in "heavy" cases and, if the execution of instructions available for performing at home does not help return the result of the router, you should contact the service center.