
Over time, the power adapter from the laptop can come into a non-working state, requiring repairs with a preselation. Further in this article we will tell about everything you need to know to open the power supply of almost any laptop.
We deal with a laptop power supply
Unlike a personal computer, laptops are equipped with a much smaller system of energy supply system components. As a rule, the most important device is the power adapter. However, in addition to it, a microcircuit with a connector is also installed in the laptop housing, which you want to turn off.
After opening the power adapter body and the process extraction, the process can be considered complete.
Step 2: Removing the Board
The metal shell fee is much easier to open the case.
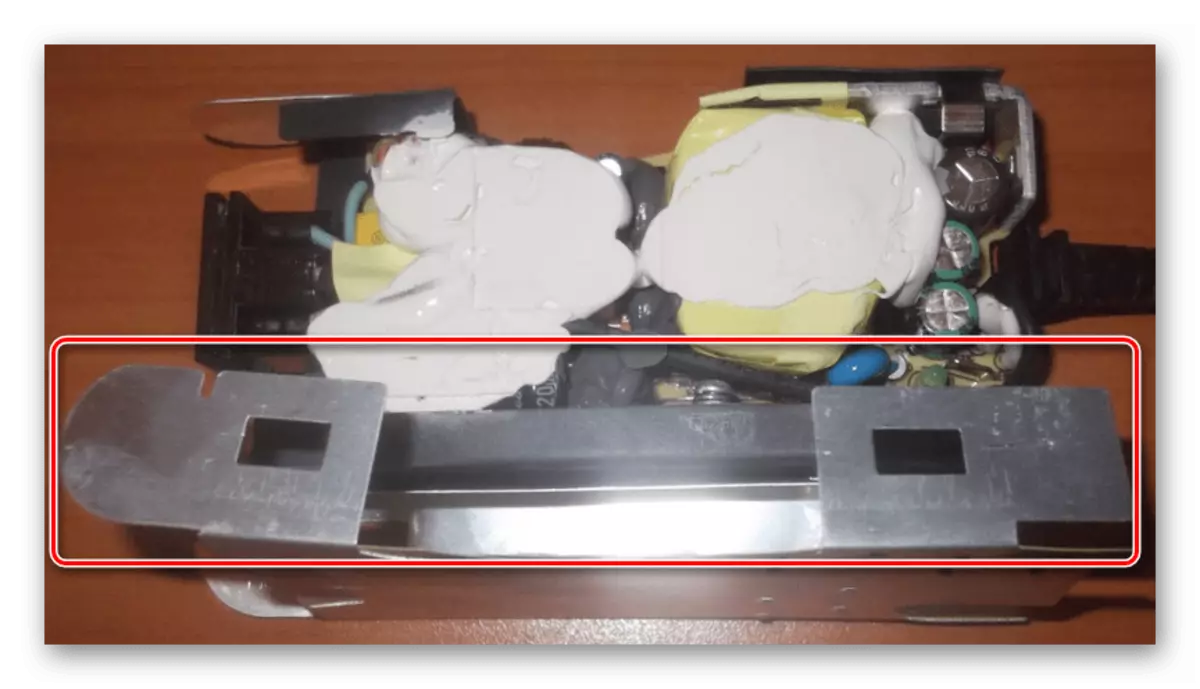
- Separate the side locks made of soft metal.
- Gently disconnect the top coating from the adapter components.
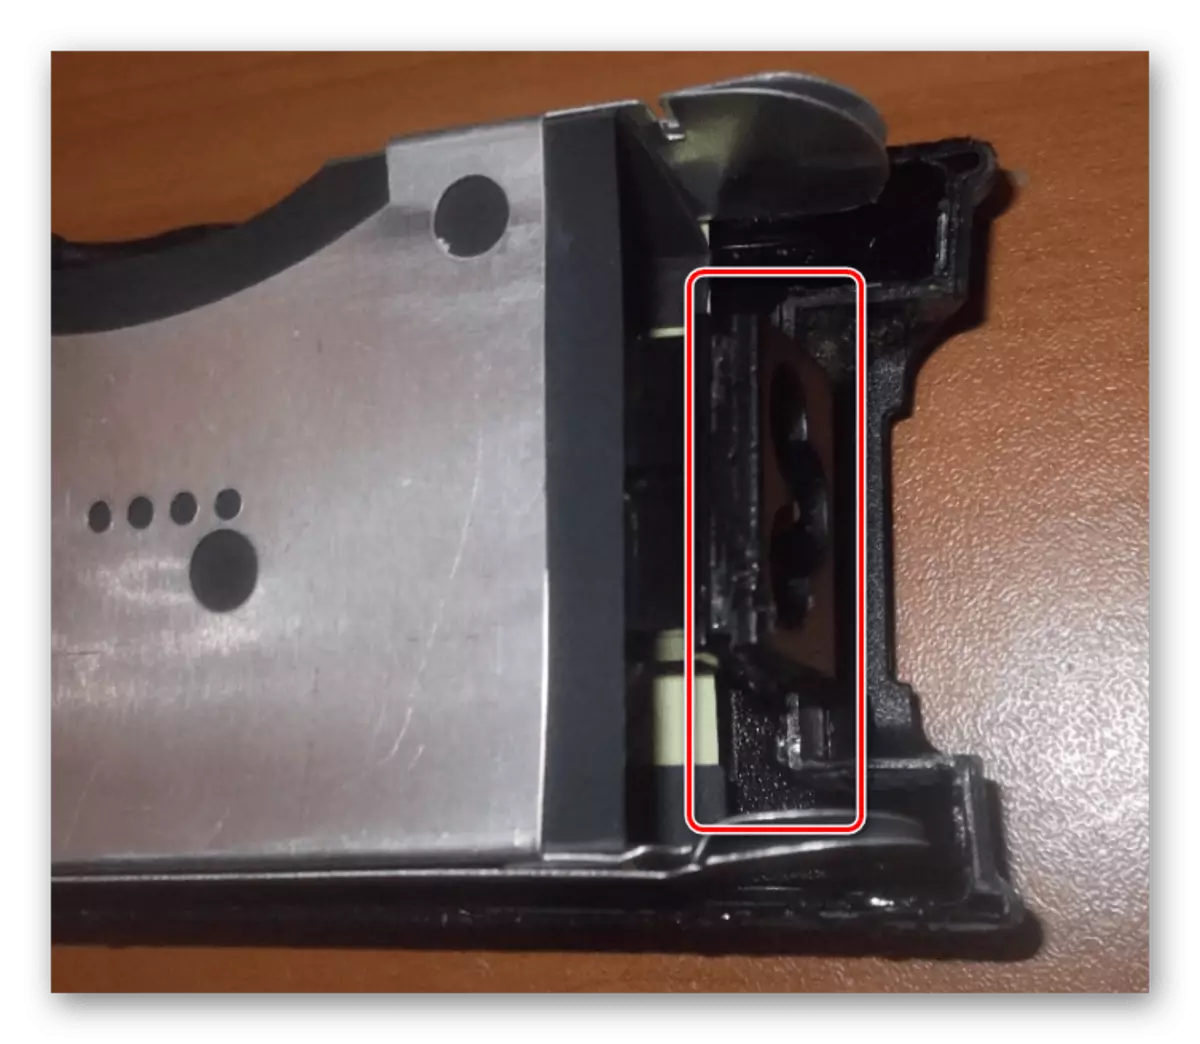
- The lower shell can be removed with the insulating layer. However, for this you will have to use the soldering iron.
- It can be quite simply to exit, getting access both to the board itself and cable contacts.


Change the wire will be convenient only when removing the bottom surface.
Step 3: Card Check
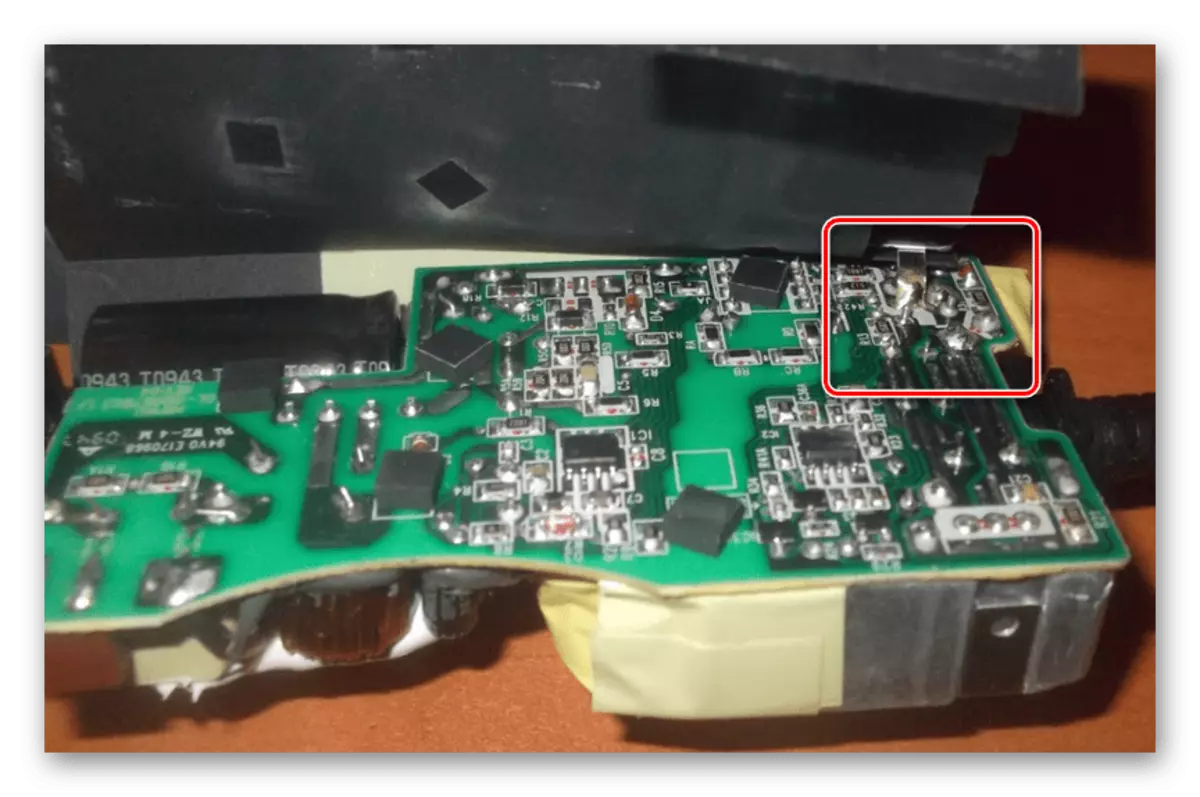
After extracting, it is important to make several remarks associated with the diagnosis and repair of the adapter.
- The board may have visible darkens, which are the norm for this device. This is due to the constant impact of high temperatures.
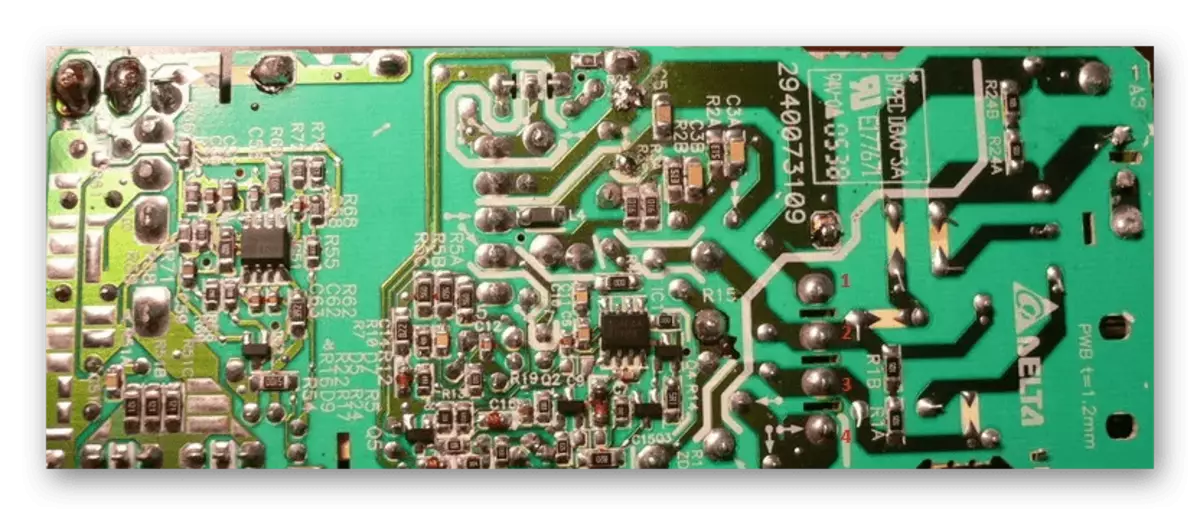
- With a non-working power adapter, but a fully suitable cable, damage to the resistors is possible. You can repair the device yourself, but only if there are appropriate knowledge in the field of electronics.
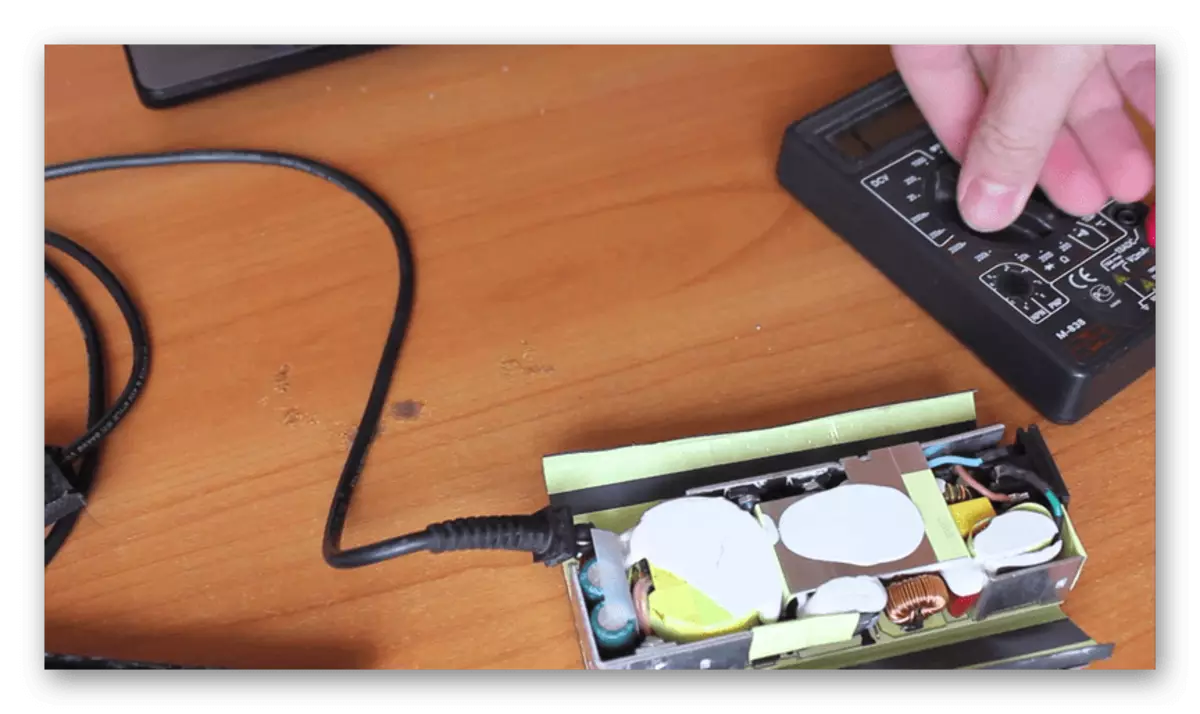
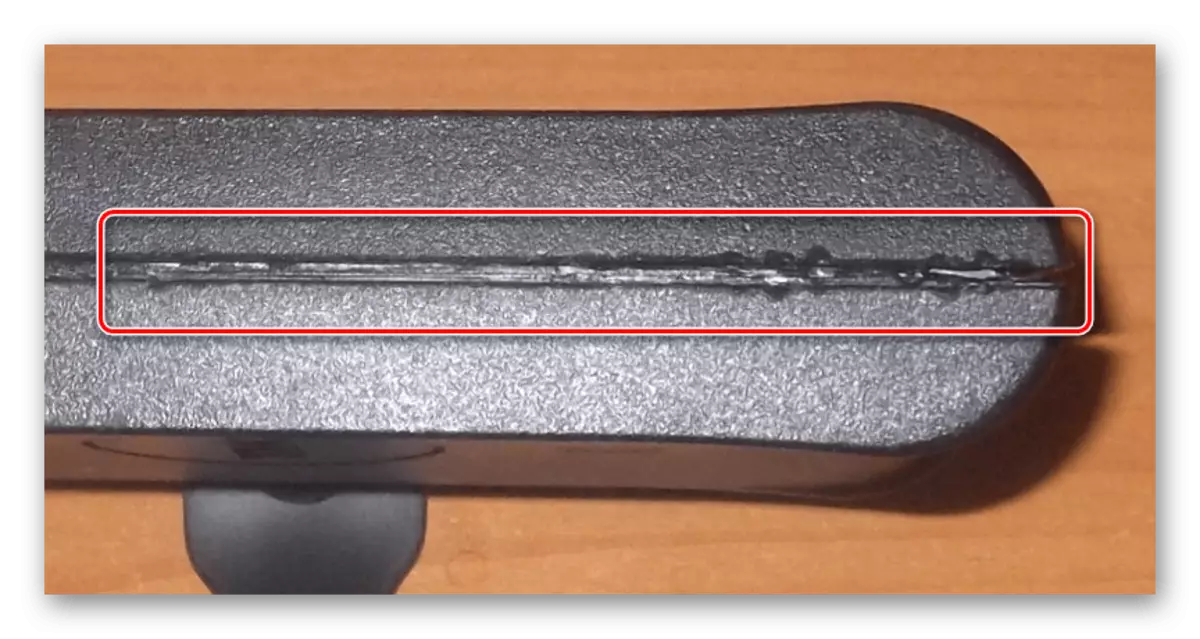
- If a wire was damaged during the operation of the power supply unit, it can be replaced with a soldering iron. However, as before, it should be done with caution and check the connections using a multimeter.
In the case of a repair, test the power adapter follows the housing gluing.
Step 4: Enclosure Slice
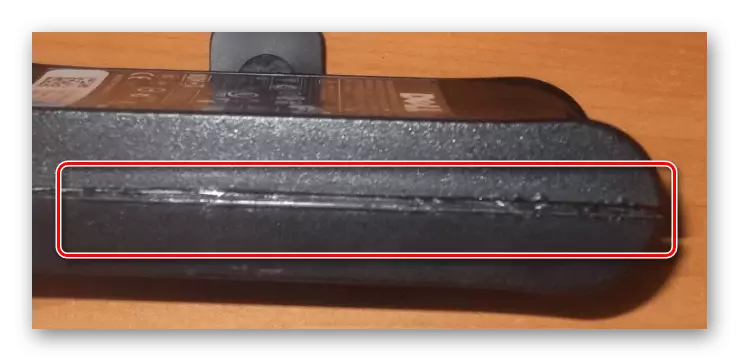
Since the attachments on the housing of this device are often absent, it is necessary to close it and re-glue. In this case, it is recommended to use thick adhesive mixtures, for example, epoxy resin. Otherwise, there is a violation of the integrity of the internal components.
- Return to the original position protective coatings made of soft metal. If necessary, do not forget to consolidate it on the board using the soldering iron.
- Install the fee and grind the wires into the appropriate holes.
- Close the housing, if necessary, applying a bit of physical strength. While collapse, characteristic clicks should be heard.
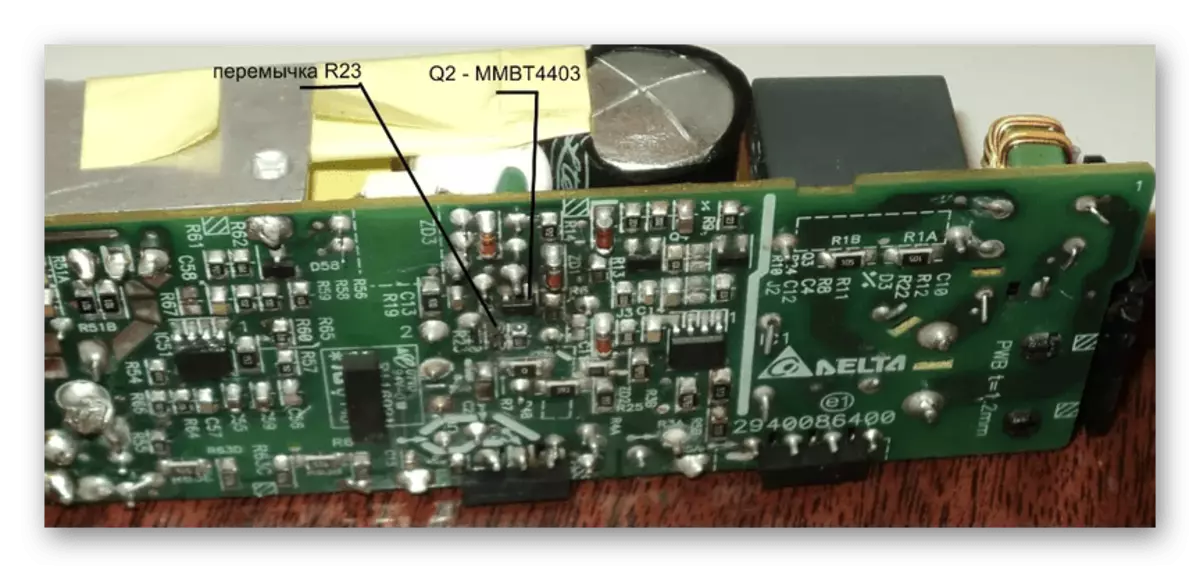
Note: Do not forget to set the strap on your previous place.
- Using epoxy, skid the housing along the connection line.
After extended actions, the power adapter can be used.
Option 2: Internal power supply
To get to the inner power supply of the laptop is much more complicated than in the case of an external adapter. This is due to the need to open the laptop hull.
Step 1: Disassembly laptop
We considered the procedure for opening a laptop in detail in one of the articles on the site, you can familiarize yourself with which you can by going on the relevant link. Despite the need to disassemble the power supply, the opening process is completely identical to the described.
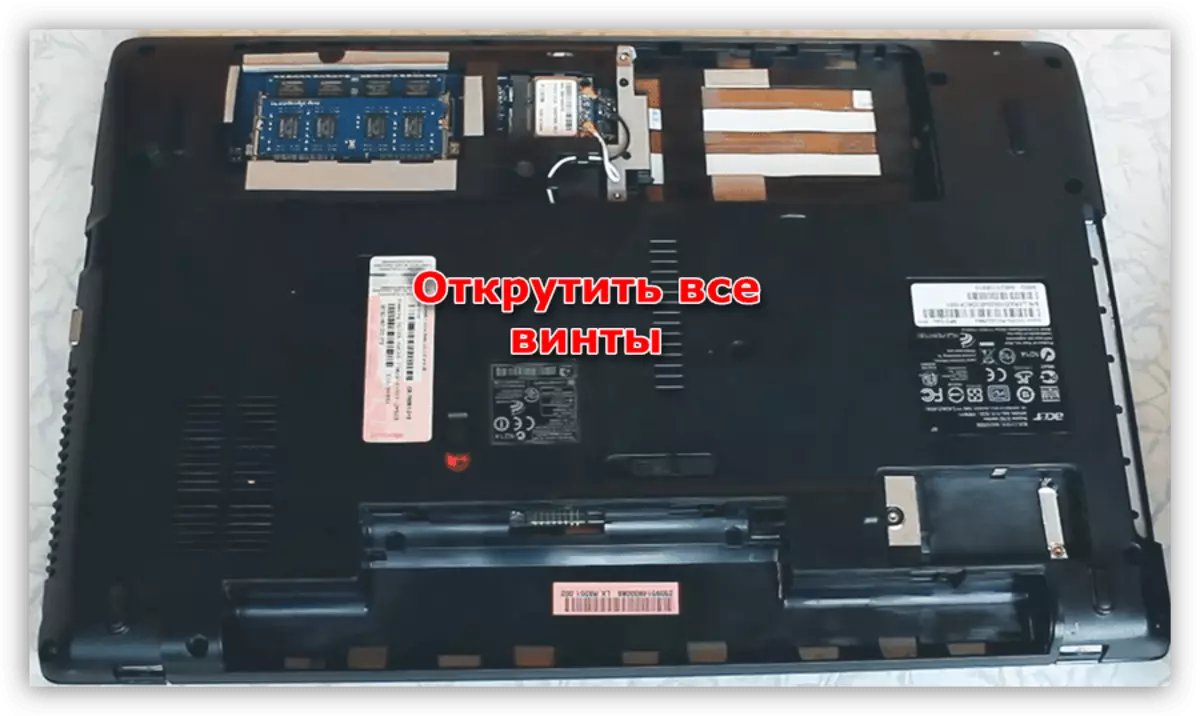
Read more: How to disassemble a laptop at home
Step 2: Disconnect the connector
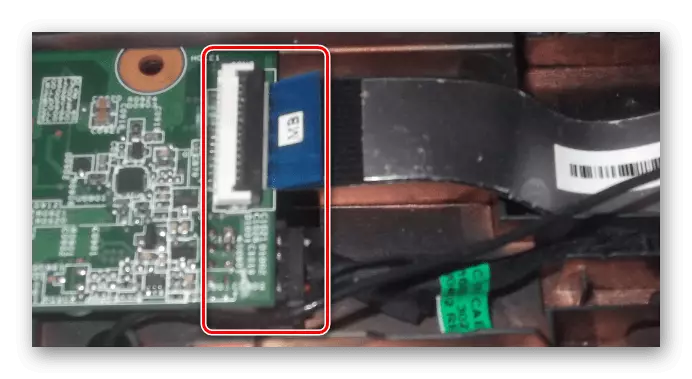
- From the motherboard, disconnect the main loop of the board on which the connector for an external power adapter is fixed.
- Exactly the same thing with additional wires, the quantity and type of connection of which directly depends on the laptop model.
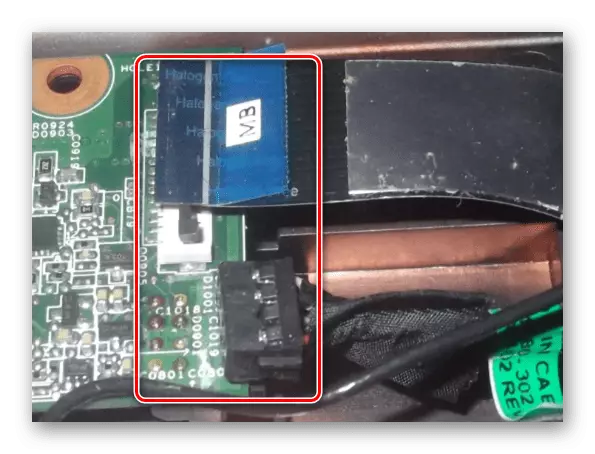
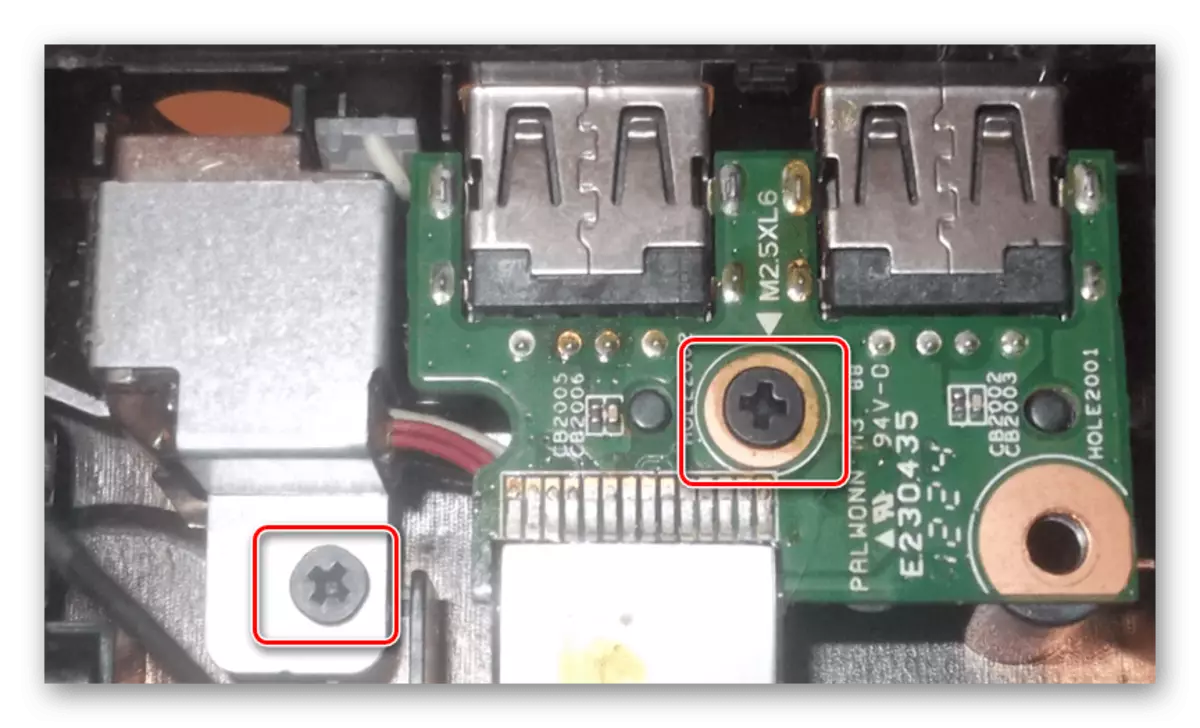
- Using a suitable screwdriver, unscrew the screws fixing the connector on the housing. In some cases it will be more convenient to first remove adjacent components and only then turn off the plumes.
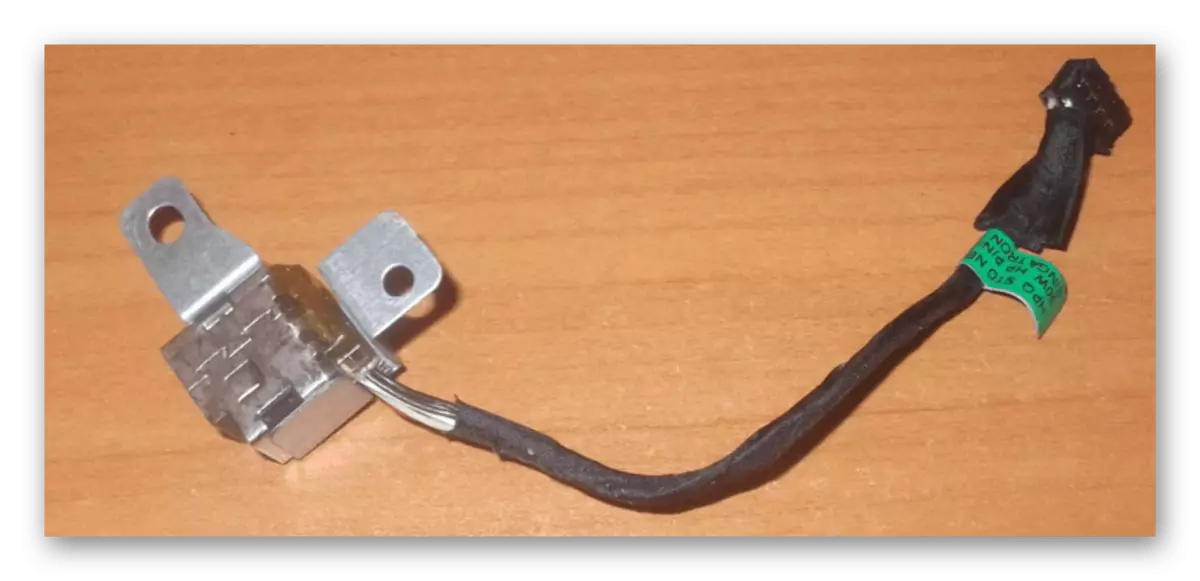
- The size and appearance of the board can be very different. For example, in our case, the connector is connected separately, but due to the proximity of the USB ports with the USB ports, it is also necessary to remove it.
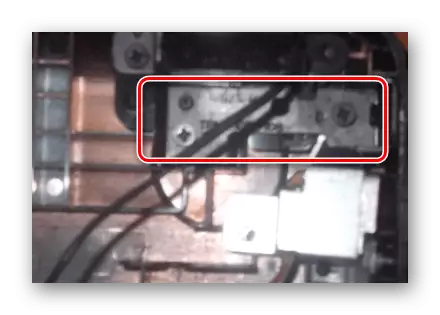
- Be careful, one of the locking screws can be shared with the screen.
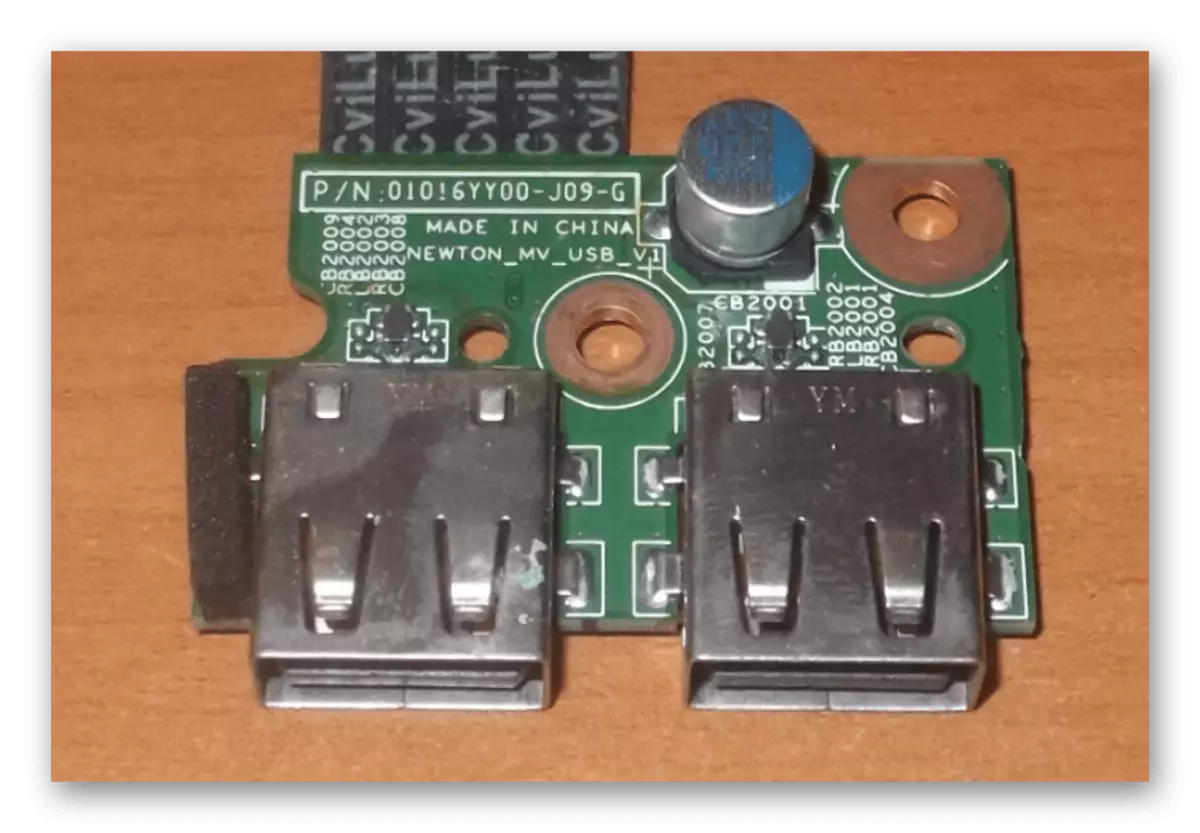
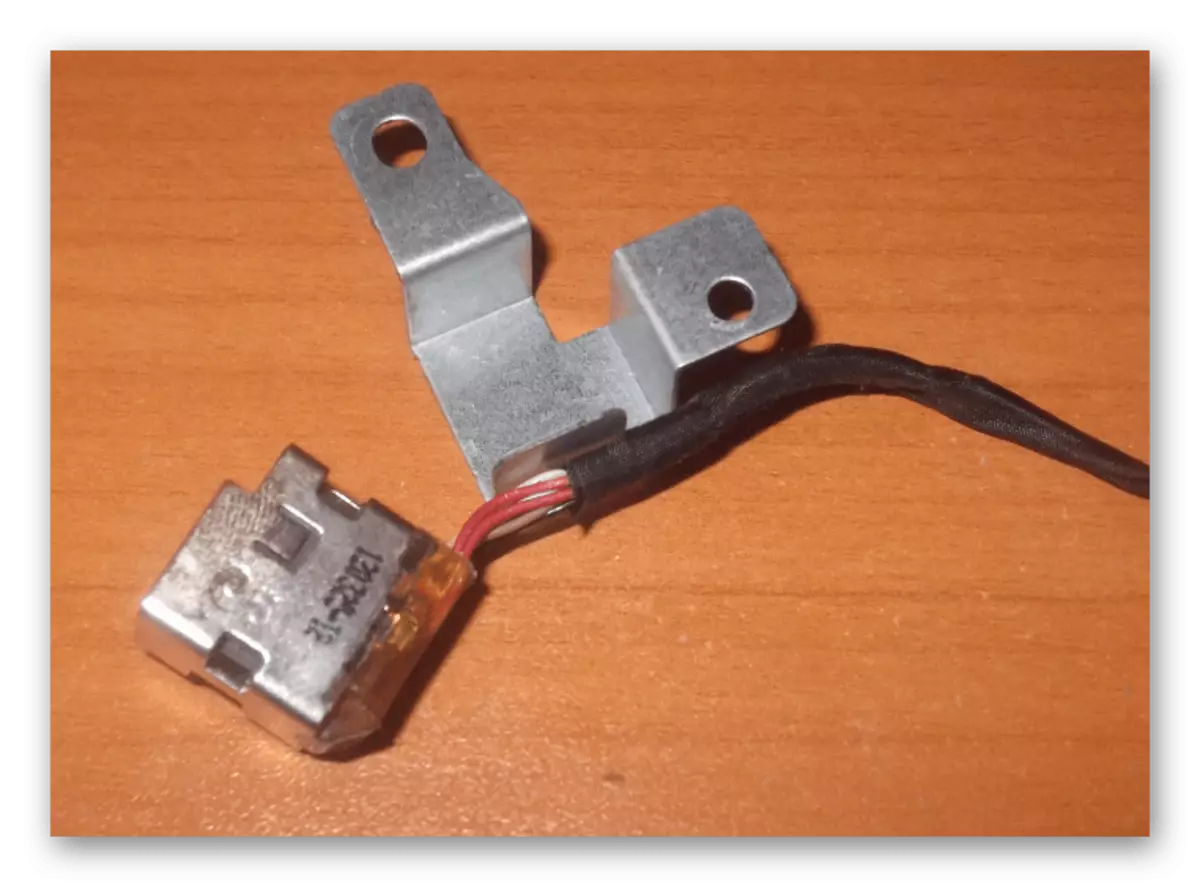
- Now it remains only to remove the connector, freeing from the remaining attachments.
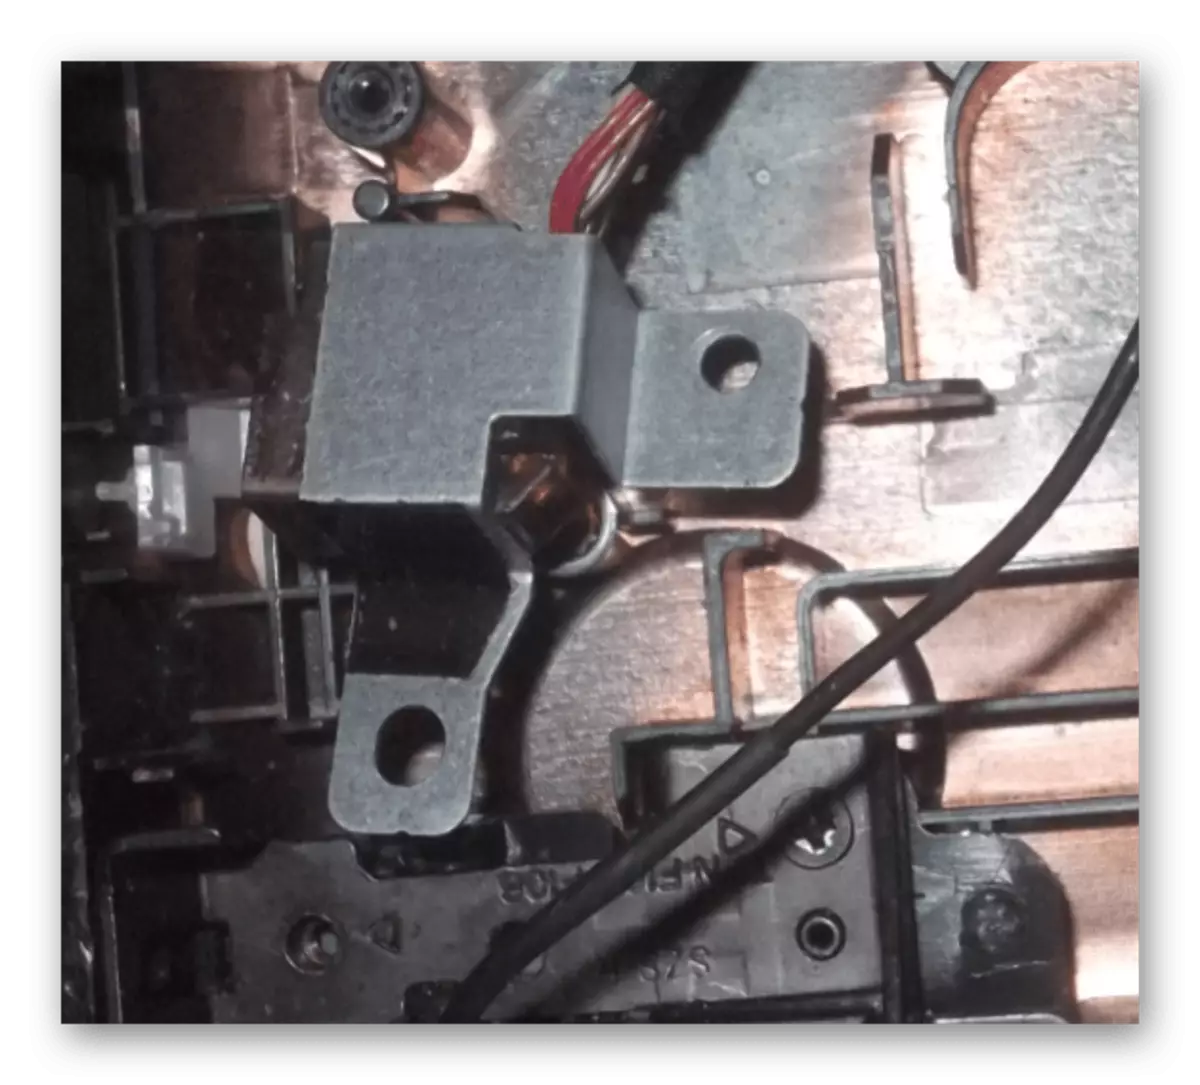
- After disconnecting the connector, the retainer can also be removed.
- If you are going to diagnose yourself and repair the connector, show caution. In the event of damage, problems can occur with the work of the laptop as a whole.
To install a fee in place, make the same steps in the reverse order.
Conclusion
After attentive familiarization with the instructions submitted by us, you can easily open the laptop power supply, whether it is an internal or external adapter. This article comes up to completion. With questions you can contact us in the comments.