

TV consoles are one of the few available means of expanding the functionality of obsolete morally and many modern TVs, as well as monitors. One of the most popular similar products can be considered the MAG-250 TV-box from the manufacturer Infomir. We will figure it out how to equip the prefix with a new version of the firmware and return to the life of non-working devices.
The main function of the MAG-250 is to provide the possibility of viewing the IP-TV TV channels on any TV or the HDMI interface monitor. Depending on the firmware version, this option and optional functionality can be performed in different ways. Therefore, the following are options for installation of both official versions of software and modified by third-party software developers of software shells.
All responsibility for the results of manipulation with the software part of the TV box is only on the user! The resource administration for the possible negative consequences of the implementation of the following instructions is not responsible.
Preparation
Before proceeding with the software installation process, prepare all the necessary tools. Having at hand everything you need, you can quickly and easily hold the firmware, as well as correct the situation if any failure occurs during manipulations.
Necessary
Depending on the selected method of installing the software and the desired result, the following may be needed for operations:- A laptop or PC operating under Windows of any relevant version;
- High-quality patch cord, through which the TV box is connected to the PC network card;
- USB carrier with a volume not exceeding 4 GB. In the event that there is no such flash drive, you can take any - in the description of the methods of installing the system in the MAG250, in which this tool will need, described how to prepare it before use.
Types of firmware loading
The popularity of MAG250 is due to the presence of a large number of available firmware for the device. In general, the functionality of different solutions is very similar and therefore the user can choose any version of the system, but in the body modified by third-party developers, the shells are much more opportunities. Methods for installing official and modified OS in Mago250 are completely different. When loading packets, you should consider the fact that for the full firmware of the device in all cases you will need two files - the "bootstrap ***" boot and the image of the "ImageUPDATE" system.
Official software
In the examples under consideration below, the official version of the infomir shell is used. You can download the latest version of the official firmware from the manufacturer's FTP server.
Download official firmware for MAG 250

Modified software shell
As an alternative solution, the firmware from the DNKBOX command, as a modification, characterized by the presence of a plurality of additional options, as well as the shell, which has received the greatest number of users' positive feedbacks is used.
Unlike the official version of the system installed in the console manufacturer, the decision from DNA is equipped with the capabilities that are presented:
- TV program with yandex.ru and tv.mail.ru.
- Integrated clients of Torrent and Samba.
- Support menu created by the user independently.
- Automatic start IP-TV.
- Sleep function.
- Records received by the prefix to the media switch on the network drive.
- Access to the software part of the device through the SSH protocol.
There are several versions of the shell from DNK intended for installation in different hardware revisions of the device. By reference below, you can download one of the solutions:
- Archive "2142". Designed for devices in which the STI7105-DUD processor is installed.
- Files from the "2162" package are used to install in console with STI7105-BUD processor and AC3 support.
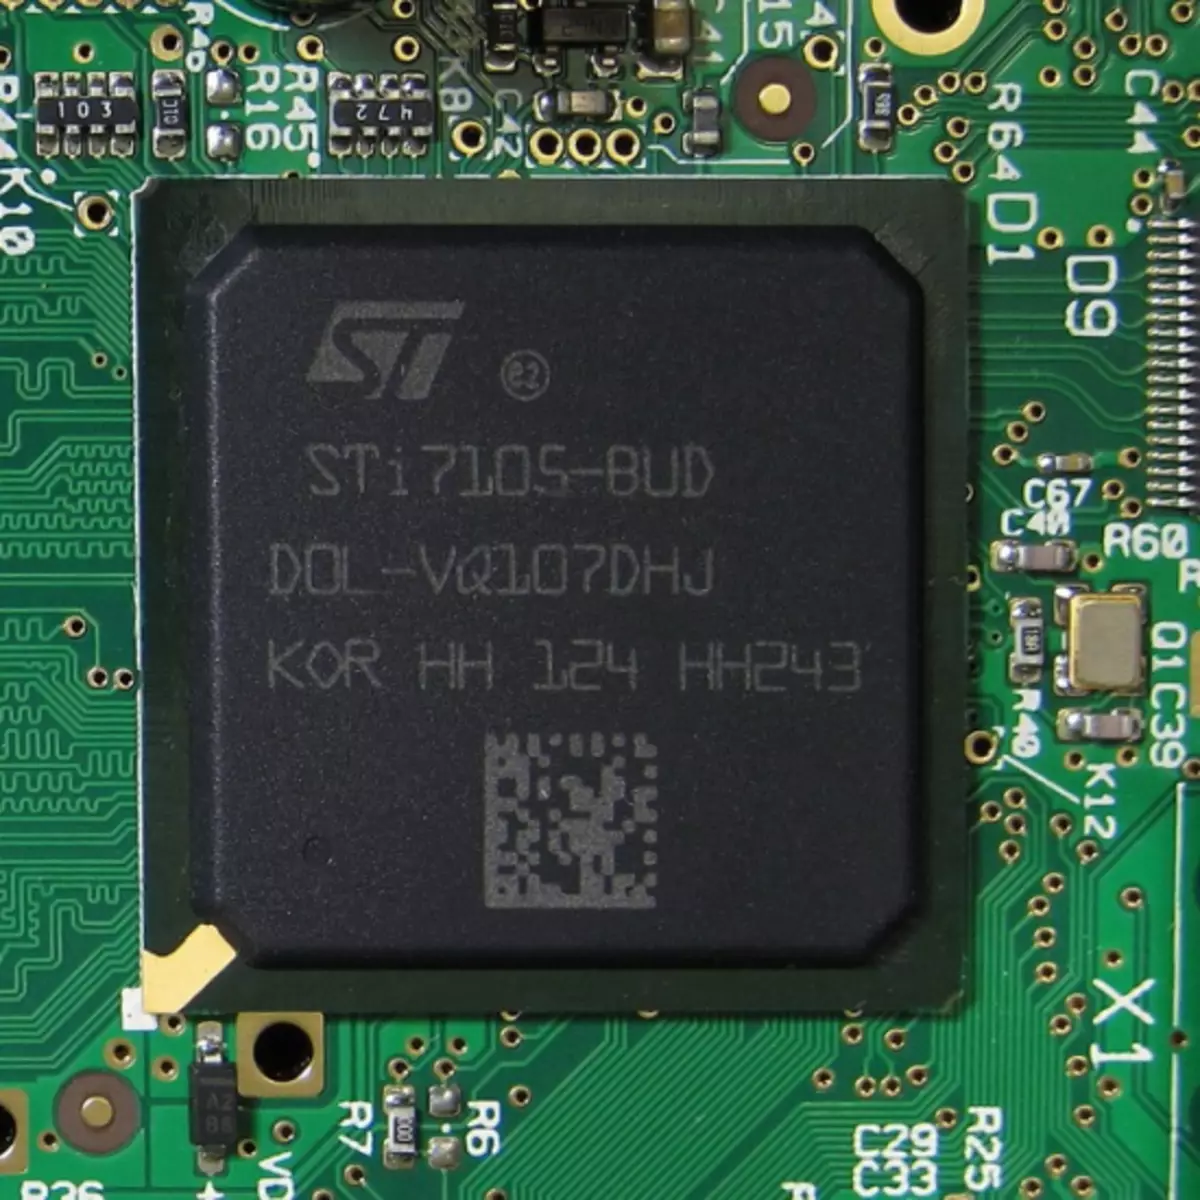
Determine the hardware version of the MAG250 is very simple. It is enough to check for the presence of an optical connector for outputting the sound on the rear panel of the device.
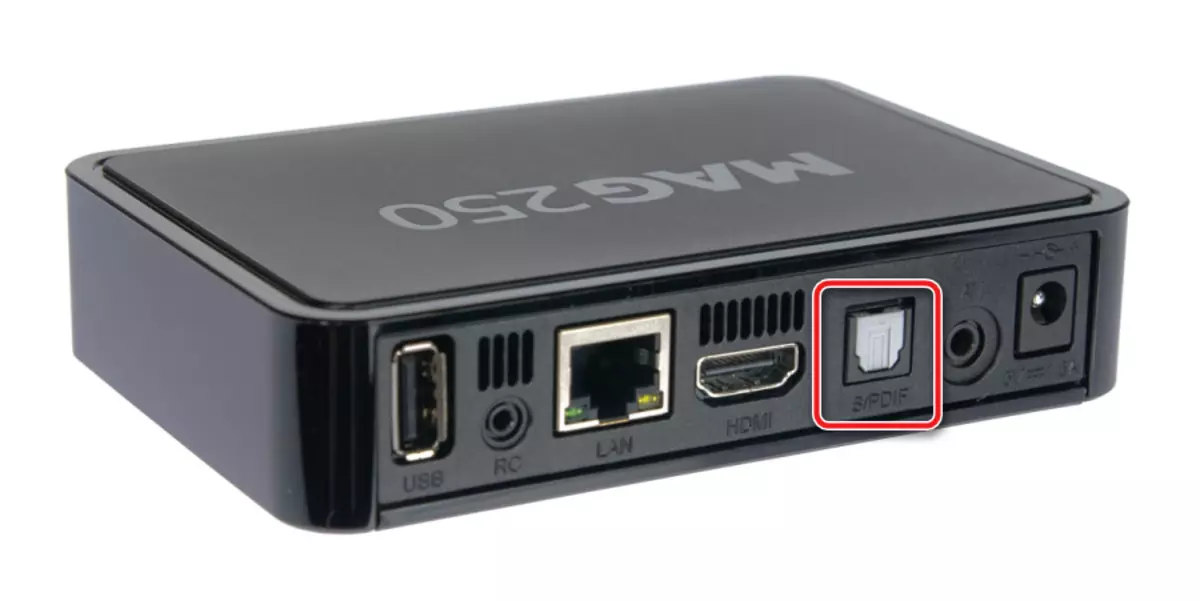
- If the connector is present - the prefix with the BUD processor.
- If there is no - DUD hardware platform.
Determine the revision and download the corresponding package:
Download DNK firmware for MAG 250
Installing alternative firmware in MAG 250 should be pre-installed by the official version of the system. Otherwise, errors may occur during operation!
Firmware
The main methods of the firmware MAG250 are three. In fact, the prefix is pretty "caprick" in terms of reinstalling software and quite often does not accept installed images from the OS. In case of errors in the process of applying one or another method, simply go to the next one. Method No. 3 is the most effective and trouble-free method, but it is the most time consuming in the implementation of a regular user.
Method 1: Built-in
If the prefix works fine and the purpose of the firmware is a simple updating of its software version or the transition to a modified shell, you can use the built-in tool to perform updating directly from the MAG250 interface.
Preparation of flash drive.
Attention! All data on the flash drive in the process of the operations below will be destroyed!
As mentioned above, the volume of carrier for manipulations with TV-box magazine should not exceed 4 GB. If such a flash drive is available, format it with any available means in FAT32 and proceed to paragraph number 10 of the instructions below.
Installation process
- Connect the YSB carrier to TV-box and turn it on.
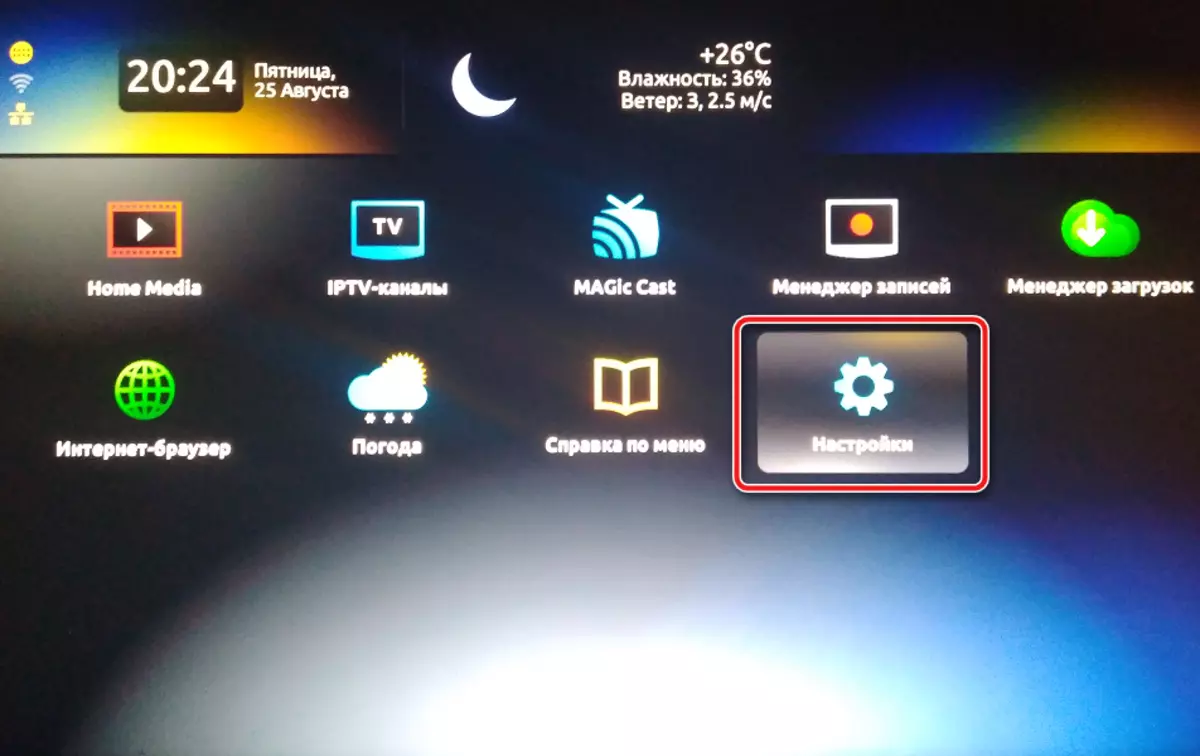
- Go to the "Settings" section.
- Call the service menu by clicking the "SET" button on the remote control.
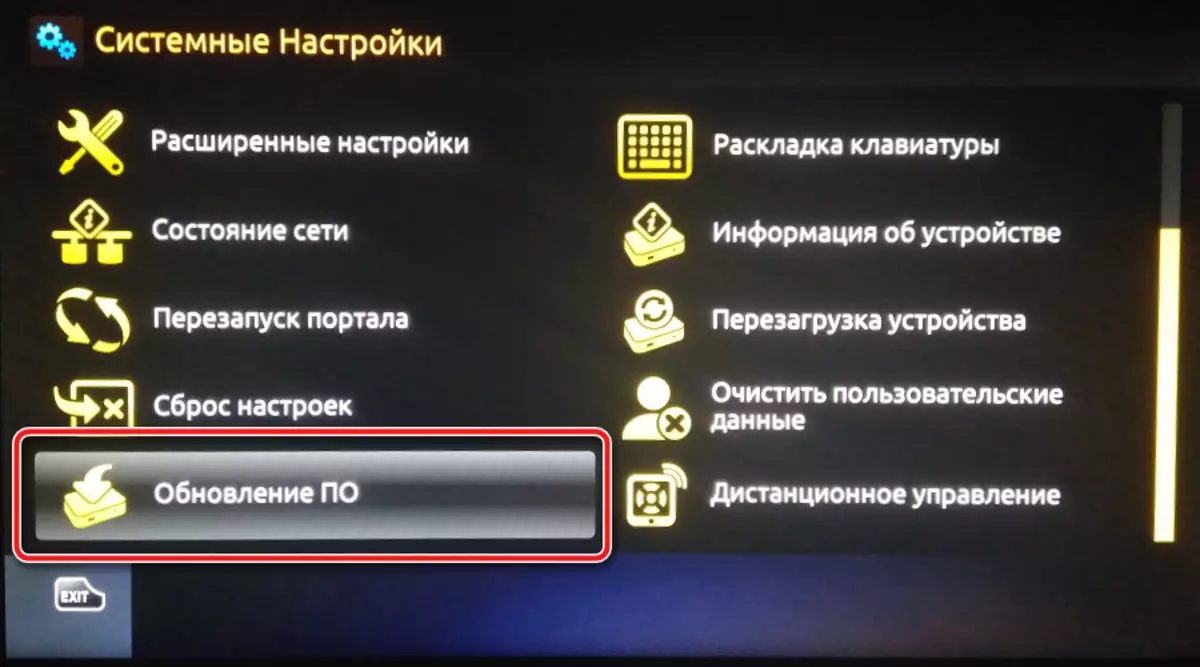
- To download the firmware through the USB, call the "Update" function.
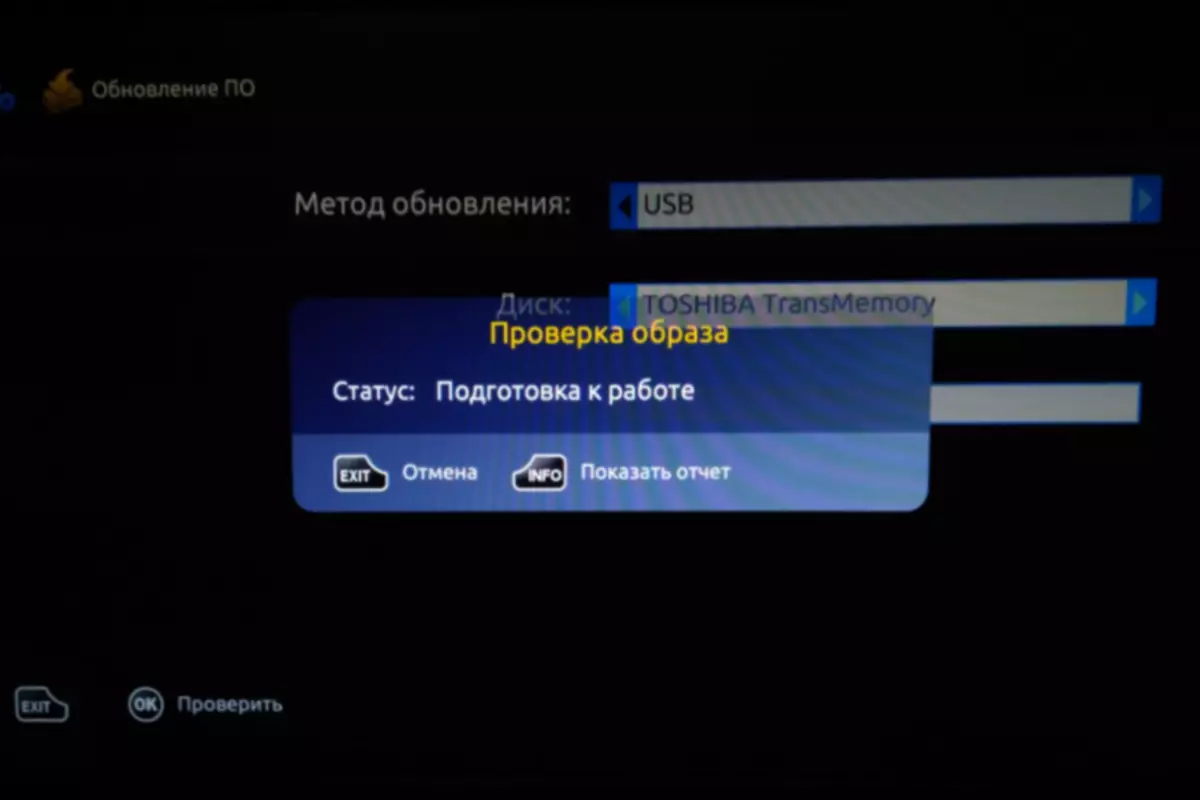
- Switch "Update Method" to "USB" and click "OK" on the remote control.
- Before the firmware starts to be installed, the system must find the necessary files on the USB carrier and check their fitness to install.
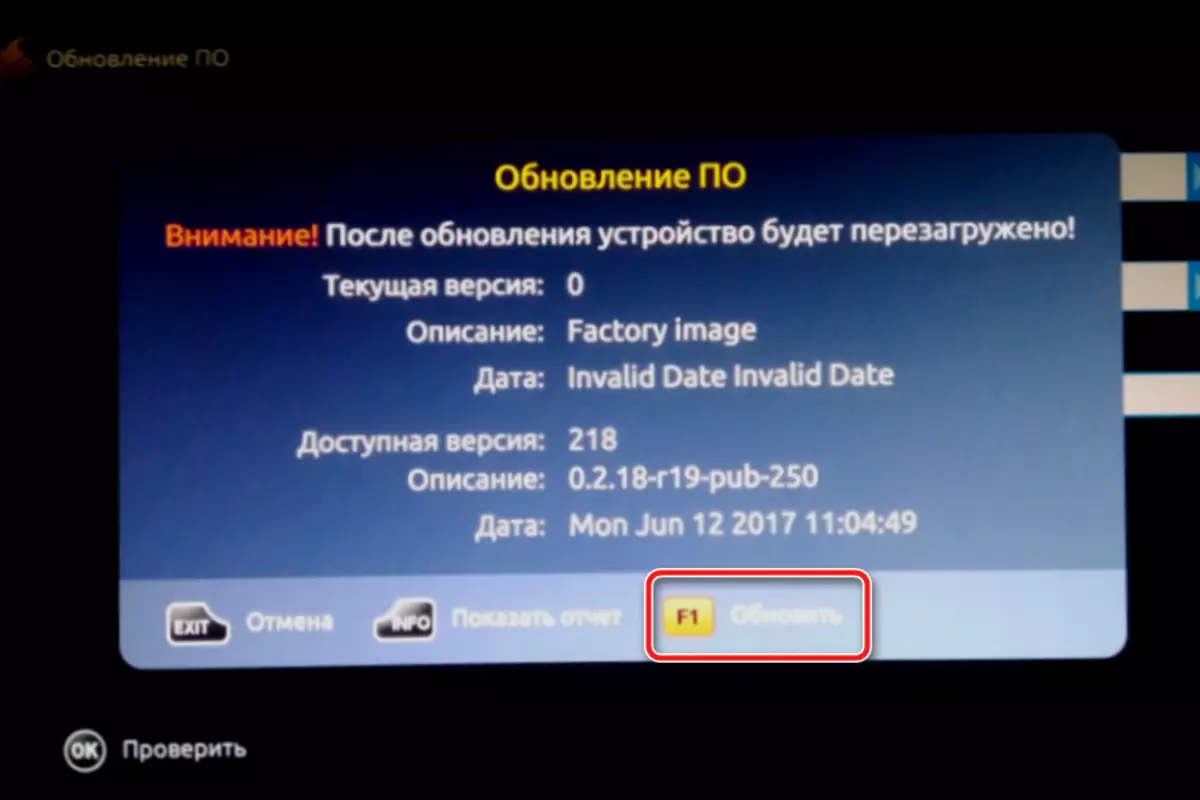
- After checking, press "F1" on the remote.
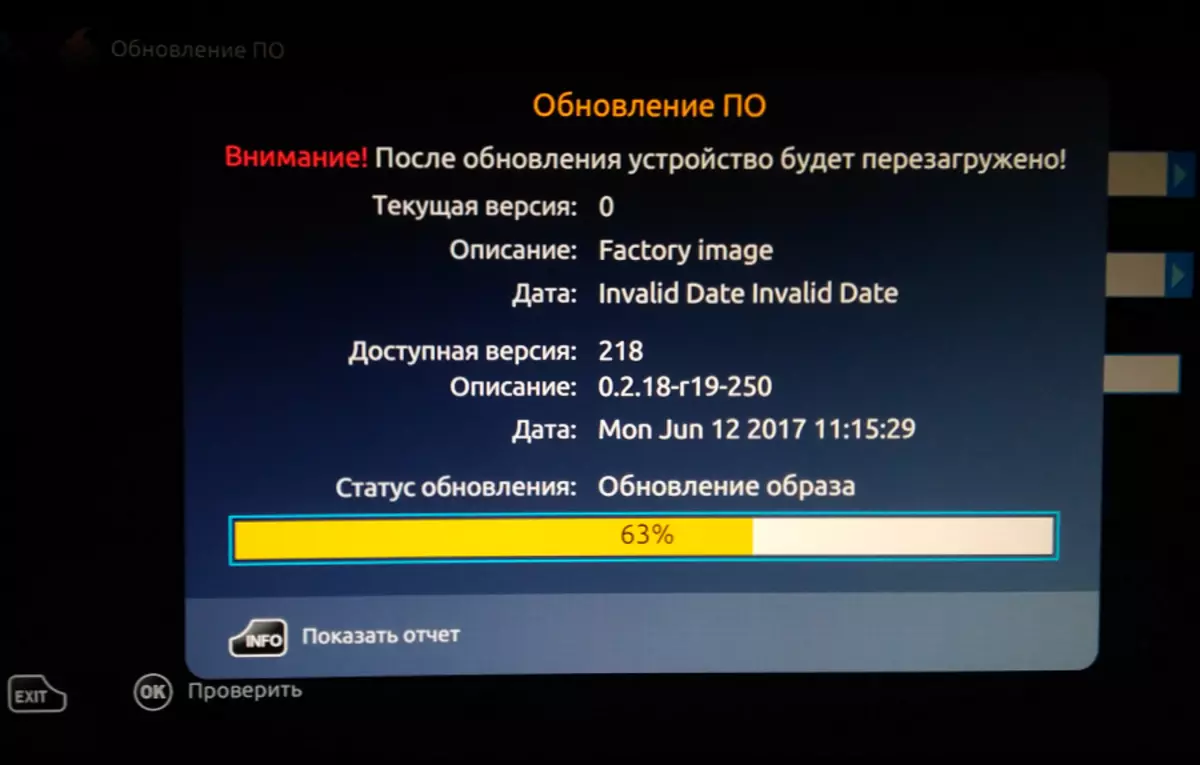
- If the above steps are executed correctly, the process of transferring the image to the device will begin.
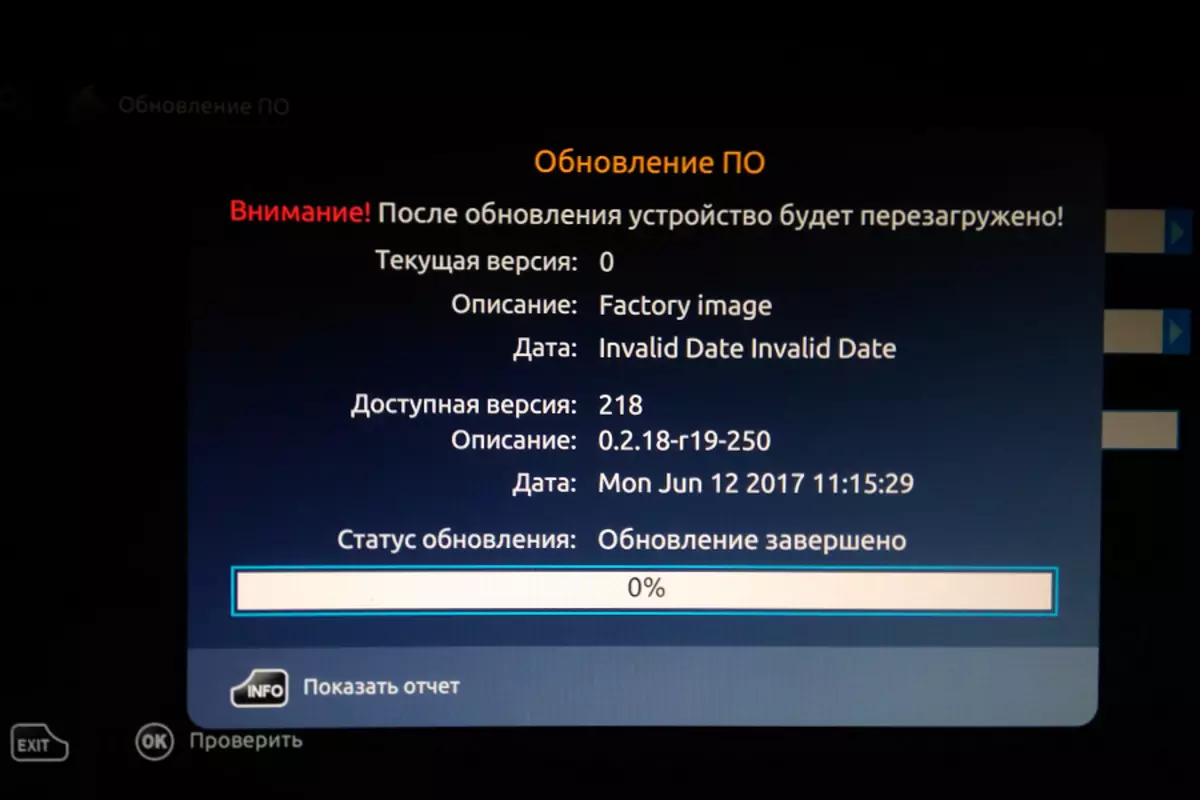
- Without your intervention, the MAG250 will be rebooted upon completion of the system software installation process.
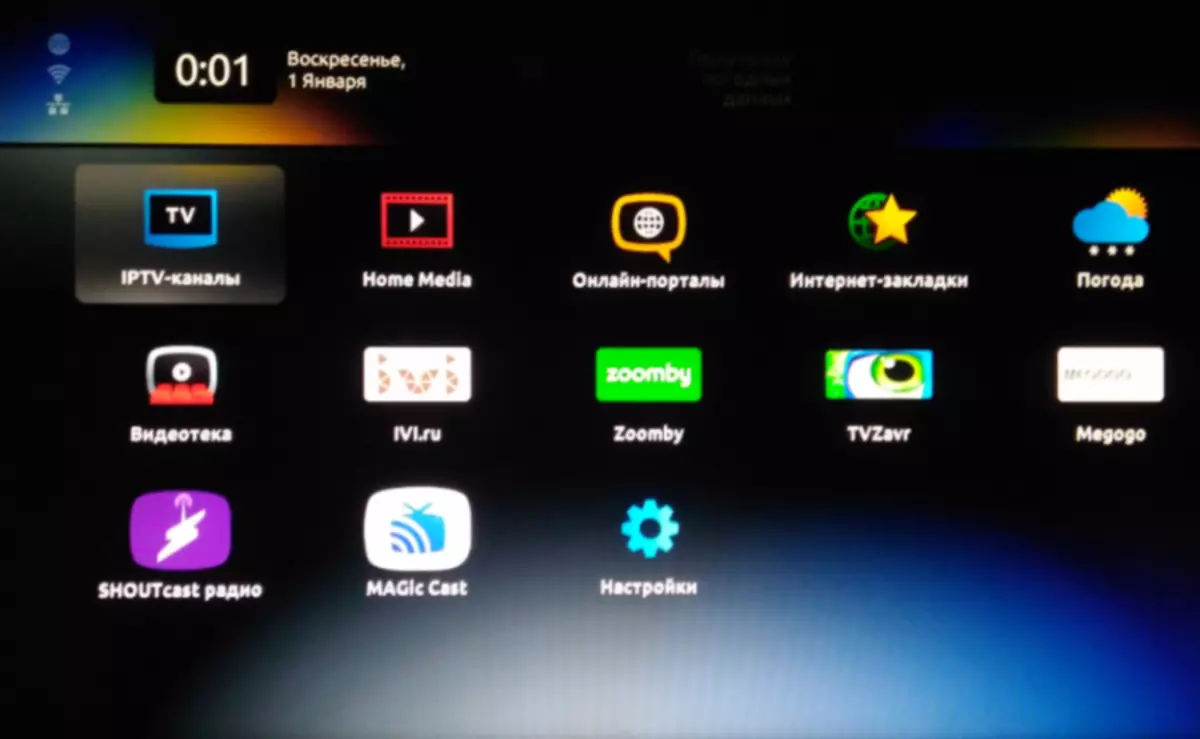
- After restarting the console, you get a new version of the MAG250 software shell.


Method 2: BIOS consoles
Installation of system software in Mago250 by using the setup options and the USB carrier with the firmware is one of the most efficient and popular among users of methods. Very often, the execution of the following helps restore the non-working software device.
- Prepare the flash drive in the same way as in the method of installing the firmware through the interface of the console, described above.
- Disconnect the power cord from the console.
- Press and hold the "Menu" button on the TV-box panel, direct the remote control to the device, then connect to the magician 250 power.
- The execution of the previous step will lead to the launch of a kind of "bios" of the device.
Movement over the menu is carried out by pressing the up-down arrow buttons on the remote, to enter one or another section - the button-arrow "right" is used, and the operation is confirmed after pressing "OK".
- In the displayed menu, go to the "Upgrade Tools" item,
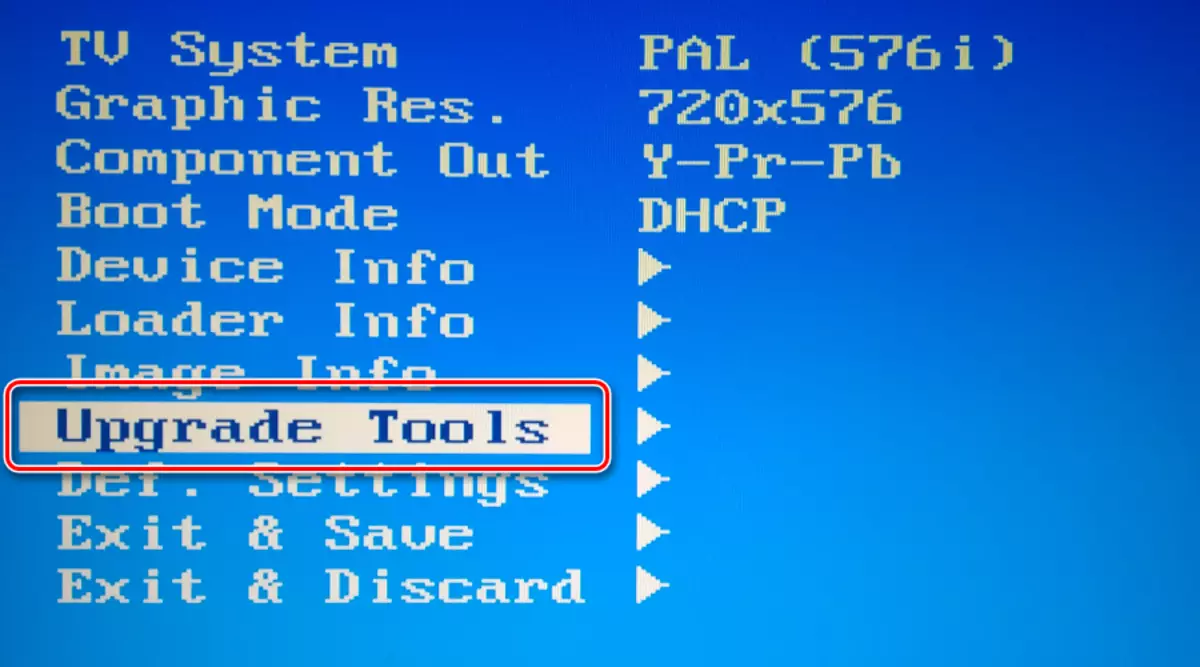
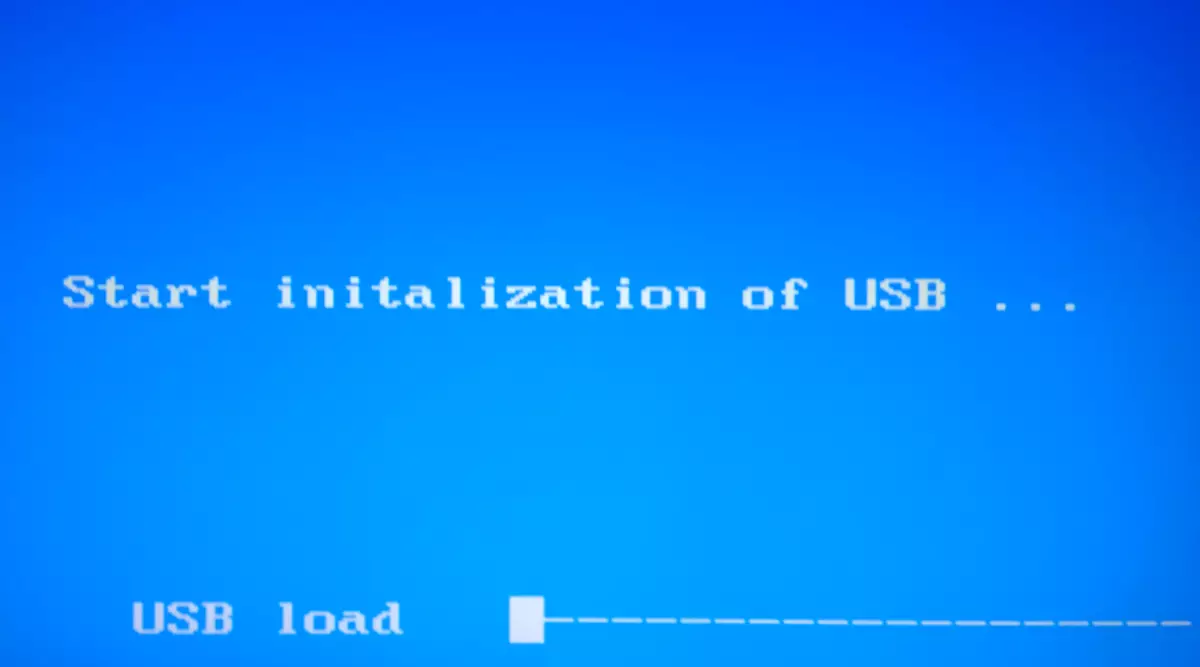
And then to "USB Bootstrap".
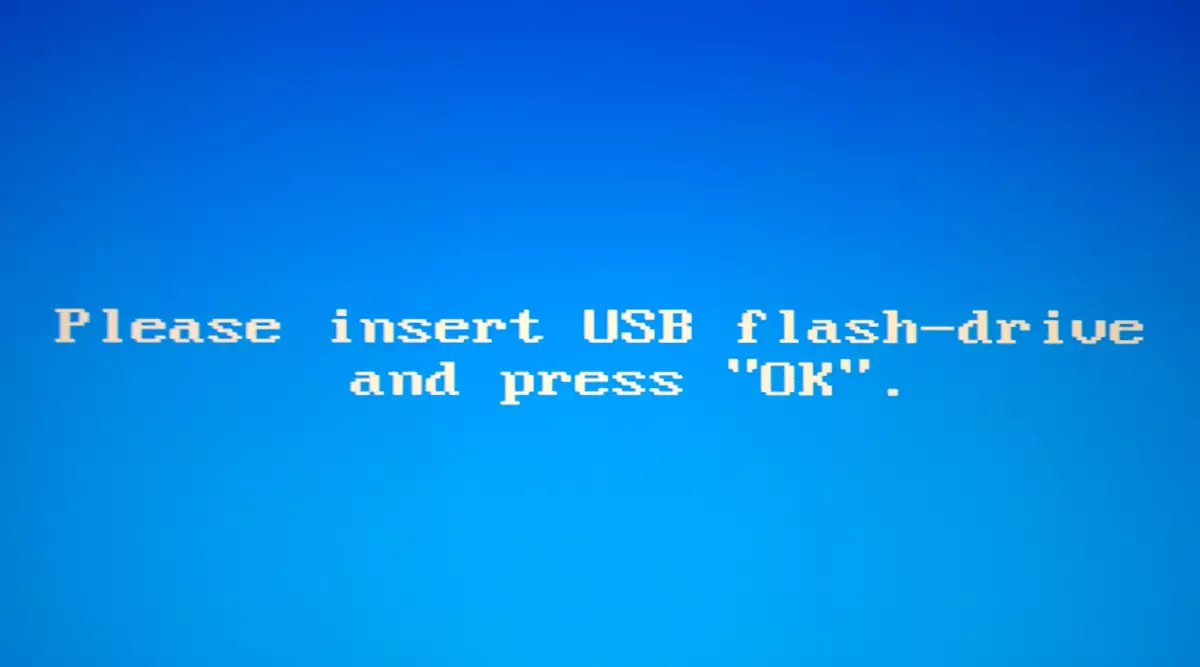
- TV box will not report the absence of a USB carrier. Connect the drive in (important!) The connector on the rear panel and click "OK" on the remote.
- The procedure for checking the system of presence of components for installation on a carrier will begin.
- After the verification process is completed, the transfer of information to the TV box is automatically.
- Completing the firmware is the appearance of the inscription "Writing Image to Flash SuccessFull" on the settings environment.
- Reloading MAG250 and starting the updated shell starts automatically.


Method 3: Restoration through a multicast
The last method of installing the system software in the MAG250, which we will look at, most often used to restore the "surpinated" TV boxes - those that do not work properly or do not start at all. The recovery methodology involves the use of the Multicast File Streamer brand utility. In addition to the program that allows you to transmit files through a network interface, you will need an application for creating a DHCP server to a PC. In the example below, DualServer is used for this purpose. You can upload tools by reference:
Download Utilities for the firmware MAG250 with PC
We remind you first that you need to do, deciding to flash the prefix, this is the installation of the official version of the system. Even if in the end it is planned to use a modified solution, it is not necessary to neglect this advice.
Download the official firmware MAG250
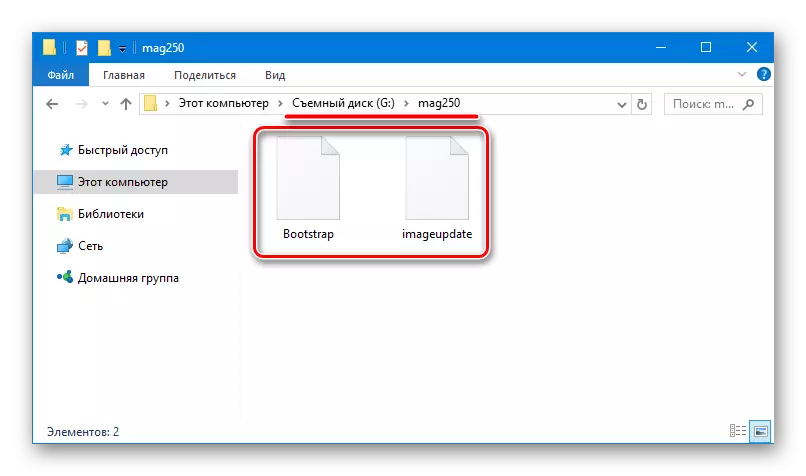
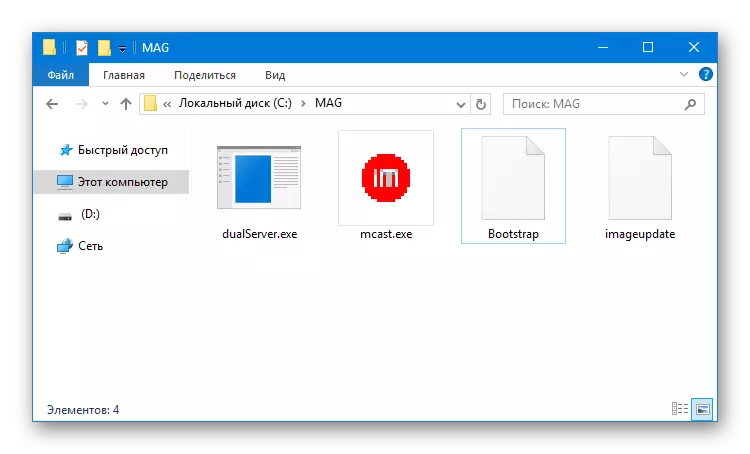
- Uploaded firmware files, as well as the utilities put in a separate directory located on the disk "C:". File Bootstrap_250. Rename B. Bootstrap.
- At the time of the operation on the firmware of the MAG 250 via the multicast temporarily disconnect the antivirus and (required) the firewall installed in Windows.
Read more:
Disable Firewall in Windows 7
Disable firewall in Windows 8-10
How to turn off antivirus
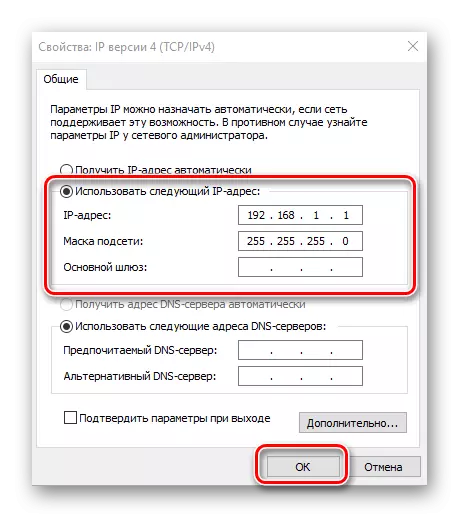
- Configure a network fee to which the staped staircase will be connected to the static IP "192.168.1.1". For this:
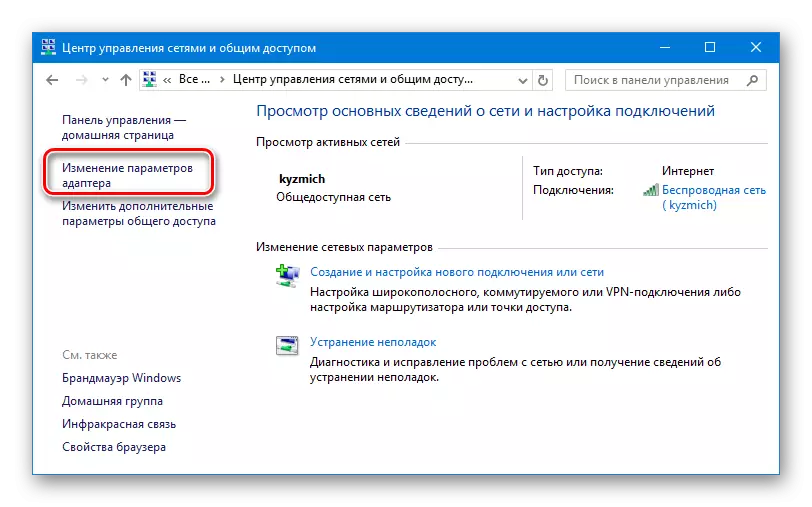
- On the network settings page called from the control panel,
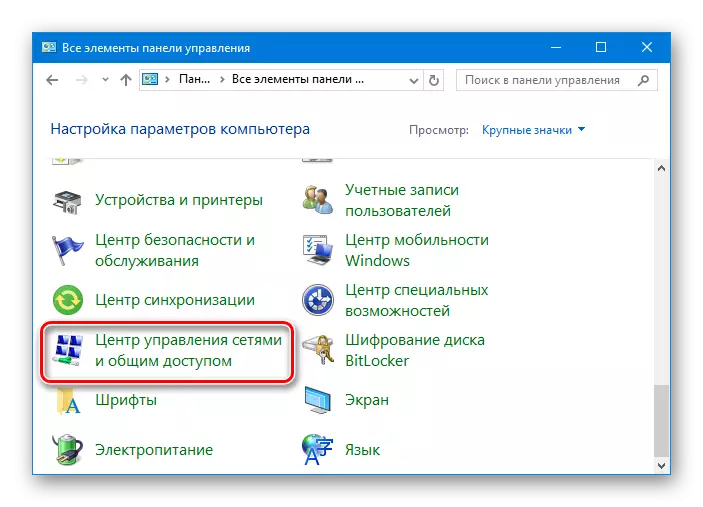
Click the "Change Adapter Settings" link.
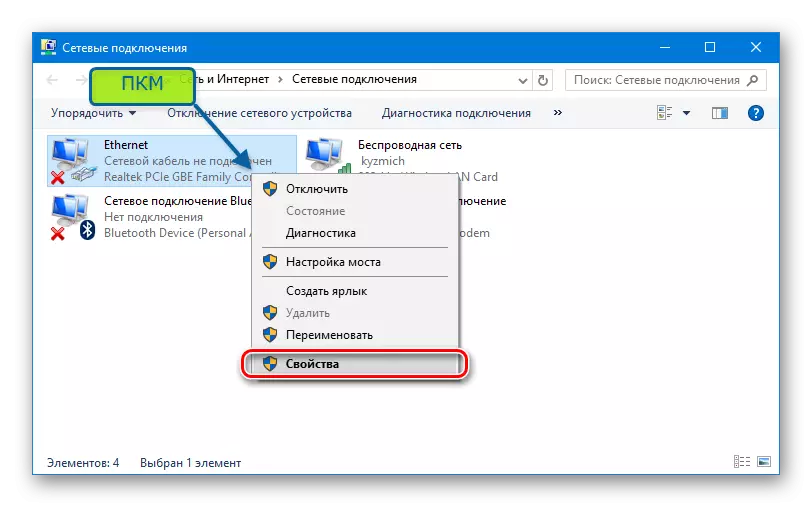
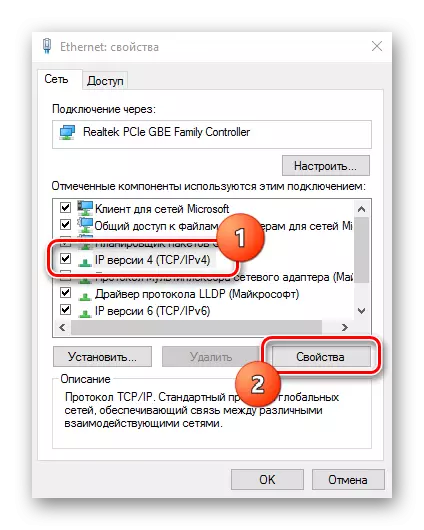
- Call the list of available functions by right-clicking on the "Ethernet" image, and go to "Properties".
- In the available network protocol windows, you allocate "IP version 4 (TCP / IPv4)" and go to the definition of its parameters by pressing the "Properties".
- Addend the value of the IP address. As a "subnet mask" automatically adds "255.255.255.0". Save the parameters by clicking OK.
- On the network settings page called from the control panel,
- Connect the MAG250 to the PC network connector using Patch Cord. Power consoles should be disabled!
- Run the settings menu by pressing and holding the "MENU" on the remote, after which connecting the power to the console.
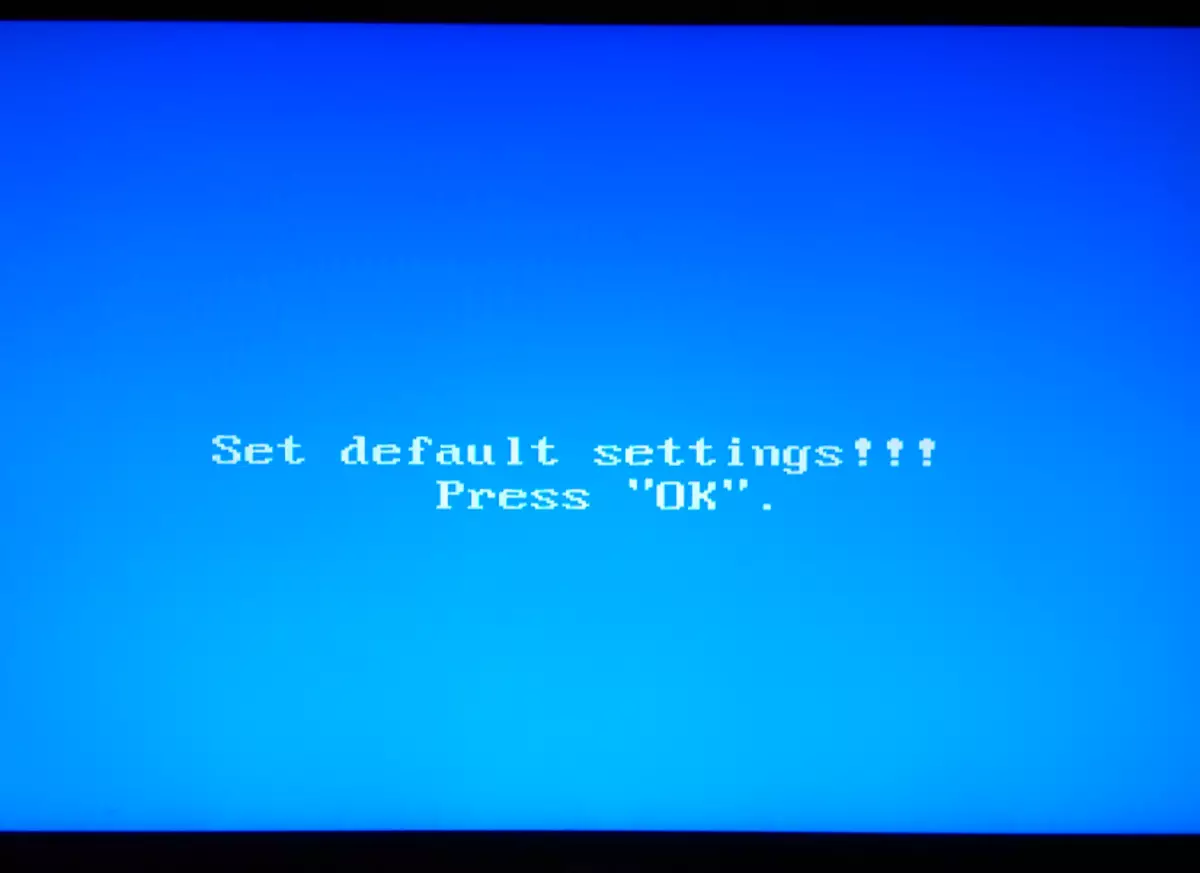
- Reset the device settings by selecting the "Def.Settings" option,
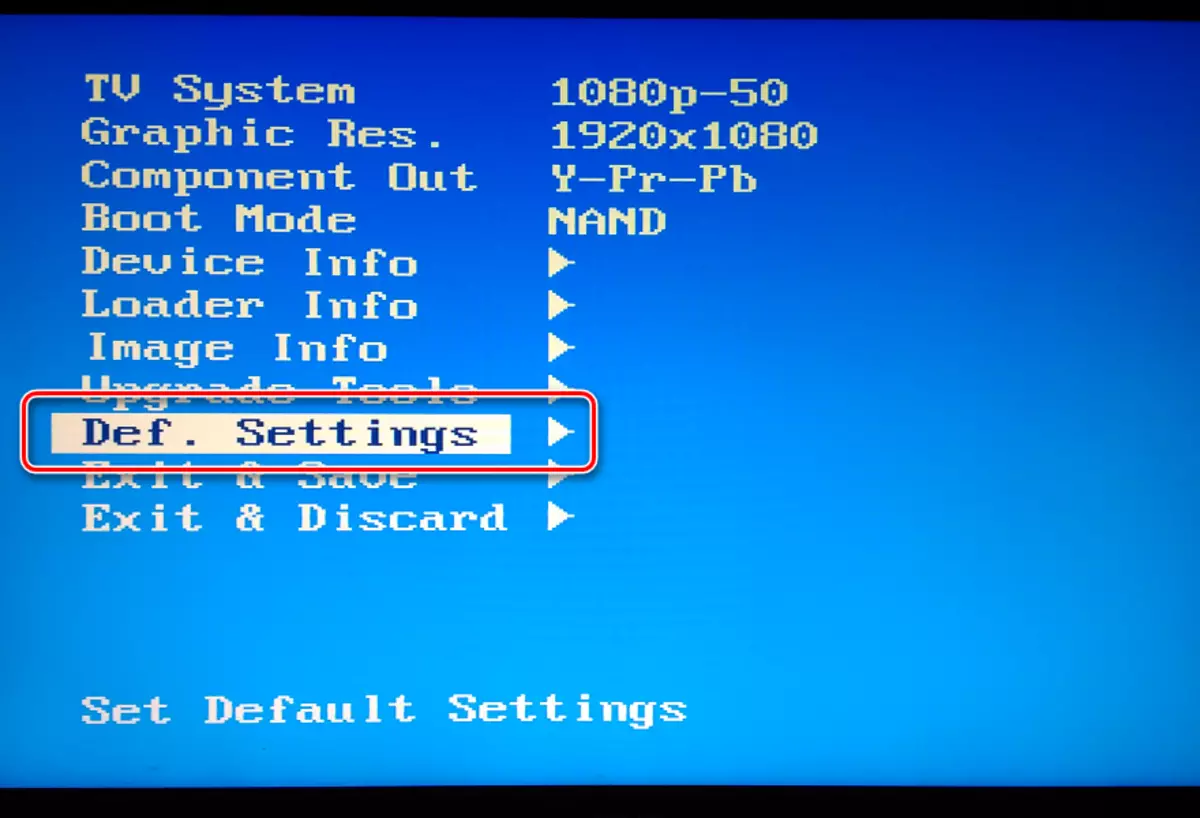
And then confirming the intention by pressing the "OK" button on the remote.
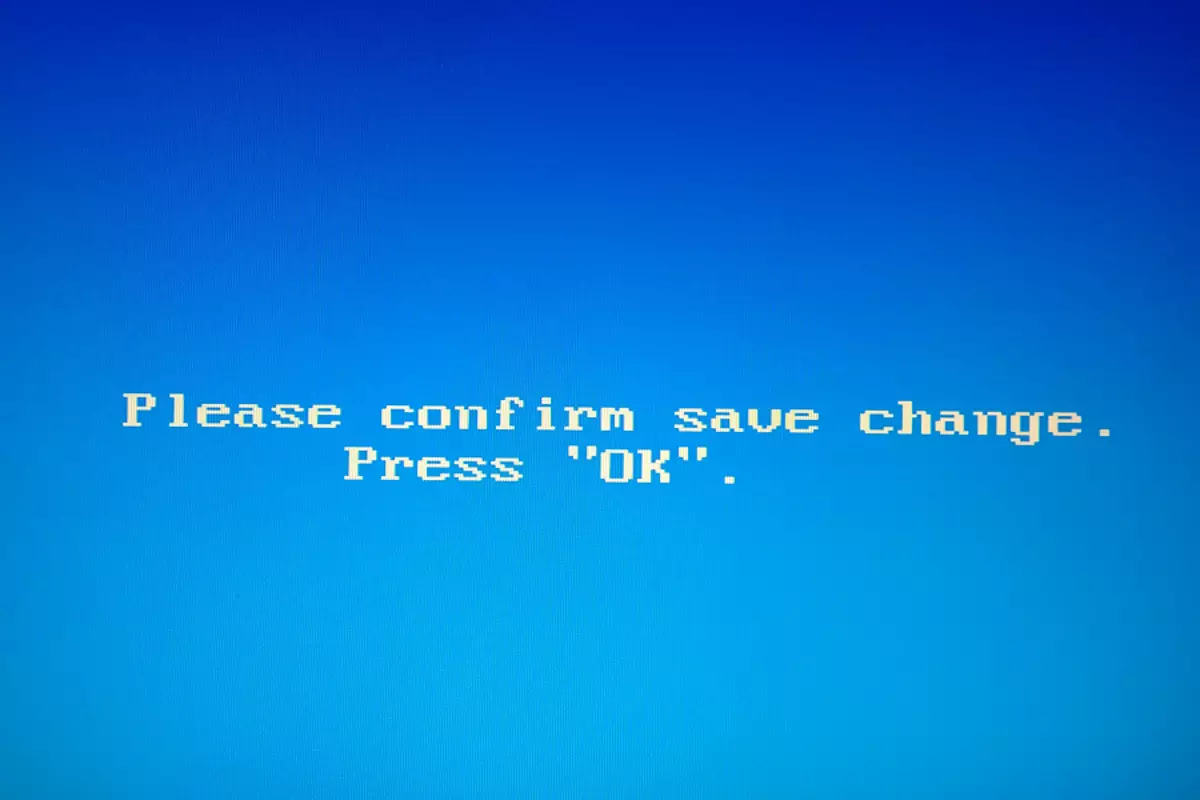
- Restart the parameter menu by selecting "Exit & Save"
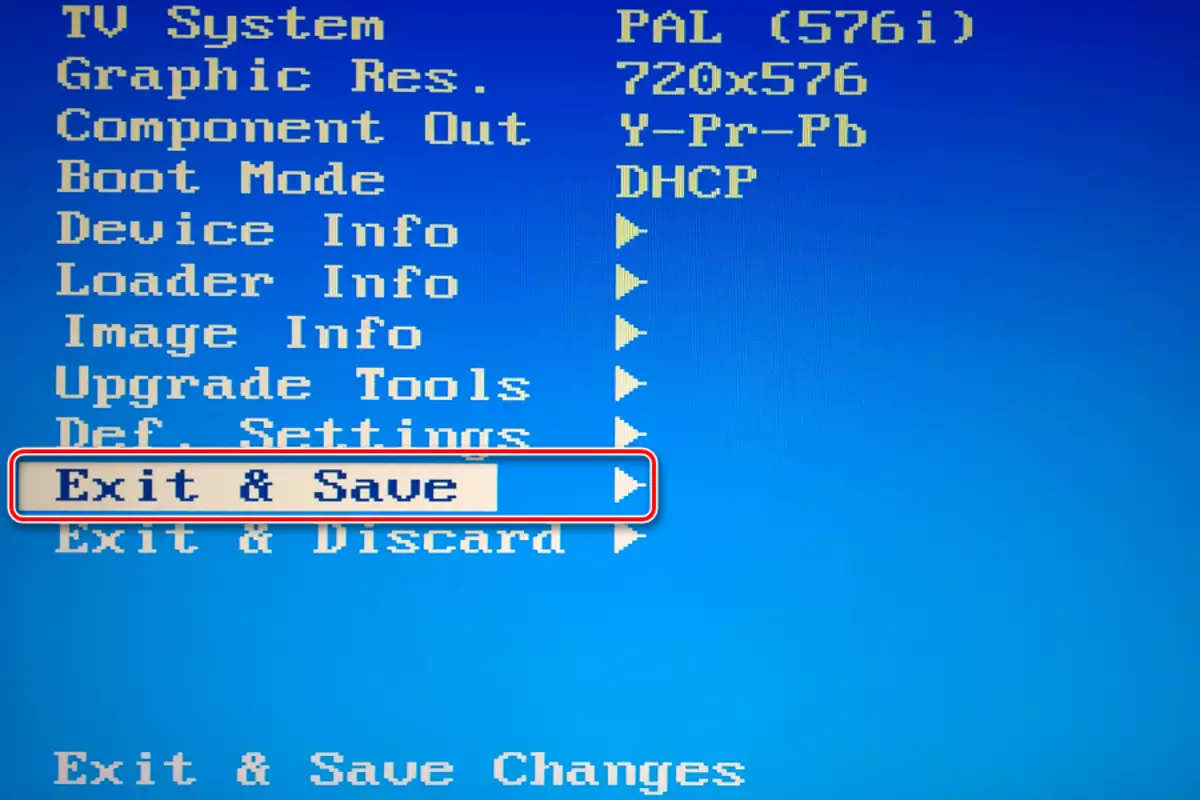
And confirming the reboot with the "OK" button.
- During the reboot, do not forget to clamp the "MENU" button on the console.
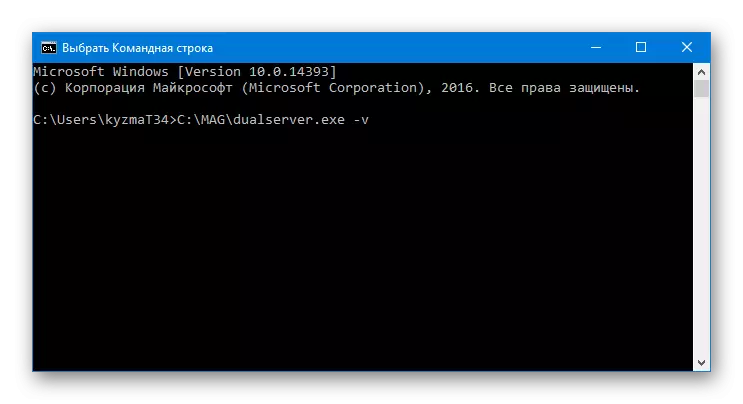
- On the PC call the console in which you send the command:
C: \ Folder_S_SHIK_I_U_Thotitis \ dualserver.exe -v
- After entering the command, click "Enter", which will start the server.
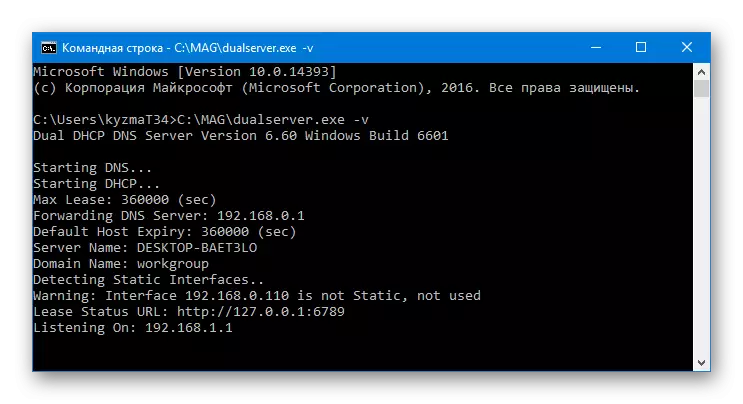
The command line does not close until the installation process is completed in Mago250!
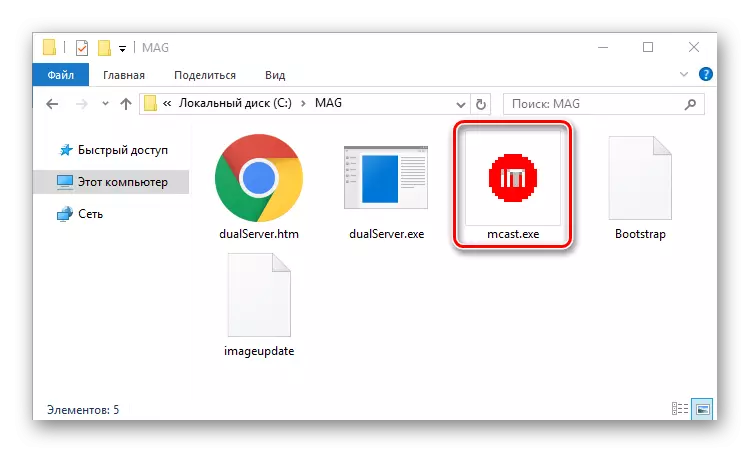
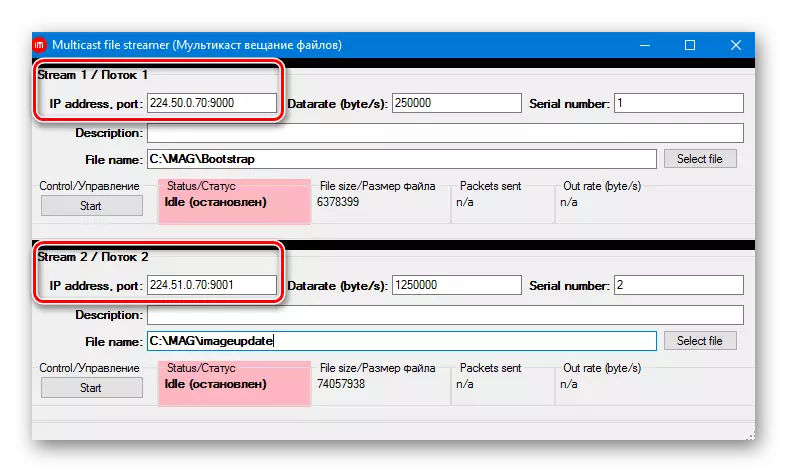
- Go to the directory with utilities and system software files. From there open the application Mcast.exe..
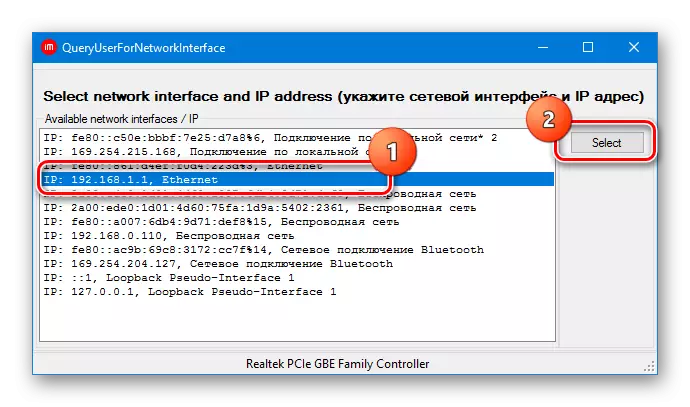
- In the list of network interfaces that appears, mark the item containing "192.168.1.1", and then click "SELECT".
- In the main window of the MultiCast File Streamer application in the "IP Address, Port" field, section "Stream1 / Stream1" section 104.50.0.70:9000. In exactly the same field, the "Stream2 / Stream2" section does not change the value.
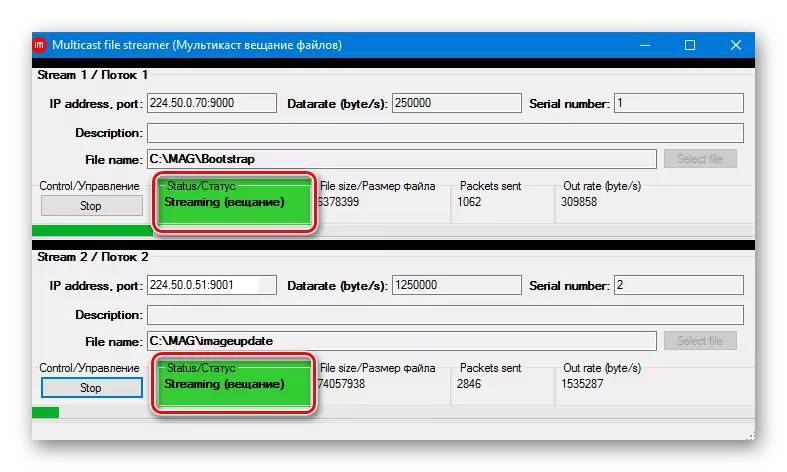
- Press the "Start" buttons in both streaming sections,
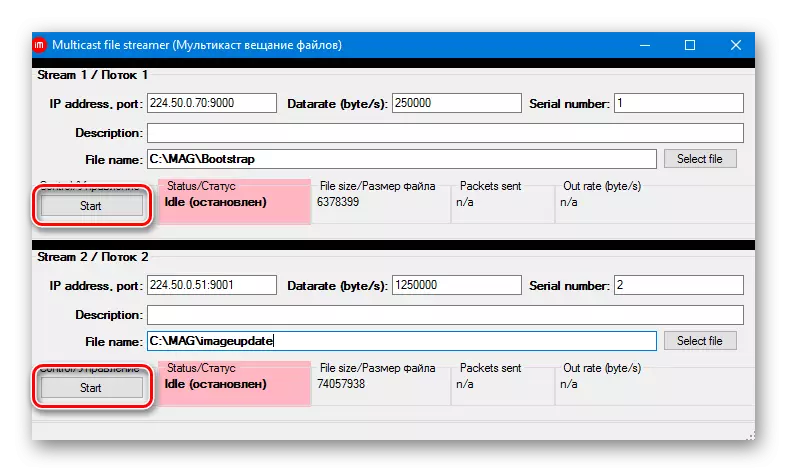
What will lead to the beginning broadcast firmware files through the network interface.
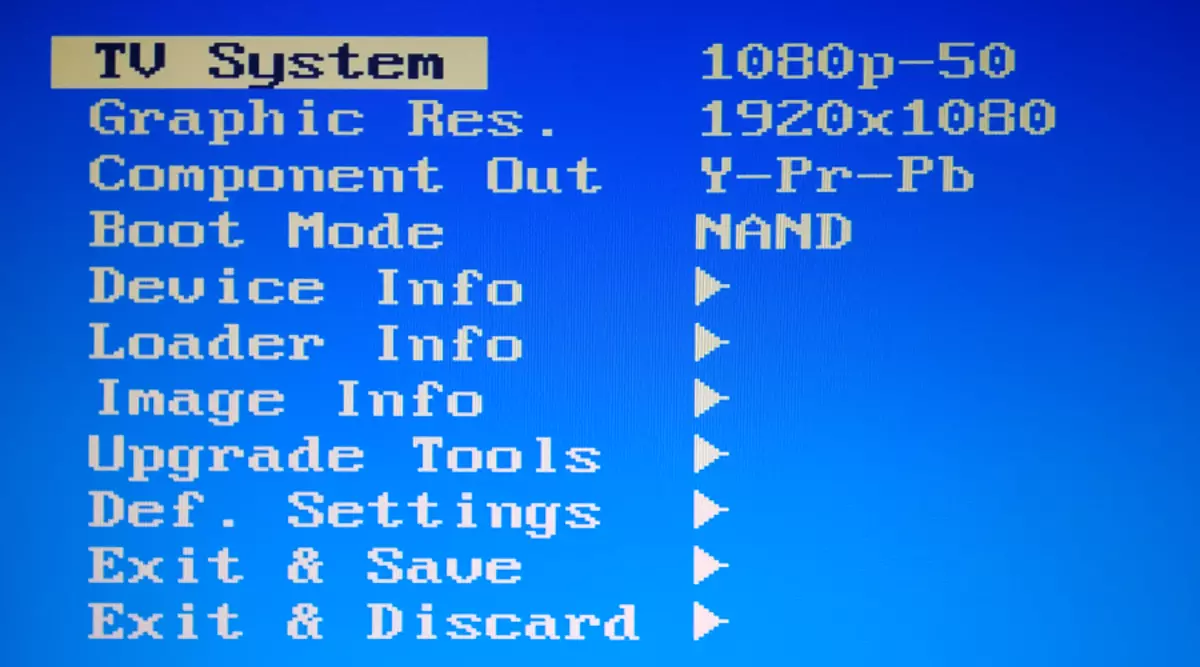
- Go to the screen shown by the prefix. Change the value of the "BOOT MODE" parameter to "NAND".
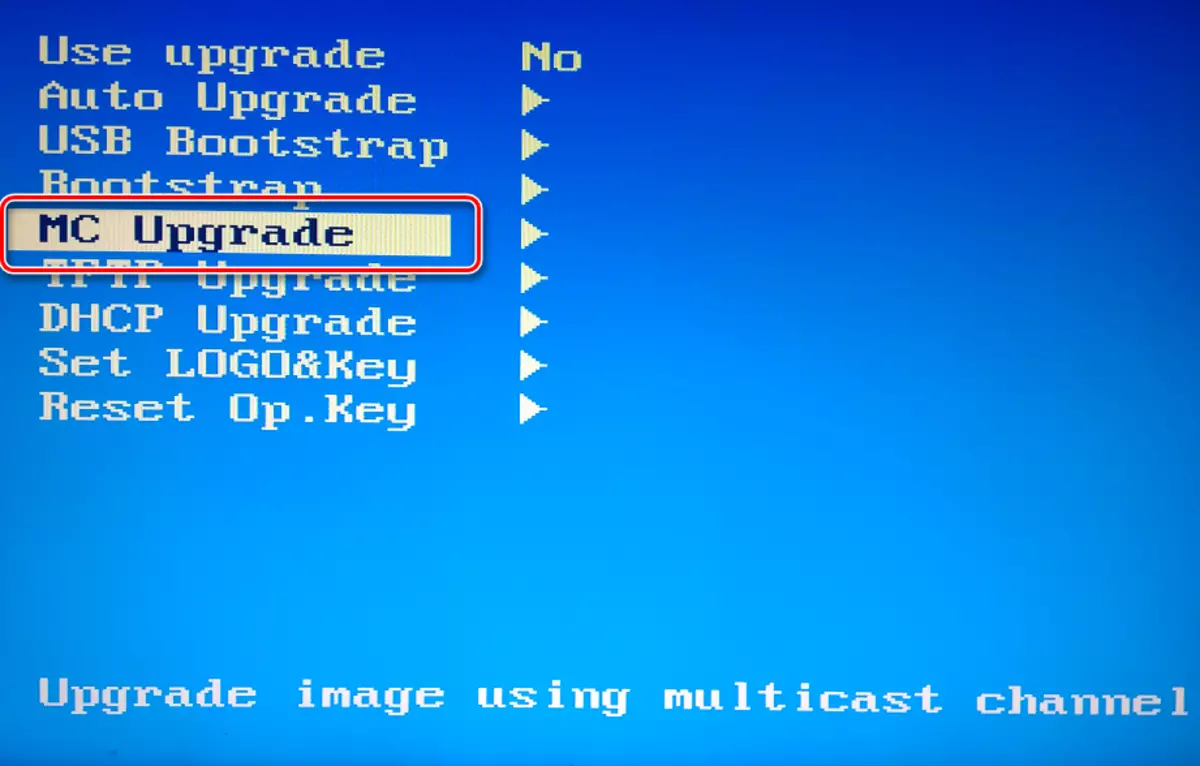
- Come in "Upgrade Tools".
- Next - the entrance to MC UPGRADE.
- The process of transferring the loader file to the internal memory of the TV-box,
And on its completion, the corresponding inscription on the screen will appear.

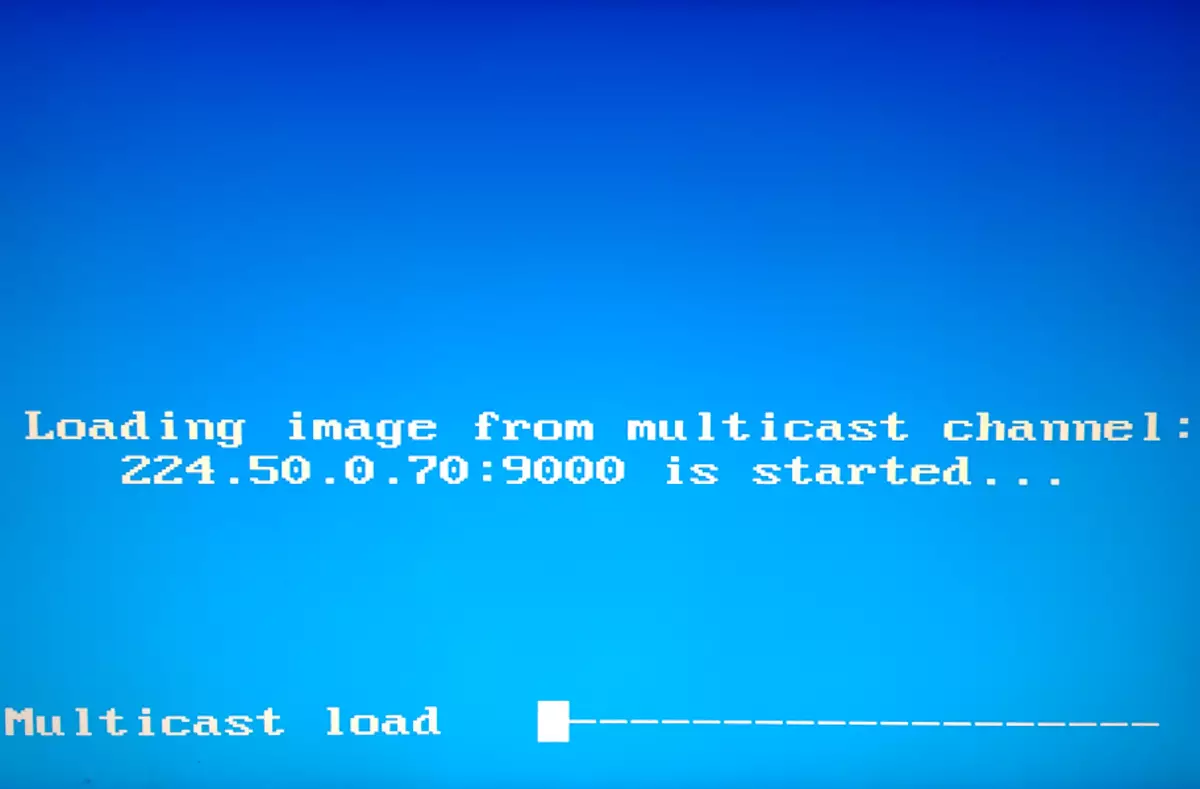
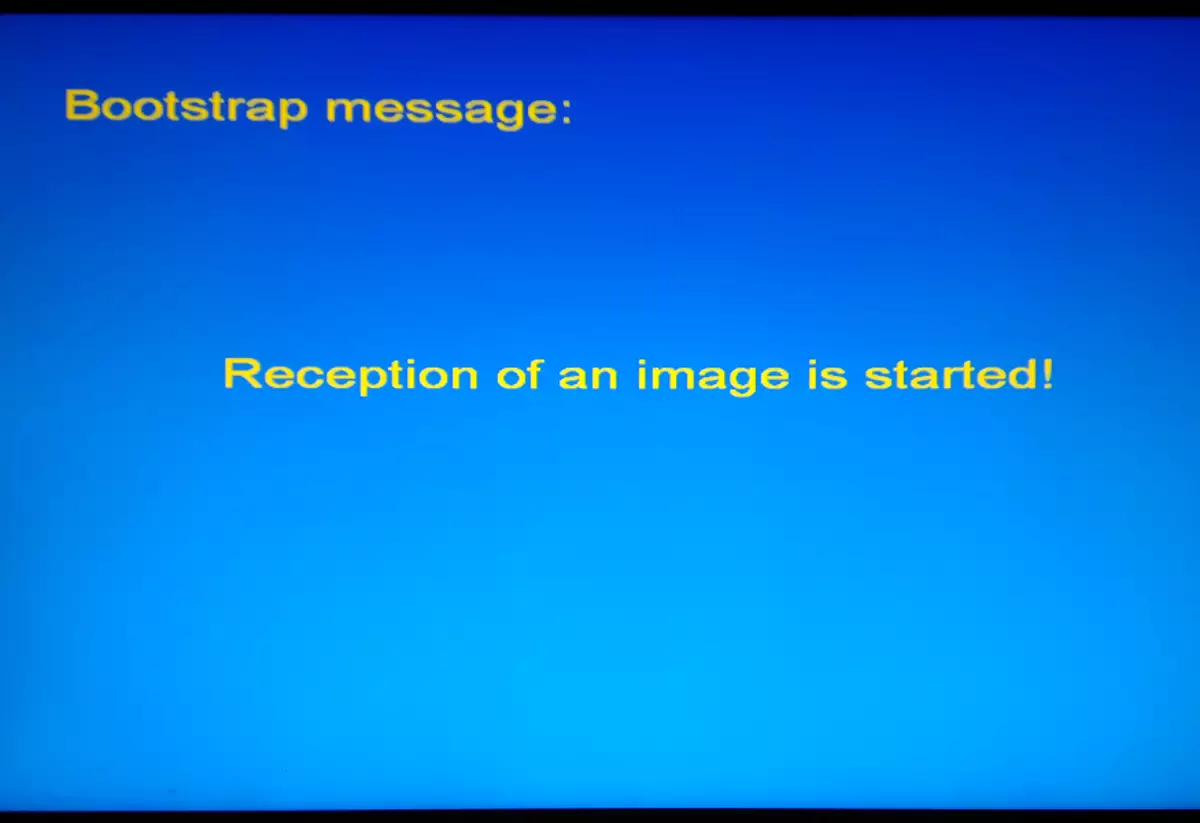
Next, the image of the system is started on the prefix, which will tell you on the screen: "Bootstrap Message: Reception of An Image Is Started!".
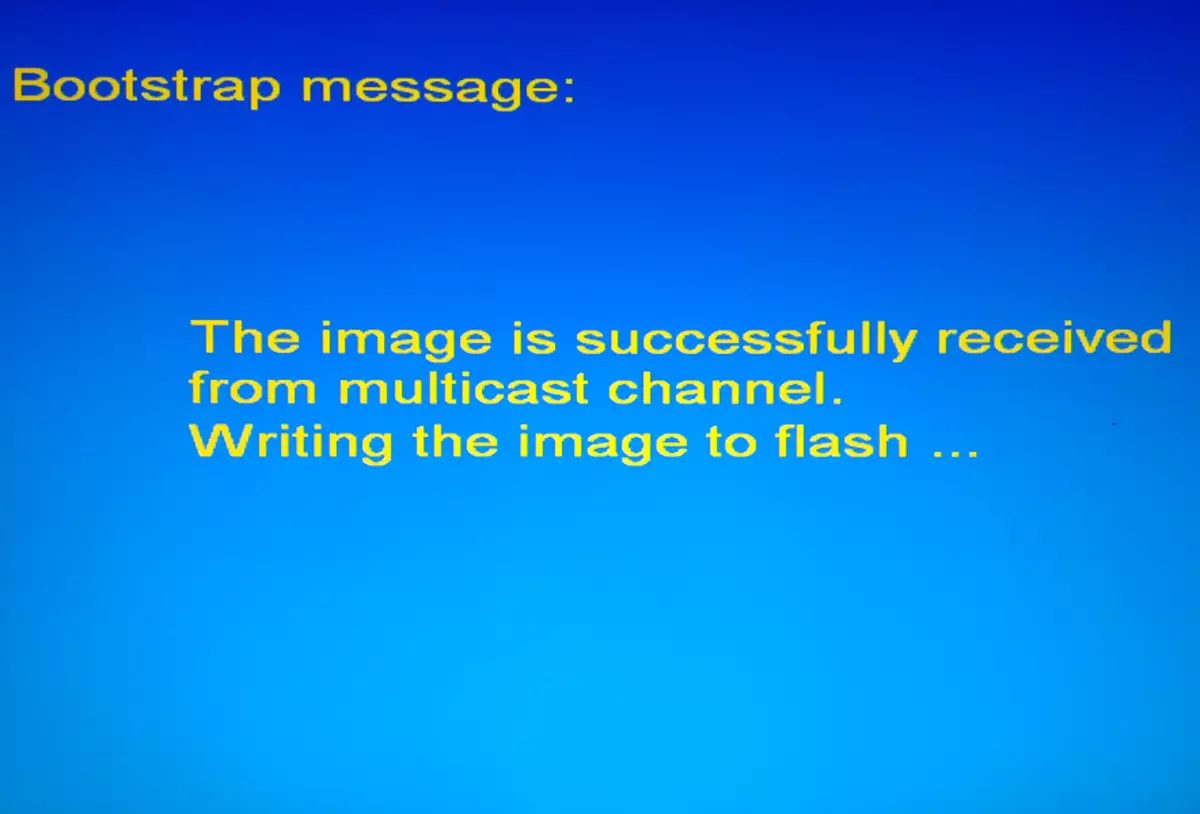
- The following steps will not require interventions, everything is automatically carried out:
- Record the image in the memory of the device: "Bootstrap Message: Writing Image to Flash."
- Completing the data transfer: "Writing Image to Flash Successfull!".
- Reload MAG250.


On our site you can learn how to run a "command line" on a computer with Windows 7, Windows 8 and Windows 10.


The above-described methods of firmware of the MAG250 TV consoles make it possible to expand the functionality of the solution, as well as restore the performance of the device. Carefully treat the preparation and execution of instructions, then the process of transformation of the program part as a whole excellent apparatus will take about 15 minutes, and the result will exceed all expectations!