

Today, Packard Bell does not use such wide popularity as other laptop manufacturers, but it does not prevent her from producing pleasant laptops, distinguished by reliability. You can open a similar laptop at the following instructions presented regardless of the model.
Open Packard Bell laptop
The disassembly procedure can be divided into three interconnected stages. Each step may well become the last if you reach the goal.Step 1: Lower Panel
The support part of the laptop housing is the most important in the framework of the process under consideration. This is connected with the placement of fixing screws.
- First, turn off the laptop through the system tools and disconnect the power adapter.
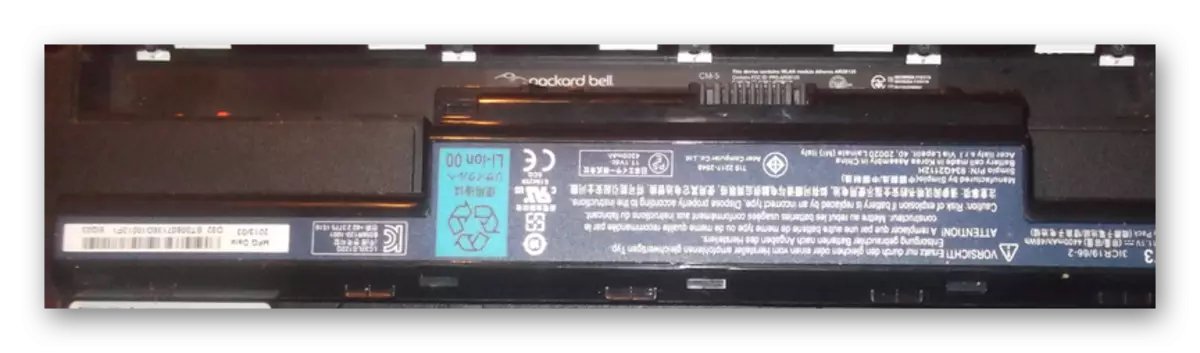
- Remove the battery before turning the laptop.

In this case, the battery does not differ from similar components on other devices.
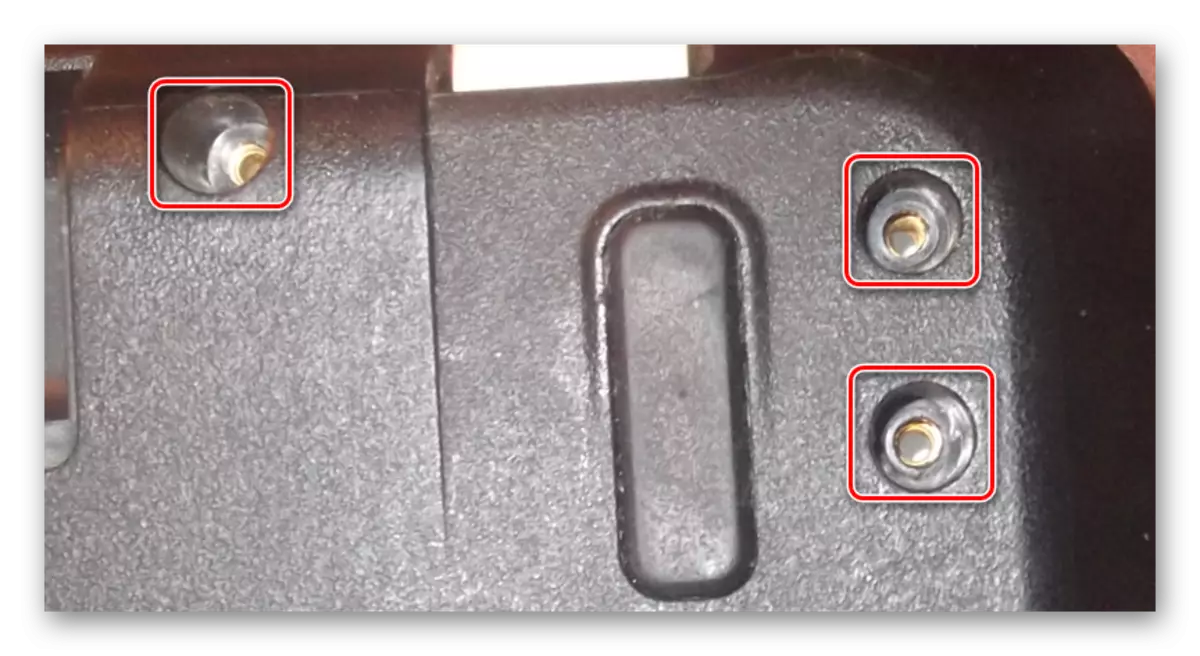
- Using a screwdriver, unscrew the screws around the perimeter of the panel on the bottom surface.

Do not attempt to fully remove the screws before removing the panel.
- On visible portions of the motherboard, remove the RAM bar. To do this, clamp small metal latches in the opposite direction from RAM.
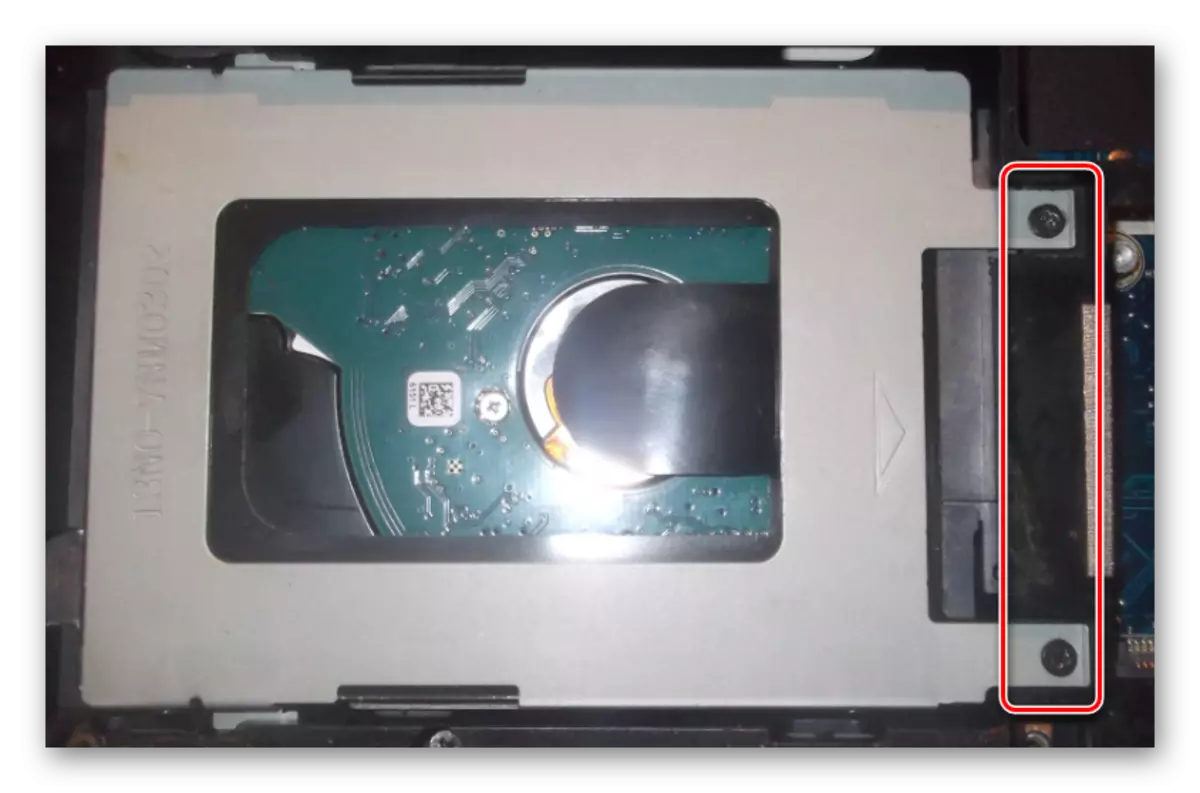
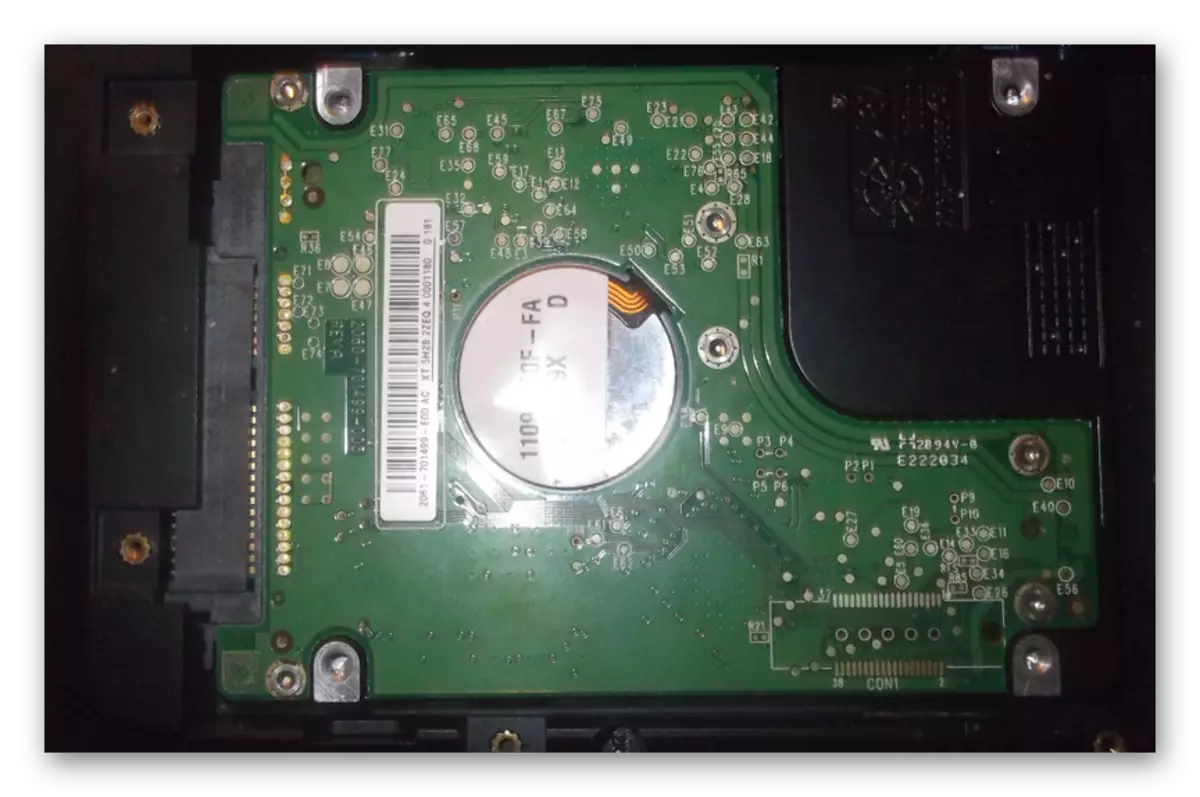
- Further, you should unscrew the hard disk mounts and pull it out. Do not forget to save the screws so that in the case of the HDD assembly was securely fixed.
- Packard Bell laptops allow you to install two hard drive at once. Remove the second medium from the opposite side if it is installed.
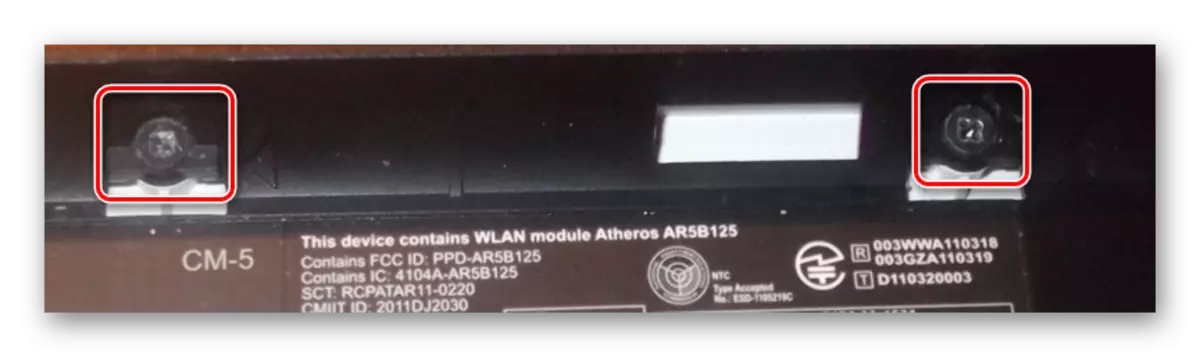
- In the area closer to the battery compartment, find and remove the built-in Wi-Fi adapter.
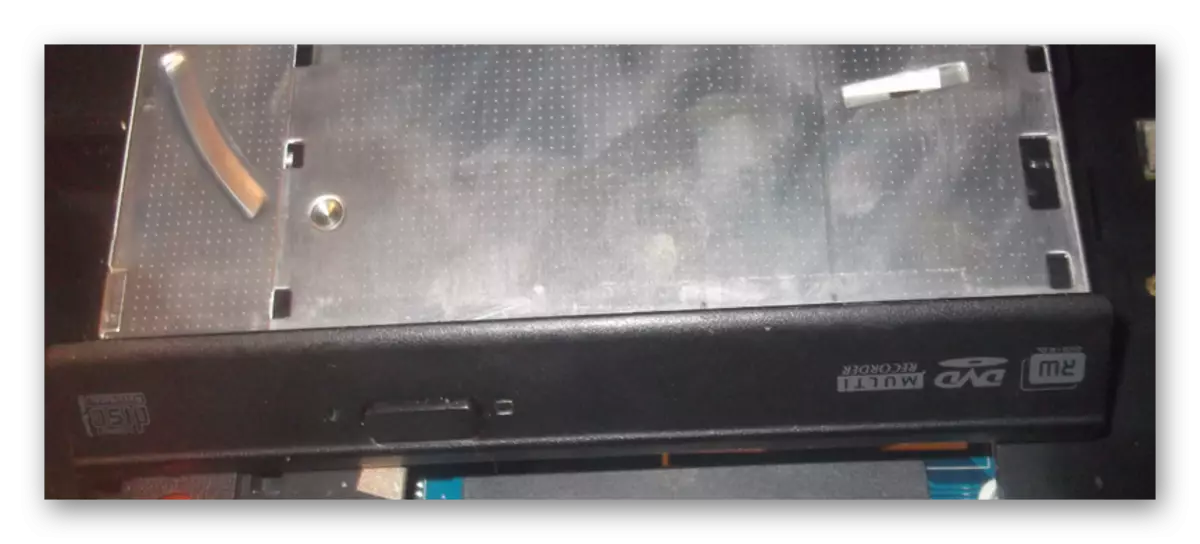
- Next to it, unscrew the screw fixing the optical drive.

For the final removal of the drive will have to apply a little effort.
- On the entire perimeter of Lapplet, remove the main screws that fasten the upper and lower lid.
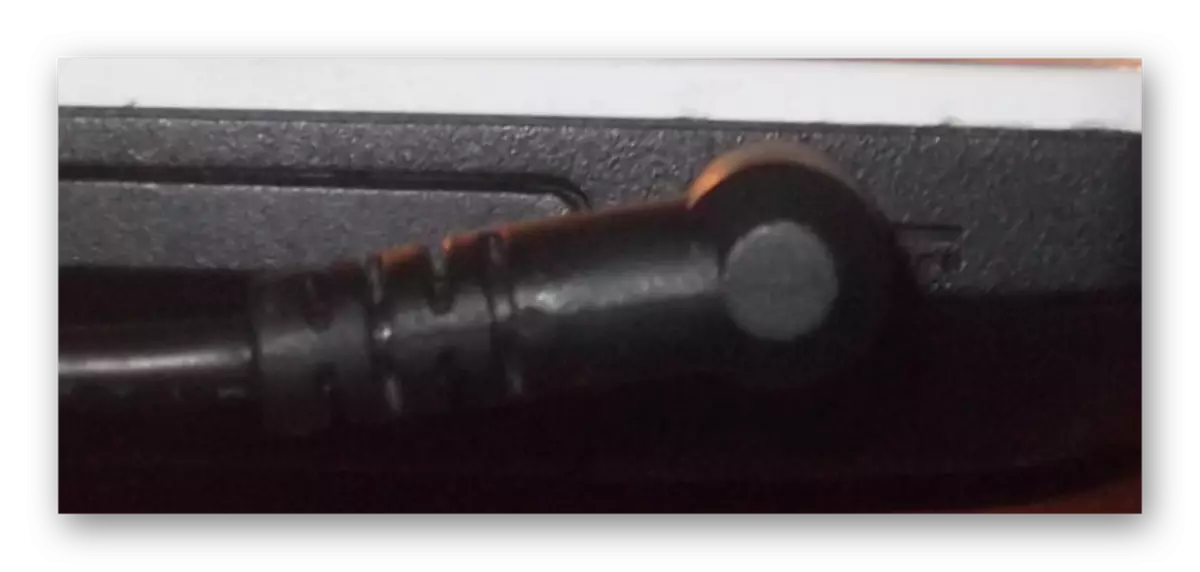
Special attention is paid for fasteners in the battery compartment area and drive. These screws are inconspicuous and may well cause difficulties.


After the manipulations described, you can change the RAM or hard drive bar.
Step 2: Top Panel
Subsequent disassembly may be required, for example, to replace the keyboard. Follow our recommendations in order not to damage the plastic case of the laptop.
- In one of the corners of the housing, carefully sweep the top cover. To do this, you can use a knife or flat screwdriver.
- Do the same with all sides of the laptop and lift the panel. Here it is necessary to disable loops with caution connecting the components on both parts of the case.
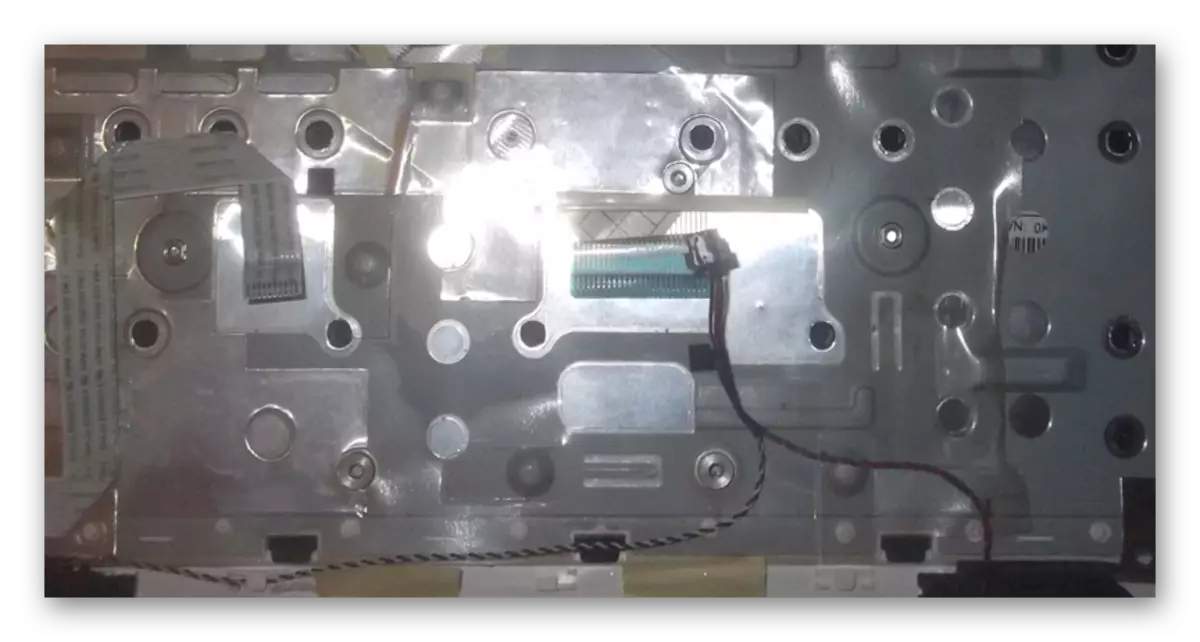
- Disconnecting the keyboard and touchpad, remove the cable from the power control panel and the wires from the speakers.
- In this case, the keyboard is built into the upper cover and therefore it will be necessary to make a lot of effort to replace it. We will not consider this procedure under this Instruction.

The only quite tangible complexity is the procedure for disconnecting the loops.
Step 3: Motherboard
The final stage of disassembly, as you could notice, is to extract the motherboard. This is especially true if you need to gain access to the CPU and the cooling system. In addition, without this, you will not be able to disable the built-in power adapter or the screen.
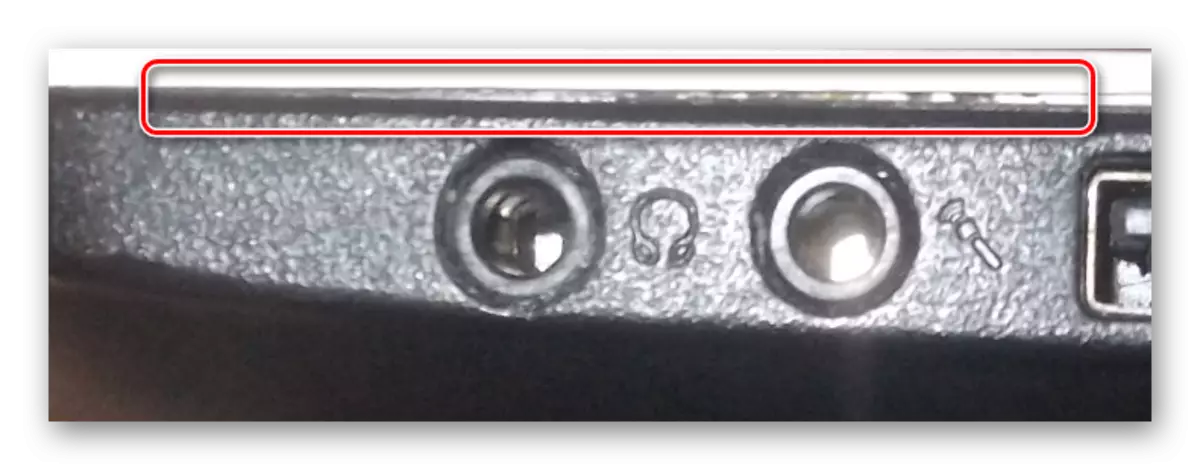
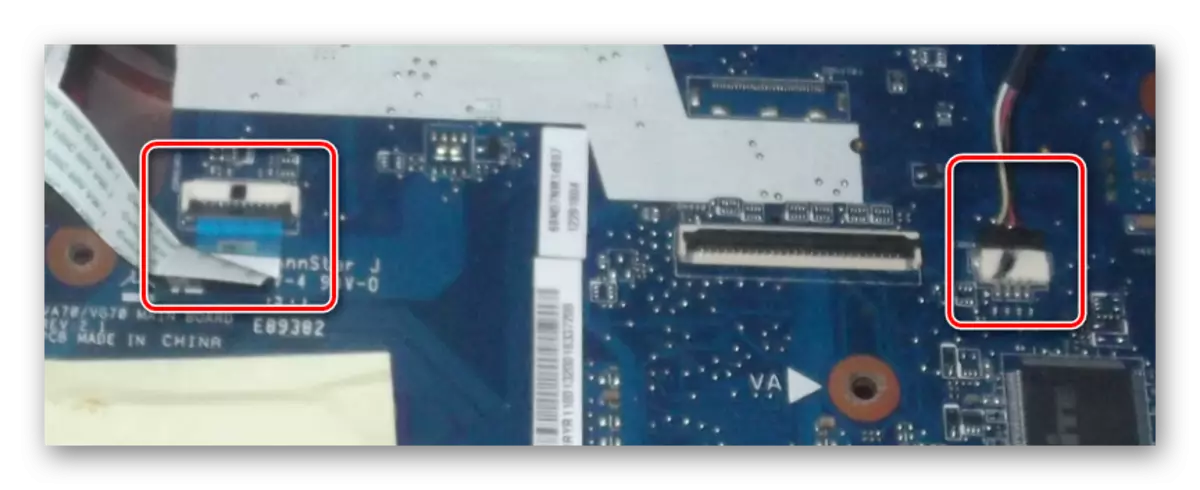
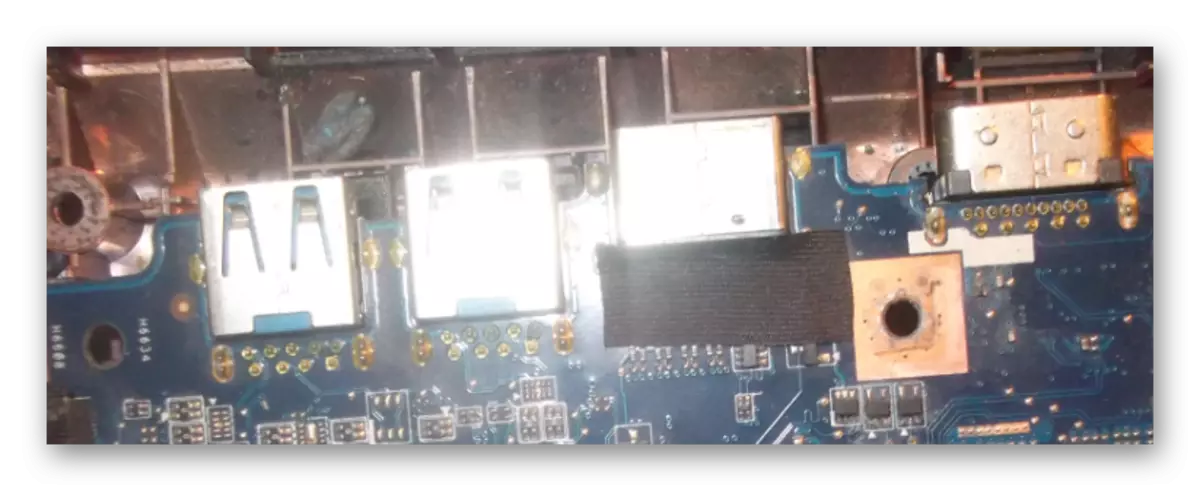
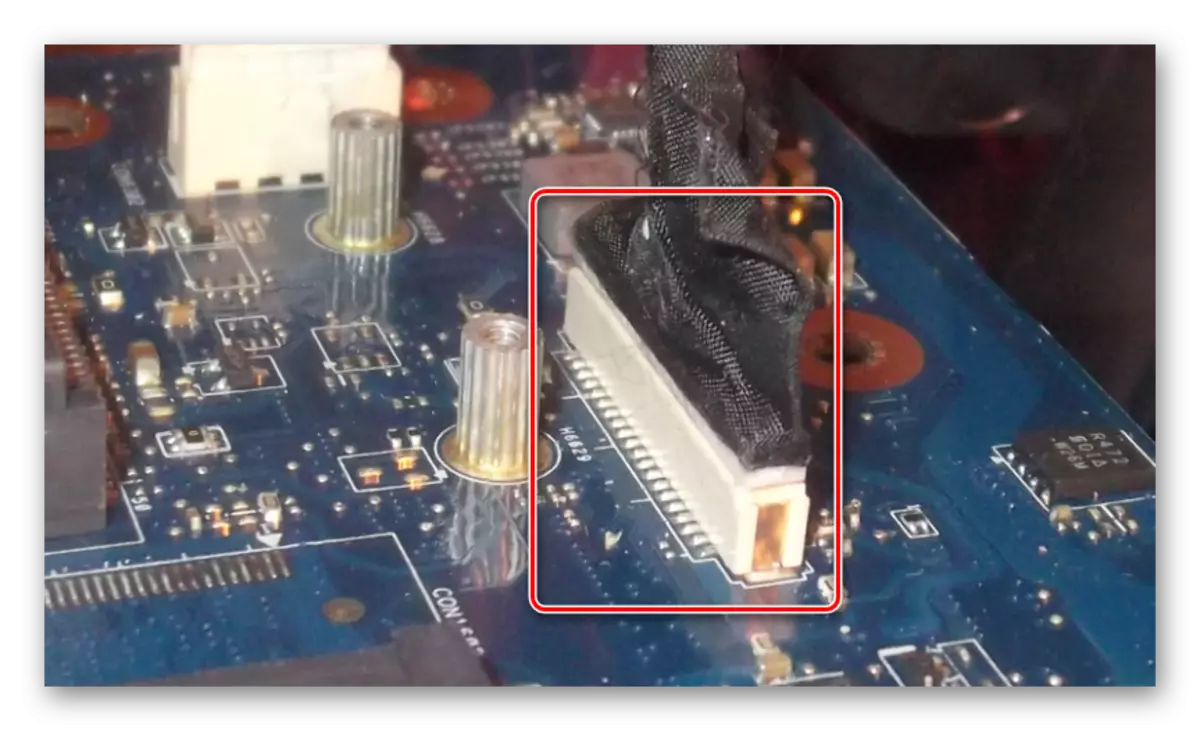
- To remove the maternity, disconnect the latest available loop from the board with sound connectors and additional USB ports.
- Inspect your motherboard and delete all restraining screws.
- From the side of the optical drive, we gently pull the motherboard, at the same time slightly raising it above the case. Strong pressure should not be applied, as the remaining contacts may suffer because of this.
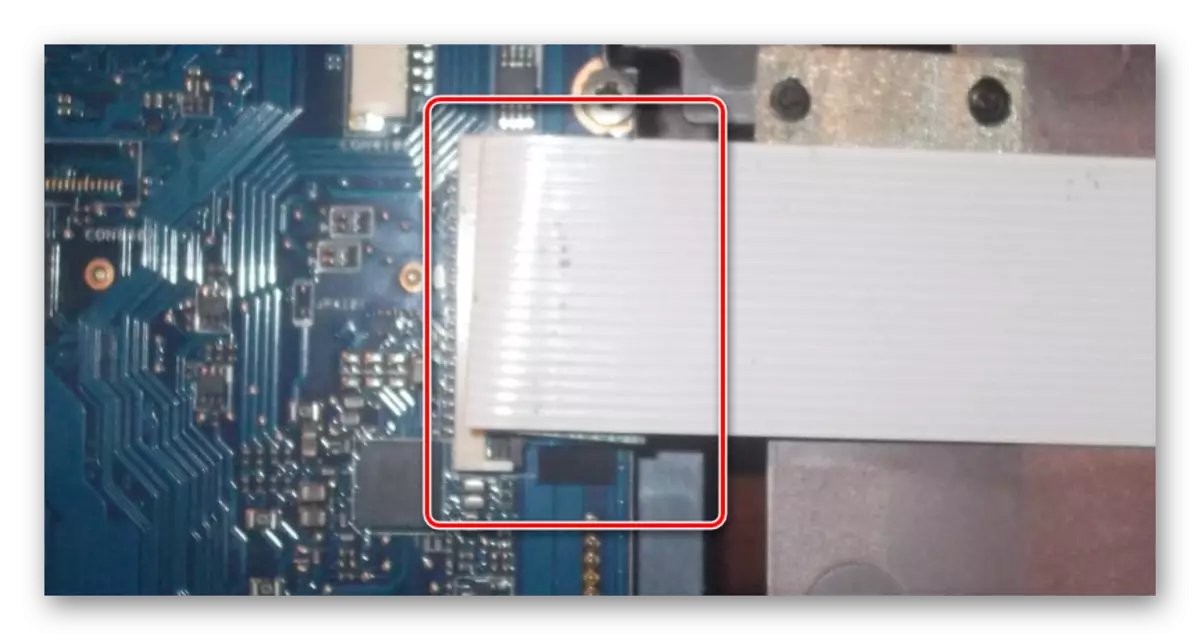
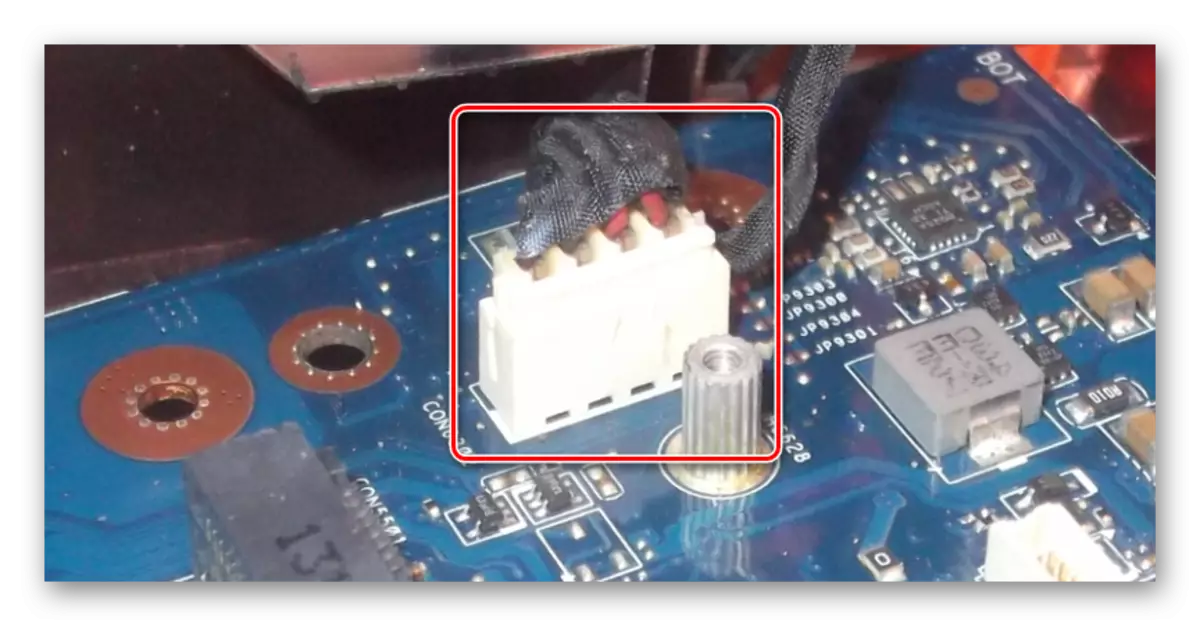
- On the reverse side, turn off the wide loop connecting the motherboard and the matrix.
- In addition to the cable from the screen, turn off the wire from the built-in power supply unit.
- If you need to remove and disassemble the matrix, you can one of our instructions.

Read more: How to replace the matrix on a laptop
After the actions of the actions have done, the laptop will be completely disassembled and ready, for example, to replace the processor or thorough cleaning. You can collect it in the same manual in the reverse order.
See also: How to replace the processor on a laptop
Conclusion
We hope that the information provided helped you with the understanding of the laptop device from Packard Bell. In the event of additional issues on the process, you can contact us in the comments.