
Almost all Brother's printer models and MFP are equipped with a special built-in mechanism that keeps accounting printed pages and blocks the supply of paint after its alleged end. Sometimes users, locating a cartridge, face a problem at which the toner has not been detected or a notification appears asking for its replacement. In this case, to continue printing, you need to reset the paint counter. Today we will tell about how to do it yourself.
Drop the BROTHER printer toner counter
The instructions below will be optimal for most brother printing models, since they all have a similar design and are quite often equipped with a TN-1075 cartridge. We will look at two ways. The first will suit users of MFP and printers with a built-in screen, and the second is universal.Method 1: Toner Software Reset
Developers create additional service functions for their equipment. Among them is the paint relief tool. It starts only through the built-in display, therefore it is not suitable for all users. If you are the lucky holder of the device with the screen, follow these steps:
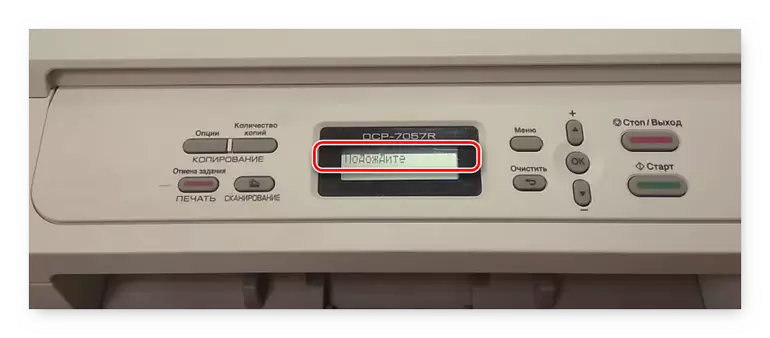
- Turn on the multifunctional device and expect when it is ready to work. During the display of the inscription "Wait" should not be pressed.
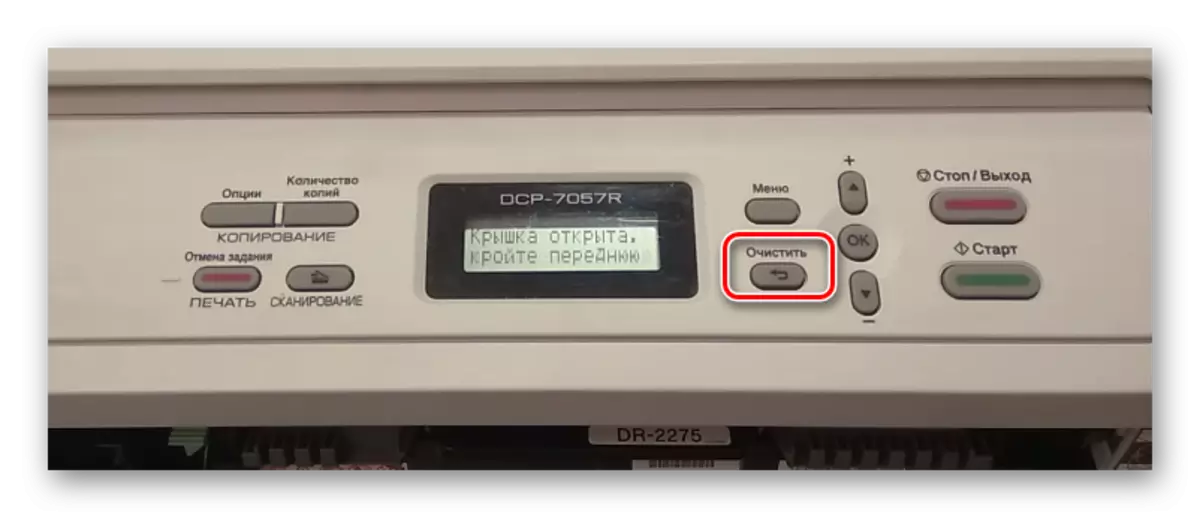
- Next, open the side cover and click on the "Clear" button.
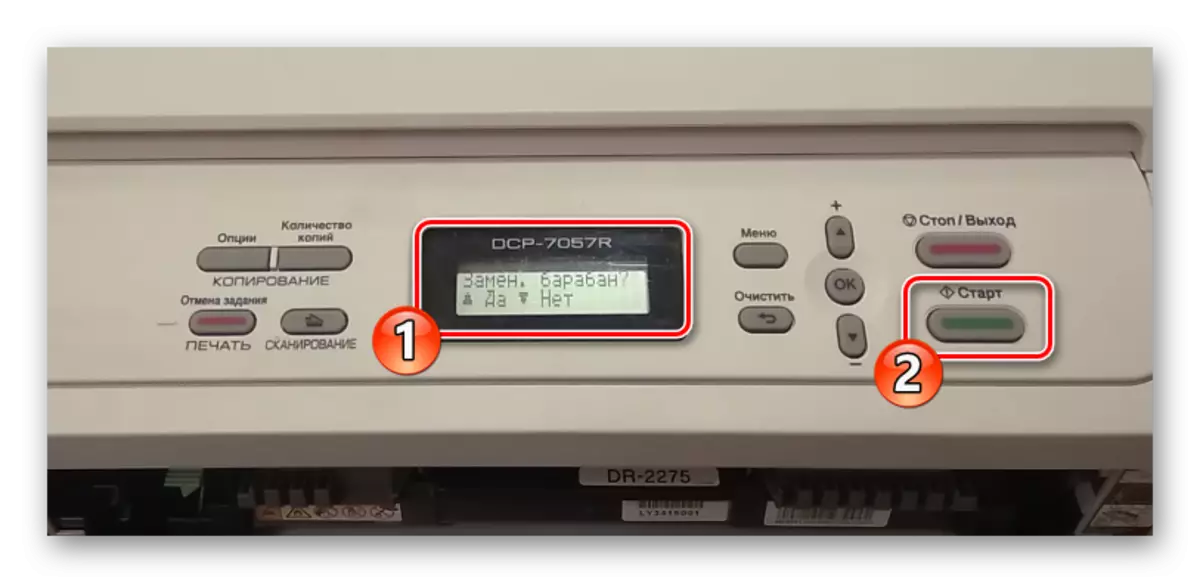
- On the screen you will see a question about replacing the drum to run the process click on "Start".
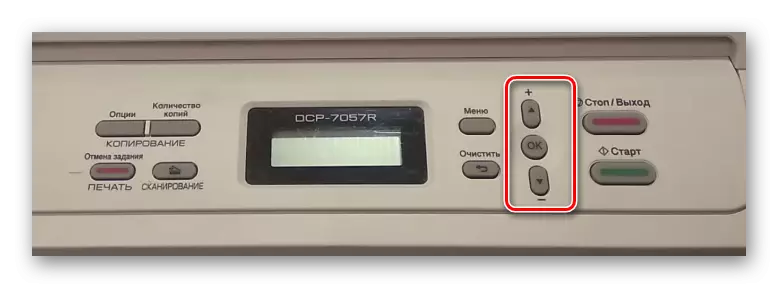
- After the inscription "Wait" is missing from the screen, press the up and down arrows several times to the number 00. Confirm the action by clicking on OK.
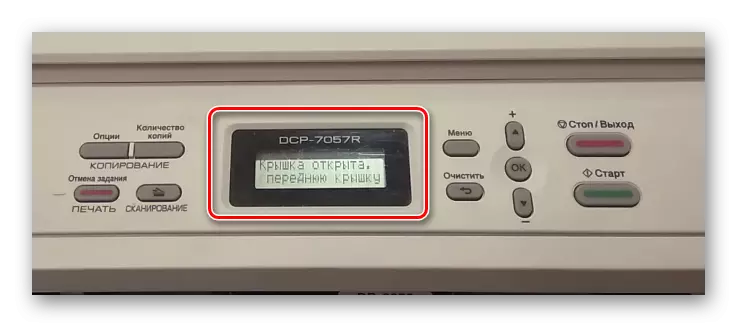
- Close the side cover if the appropriate inscription appeared on the screen.
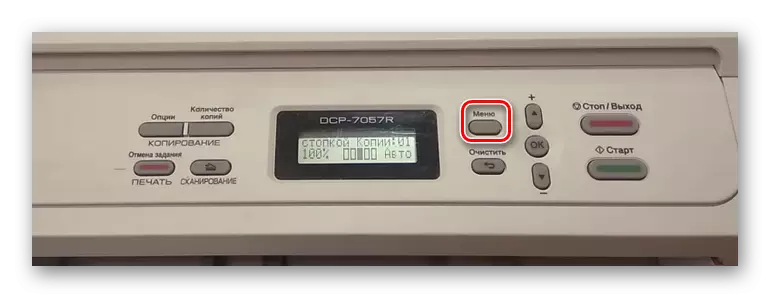
- Now you can go to the menu, move around it using the arrows to familiarize yourself with the status of the counter at the moment. If the operation has been successful, its value will be 100%.
As you can see, zeroing paint through the software component is an easy thing. However, not everyone has a built-in screen, besides, this method is not always effective. Therefore, we recommend paying attention to the second option.
Method 2: Manual Reset
The Brother cartridge has a discharge sensor. It is required to activate manually, then a successful update will occur. To do this, you need to independently extract components and perform other actions. The whole procedure is as follows:
- Turn on the printer, but do not connect to the computer. Be sure to remove the paper if it is installed.
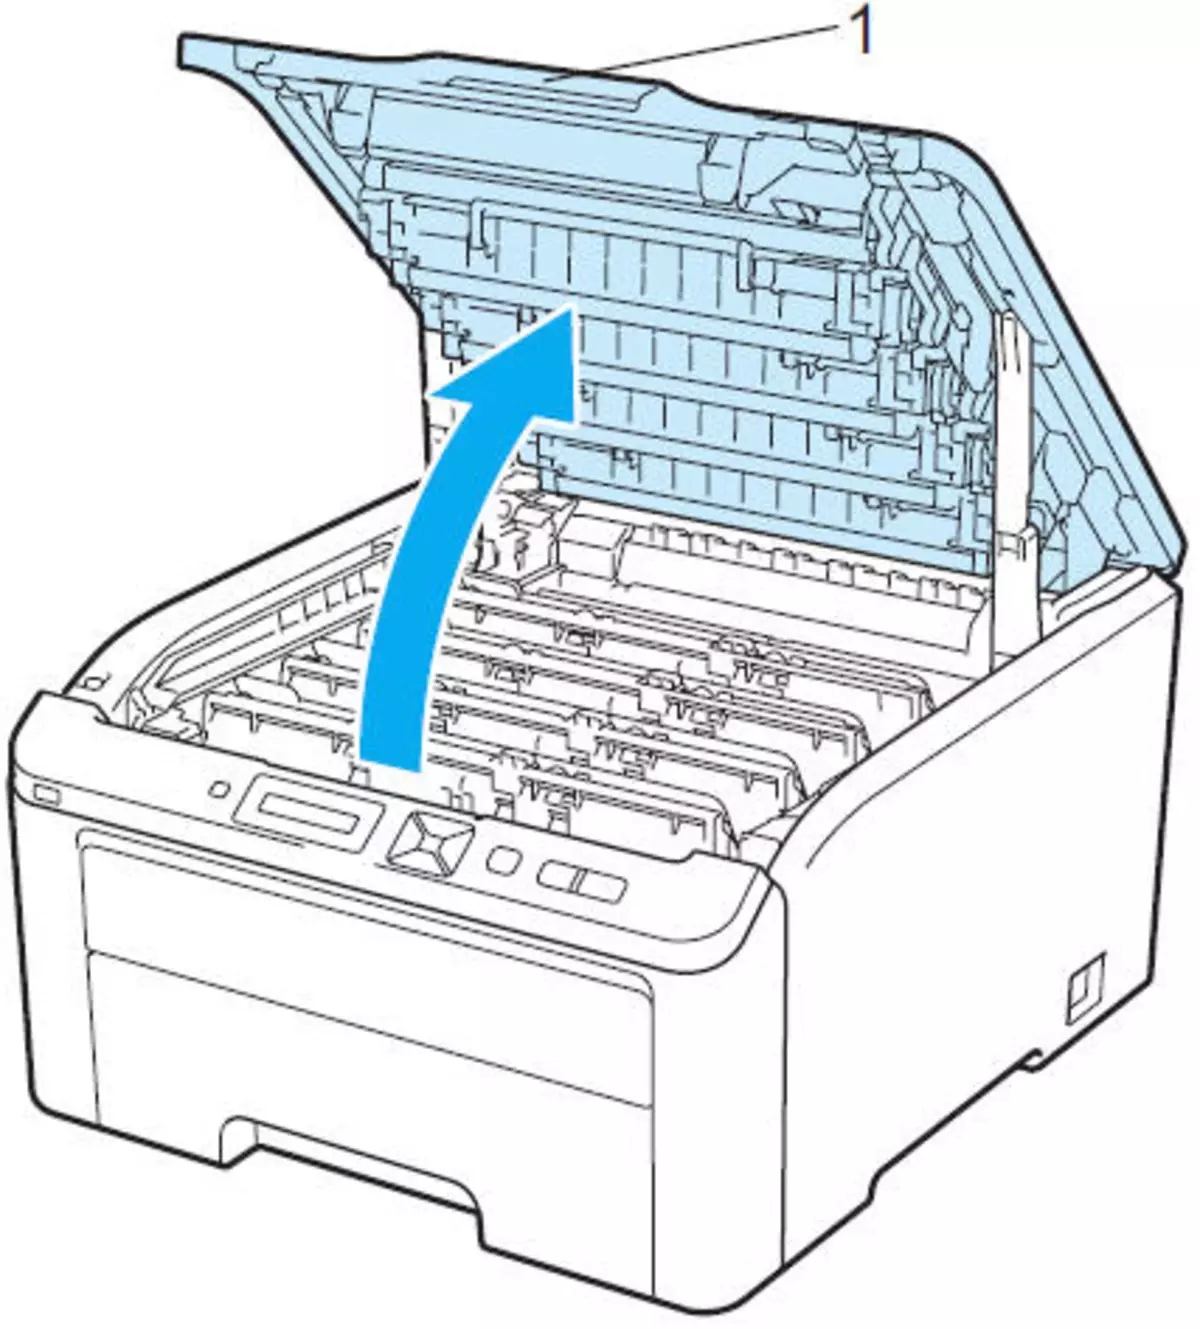
- Open the top or side cover to access the cartridge. Do this action, taking into account the design features of your model.
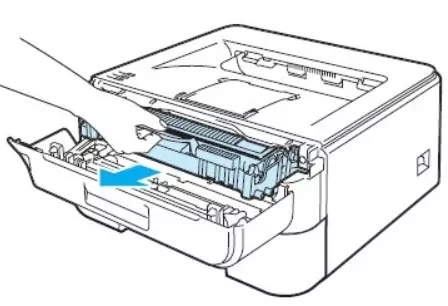
- Remove the cartridge from the equipment by pulling it on yourself.
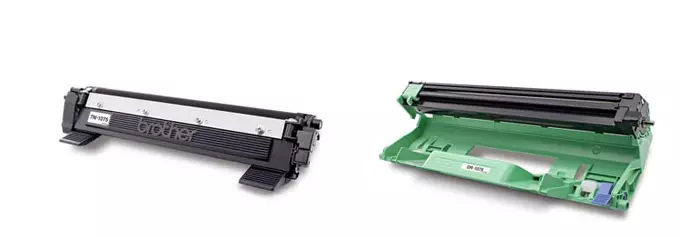
- Disconnect the cartridge and drum part. This process is intuitively understood, you only need to remove the latches.
- Insert the drum part back to the device as it was installed earlier.
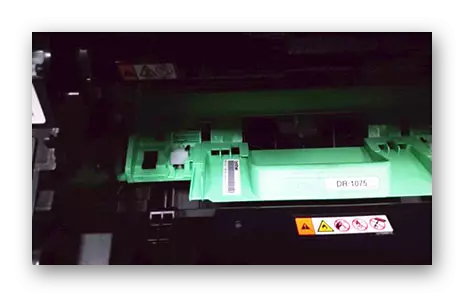
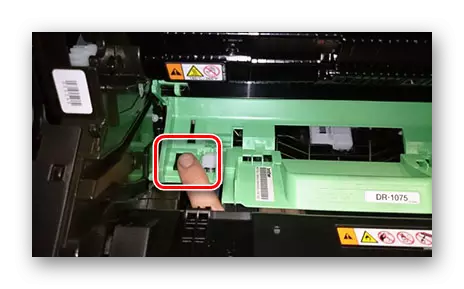
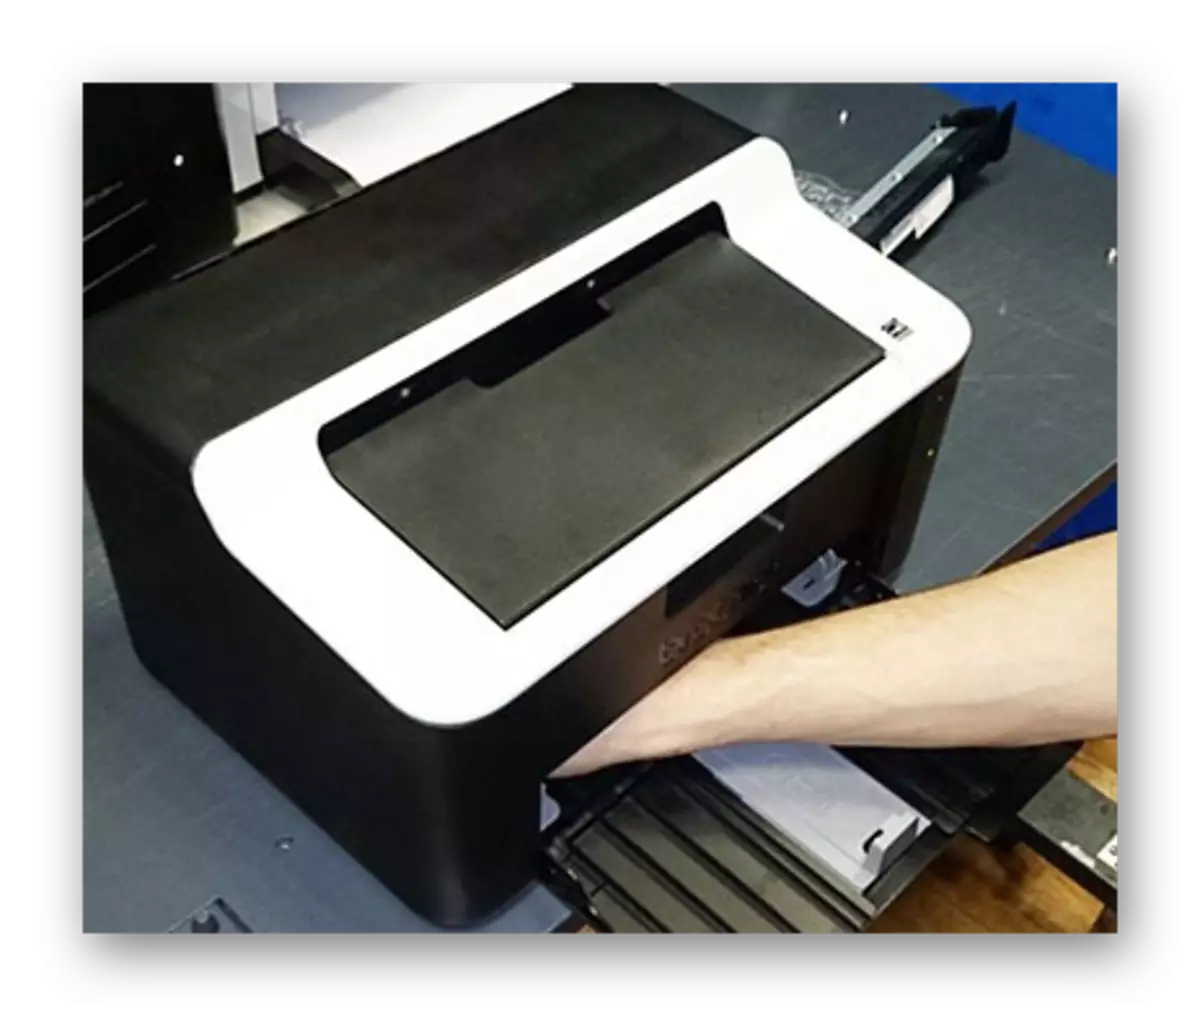
- The zero sensor will be located on the left side inside the printer. You need to cover your hand through the paper feed tray and click on this sensor.
- Hold it and close the lid. Expect the start of the machine's mechanisms. After that, release the sensor for a second and press again. Keep as long as the engine does not stop.
- It remains only to mount the cartridge back into the drum part and you can proceed to print.
If, after resetting in two ways, you still receive a notification that the toner is not detected or paint is over, we recommend checking the cartridge. If necessary, it should be fed. It is possible to do this at home using instructions attached to the device, or contact the service center.
We dismantled two available methods for zeroing the toner counter on Brother's printers and MFP. It should be borne in mind that some models have a non-standard design and use other format cartridges. In this case, the best solution will take advantage of the services of service centers, since physical intervention in the components can provoke malfunctions in the device.
See also:
Solving a problem with paper stuck in the printer
Solving paper capture problems on the printer
Proper Calibration of Printer