
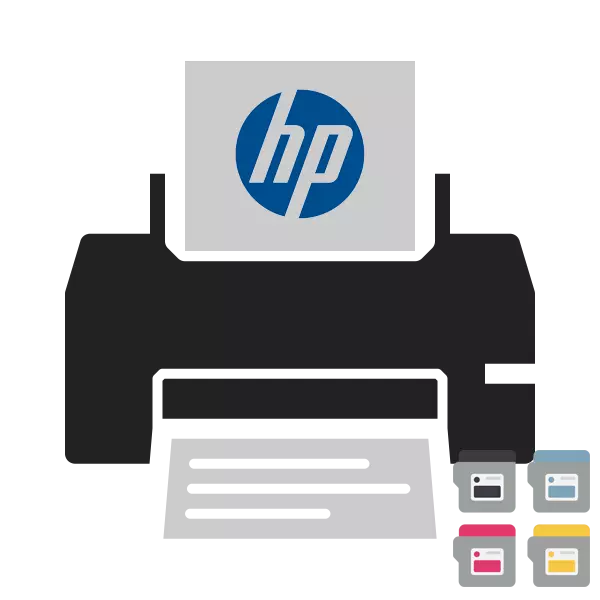
Ink cartridges in most HP printer models are removable and even sold separately. Almost every manufacturer of printing equipment faces the situation when it is required to insert a cartridge. Inexperienced users often have issues related to this process. Today we will try to tell the most detail about this procedure.
Insert the cartridge to the hp printer
The task of installing the inkwell does not cause problems, however, due to the different buildings of HP products, certain difficulties may occur. We will take for an example of the Deskjet series model, and you, based on the design features of your device, repeat the instructions below.Step 1: Paper Installation
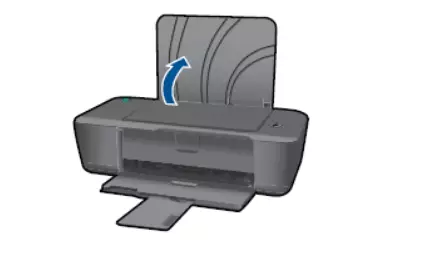
In their official guides, the manufacturer recommends first to fix the paper, and then go to the installation of the inkwell. Thanks to this, you can immediately perform cartridge alignment and proceed to print. Let's briefly consider how this is done:
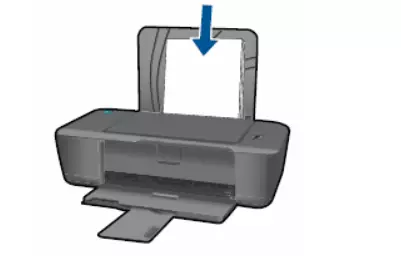
- Open the top cover.
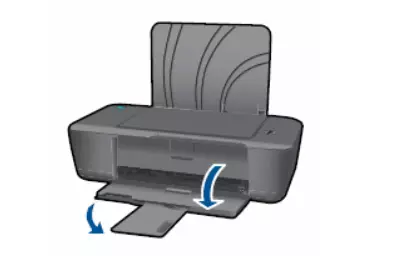
- Do the same with the receiving tray.
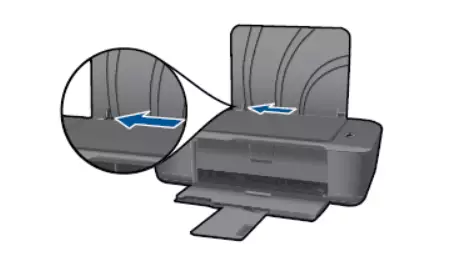
- Move the top mount that is responsible for the paper width.
- Load a small pack of pure sheets A4 into the tray.
- Fasten its guide width, but not much so that the exciting movie can freely take the paper.
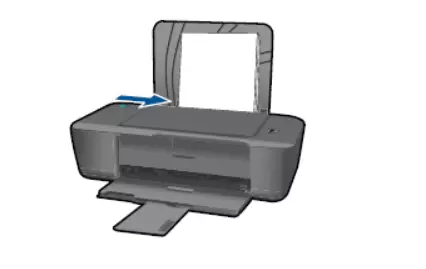
On this, the paper loading procedure is over, you can insert a container and make it calibration.
Step 2: Mounting Inkwell
If you are going to acquire a new cartridge, be sure to make sure that its format is supported by your equipment. The list of compatible models is in the instructions for the printer or on its official page on the HP website. When contacting contacts, the inkwell will not be detected. Now that you have a suitable component, follow these steps:
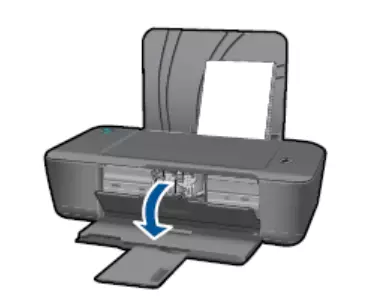
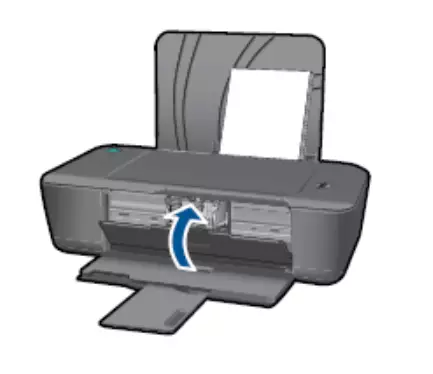
- Open the sidebar to access the holder.
- Gently press the old cartridge to remove it.
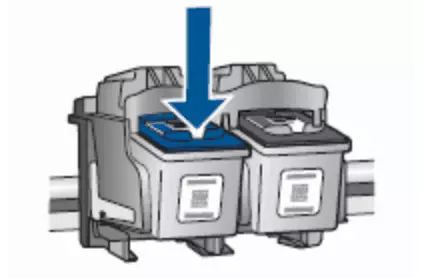
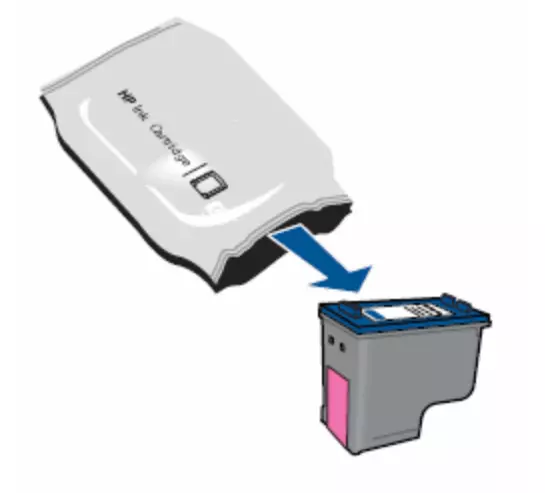
- Remove the new component from the package.
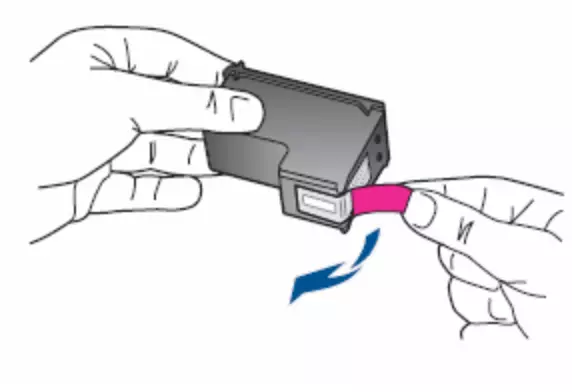
- Remove the protective film with nozzles and contacts.
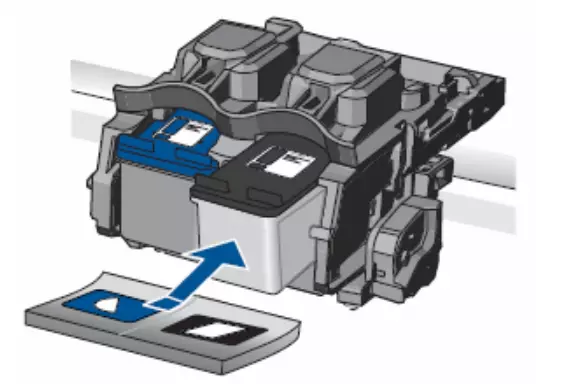
- Install the inkwell in your place. About what happened, you will learn when the appropriate click.
- Repeat these steps with all other cartridges, if necessary, then close the sidebar.
This setting the components is made. It remains only to make calibration, after which you can go to the printing of documents.
Step 3: Cartridge Alignment
Upon completion of the installation of new ink, the equipment does not immediately recognize them, sometimes it cannot even determine the correct color, therefore it is necessary to align. This is done by the firmware built into software:
- Connect the device to the computer and turn it on.
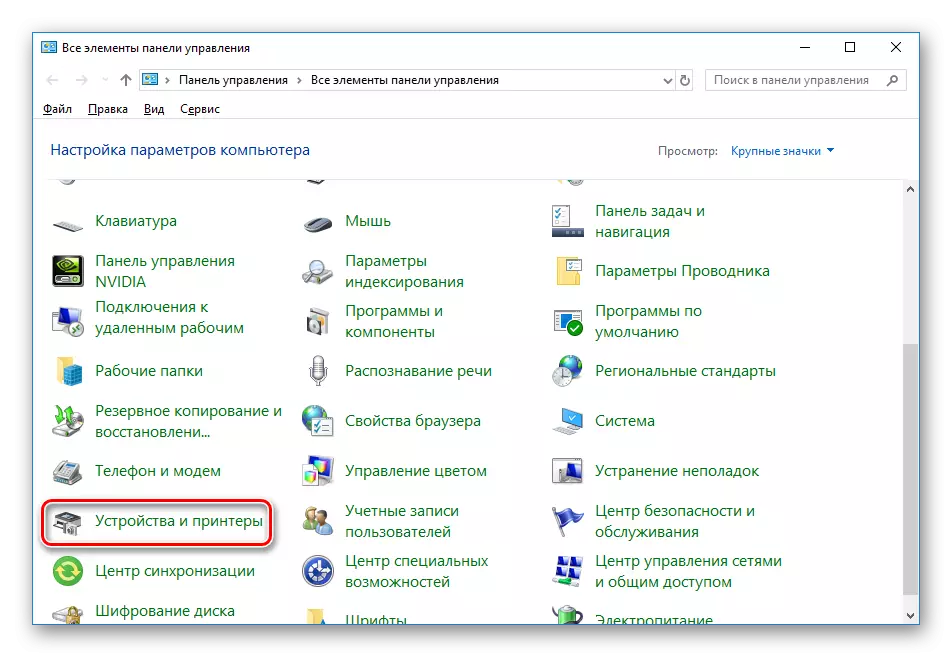
- Go to "Control Panel" through the Start menu.
- Open the category "Devices and Printers".
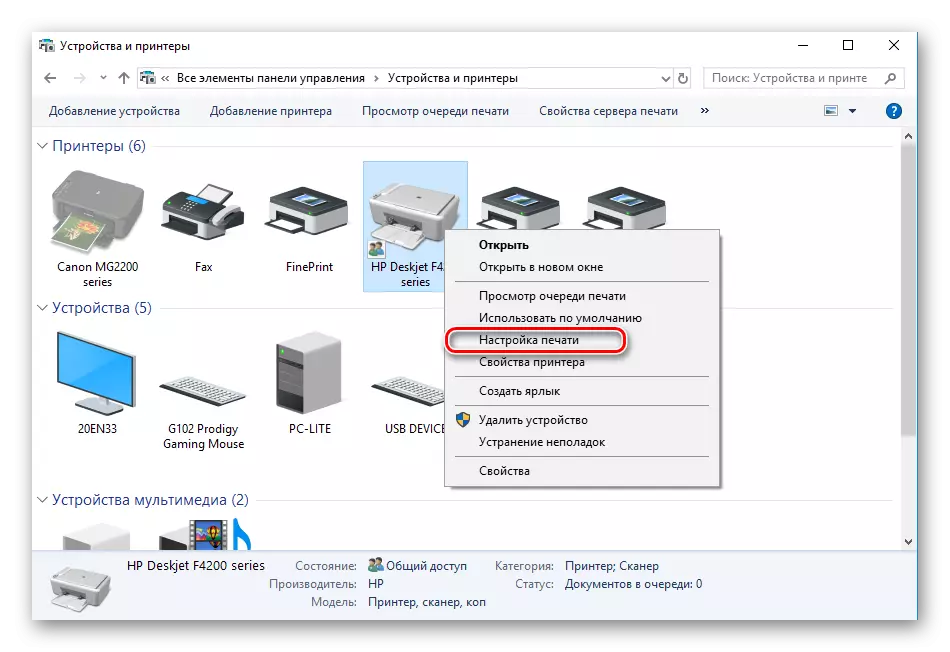
- Right-click on your printer and select "Print Setup".
Read more:
How to connect a printer to a computer
Connecting a printer via Wi-Fi Router

In the case when your device is not displayed in the list, you should add it yourself. You can do this in different ways. Meet them more detail in the other article by reference below.
Follow the instructions that will be shown in the leveling wizard. After completing you enough to reconnect the printer and you can go to work.
With the Cartridge Setting Procedure, even an inexperienced user who does not have additional knowledge or skills will cope with the printer. Above you were familiar with the detailed manual on this topic. We hope our article helped you easily fulfill the task.
See also:
HP printer head cleansing
Printer Cleaning Printer Cartridge