
Starting with Windows 7 and later versions of this operating system, users of personal computers began to face a rather interesting situation. Sometimes after the installation process, reinstall or update, the OS is automatically created and starts displayed in the conductor a new hard disk section of no more than 500 MB, which is called "reserved by the system". This volume stores service information, and if more specifically, the Windows bootloader, the default system configuration and file encryption data on the hard drive. Naturally, any user can wonder: is it possible to remove such a section and how to implement it in practice?
We remove the section "Reserved by the System" in Windows 7
In principle, the very fact of availability on a computer with Windows section of the Winchester reserved by the system does not represent a special danger or inconvenience for an experienced user. If you are not going to enter this volume and make any careless manipulations with system files, then this disc can be calmly left. Its complete removal is associated with the need to transfer data with the help of specialized software and can lead to absolute inoperability windows. The most reasonable exit for a regular user is to hide the section reserved OS from the conductor, and with the new installation OS make several simple actions that impede its creation.Method 1: Hide partition
First, let's try to disable the display of the selected partition of the hard disk in the standard Explorer operating system and other file managers. If you wish or need, such an operation can be made with any desired volume of the Winchester. Everything is very clear and easy.
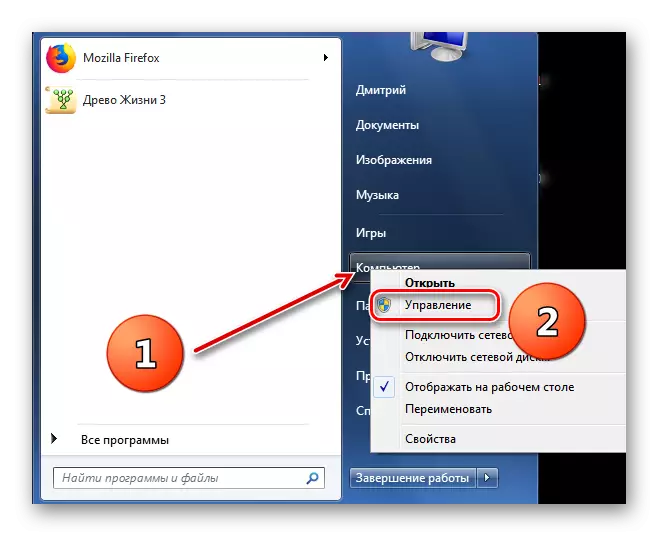
- Click on the Start service button and on the tab that you click right-click on the "Computer" row. In the drop-down menu, select the Count Management.
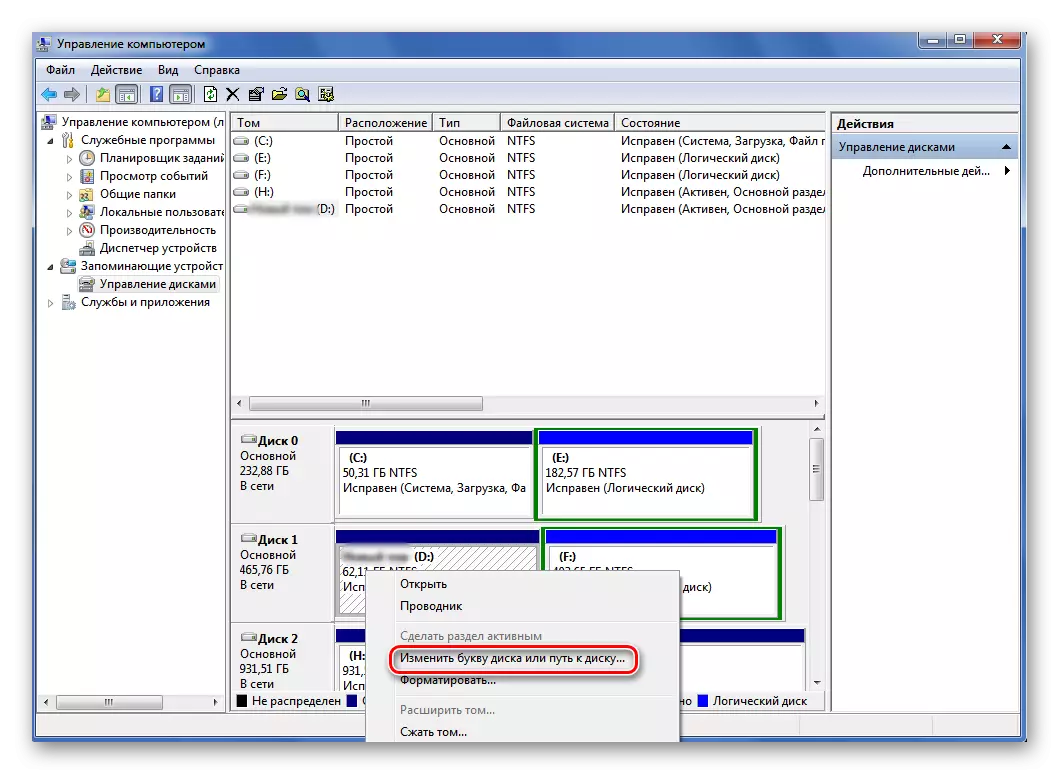
- In the window that appears on the right side, we find the "Disk Management" parameter and open it. Here we will produce all the necessary changes in the section display mode reserved by the system.
- Click on the PCM on the icon of the selected partition and go to the "Change the drive letter or path to the disk" parameter.
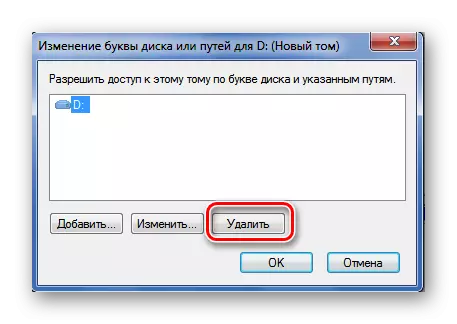
- In a new window, we allocate the disconnecting of the disk and click the LKM to the "Delete" icon.
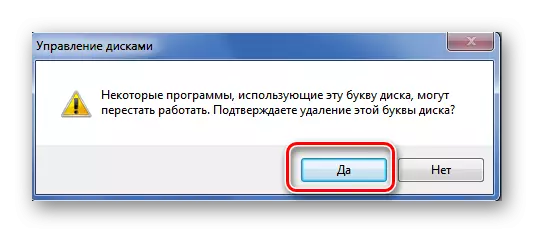
- I confirm the purification and seriousness of our intentions. If necessary, the visibility of this volume can be restored at any convenient moment.
- Ready! The task has been successfully solved. After rebooting the system, the reserved service partition will become invisible in the conductor. Now computer security at the proper level.

Method 2: Preventing the section Creation when installing OS
And now we will try to make the disk completely unnecessary to us, when installing Windows 7. Pay special attention that such manipulations when installing the operating system cannot be carried out if you have valuable information in several sections of the hard drive. After all, in the end, only one system of hard disk will be created. The remaining data will be lost, so they need to be copied to backup media.
- We proceed to install Windows as usual. After copying the installer files, but before the selection page of the future system disk, click the SHIFT + F10 key combination on the keyboard and open the command line. Enter the DiskPart command and click on ENTER.
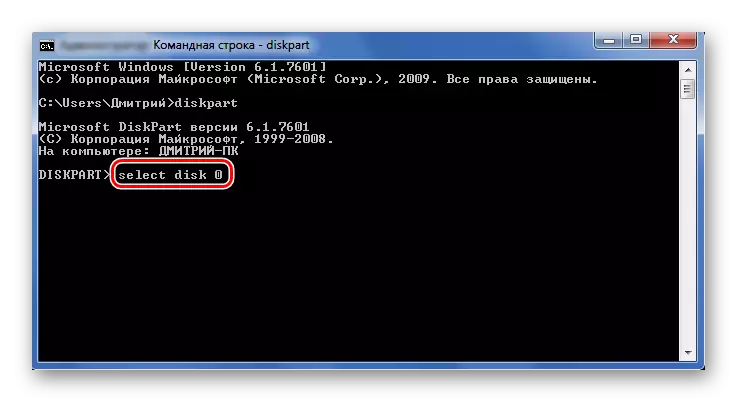
- Then you type in the SELECT DISK 0 command prompt and also launch the execution of the command input key. There should be an inscription that the disc is selected 0.
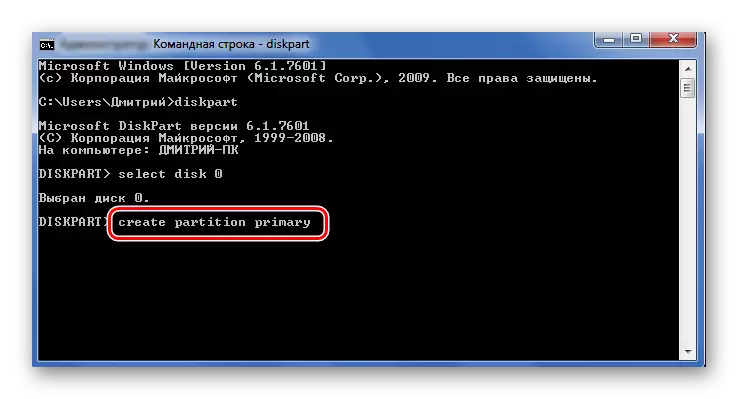
- Now we write the latest command of the Create Partition Primary and click on ENTER again, that is, we create a system of hard disk.
- Then close the command console and continue the installation of Windows into the only section. After the installation of the OS installation, we will not see the section called "reserved by the system" on their own computer.

As we installed, the problem of the presence of a small partition reserved by the operating system is quite possible to solve even the novice user. The main thing is to approach any actions very carefully. If you doubt anything, it is better to leave everything as it was before a thorough study of theoretical information. And ask us questions in the comments. Pleasant pastime monitor screen!
READ ALSO: Restoring the MBR boot record in Windows 7