While working with a computer, its involuntary reboot is possible, the issuance of the BSOD or, on the contrary, a long-lasting hang, from which it cannot be displayed even by pressing the "Reset" button on the case. Especially often this situation occurs when the resource-intensive tasks are fulfilled. If you open the "event log", it may turn out that this failure is accompanied by an error with the name "Kernel-Power code: 41". Let's learn what exactly caused by this kind of fault and how they can be eliminated on computer devices running Windows 7.
Causes of malfunction and ways to eliminate
Most often, our problem is related to the hardware component, but in some cases it can be caused by the incorrect installation of drivers. The direct cause of the problem is the loss of nutrition, but it can cause a rather extensive list of diverse factors:
- Malfunctions in the operation of the power supply (BP) or the inconsistency of its power supplied tasks;
- Interruptions in the operation of the power supply network;
- Problems in the functioning of RAM;
- PC overheating;
- Execution of the acceleration of the system;
- Problems in the work of UPS;
- Incorrect installation of drivers (most often a network card);
- Viral infection;
- Side effect of antivirus programs;
- The use of two or more audiocarts simultaneously;
- The irrelevant version of the BIOS.

But before proceeding to the description of the most actual ways to solve the problem under study, it is necessary to find out if the cause of the failure is the error "Kernel-Power code: 41".
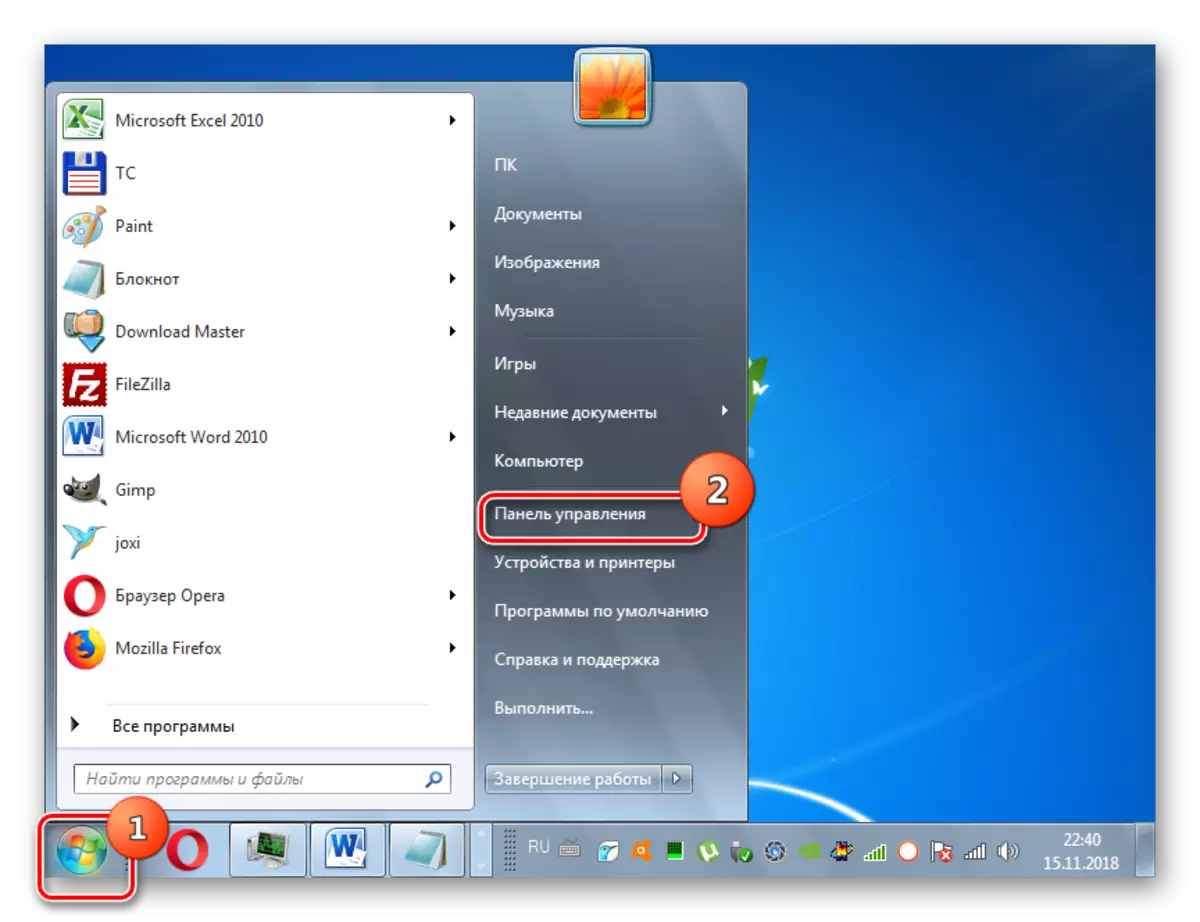
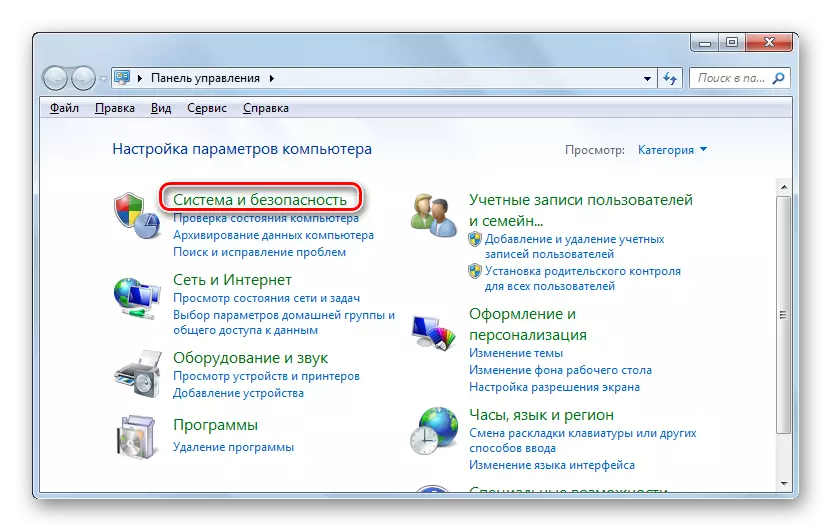
- Click "Start" and click "Control Panel".
- Go to "System and Security".
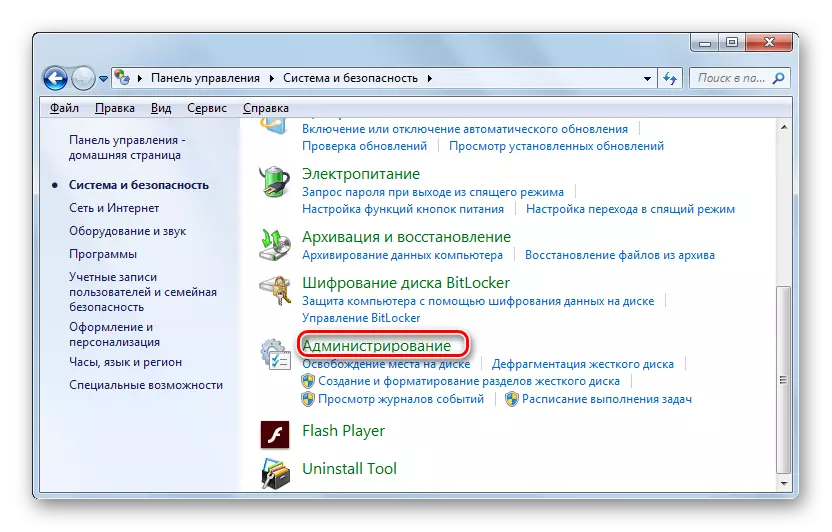
- Click Administration.
- In the displayed list, find the "view of events" and click on it.
- On the left side of the opened interface, go to "Windows Logs".
- Next click "System".
- A list of events will open, including various errors that are marked with an icon in the form of a cross. Lay the event in the list, which corresponds to approximately the time when the failure was observed. If, in front of it in the "Source" column, the Kernel-Power value is indicated, and the "event code" column is the number 41, then the recommendations described below can help you eliminate this malfunction.


Most often, users finding the error described by us, as it is directly related to the power supply, hurry to change the BP. But as practice shows, it helps only 40% of cases. So before resorting to such a fundamental option, try to apply the methods described below.
To immediately cut off the possibility of a version with a viral infection, be sure to check the computer with an antivirus utility.
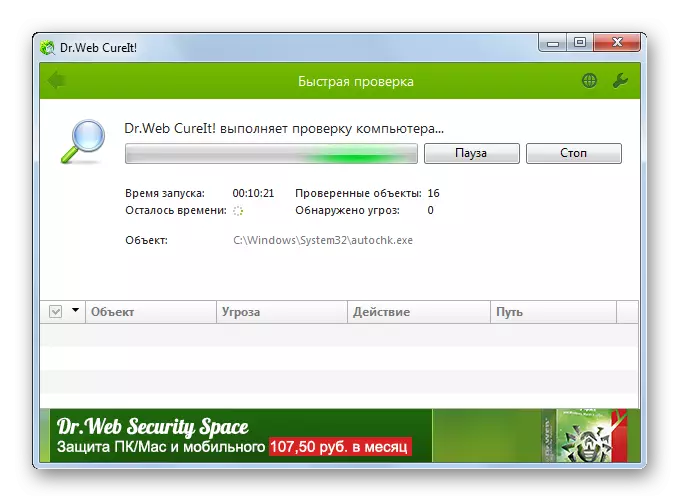
Lesson: Check the computer for viruses without installing antivirus
If the infection was not detected, temporarily disconnect the antivirus on the computer, run the resource task (for example, the game) and make sure that there will be a failure. If the system works fine, you should either adjust the settings of the antivirus, or it is generally replaced with analogue.
Lesson: how to turn off the antivirus
It will also not be prevented to check for the integrity of system files.

Lesson: Checking the integrity of system files in Windows 7
Next, we will consider more specific ways to solve the problem that most often help in the event of a learned error.
Method 1: Driver Update
Sometimes the specified problem may be caused by installing outdated or incorrect drivers, most often related to the network card. In most cases, this factor provoke an error when starting the resource-in-time online games.
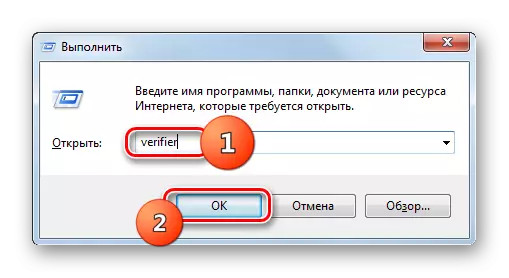
- First of all, you need to reveal exactly what the driver will fail. If the problem is not accompanied by the BSOD output on the screen, then it is necessary to scan the OS on the correctness of the installed drivers. Type Win + R and enter such a command to the window that opened:
verifier
Then click "OK".
- In the system tool interface, activate the radio button opposite the position "Create non-standard parameters ..." and click "Next".
- In the next window that opens, set the "Select individual parameters ..." mark and click Next.
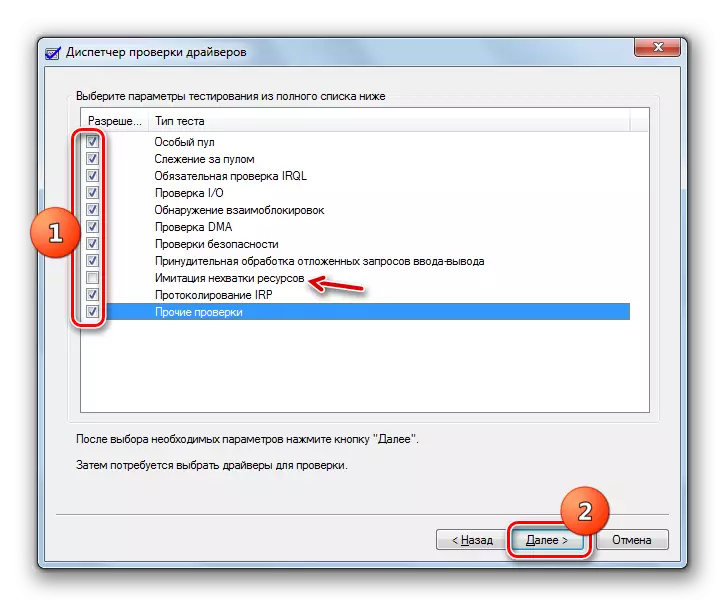
- Put the checkboxes in all checkboxes of the opened window, excluding the item "Imitation of the lack of resources" and click "Next".
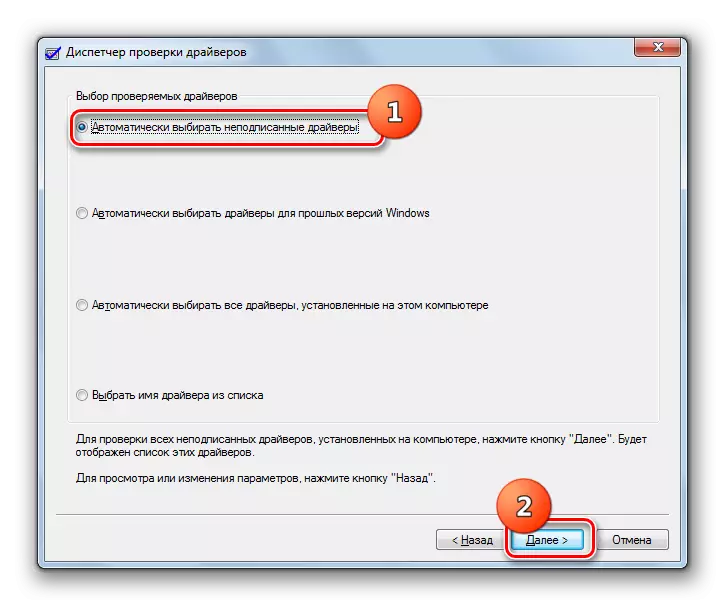
- In a new window, activate the radio button opposite the very first item from above and click "Next".
- Then you should restart the computer. After re-enabled it will be checked. If there are problems with drivers, a BSOD is displayed on the screen with an error code and the name of the associated file. You need to write this data and search for information on the Internet. Thus, you will learn the driver of which equipment will face and be able to reinstall it or complete deletion.
Attention! In some cases, after displaying the BSOD screen, you may encounter the problem of the impossibility of the subsequent launch of the system. Then it will be necessary to produce the procedure for its recovery, and only then reinstall or delete a failure driver.
Lesson: how to restore Windows 7
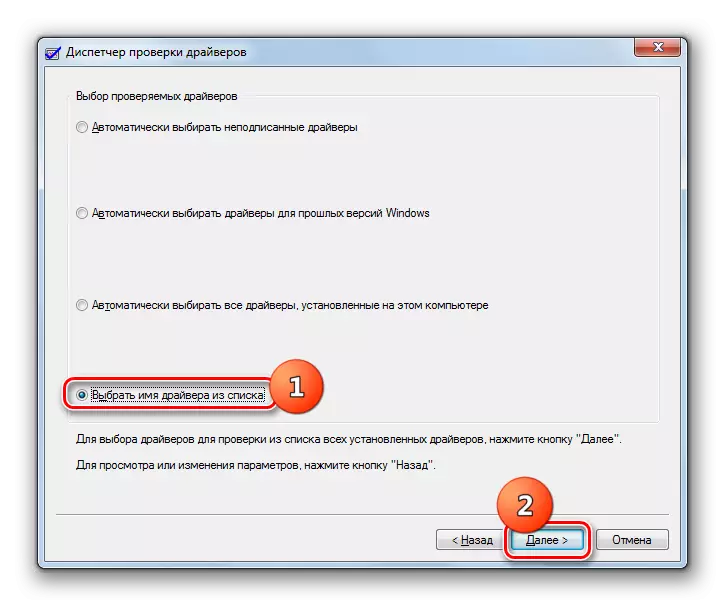
- If the specified method did not lead to the display of the error on the screen, you can perform an additional check. To do this, in the Utility driver selection window, instead of an automatic option option, set the radio button to "select the driver name from the list". Then click "Next".
- After the driver information is downloaded, their list will open. Tick all the items in which the suppliers are not specified by Microsoft Corporation, and the other company. After doing this, click on the "Finish" button.
- After that, restart the PC and read the information in the BSOD window, if it appears, as in the previous case described.
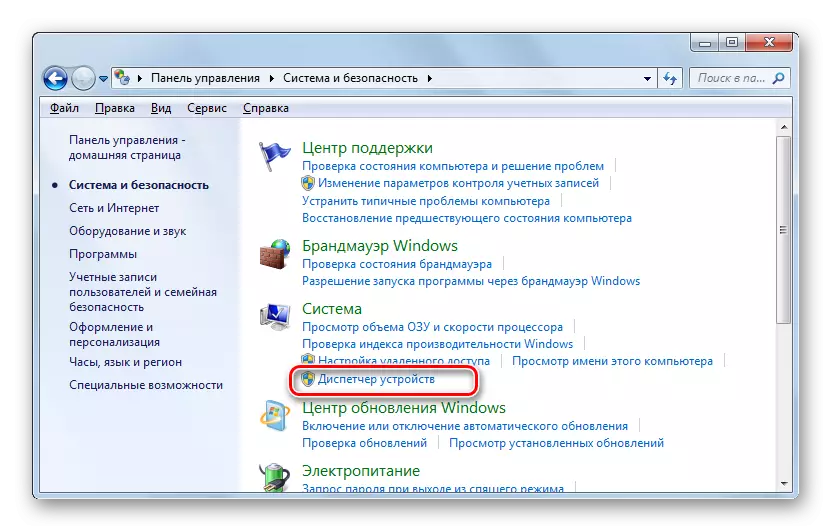
- After you managed to identify the failing driver, it should be reinstalled or deleted. But before you need to go to the official website of the equipment manufacturer and download the actual version of the driver from it to the computer. Immediately deleting or reinstalling can be made via "Device Manager". To do this, open the "System and Safety" section in the control panel. Click Device Manager.
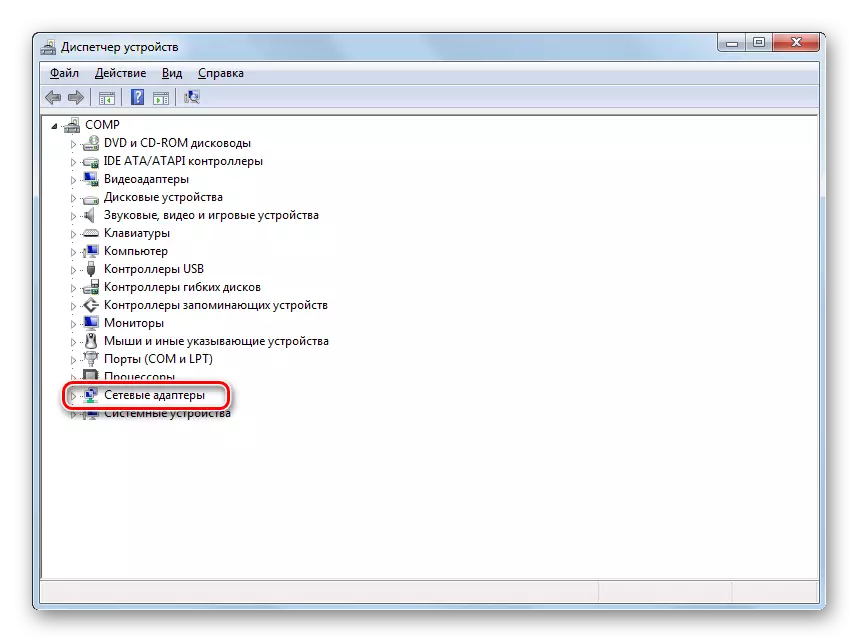
- In the displayed "Manager" interface, click on the name of the group of equipment to which the device with a failing driver belongs.
- In the list of devices, find the faulting equipment and click on its name.
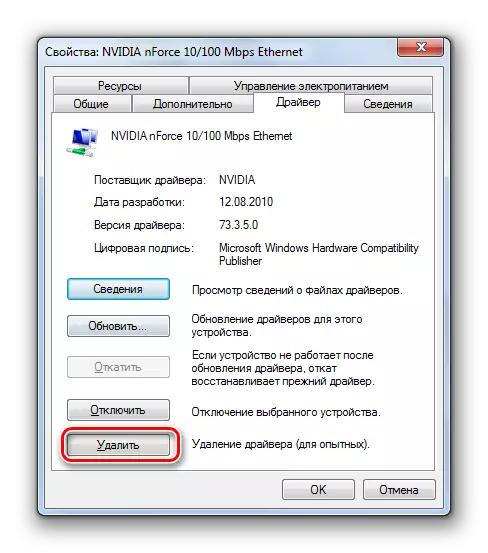
- Then in the window that opens, move to the "Driver" section.
- Next click "Delete".
- In the appeared window, put the mark on the contrary "Delete programs ..." and click "OK".
- Next, run the installers downloaded in advance from the official web resource and follow the tips displayed on the monitor. After completing the installation, restart the computer. Now failures in the functioning of the PC should not be. But if they are still resumed, you will have two outputs: either to accept a similar situation, or completely remove the driver without reinstallation and refuse to use this equipment.
Method 2: Verification of "RAM"
If the previous method did not reveal the problems, it is likely that it lies in the hardware component of the PC. For example, in the operational memory failures. Then it is necessary to check the RAM for errors. To do this, you can use specialized programs, such as Memtest86 +, or the built-in Windows 7 functionality. If you have several RAM directs, leave only one module before checking, and all the others are disconnected. Check each module separately to understand what exactly the problem lies.
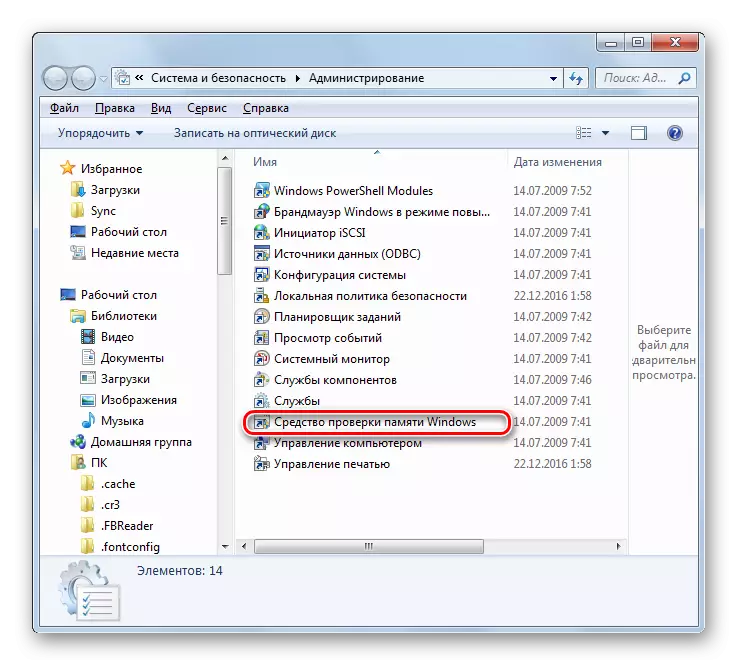
- In order to test RAM built-in Windows 7, go to "Administration" section in the control panel. A detailed transition algorithm was described when considering the method 1. Then click the name "Memory Checking Tool ...".
- A small window will open, where two options will be prompted: to restart the PC right now or scan already after the computer shutdown is shutdown when you complete with it. If you select the first option, before clicking on the appropriate paragraph, be sure to close all active applications and open documents in order to prevent the loss of unsaved information.
- After restarting the PC, the connected RAM module will be analyzed and the test results will be displayed on the screen. If the check detects a failed bar, it is necessary to stop using it, and even better make a replacement for a new operational RAM module.
Lessons:
Verifying RAM in Windows 7
Replacing RAM

Method 3: Change BIOS settings
Most often, such malfunctions occur with incorrect BIOS settings, especially in case of acceleration of the processor. Naturally, the best solution to such a problem will be resetting BIOS settings to factory or reduction of frequency and / or voltage values issued for overclocking.Read more:
How to reset the BIOS settings
Acceleration of the Intel / AMD processor
Method 4: Elimination of the conflict of two sound cards
Another reason for the problem, rather non-obvious, is the presence of two audio cards in the system: for example, one is built into the motherboard, the other external one. Why this happens to the end is unknown - we can assume that this is the operating system bug.
Method of eliminating the error in this case is obvious - one of the cards should be deleted, and check if the error in question is manifested. If the reason was in the second sound card, but you still need to use it, you can try to set the latest drivers for it.
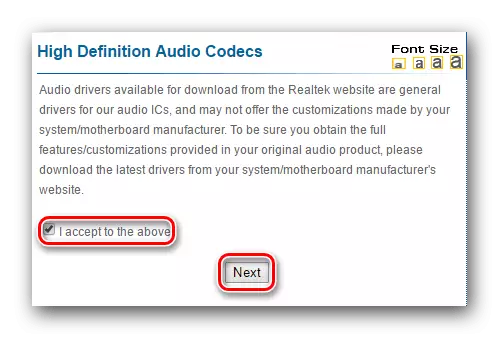
Read more: Installing drivers on a sound card
Error "Kernel-Power Code: 41" in Windows 7 may be caused by a very large list of factors that are difficult to even list everything in one manual. They can have both software and hardware. Therefore, first of all, to solve the problem, it is necessary to establish its cause. In most cases, it can be done by artificially call BSOD and search for information on the Internet based on the data. After identifying the root cause, you can use the appropriate version of the troubleshooting described in this article.