

Sometimes Windows 7 users encounter a system program that increases either the entire screen or a fragment. This application is called "Magnifier" - then we will talk about its features.
Using and configuring "Screen Loupes"
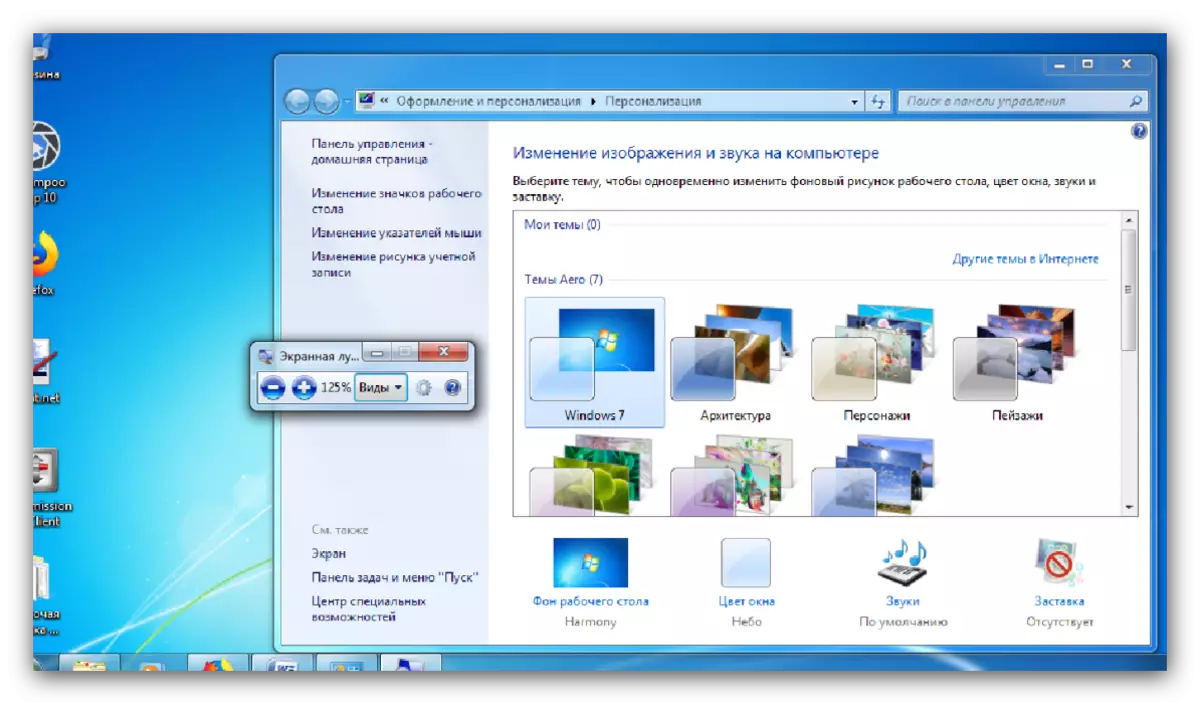
The element in question is a utility initially intended for users with violations of violations, but can be useful and other categories of users - for example, to scale the drawing over the restrictions of the viewer or an increase in the short-screen window without a full-screen mode. We will analyze all stages of the procedure for working with this utility.Step 1: Running the "Magnifier"
You can access the application as follows:
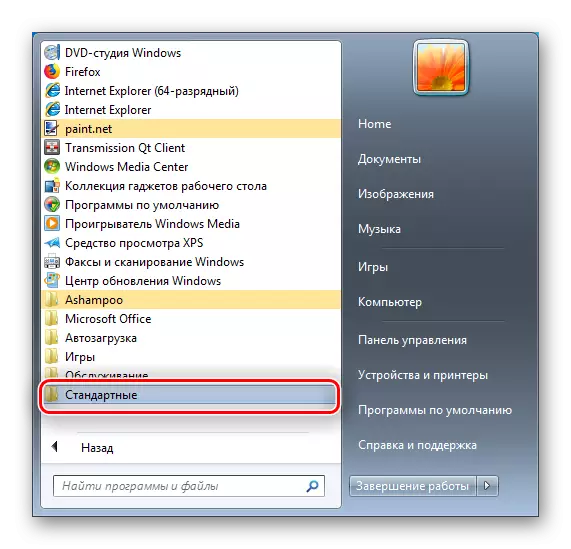
- Through "Start" - "All applications", select the "Standard" directory.
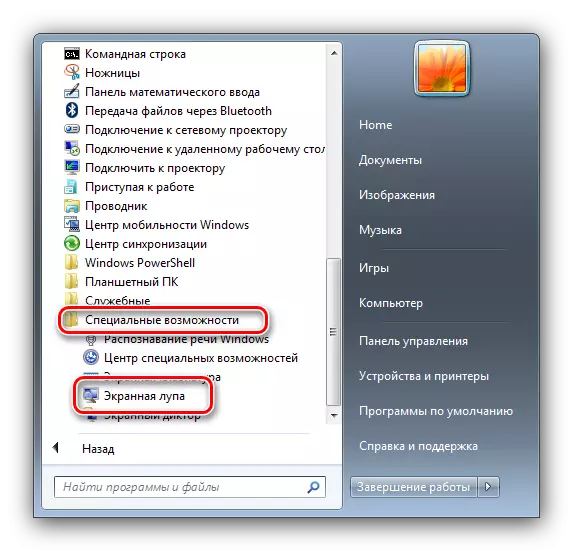
- Open the "Special Features" directory and click on the "Magnifier" position.
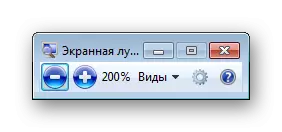
- The utility will open as a small window with control elements.
Step 2: Setting the Opportunities
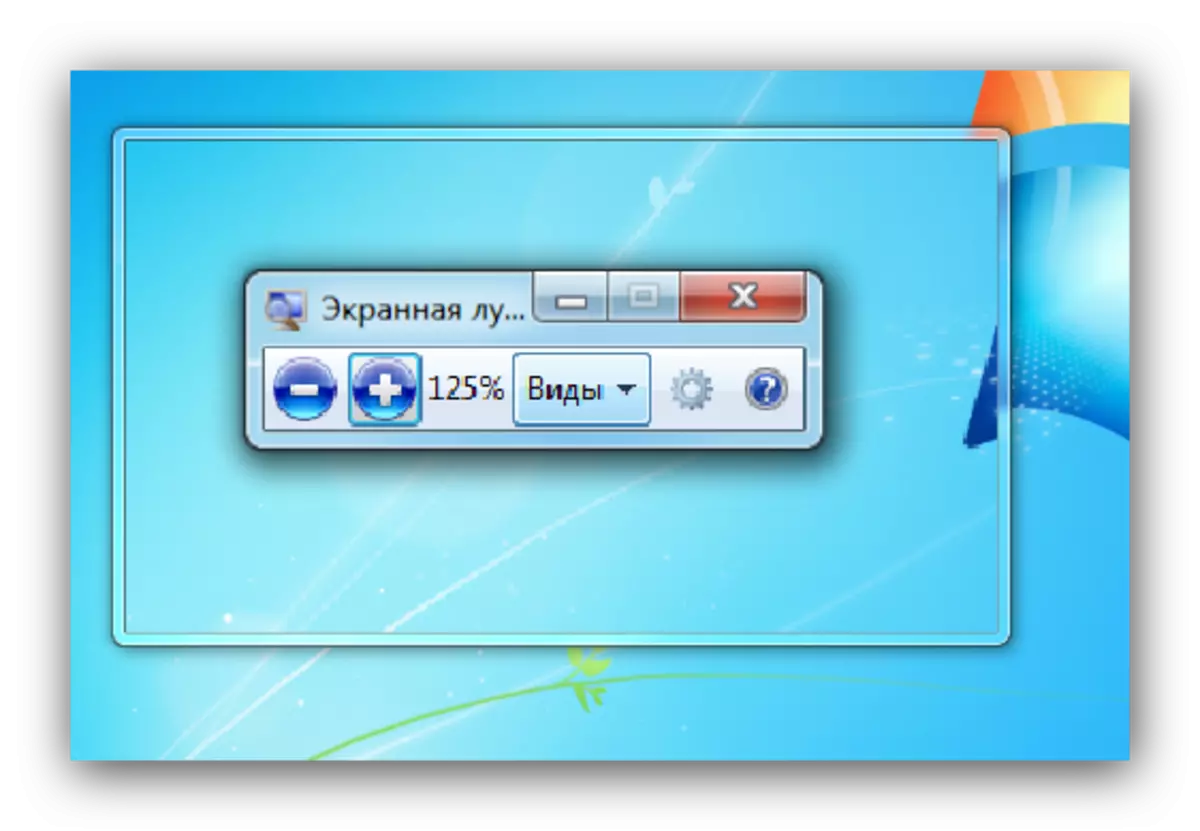
The application does not have a large set of functions: only the choice of scale is available, as well as 3 modes of operation.
The scale can be changed in the range of 100-200%, the greater value is not provided.
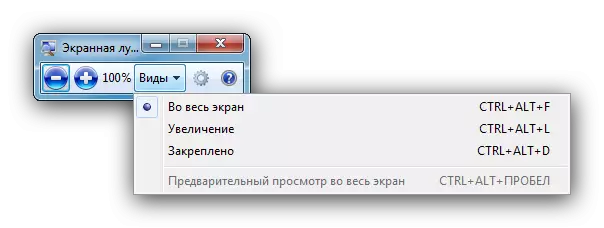
Modes deserve separate consideration:
- "Full screen" - in it, the selected scale applies to the entire image;
- "Increase" - scaling applies to a small area under the mouse cursor;
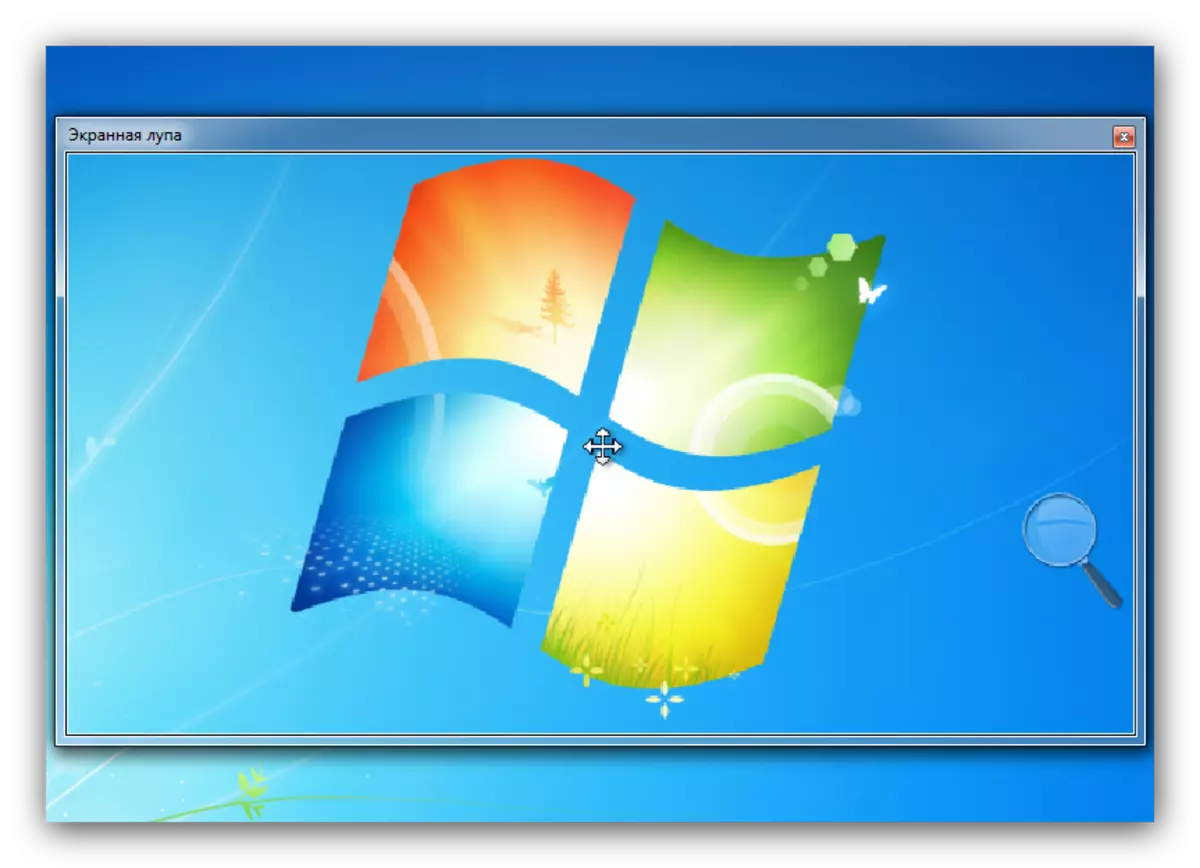
- "Enchantable" - the image is enlarged in a separate window, the size of which the user can adjust.
Note! The first two options are available only for those Aero!
Step 4: Easy access to "screen loupe"
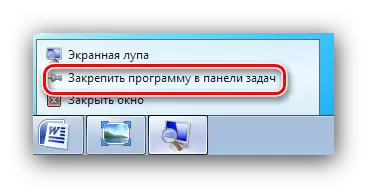
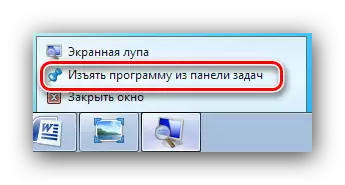
Users who often use this utility should be consolidated in "taskbar" and / or configure autorun. To secure the "screen magnifying glass", it is enough to click on its icon on the "taskbar" with the right mouse button and select the option "Secure the program ...".
To deny the same actions, but this time select the "Select the program ..." option.
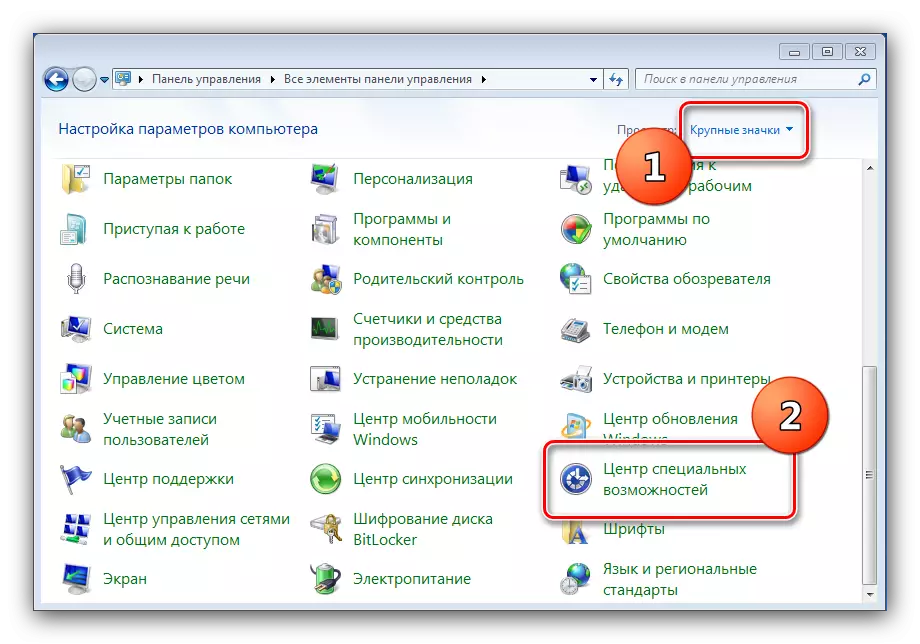
The autorun application can be configured as follows:
- Open the Windows 7 Control Panel, switch to "large icons" using the drop-down menu from above, and select the Center for Special Opportunities.
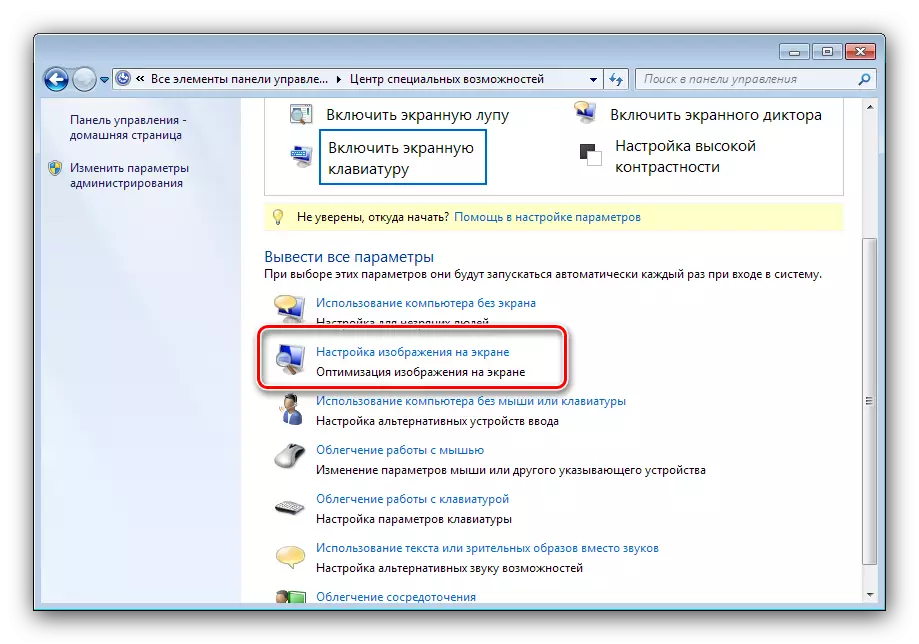
- Click on the "Configure Image" link.
- Scroll the list of parameters to the "Enlargement of Images on the Screen" section and check the option called "Turn on the on-screen magnifying glass". To deactivate autorun it is necessary to remove the mark.

Do not forget to apply the settings - press the "Apply" and "OK" buttons.
Step 5: Closing "Magnifier"
If the utility is no longer needed or discovered by chance, it is possible to close the window with usual pressing on the cross on the right above.
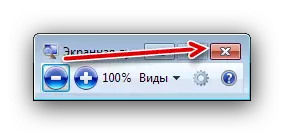
In addition, you can also use the combination of the Win + [-] keys.
Conclusion
We designated the purpose and features of the "Screen Magnifier" utility in Windows 7. The application is designed for users with disabilities, however, it can be useful.