
The "Local Group Policy Editor" allows you to configure computer performance parameters and user accounts used in the operating system environment. Windows 10, as well as the previous versions, also contains this snap, and in our current article we will talk about how to run it.
"Local Group Policy Editor" in Windows 10
Before we proceed to consider the options for launching the "Local Group Policy Editor", you will have to upset some users. Unfortunately, this snap is present only in Windows 10 Pro and Enterprise, but in the HOME version there is no one, as it is not in it and some other controls. But this is the topic for a separate article, we will proceed to solve our today's task.Method 2: "Command Line"
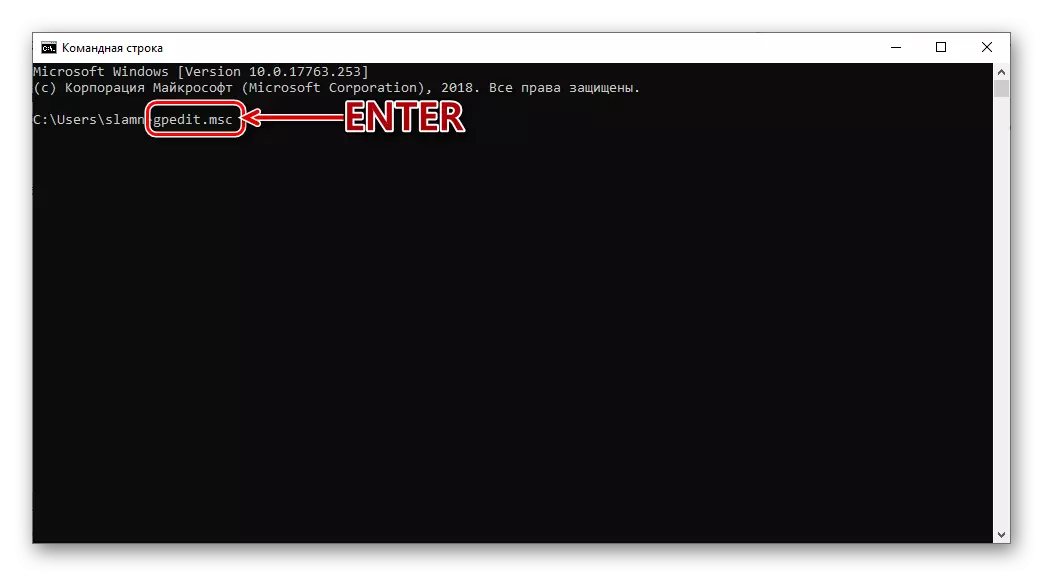
The command proposed above can be used in the console - the result will be exactly the same.
- In any convenient way, run the "command line", for example, by pressing "Win + X" on the keyboard and selecting the appropriate item in the accessible action menu.
- Enter the following command and press "ENTER" to execute it.
gpedit.msc.
- Run "editor" will not make himself wait.
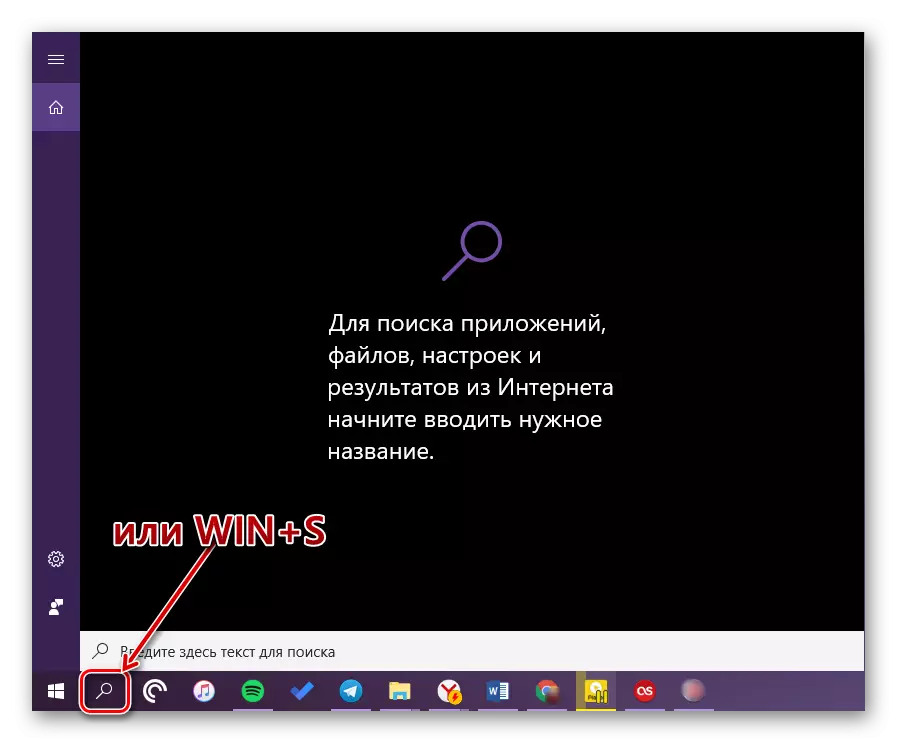
- Click on the "Win + S" keyboard to call the search window or use it in the taskbar.
- Start entering the name of the desired component in the string - "Changing Group Policy".
- As soon as you see the result, the result is the result of the issue, perform its launch with a single click. Despite the fact that in this case the icon and the name of the desired component is different, the "editor" with you will be launched
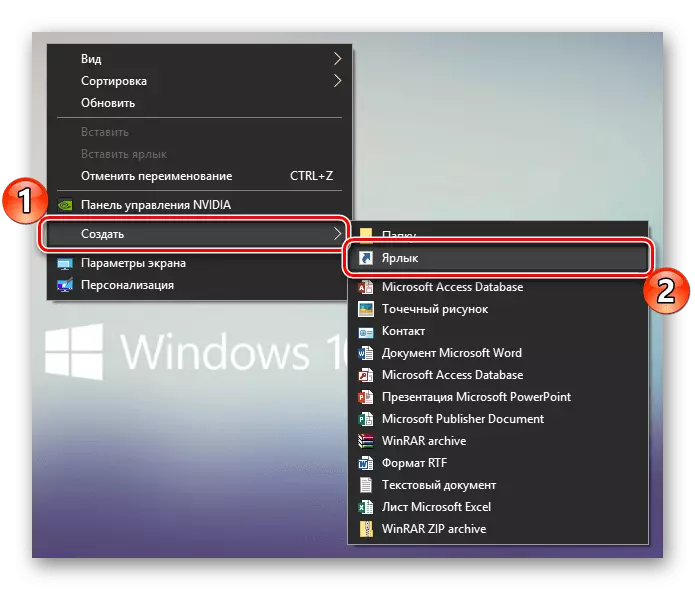
- Go to your desktop and right-click on an empty place. In the context menu, select Alternate items "Create" - "Label".
- In the window of the opening window, specify the path to the executable file "Local Group Policy Editor", which is listed below, and click "Next".
C: \ Windows \ System32 \ gpedit.msc
- Come up with the name created by the label (it is better to specify its original name) and click on the "Finish" button.

Method 3: Search
The scope of the application integrated in Windows 10 is even wider than those considered above the OS components. In addition, it does not need to memorize any commands.

Method 4: "Explorer"
The equipment considered within our today's article is an ordinary program in its essence, and therefore it has its own place on the disk, the folder containing an executable file to start. He is on the next way:
C: \ Windows \ System32 \ gpedit.msc

Copy the value presented above, open the "Explorer" (for example, the "Win + E" keys) and insert it into the address string. Press "ENTER" or the transition button located on the right.
This action will immediately launch the "Local Group Policy Editor". If you wish to access its file, return the paths indicated by us to step backwards, into the C: \ Windows \ System32 directory and scroll through the list of items contained in it until you see what is called gpedit.msc..
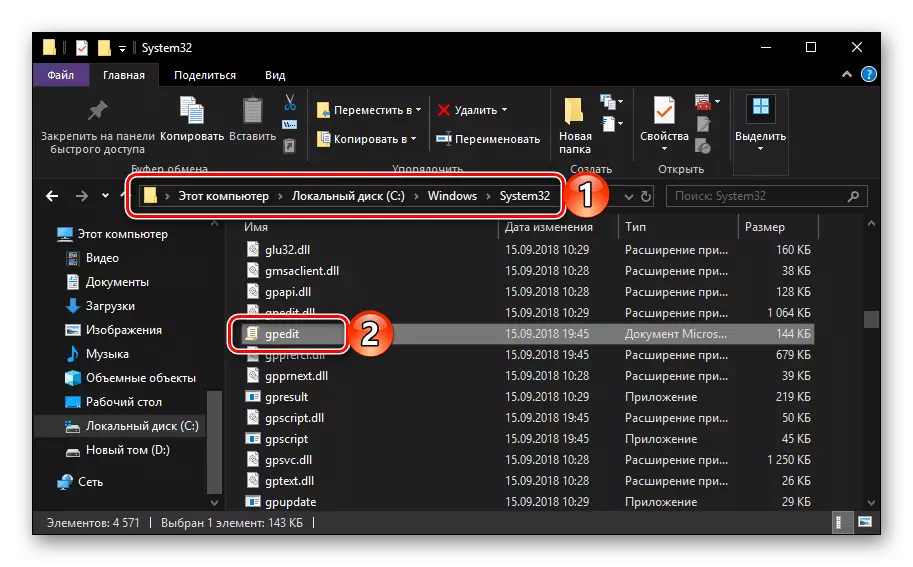
Note: In the address bar "Explorer" It is not necessary to insert the full path to the executable file, you can only specify its name ( gpedit.msc. ). After clicking "ENTER" It will also be launched "Editor".
Creating a shortcut for quick launch
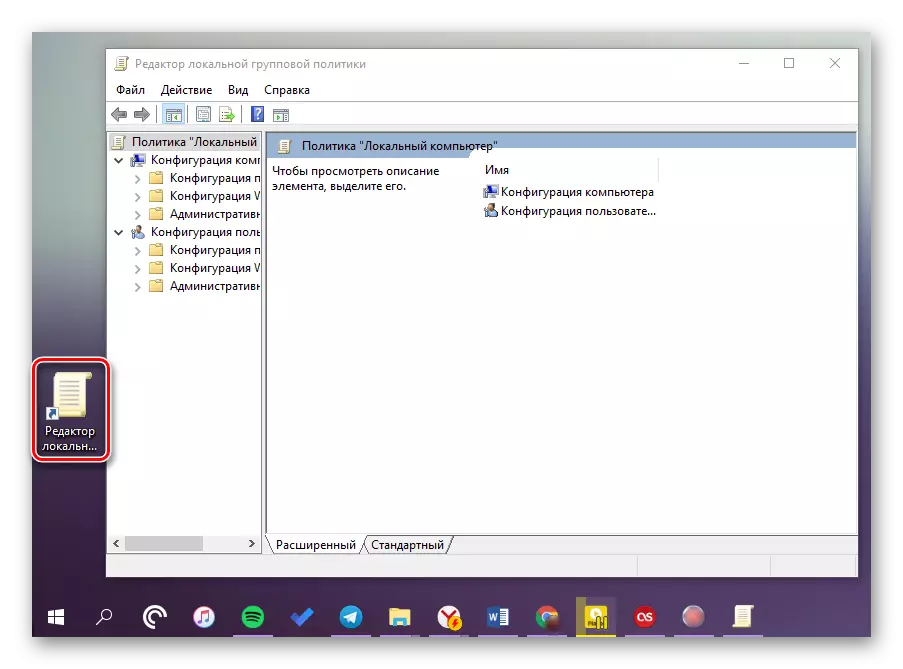
If you plan to interact often with a systemic snap, which was discussed in our current article, it will be useful to create its label on the desktop. This will allow you to quickly run the "editor", and at the same time will save you from the need to memorize the teams, names and paths. This is done as follows.


Immediately after performing these actions, the editor's label will appear on the desktop, to run which can be doubled.
READ ALSO: Creating a "My Computer" label on the desktop windows 10
Conclusion
As you can see, the "Local Group Policy Editor" in Windows 10 Pro and Enterprise can be launched differently. Which of the methods considered by us to take into armaments - to solve only you, we will finish at this.