

Mouse - Main Computer Management Device. In the event of its breakdown, the user may have significant difficulties in using PCs. On the laptop you can resort to analogue in the form of a touchpad, but what to do in such a situation to the owners of stationary computers? It is about this that you will learn from this article.
Methods for solving problems with missing mouse cursor
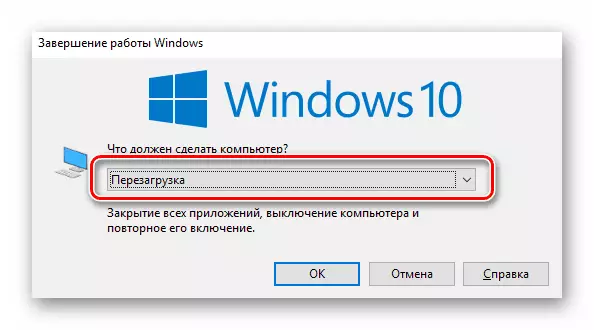
There are different reasons why the cursor of a computer mouse may disappear. We will tell about the two most effective solutions. They helps to correct the problem in most cases. If you use a wireless device, try first click any mouse button and replace batteries. The fact is that such peripherals after a while turns off automatically. Perhaps this is what will help you. Well, do not forget about such a banal solution as rebooting the operating system. You can call the desired window by pressing the combination "Alt + F4".
Now let's turn to the description of the methods themselves.
Method 1: Update
If you are convinced that the mouse is working and the problem is not hardware, the first thing is to try to update the system drivers that are installed in Windows 10 by default. To do this, do the following:
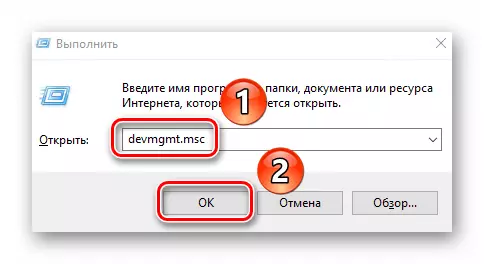
- Press simultaneously the Win + R keys. In the window that opens, enter the "devmgmt.msc" command and press "ENTER".
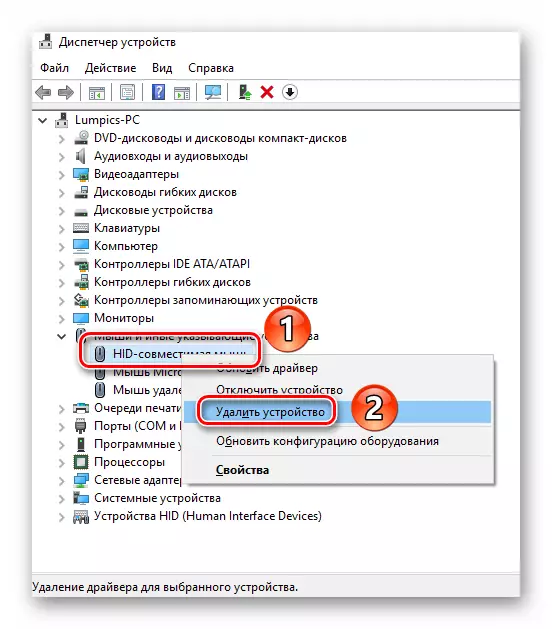
- Next, using the arrows on the keyboard, go down in the "Device Manager" list to the "Mouse and Other Indicating Devices" section. Open it by pressing the "Right" button. Then make sure that your mouse is present in this section. Again, using the arrows, select it and press the key on the keyboard, which is by default on the left side of the right "CTRL". It performs the function of pressing the right mouse button. A context menu appears from which to select "Delete the device".
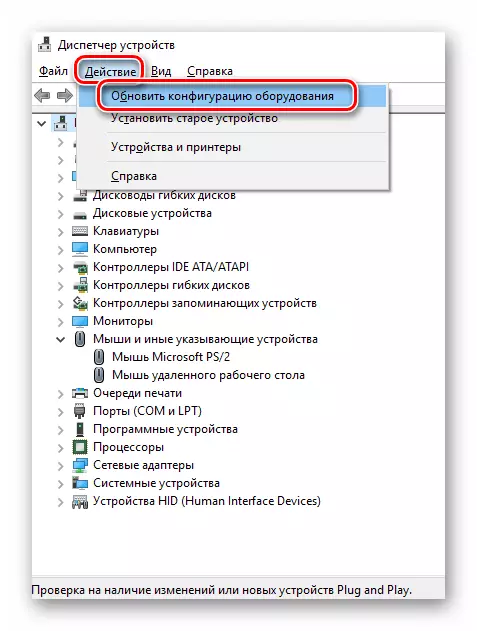
- As a result, the mouse will be deleted. After that, press the "ALT" button. In the Device Manager window, the "File" point is highlighted at the top. Press the right arrow and select the "Action" section next to it. Open it by clicking "Enter". Below will see the list in which we are interested in the "Update equipment configuration" string. Click on it. These actions will allow you to update the list of devices, and the mouse will appear in the list again.
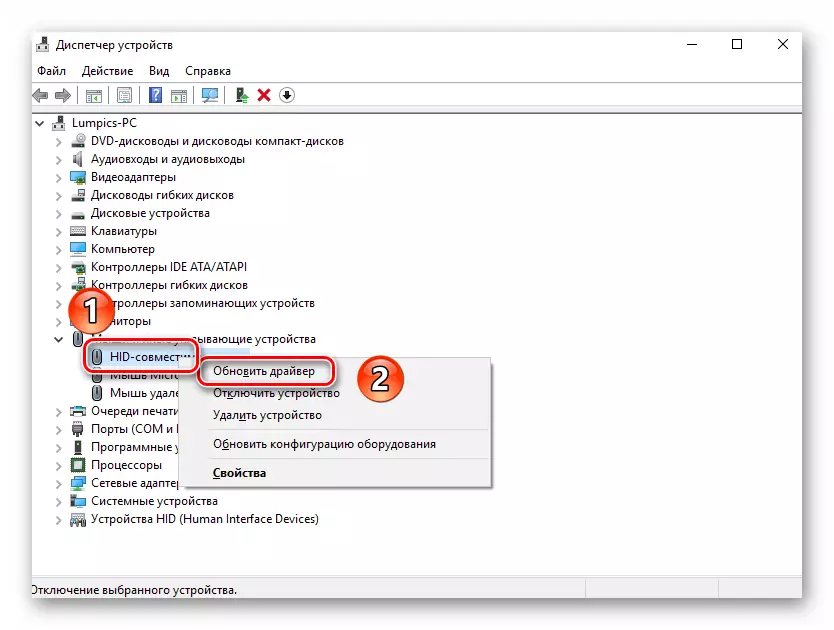
- Do not close the Device Manager window. Select the mouse again and open its context menu. This time you activate the "Update Driver" line.
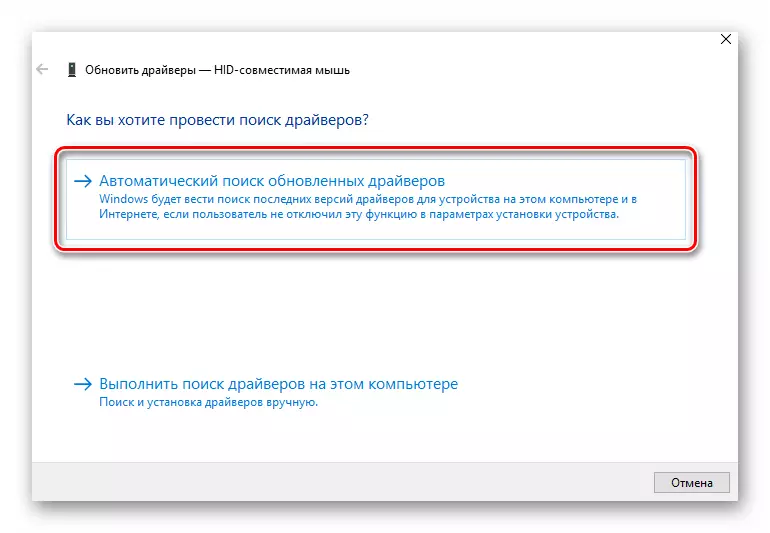
- In the next window, press the TAB key once. This will allow you to select the "Automatic Driver Search" button. Click after that "ENTER".
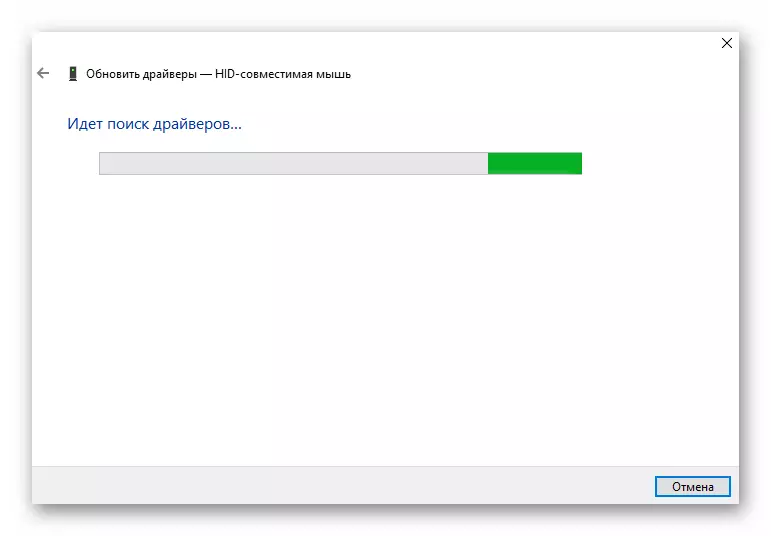
- As a result, the search for the required software will begin. With successful detection, it will be immediately installed. At the end of the process, you can close the "Alt + F4" key combination window.
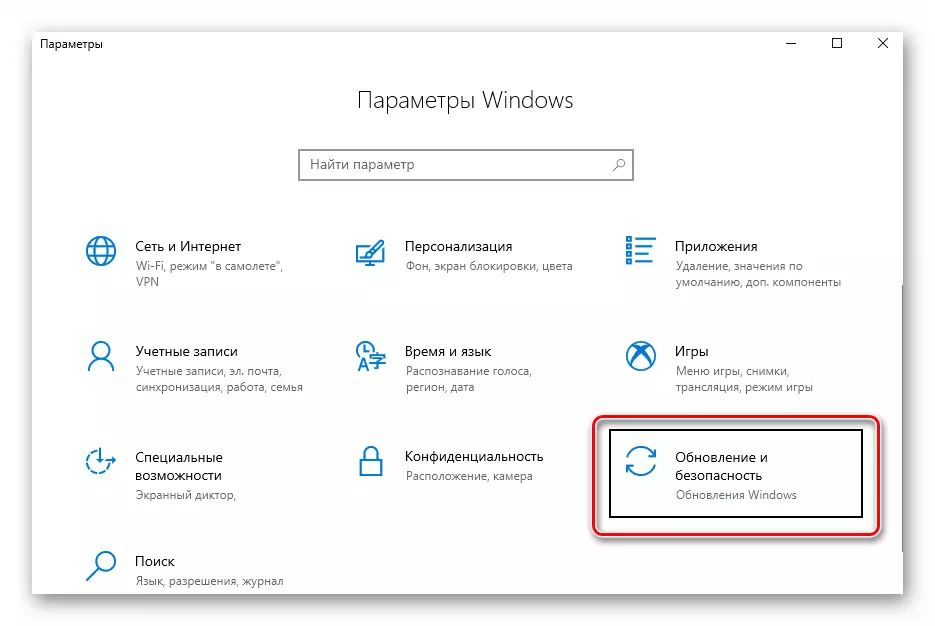
- In addition, it is worth running updates. Perhaps an unsuccessful installation of one of them and caused the mouse refusal. To do this, press together the "Win + I" keys. The "Parameters" window will open. In it, you should select the "Update and Security" section, then click "ENTER".
- Next, press once "TAB". Since you will be located in the desired tab of the Windows Update Center, then the "Check availability check" button will be highlighted. Click on it.
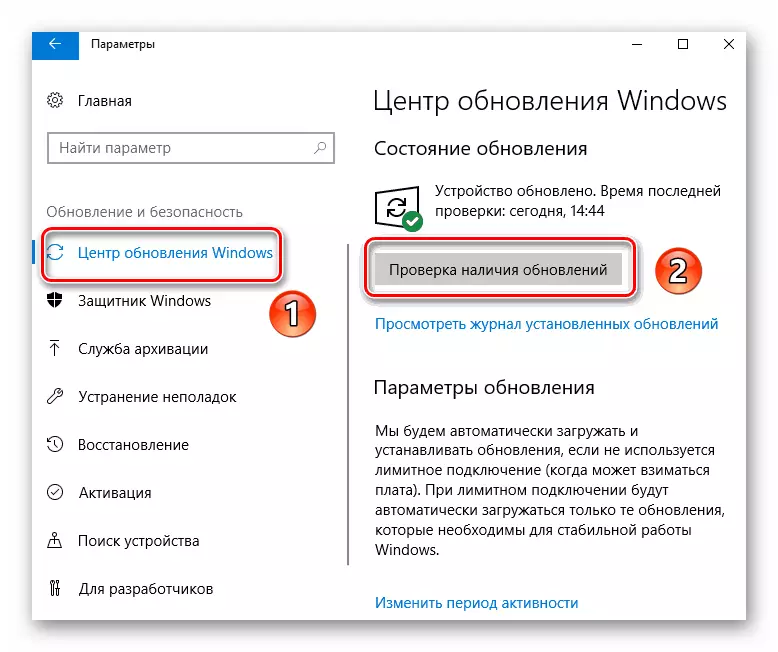
It remains only to wait a bit until all updates for components are installed. After that restart the computer. In most cases, such simple actions return the mouse to life. If this did not happen, try the following method.
Method 2: Check system files
Windows 10 very smart OS. By default, it has a file check function. If problems are detected in them, the operating system will replace. To use this method you need to do the following:
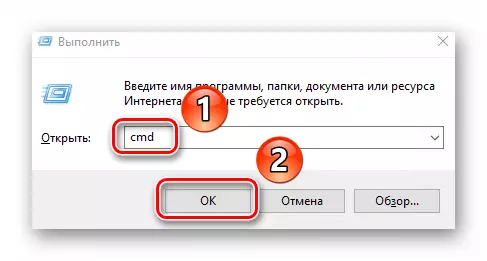
- Press together the "Win + R" keys. Enter the "CMD" command in the window that has opened windows. Then hold together the "Ctrl + Shift" keys, and hold them press "ENTER". Such manipulations will allow you to run the "command line" on behalf of the administrator. If you run it with a standard method, subsequent actions simply will not work.
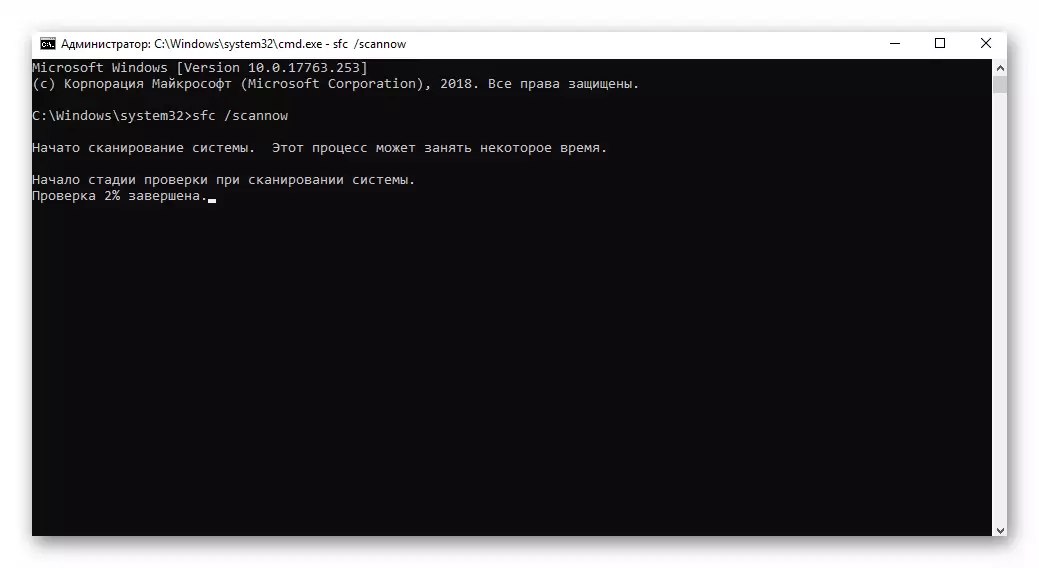
- In the "Command Line" window, enter the following command:
SFC / SCANNOW.
Then press "ENTER" and wait for the end of the check.
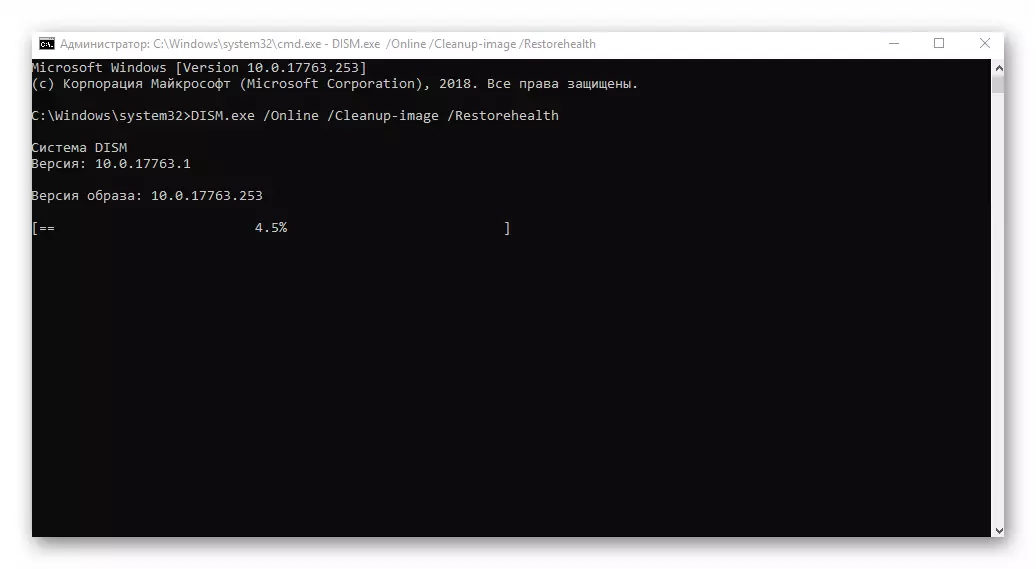
- Upon completion of the operation, do not rush to close the window. Now enter another command:
Dism.exe / Online / CleanUp-Image / RestoreHealth
And again you have to wait. This process lasts quite a long time, so be patient.
Upon completion of the check and all the replacements it will be necessary to close all windows and reboot the system.
We reviewed the most effective methods of fixing the problem with the non-working mouse in Windows 10. If you have not helped anything at all, and there are failures in other USB connectors, it is necessary to check the state of the ports in the BIOS.
Read more: turn on USB ports in BIOS