
Under the home group (HomeGroup), it is customary to mean the Windows Family functionality, starting with the Windows version 7, replacing the procedure for setting up shared folders for PCs consisting in one local network. The home group is created in order to simplify the resource configuration process for shared access to a small network. Through devices that enter this element Windows, users can open, execute and play files located in the catalogs with shared access.
Creating a home group in Windows 10
Actually, the creation of homegroup will allow the user with any level of knowledge in the field of computer technology without problems configure the network connection and open public access to folders and files. That is why it is worth familiar with this weighty functional of Windows Windows 10.The process of creating a home group
Consider in more detail that the user needs to do to perform the task.
- Run the "Control Panel" through the right click on the Start menu.
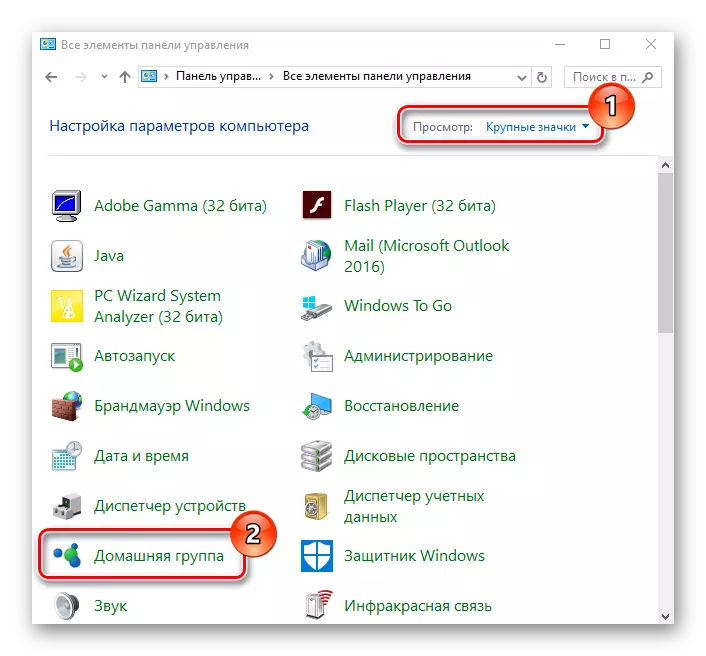
- Install the "Large Icons" viewing mode and select the "Home Group" element.
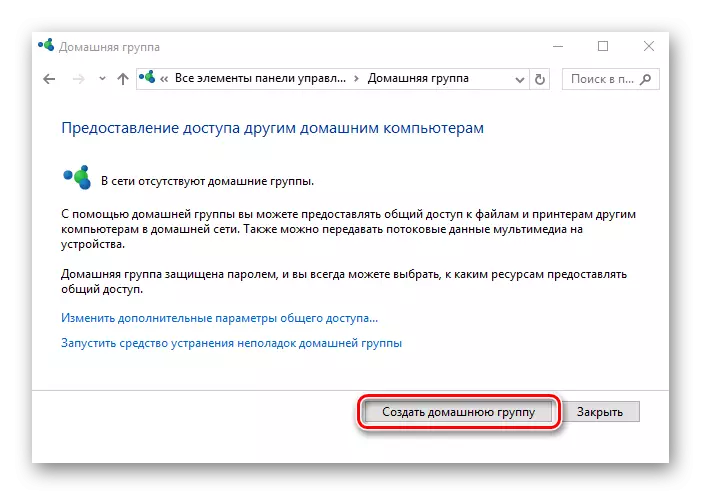
- Click on the "Create Home Group" button.
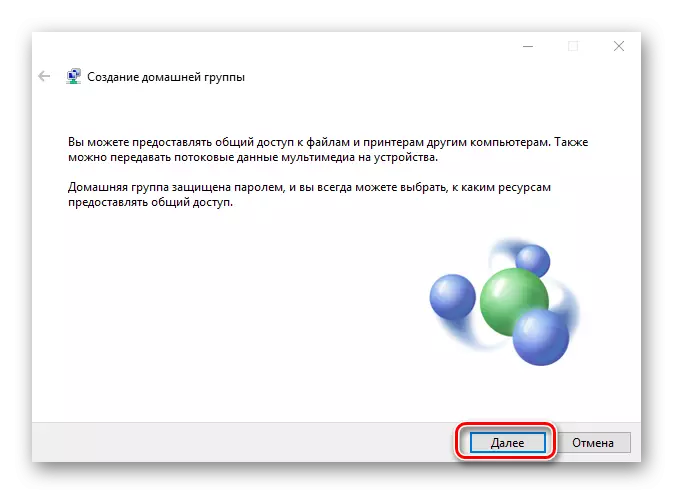
- In the window, which displays the HomeGroup functionality, simply click on the "Next" button.
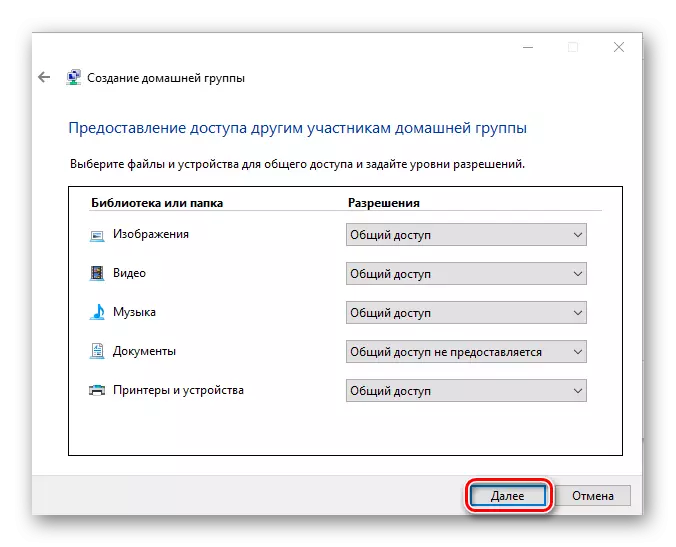
- Set access rights in front of each item to which you can provide sharing.
- Wait until Windows fulfills all the necessary settings.
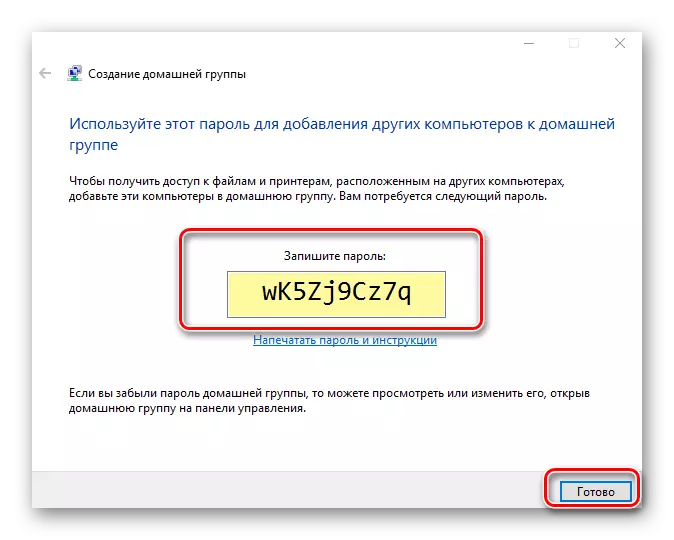
- Write down or save somewhere password access to the created object and click on the "Finish" button.

It is worth noting that after creating a homegroup, the user always has the ability to change its parameters and a password that is required to connect new devices to the group.
Requirements for using the home group functionality
- On all devices that will use the Homegroup item must be installed Windows 7 or its later versions (8, 8.1, 10).
- All devices must be connected to the network by wireless or wired communication.
Connect to "home group"
If your local network has a user who has already created a "home group", in which case you can connect to it instead of creating a new one. To do this, you have to perform a few simple actions:
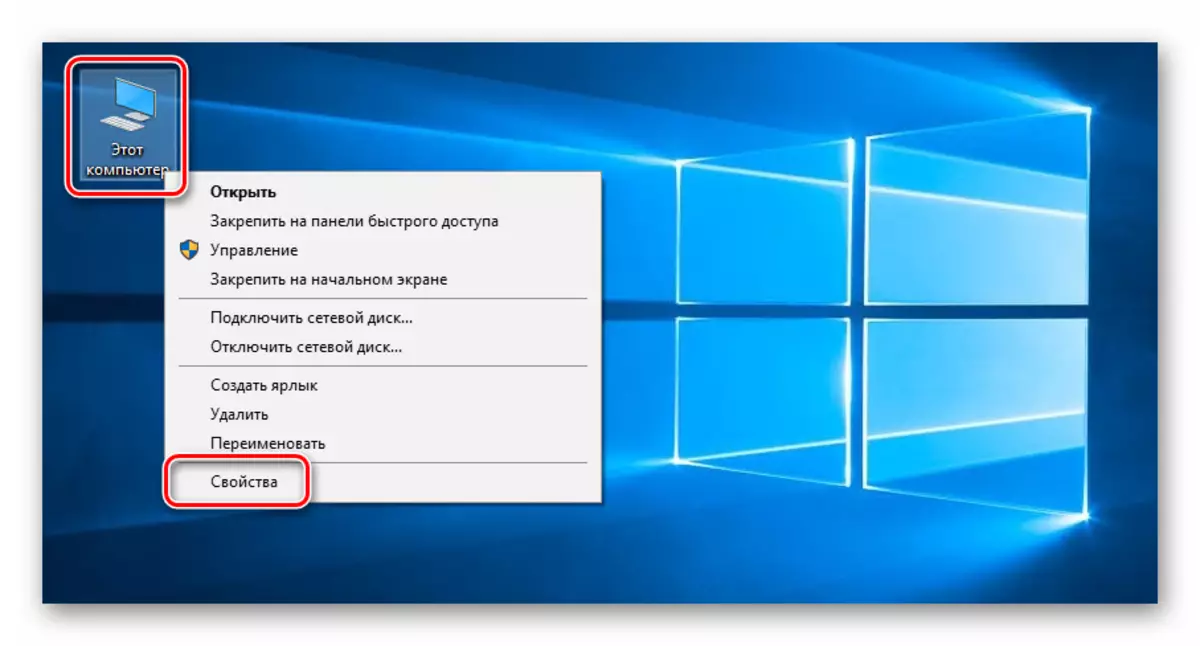
- Click on the "This Computer" icon on the desktop right-click. The context menu appears on the screen, in which you need to select the last line of "Properties".
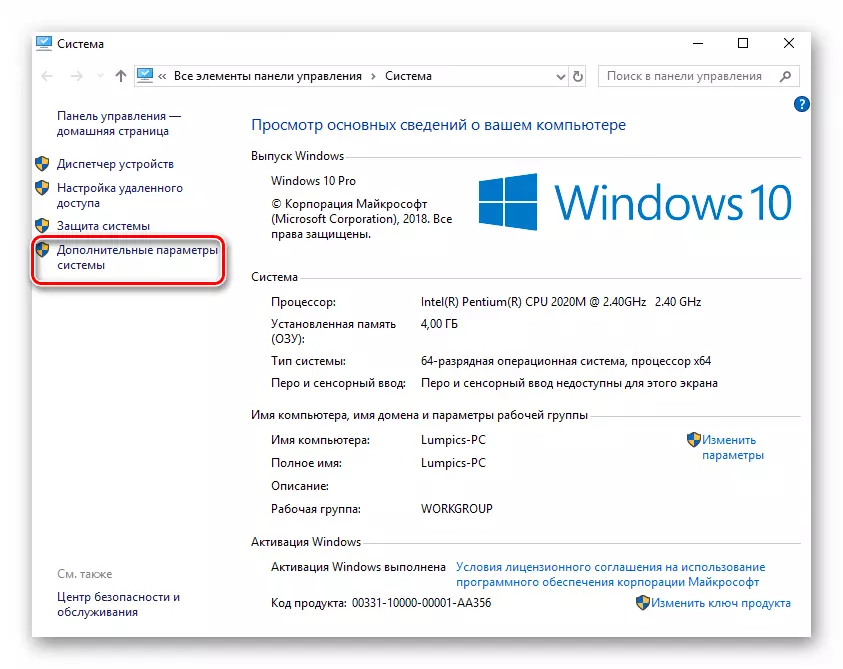
- In the right area of the next window, click on the "Advanced System Parameters" item.
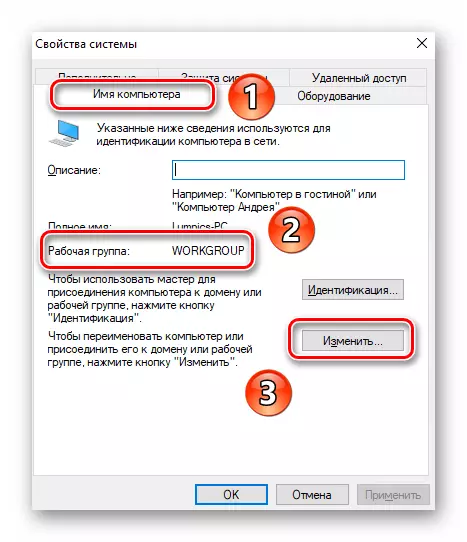
- Next you need to go to the "Computer Name" tab. In it, you will see the name of the "home group", to which the computer is currently connected. It is very important that the name of your group coincides with the name to which you need to connect. If this is not the case, click the Edit button in the same window.
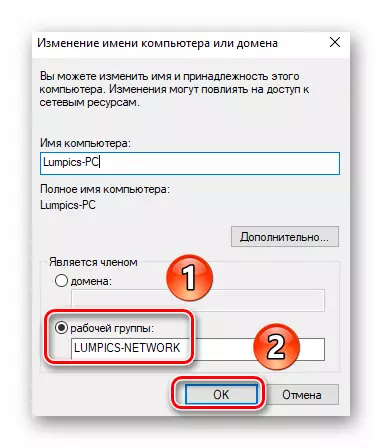
- As a result, you will see an optional window with settings. In the lowest line, enter the new name "home group" and click OK.
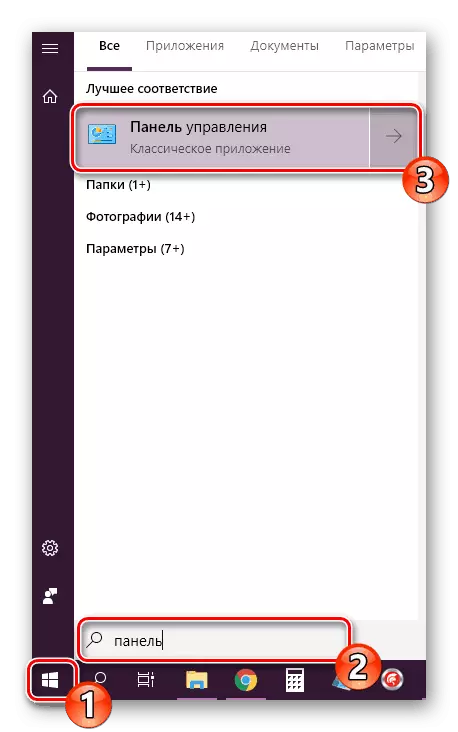
- Then open the "Control Panel" by any method known to you. For example, activate the search window through the Start menu and enter the desired combination of words into it.
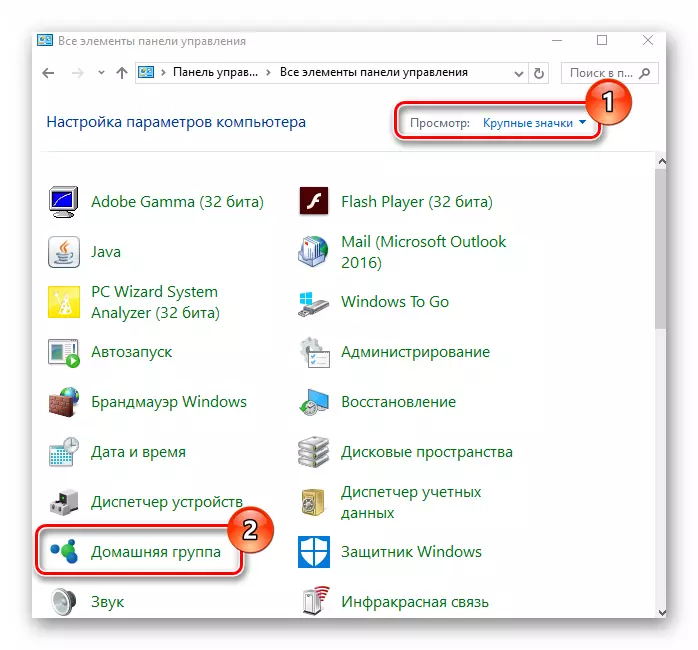
- For more comfortable perception of information, switch the display mode of the icons to the "Large Icons" position. After that, go to the "Home Group" section.
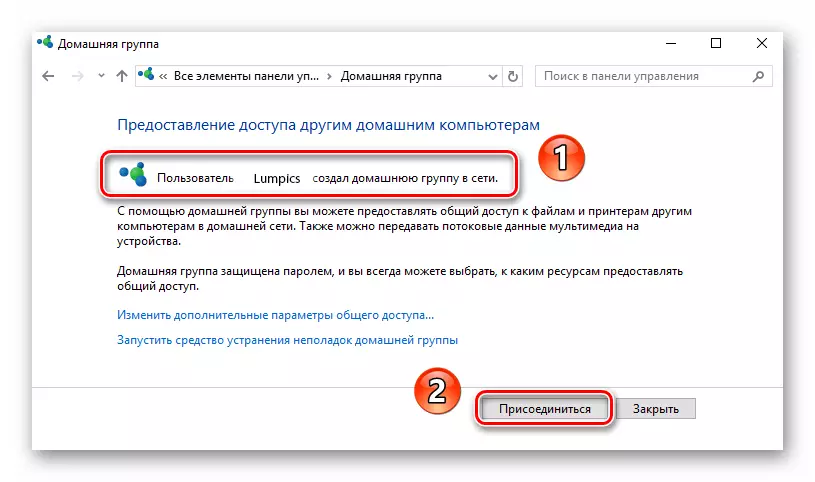
- In the next window, you must see a message that one of the users previously created a group. To connect to it, click the "Join" button.
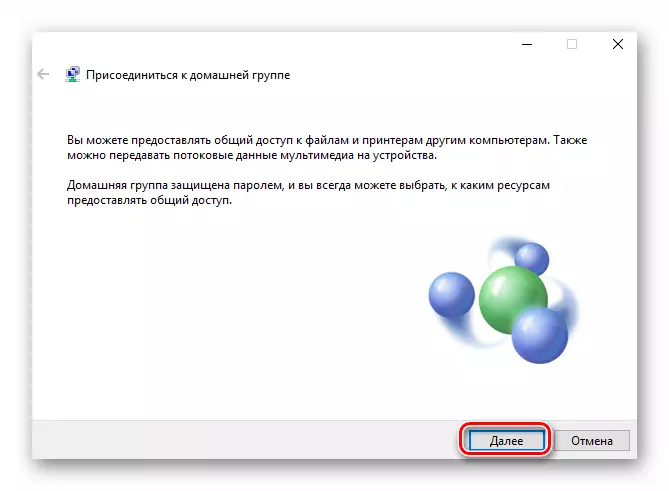
- You will see a brief description of the procedure that you plan to perform. To continue, click the Next button.
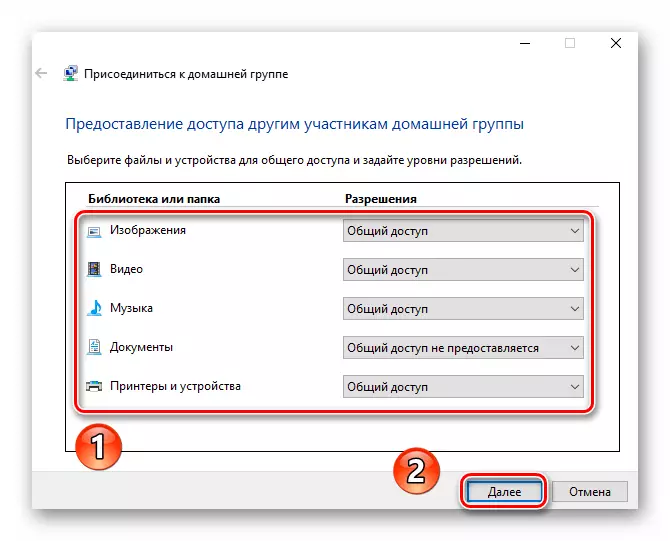
- The next step will be the choice of resources to which you want to open sharing. Please note that in the future these parameters can be changed, so do not worry, if you suddenly do something wrong. After selecting the necessary permissions, click "Next".
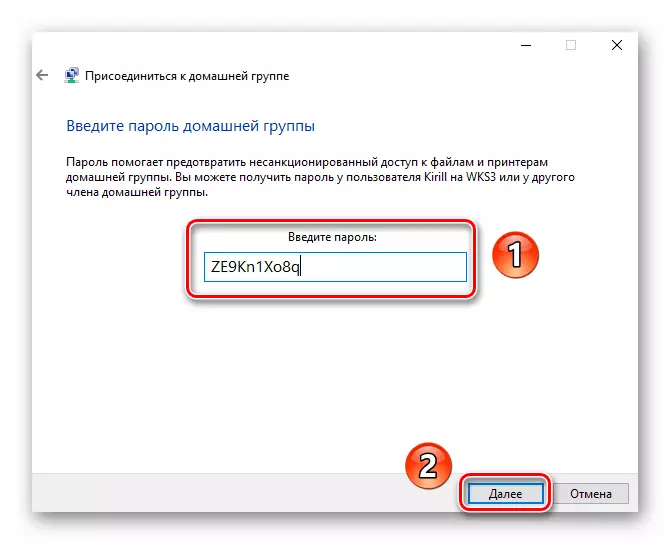
- Now it remains only to enter an access password. He must know that the user who created the "home group". We mentioned this in the previous section of the article. After entering the password, click "Next".
- If everything was performed correctly, as a result you will see a window with a message about a good connection. It can be closed by clicking the "Finish" button.
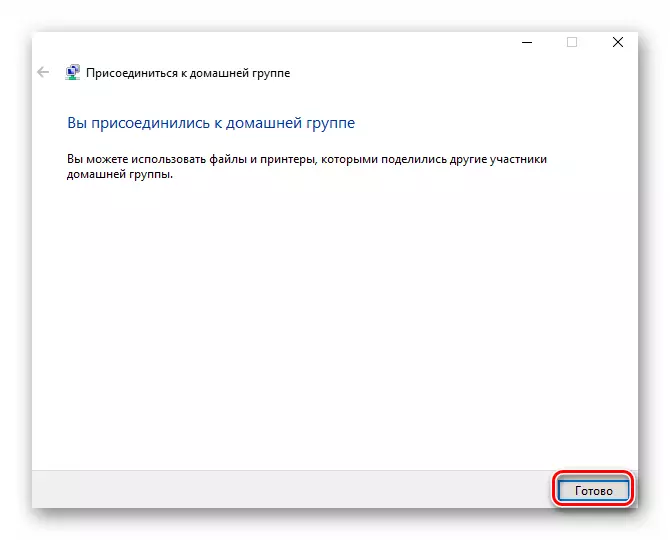
Thus, you can easily connect to any "home group" within the local network.
The Windows Home Group is one of the most operational ways to exchange data between users, so if you have a need to use it, it is enough to try to spend a few minutes to create this element of Windows 10.