
Some users of the "Desktop" of the tenth version of Windows seem to be too minimal or non-functional, which they seek to make this element more attractive. Next, we want to tell you about how to make a beautiful desktop in Windows 10.
Methods of decoration "Desktop"
"Desktop" users see much more often than all other system components of Windows, so its appearance and ability are important for convenient use of the computer. You can decorate this element or make it more functional by both third-party (expanding the capabilities and return of the gadget functional) and the built-in windows "windows" (shift of wallpaper or theme of registration, customization of the "taskbar" and "start").Step 1: Rainmeter Appendix
A curious solution from third-party developers, which has been around for many years and is well known to users of older versions of Windows. Reinemeter allows you to transform the appearance of the "desktop" to be unrecognizable: according to the development of developers, users are limited only by their own fantasy and creativity. For the "dozens" you will need to download the last stable Rainmeter release from the official site.
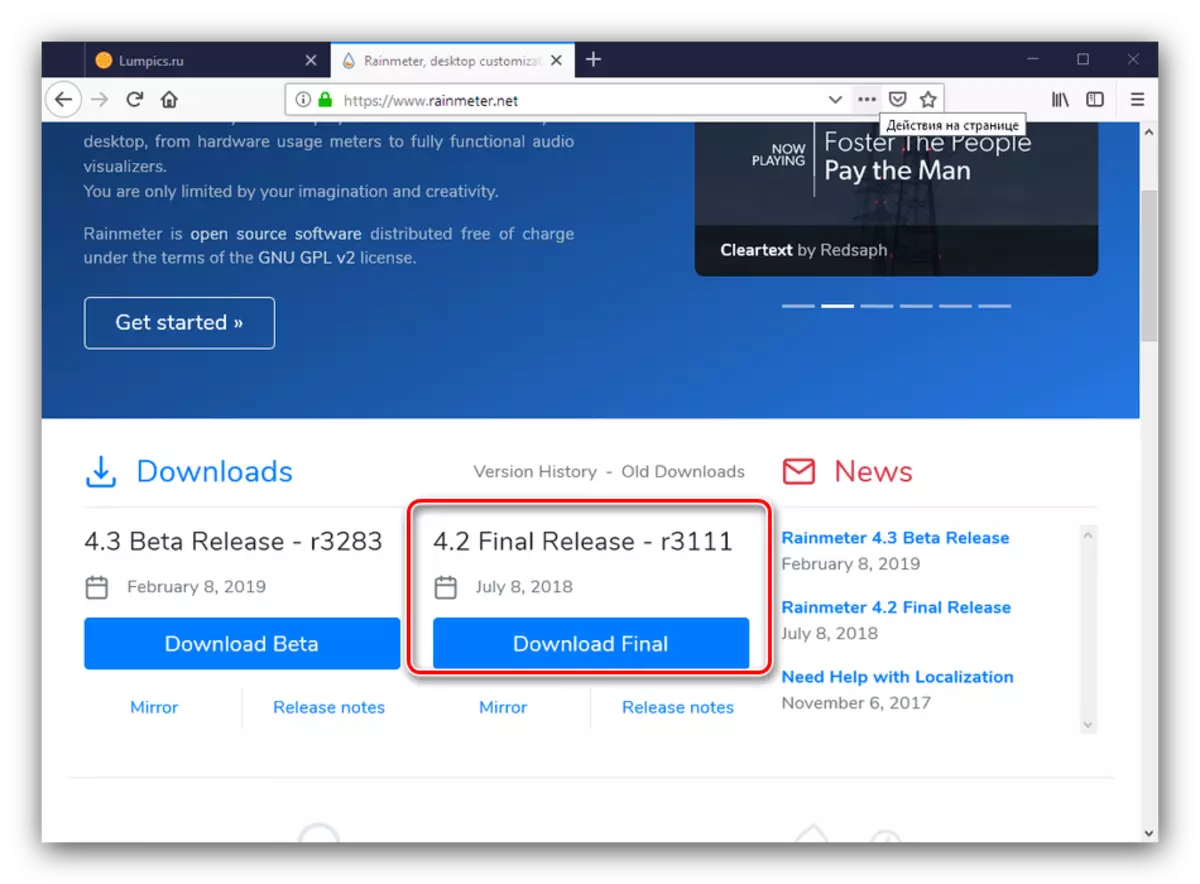
Download Rainmeter from the official site
- Install the application at the end of the download - to start the procedure, start the installer.
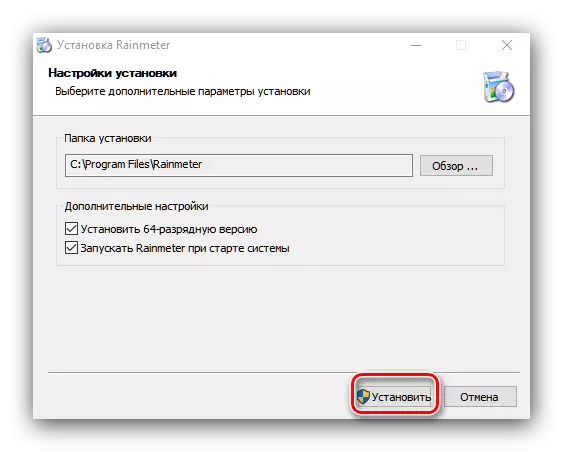
- Select your preferred settings language and program installation type. It is better to use the recommended developer option "Standard".
- For stable operation, install the application on the system disk, which is selected by default. The remaining options are also better not to disconnect, so just click "Set" to continue.
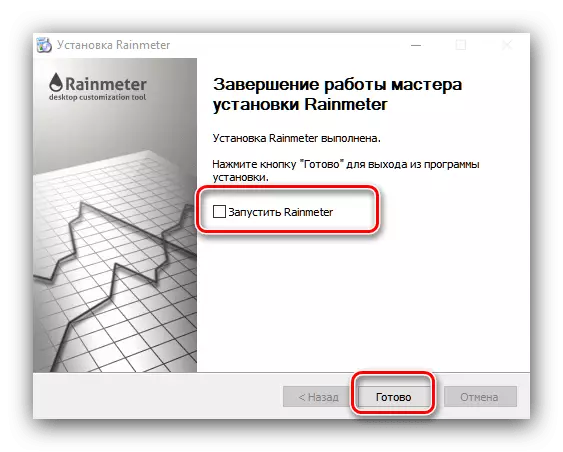
- Remove the checkbox with the option "Run Rainmeter" and click Finish, after which you restart the computer.

Using the application
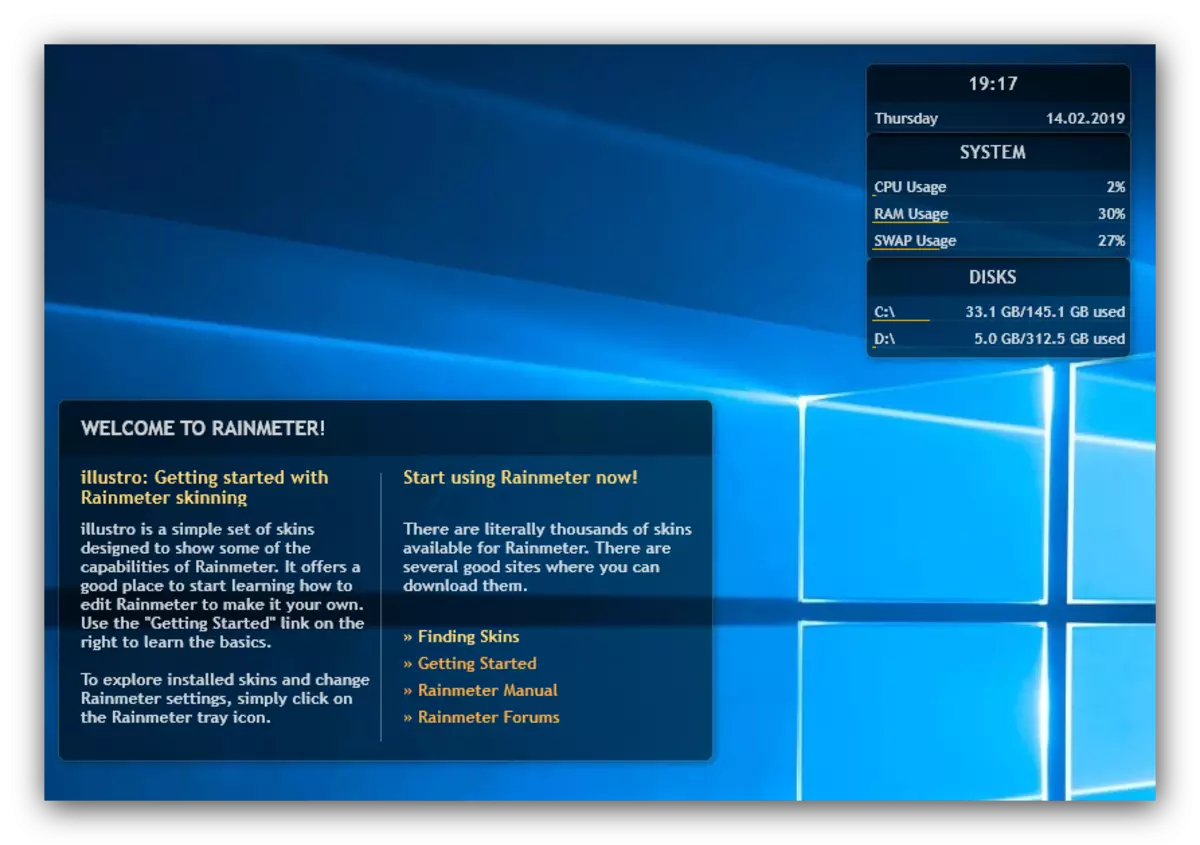
The application is located in the Windows autorun folder, so it is not necessary to run it separately after rebooting. If it is open for the first time, the welcome window will appear, as well as several "skins" widgets, which remind "Gadgets" in Windows 7 and Vista.
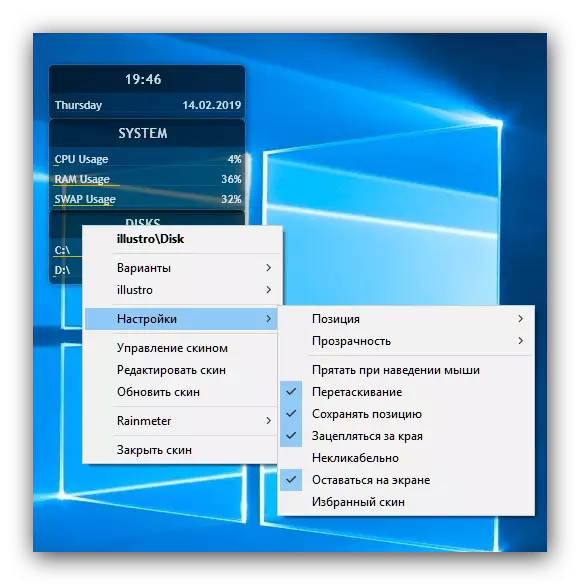
If you do not need these widgets, they can be removed through the context menu. For example, you delete the "SYSTEM" element: click on it with right mouse button, and select "Illustro" sequentially - "System" - "System.ini".

Also, through the context menu, you can adjust the behavior of "skins": action when pressed, position, transparency, etc.
Installing new customization elements
Standard solutions, as usual, are not too attractive aesthetically, so the user will certainly rise to the installation of new elements. There is nothing complicated here: it is enough to enter a query "Skins Rainmeter download" to any suitable search engine and visit several sites from the first page of issuing.

Sometimes the authors of those or other "skins" and "Top" ("skin" is a separate widget, and the "topics" in this context is called a whole complex of elements) embellish reality, and post unreliable screenshots, so carefully read comments on the element that you wish download.
- Extensions to Rainmeter are distributed as MSKIN format files - simply click on it with the left mouse button on it.
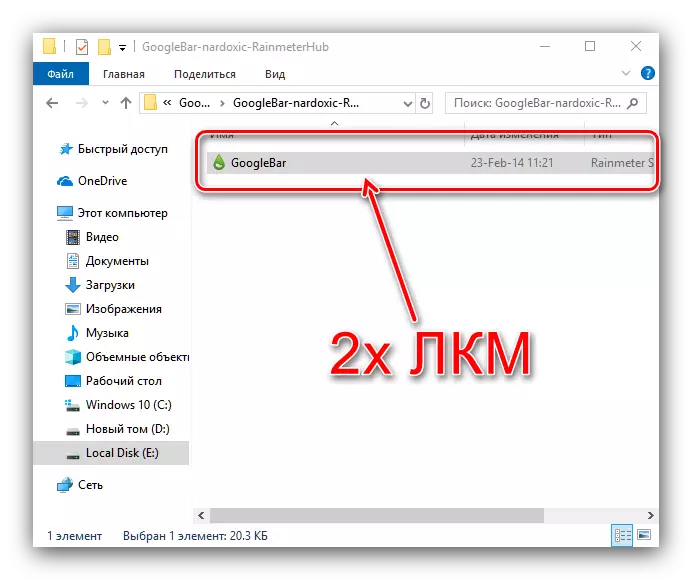
Also note that the file can be packaged to the ZIP format archive for which you will need an archive application.
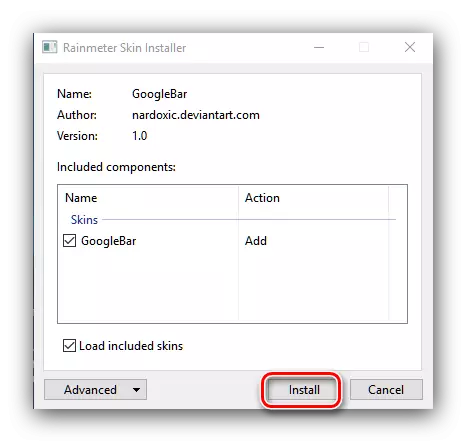
- To install the extension, simply click on the "Install" button.
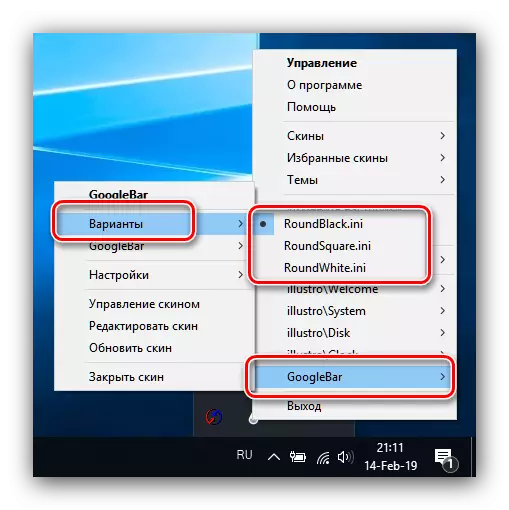
- To start the set "topic" or "skin", use the Rainmeter icon in the system tray - hover over it the cursor and press PCM.
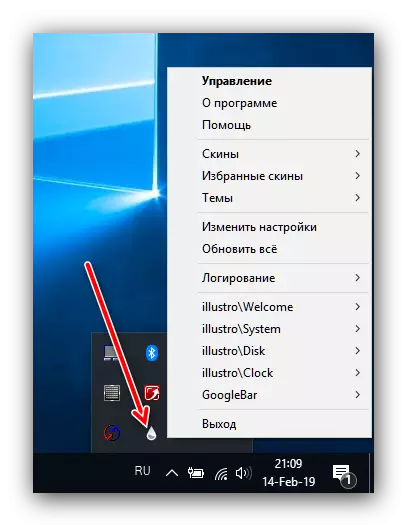
Next, find the installed extension name in the list and use the cursor to access additional parameters. You can withdraw the "skin" through the option of the drop-down menu "Options", where you need to click on the entry with the end .ini.
If other actions are required to work with the expansion, it is usually mentioned in the description of the addition on the resource where it is posted.
Stage 2: "Personalization"
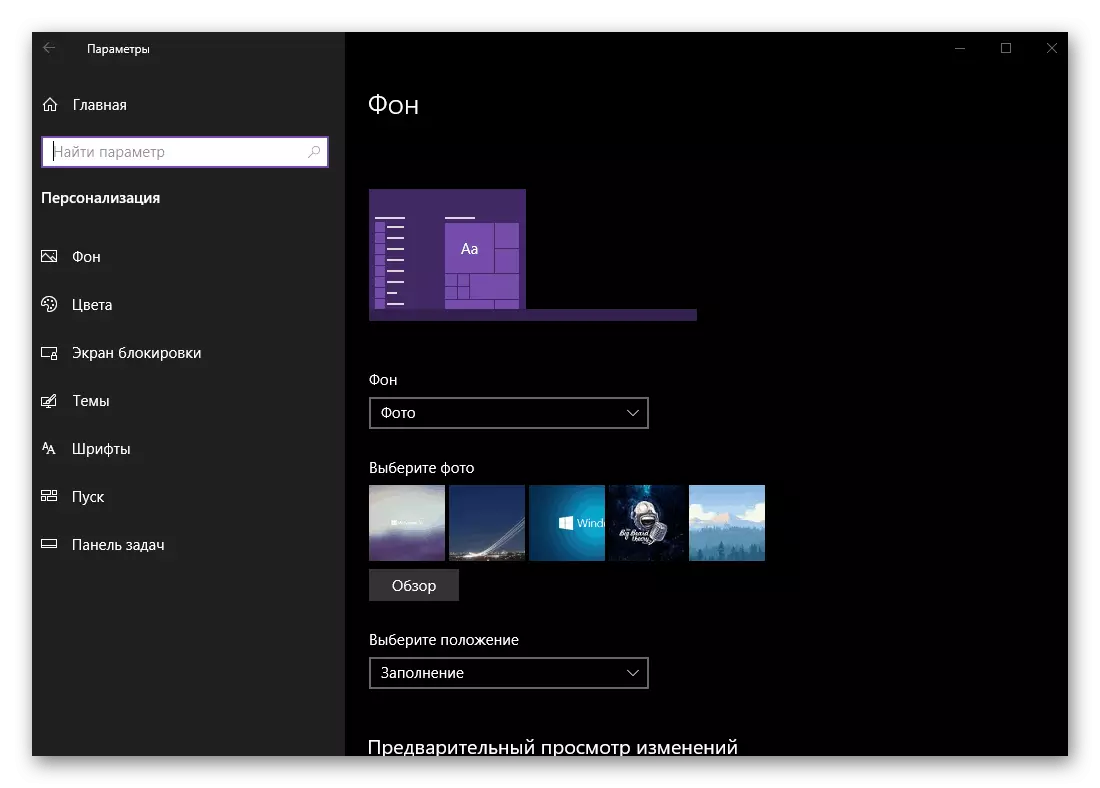
The appearance of the operating system as a whole and the "desktop" in particular can be changed from the Central Hub in "Parameters", which is called "Personalization". Available Change background, color scheme, disconnecting decorations like Windows Aero and much more.
Read more: "Personalization" in Windows 10
Stage 3: Topics for registration
A simpler method for which it does not even need to set third-party programs: many design schemes can be downloaded from Microsoft Store. The topic changes the appearance of the "desktop" in the complex mode - the screensaver is replaced on the lock screen, wallpaper, background color and in some cases sounds.

Read more: How to install the topic on Windows 10
Stage 4: Gadgets
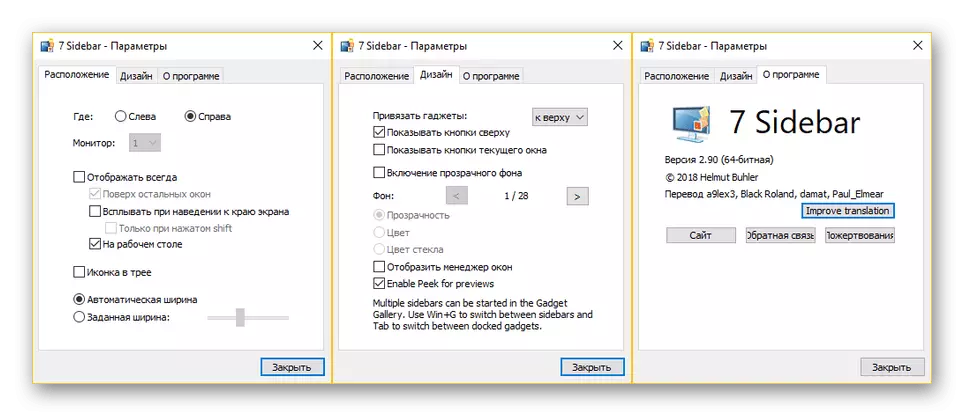
Users who moved to the "top ten" with Windows 7 or Vista may not be enough gadgets: small applications that serve not only with decoration, but also improve the usability of the OS (for example, a clipboarder gadget). "From the box" in Windows 10 gadgets is not, but this option can be added using a third-party solution.
Lesson: Install Gadgets on Windows 10
Stage 5: Wallpaper
The background of the "desktop", which is most often called "wallpaper", can be easily replaced by any suitable image or animated live wallpaper. In the first case, the easiest way to do is through the built-in photo application.
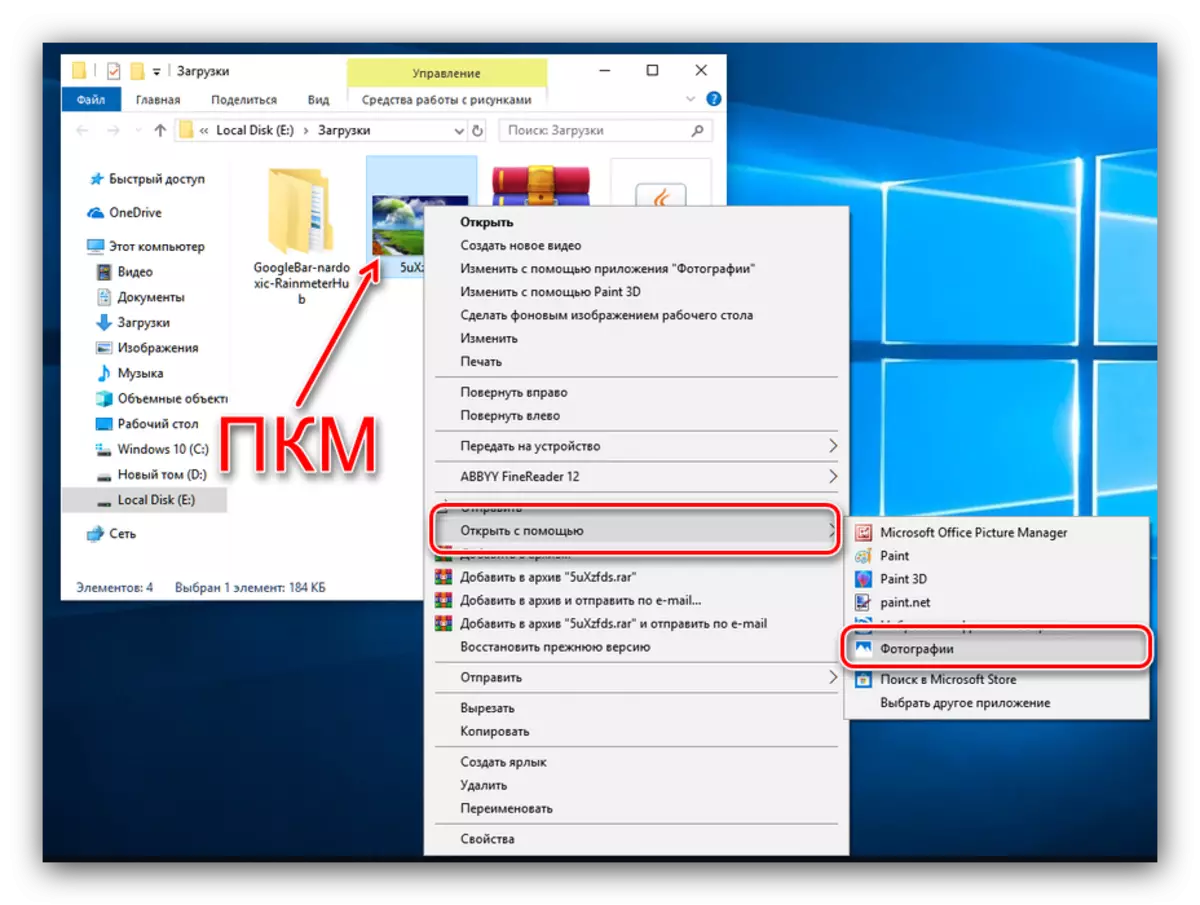
- Open the image directory you want to see as wallpaper, and open it with a double mouse click - the "Photos" program is assigned by default as a viewer of the pictures.

If, instead, the tool opens something else instead, then click on the desired PCM picture, use the "Open using" item and select the "Photos" application in the list.
- After opening the image, click on it right mouse button and select "Set as" items to "make a background pattern".
- Finish - the selected photo will be installed as wallpaper.

Live wallpapers, familiar users of smartphones, just do not install on the computer - a third-party program will be required. With the most convenient of them, as well as with the installation instructions, you can find the following material.
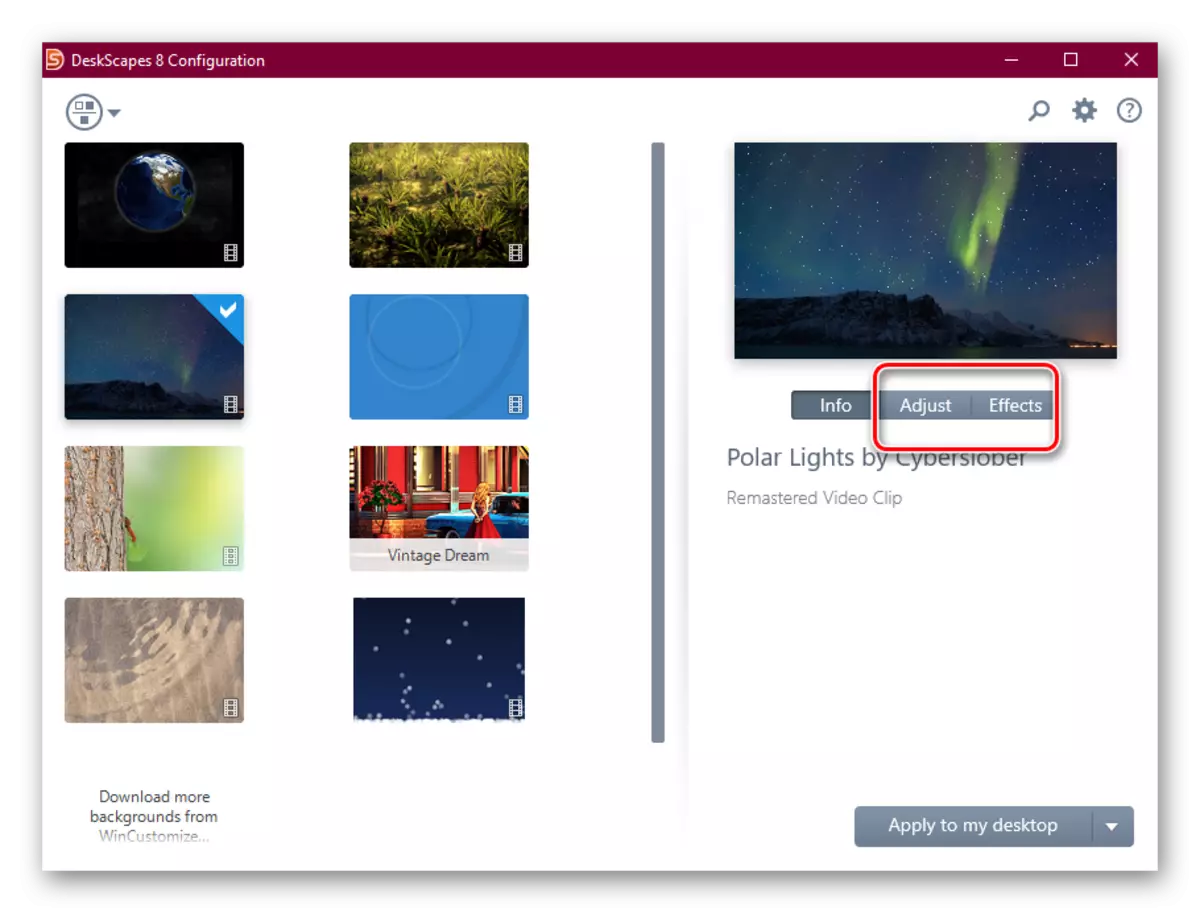
Lesson: How to install live wallpapers on Windows 10
Stage 6: Customization Icons
Users not satisfy the type of standard icons of the tenth version of the "windows" can easily change it: the icon replacement functionality available from Windows 98 has not disappeared anywhere in the latest version of OS from Microsoft. However, in the case of "dozens" there are some nuances covered in a separate material.

Read more: Change icons on Windows 10
Stage 7: Mouse Cursors
It also remained and the ability to replace the mouse cursor to user-methods are the same as in the "seven", but the location of the necessary parameters, as well as a set of third-party programs, differ.
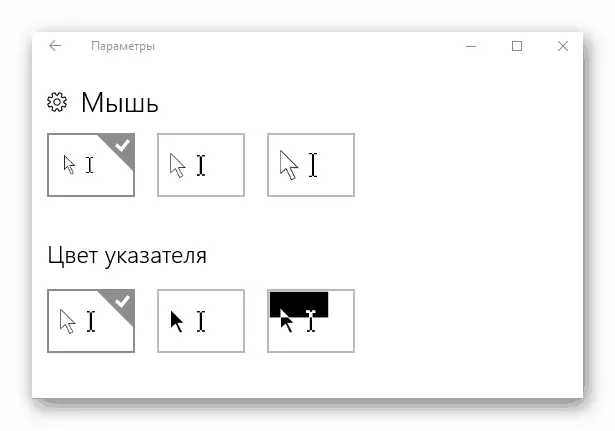
Lesson: How to replace the cursor on Windows 10
Stage 8: Start menu
The "Start" menu, which was absent by default in Windows 8 and 8.1, returned to their heir, but underwent significant changes. These changes came to the soul not to all users - fortunately, it is not difficult to change it.
Read more: Change the Start menu in Windows 10
It is also possible to return the type of "start" from the "seven" - alas, only with a third-party application. Nevertheless, it's not too difficult to use it.
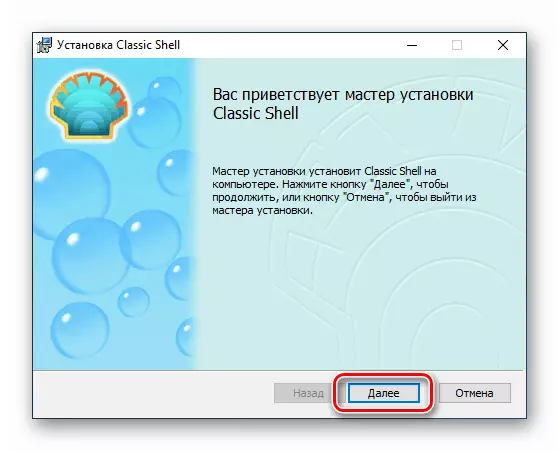
Lesson: How to return the "Start" menu from Windows 7 in Windows 10
Stage 9: "Task panel"
Changing the "taskbar" in the tenth version of Windows Task Nontrivial: Only the change in transparency and changing the location of this panel is actually available.

Read more: How to make a transparent "taskbar" in Windows 10
Conclusion
Customization of the "Desktop" on Windows 10 is not a difficult task, let them use a third-party solution for most methods.