
The software package called LAMP includes the OS on the Linux kernel, the Apache web server, the MYSQL database and PHP components used for the site engine. Next, we describe in detail the installation and primary setting of these additions, taking the latest version of Ubuntu for the example.
Install Lamp Programs Set in Ubuntu
Since the format of this article already implies that you have the installed Ubuntu on your computer, we will skip this step and go to other programs immediately, however, you can find instructions on the topic of interest to you, having familiarized yourself with our other articles on the following links.Read more:
Installing Ubuntu on VirtualBox
Step-by-step Linux installation guide from flash drive
Step 1: Install Apache
Let's start with the installation of an open web server called Apache. It is one of the best option, so it becomes a choice of many users. In Ubuntu, it is placed through the "Terminal":
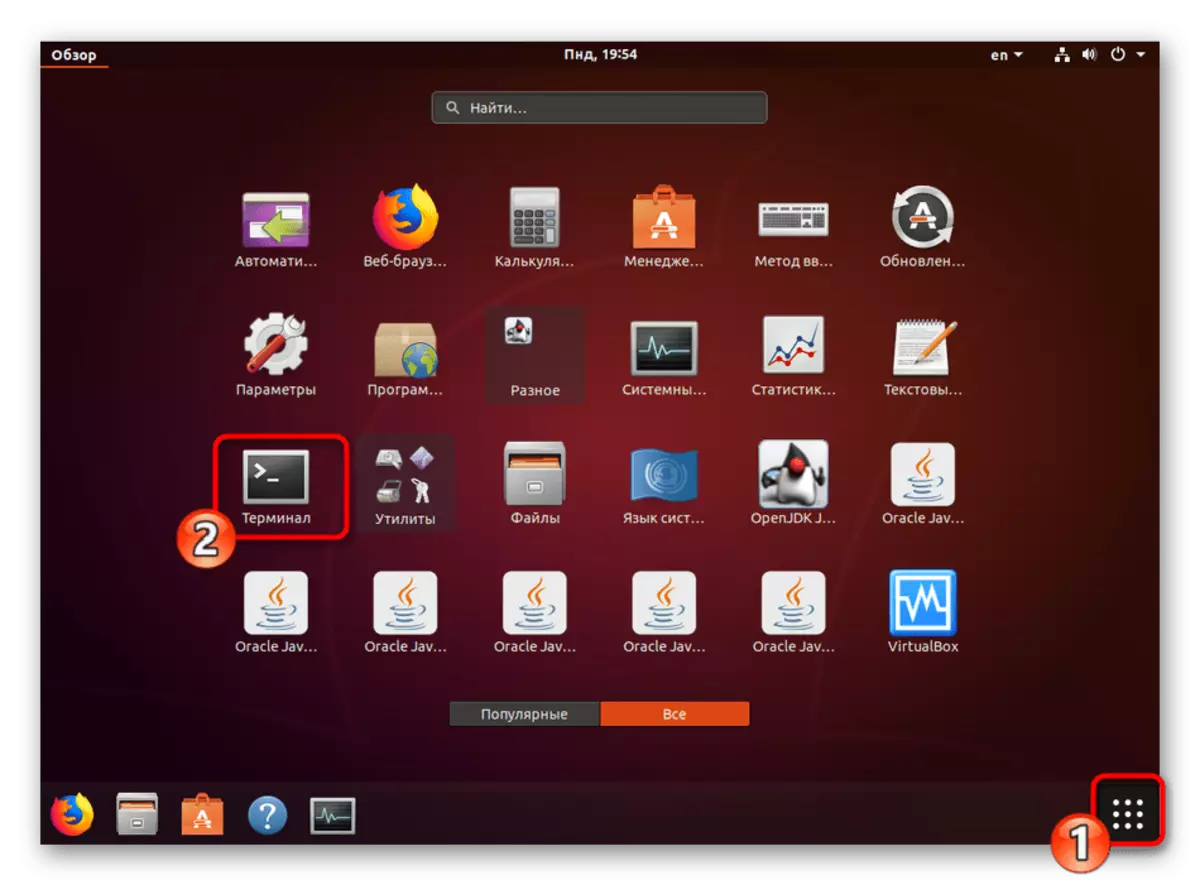
- Open the menu and start the console or click Ctrl + Alt + T. key combination.
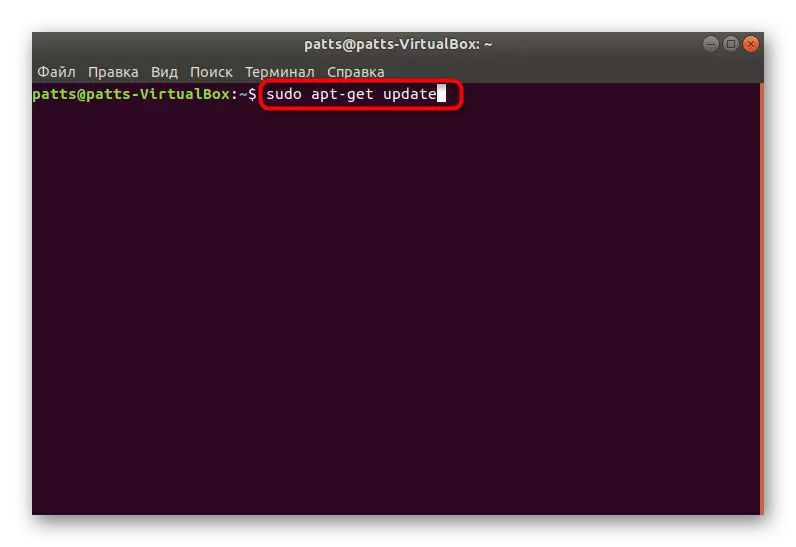
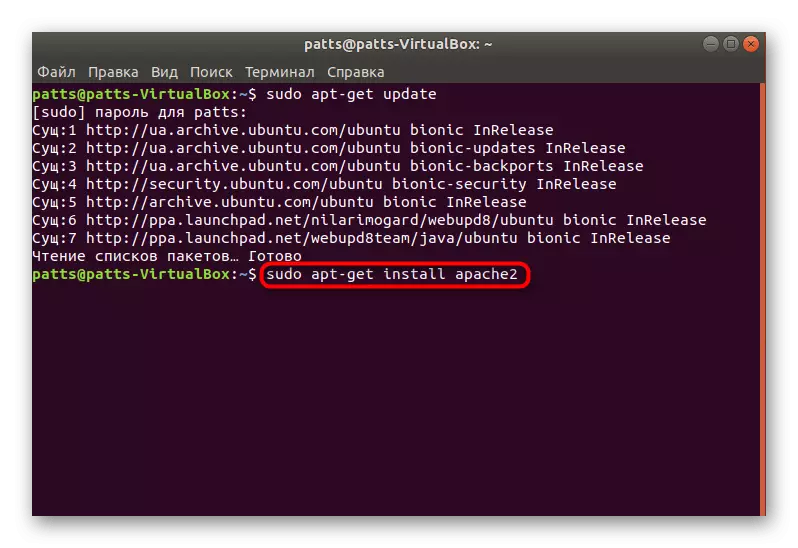
- First, update the system repositories to make sure all the necessary components are available. To do this, write the Sudo APT-Get Update command.
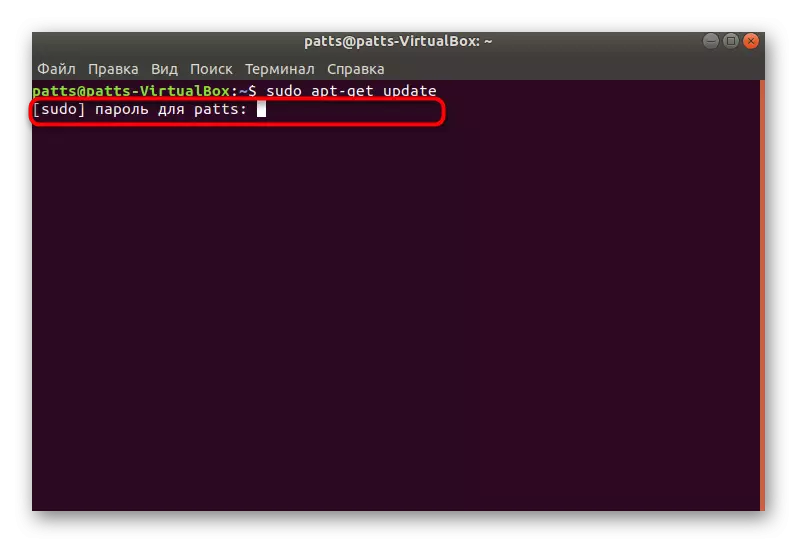
- All actions through Sudo runs with root access, so be sure to specify your password (it is not displayed when entering).
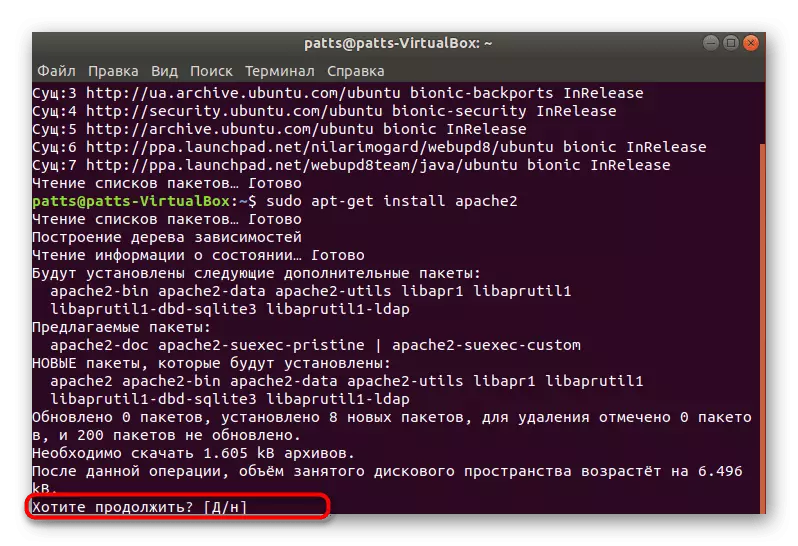
- Upon completion, enter Sudo APT-Get Install Apache2 to add Apache to the system.
- Confirm the addition of all files by selecting the D. response option
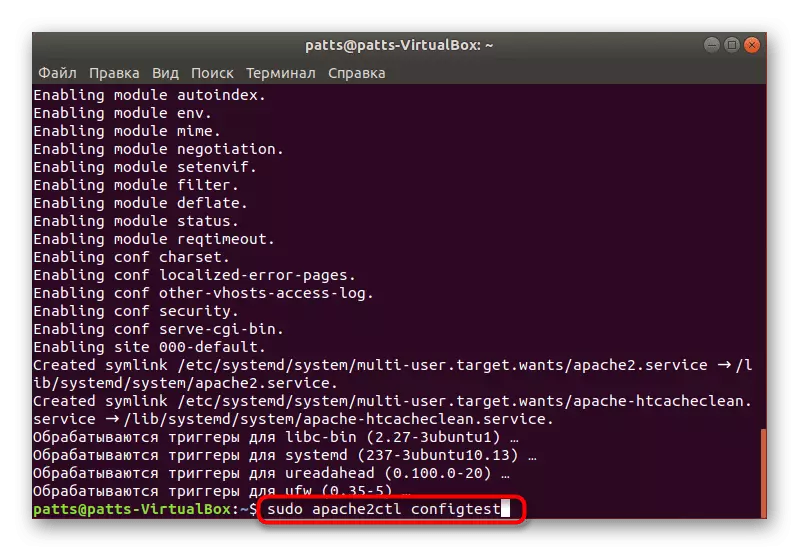
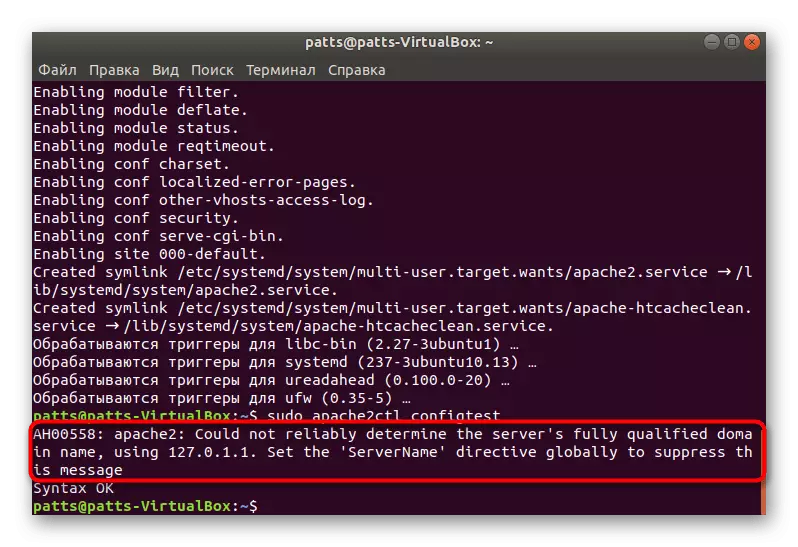
- We will test the web server work, running Sudo Apache2ctl ConfigTest.
- The syntax must be normal, but sometimes a warning is about the need to add ServerName.
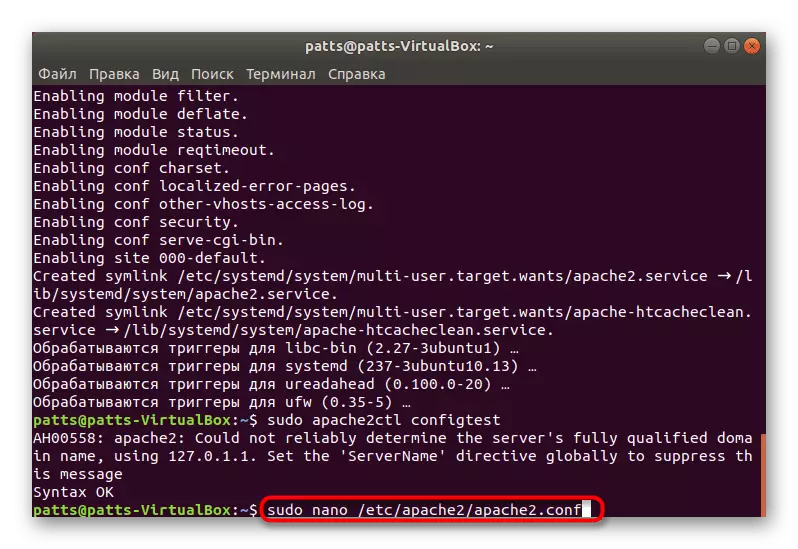
- Add this global variable to the configuration file to avoid the appearance of warnings in the future. Run the file itself through sudo nano /etc/apache2/apache2.conf.
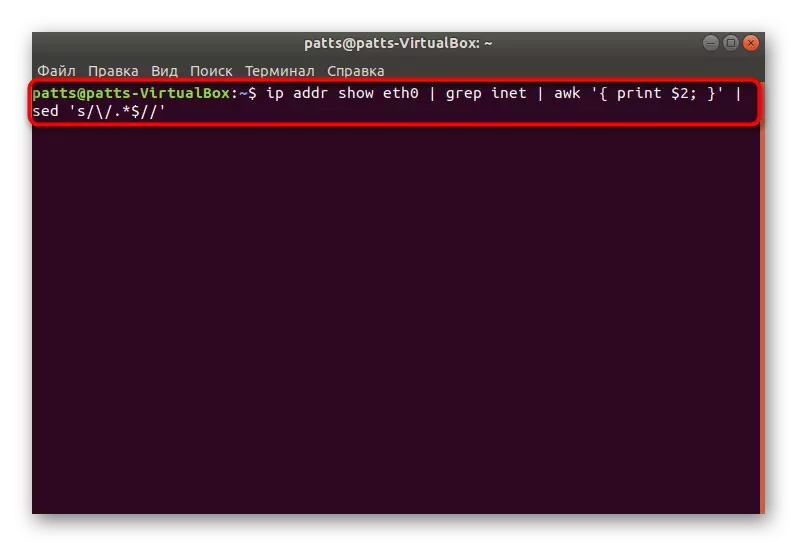
- Now run the second console, where you execute the IP Addr Show Eth0 command | Grep inet | awk '{print $ 2; } '| Sed 'S /\/.*_$ //' to find out your IP address or server domain.
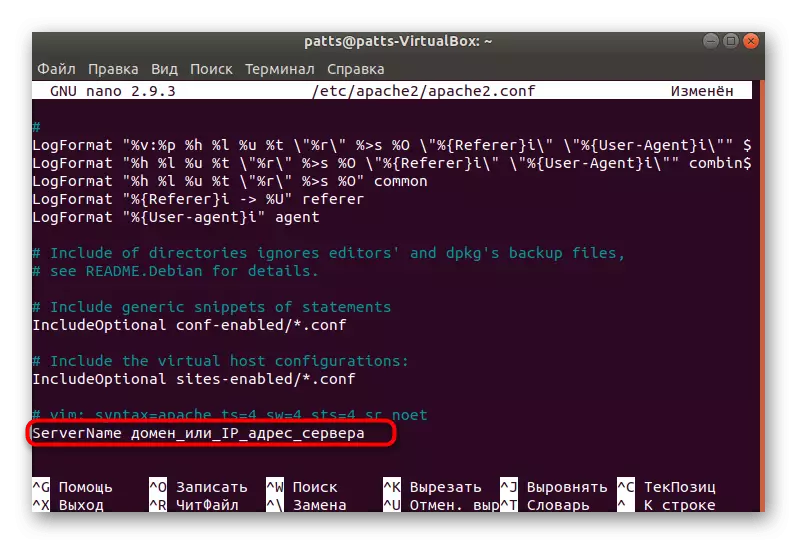
- In the first "terminal", go down to the bottom of the opened file and enter the servername + domain name or the IP address that you have just learned. Save the changes through Ctrl + O and close the configuration file.
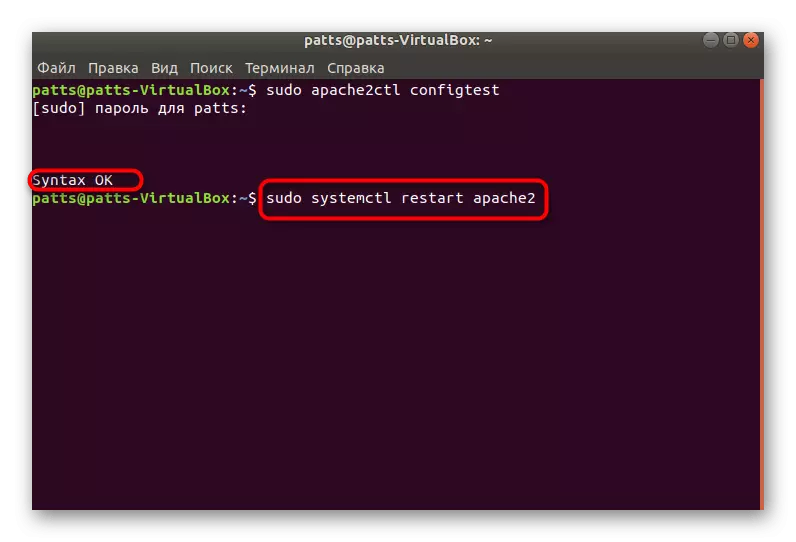
- Testing again to make sure there is no error, and then restart the web server through the Sudo SystemCTL Restart Apache2.
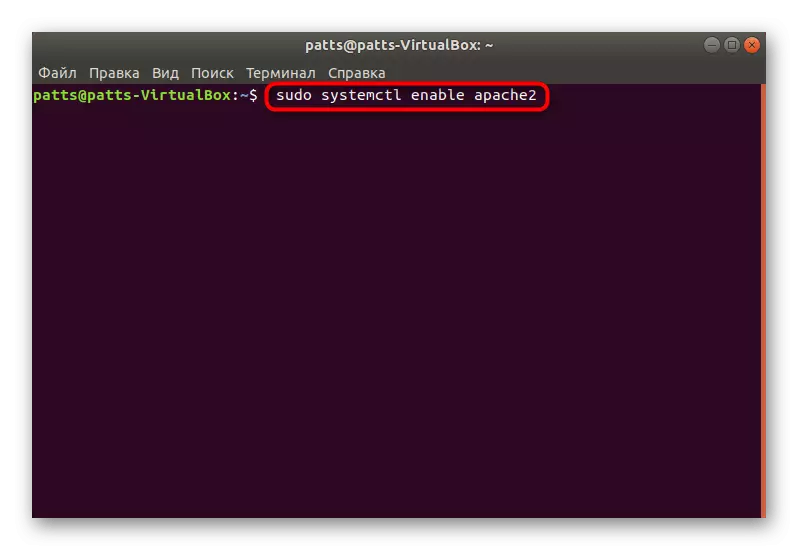
- Add Apache to autoload, if necessary, so that it starts with the SUDO SystemCTL Enable Apache2 operating system.
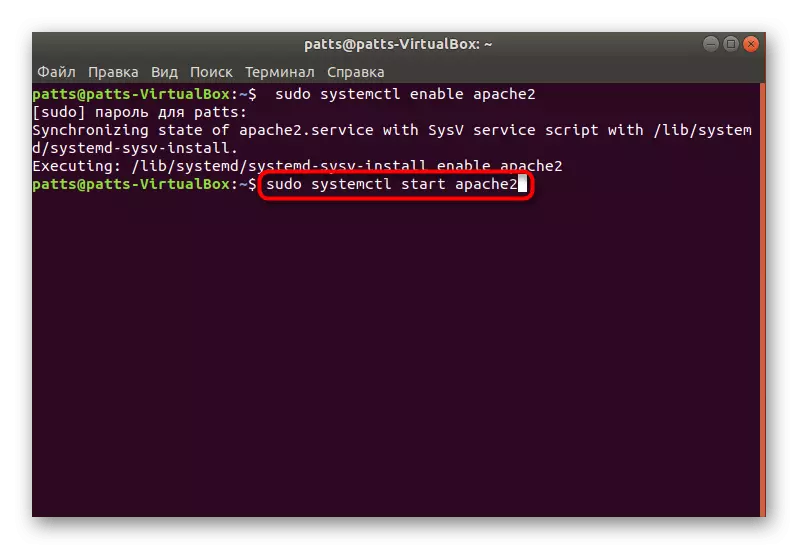
- It remains only to start a web server to check the stability of its work, use the Sudo SystemCTL Start Apache2 for this.
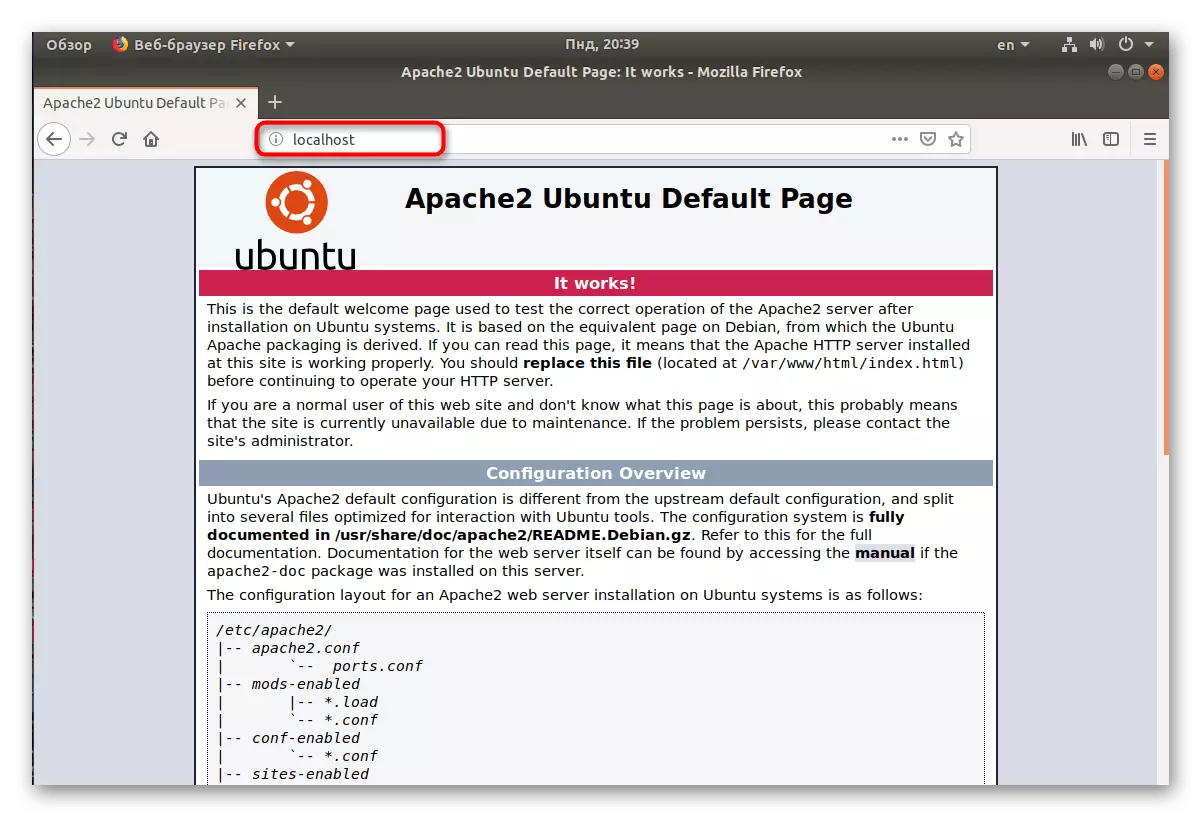
- Run the browser and go to Localhost. If you hit the Apache's main page, then everything functions correctly, proceed to the next step.
Step 2: Install MySQL
The second action will be the addition of MySQL database, which is also performed through the standard console using the commands available in the system.
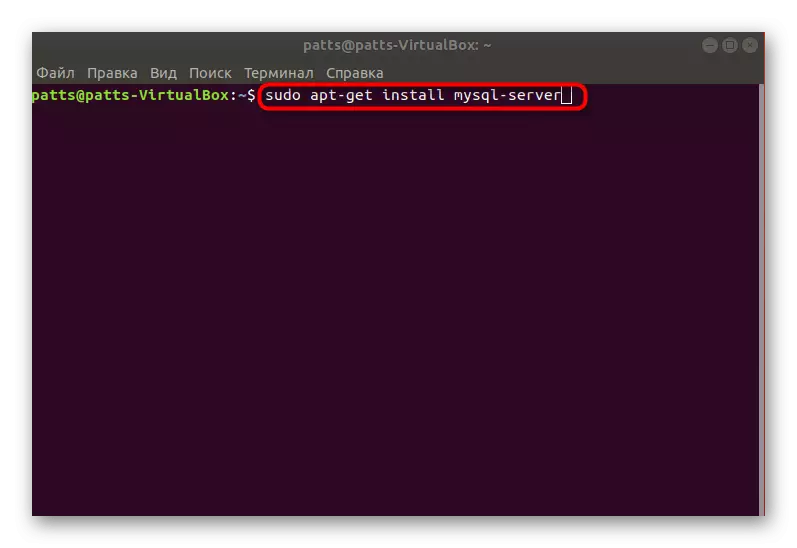
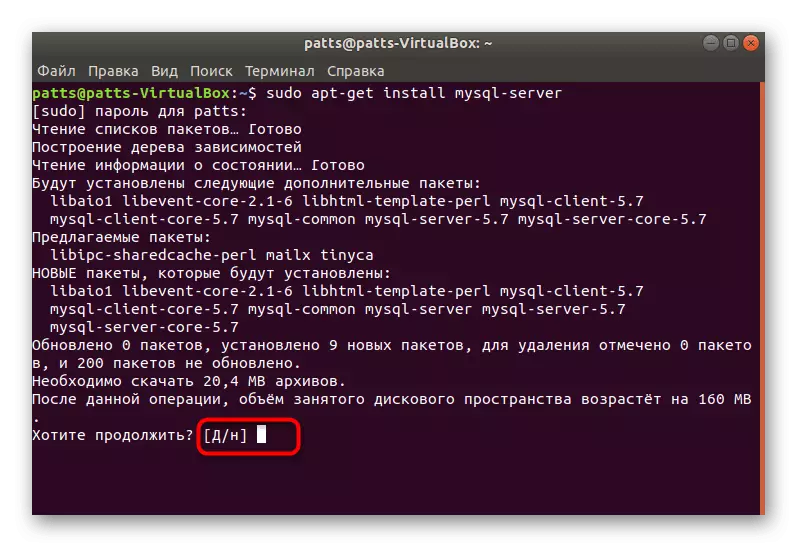
- Write a Sudo Apt-Get Install MySQL-Server in the Terminal and click on ENTER.
- Confirm Adding new files.
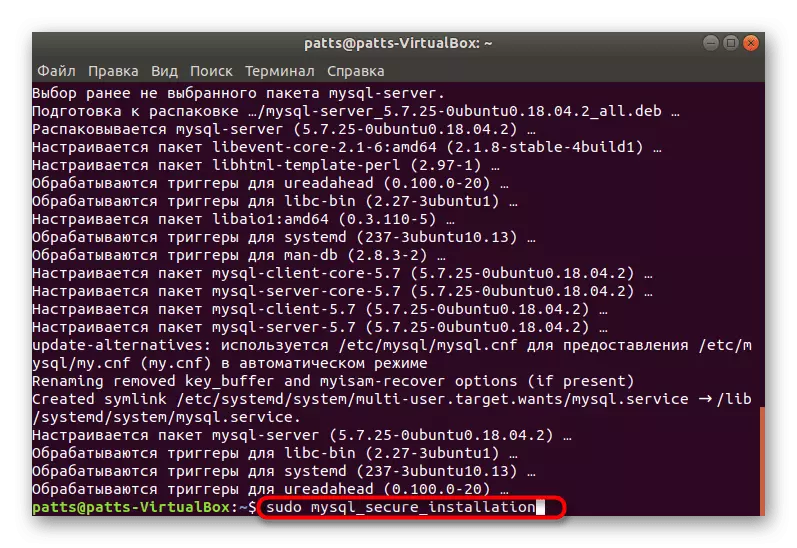
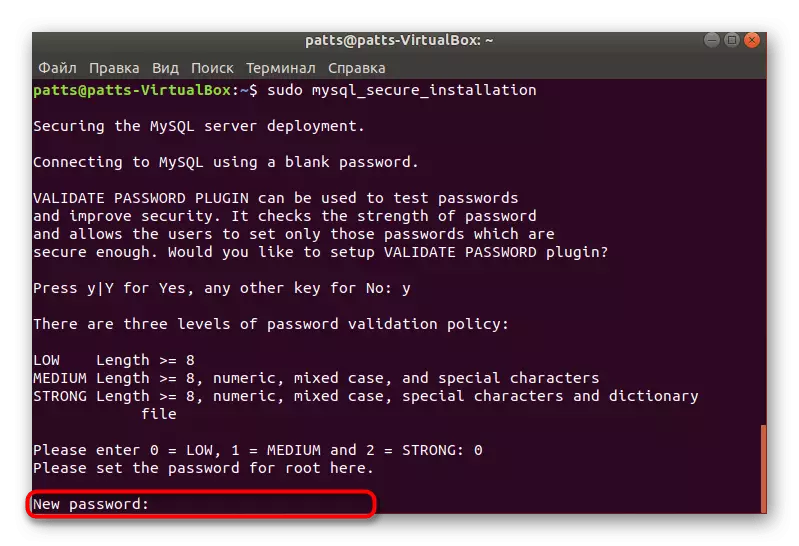
- It is necessary to secure the use of the MYSQL environment, so provide protection using a separate add-on, which is installed via sudo mysql_secure_installation.
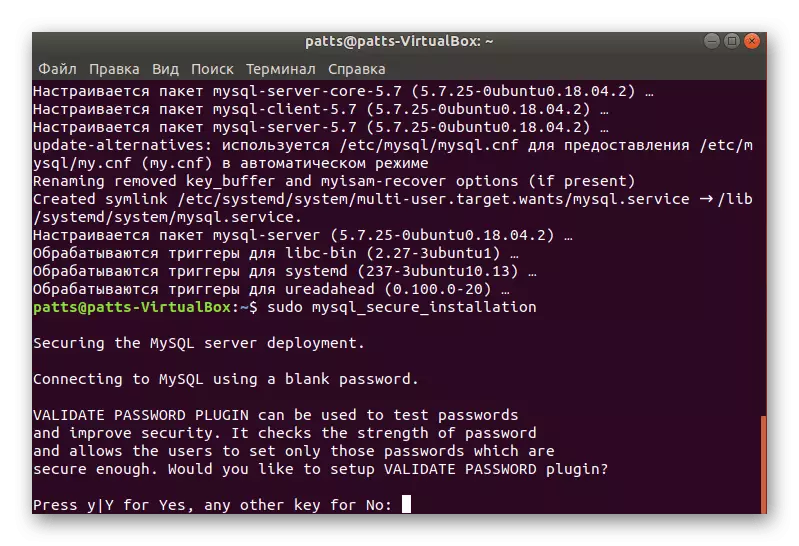
- Setting the plug-in settings for password requirements does not have a single instruction, since each user is repelled from its own solutions in terms of validation. If you want to install requirements, enter in the C console y when requesting.
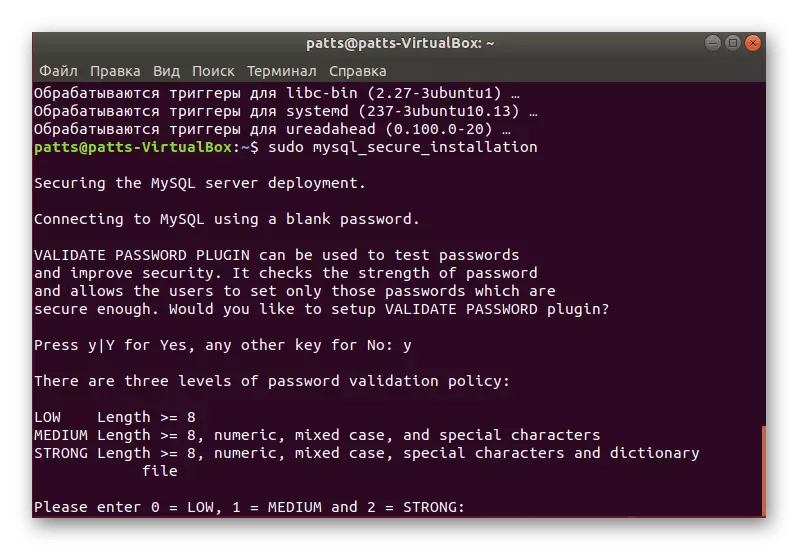
- Next, you need to choose the level of protection. First, familiarize yourself with the description of each parameter, and then select the most suitable.
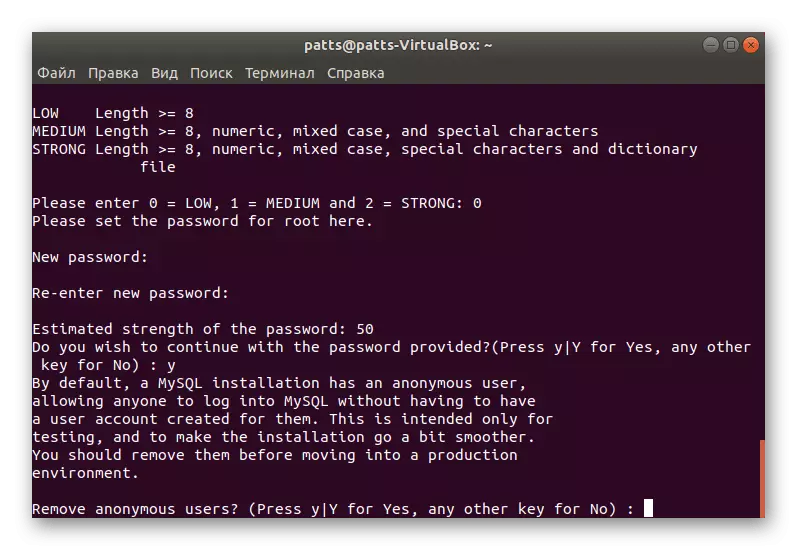
- Install a new password to provide root access.
- Further, you will display various security settings, read them and accept or refuse if you consider it necessary.
With the description of another method of installation, we advise you to get acquainted in a separate article, which you will find at the following link.
On this installation procedure and PHP settings for Lamp can be considered successfully completed.
READ ALSO: PHP Installation Guide in Ubuntu Server
Today we touched on the installation and basic setting of LAMP components for the Ubuntu operating system. Of course, this is not all the information that can be provided on this topic, there are many nuances associated with the use of several domains or databases. However, thanks to the above instructions, you can easily prepare your system for the correct functioning of this software package.