

A sufficiently frequent practice of users is to install two operating systems nearby. Most often it is Windows and one of the distributions based on the Linux kernel. Sometimes, with such installation, problems arise with the workloader work, that is, the loading of the second OS is not performed. Then it needs to be restored by its own by changing the system parameters to the correct. As part of this article, we would like to discuss GRUB recovery through the Boot-Repair utility in Ubuntu.
We restore the GRUB bootloader via Boot-Repair in Ubuntu
Immediately, I would like to note that further instructions will be shown on the download example from the LiveCD with Ubuntu. The procedure for creating such an image has its own nuances and complexity. However, the developers of the operating system described this procedure in the most in detail in their official documentation. Therefore, we strongly recommend you to familiarize yourself with it, create a LiveCD and boot from it, and already follow the execution of manuals.Download Ubuntu with LiveCD
Step 1: Installation Boot-Repair
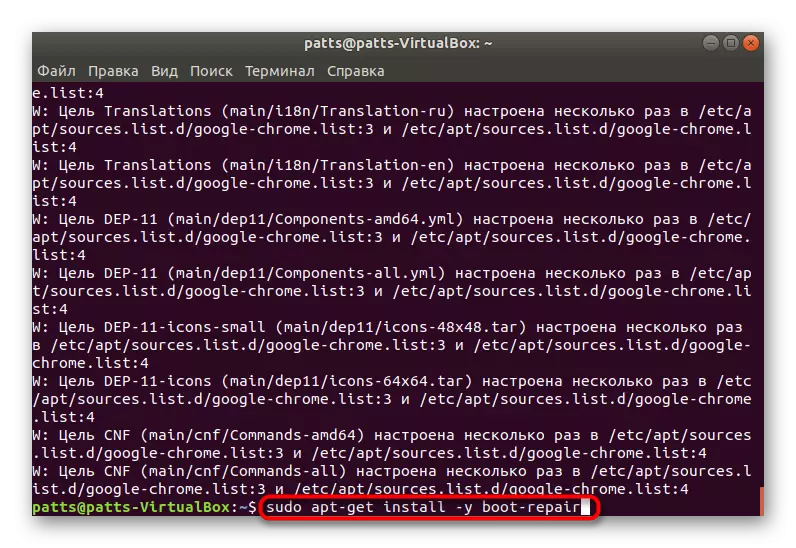
The utility under consideration is not included in the standard set of OS tools, so it will have to be installed independently by using the user repository. All actions are carried out through the standard "Terminal".
- Run the console in any convenient way, for example, through the menu or clamping the hot key Ctrl + Alt + T.
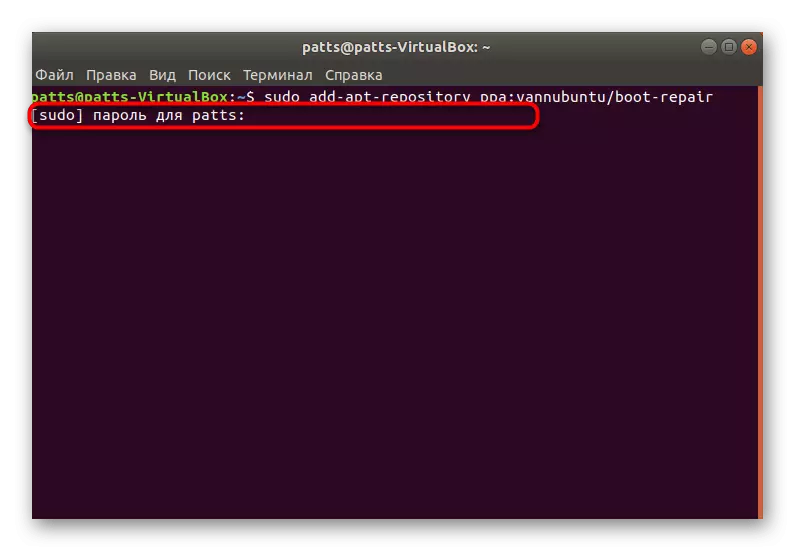
- Download the necessary files into the system, prescribing the Sudo Add-APT-Repository PPA: Yannubuntu / Boot-Repair command.
- Confirm the authenticity of the account by entering the password.
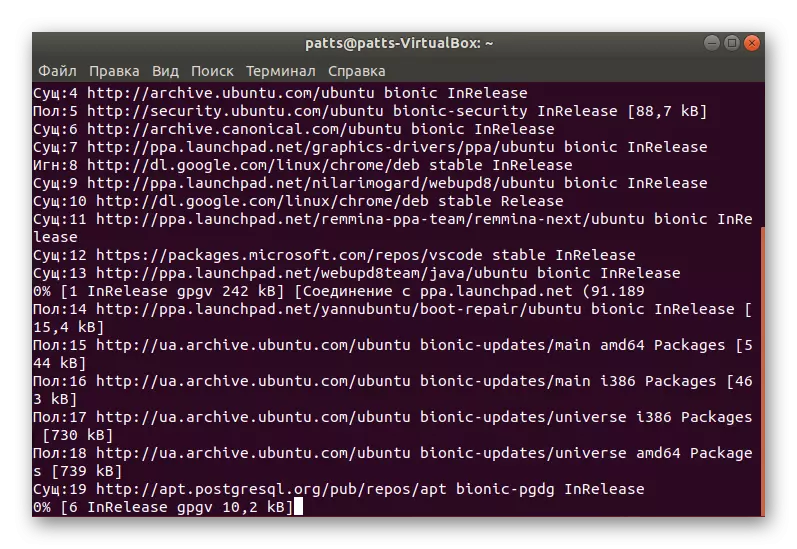
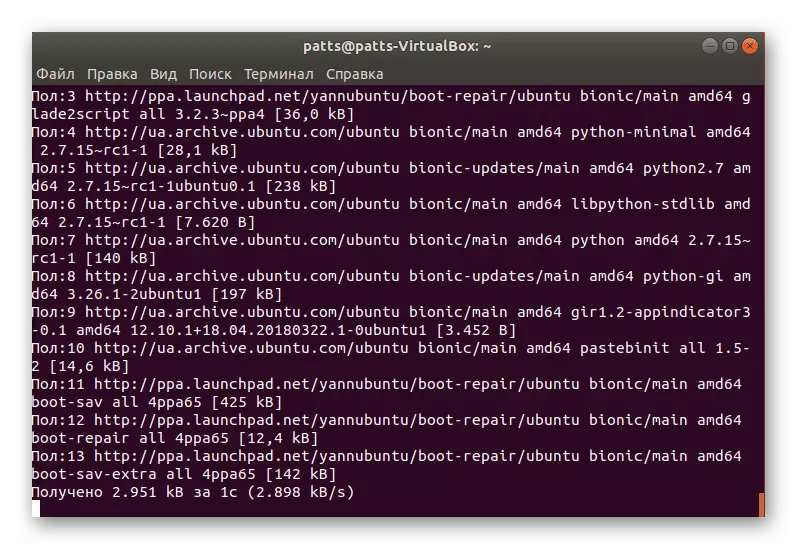
- Expect the download to download all the necessary packages. This should have an active Internet connection.
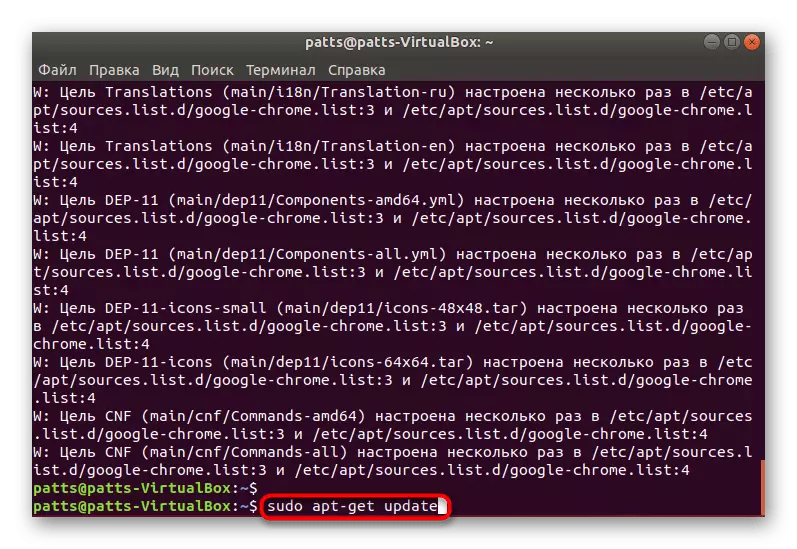
- Update the system libraries through Sudo Apt-Get Update.
- Run the installation process of new files by entering the Sudo APT-Get Install string -Y Boot-Repair.
- The compilation of all objects will take a certain amount of time. Wait until the new input row appears and do not close the window with the console before this.

When the whole procedure was successful, you can safely go to launch Boot-Repair and scanning a bootloader for errors.
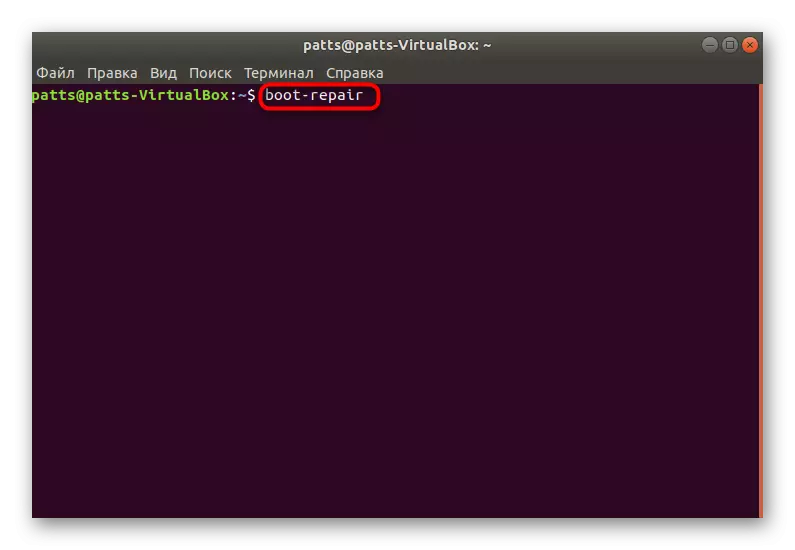
Step 2: Launch Boot-Repair
To start the installed utility, you can use the icon that has been added to the menu. However, it is not always possible to work in the graphic shell, so it is easy enough to enter in the Boot-Repair terminal.
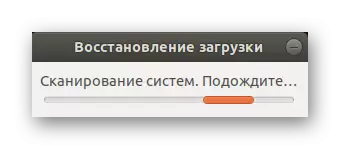
A system for scanning system and boot recovery will be performed. During this, do not do anything on the computer, and also do not complete the forcibly functioning of the tool.
Step 3: Fixed Found Errors
After the expiration of the system analysis, the program itself will offer you the recommended download recovery option. Usually it corrects the most common problems. To start it, you simply need to click on the corresponding button in the graphics window.
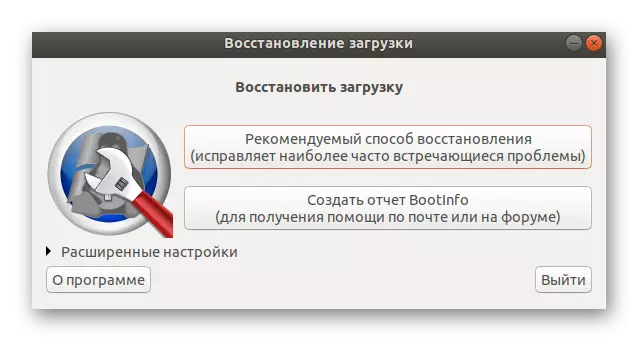
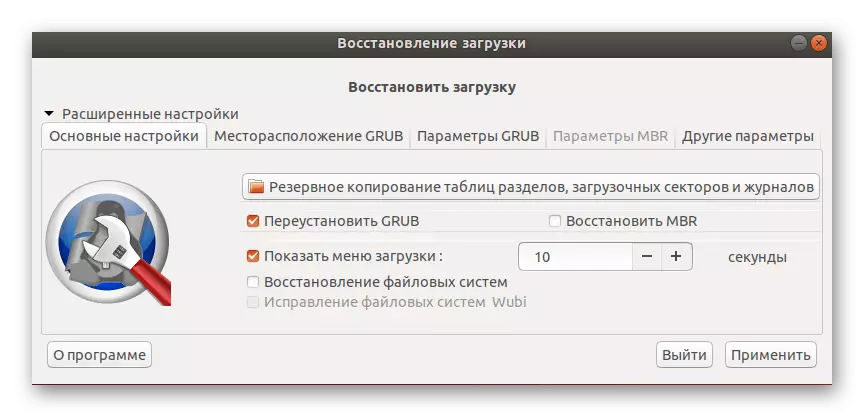
If you have already come across the work of boot-repair or read the official documentation, in the "Advanced Settings" section you can apply your own recovery parameters to ensure one hundred percent result.
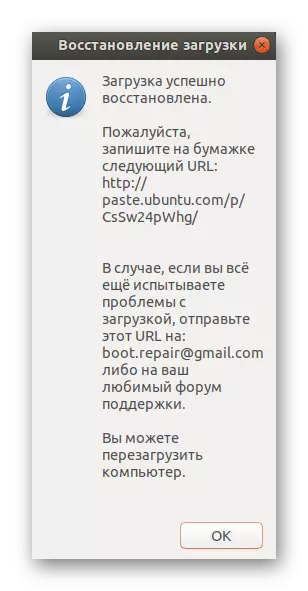
At the end of the recovery, you will open a new menu where the address with saved logs will be seen, and additional information is displayed regarding the results of the GRUB error correction.
In the case when you do not have the ability to use LiveCD, you will need to download the image of the program from the official site and write it on the boot flash drive. When it starts it, instructions will immediately appear on the screen, and it will be necessary to perform everything to solve the problem.
Download boot-repair-disk
Usually, the GRUB problems face are facing users who set Ubuntu next to Windows, so the following materials on the topic of creating a boot drive will be most useful as possible, we advise you to get acquainted in detail with them.
Read more:
Programs for creating a loading flash drive
Acronis True Image: Creating a bootable flash drive
In most cases, the use of a simple boot-repAir utility helps to quickly cope with Ubuntu bootloader workability. However, if you come further with different errors, we recommend remembering their code and description, and after contacting Ubuntu documentation to search for available solutions.