

The PHPMYAdmin web interface is now actively involved by MySQL database users, since they support interaction only through the terminal. Installing additional software with a graphical interface will make it much easier to simplify the procedure for working with web servers, however, for this, you will first have to make a number of actions that sometimes cause difficulties. Today we would like to consider the installation of PHPMYAdmin in the CENTOS 7 operating system, dividing all important steps to steps. You will only need to follow the instructions in you and correctly enter each team.
Install phpMyadmin in CentOS 7
Unfortunately, the official repository of the application under consideration does not exist, so you will have to first add a user storage to the system, from which the installation process itself is performed. In addition, two versions of phpmyAdmin are particularly popular, we will tell you about installing each of them and further configure the Apache or Nginx web server.Adding PhpMyAdmin components
Of course, when working with new applications in Linux is always priority to add their libraries to the system, and PHPMYAdmin has not exceeded. Let us raise the topic of two available versions, starting with the recommended developers.
Installing PhpMyadmin 4.4.
PhpmyAdmin 4.4 works in the PHP programming language version 5.4, and, as you know, this version is not the most recent, which does not prevent it from being the most popular and in demand. Its installation in the CentOS is made through the classic "terminal" literally in several actions:
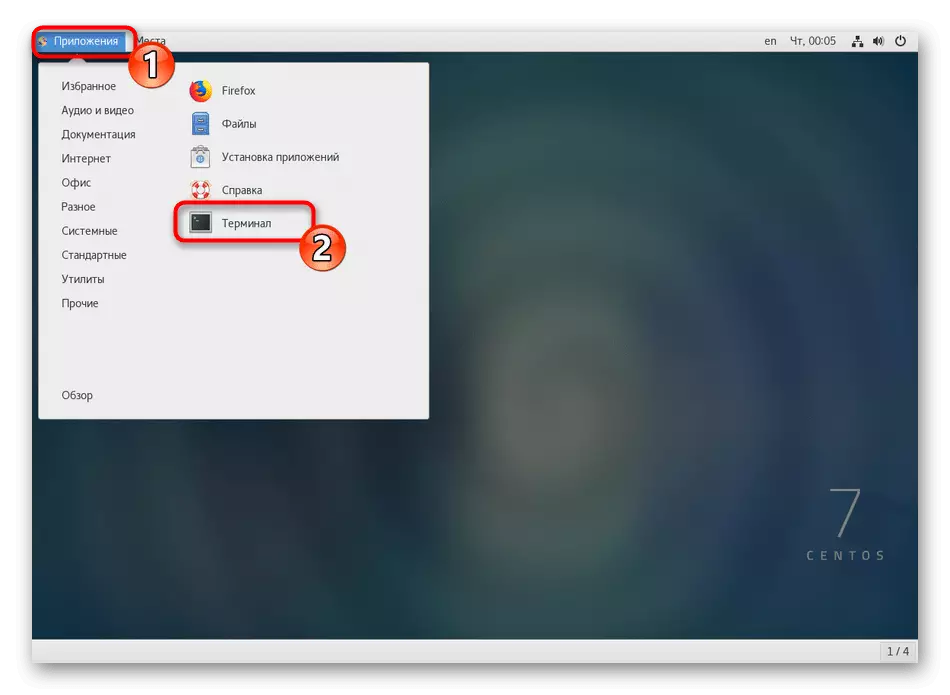
- Run the console by any convenient method, for example, through the "Applications" menu.
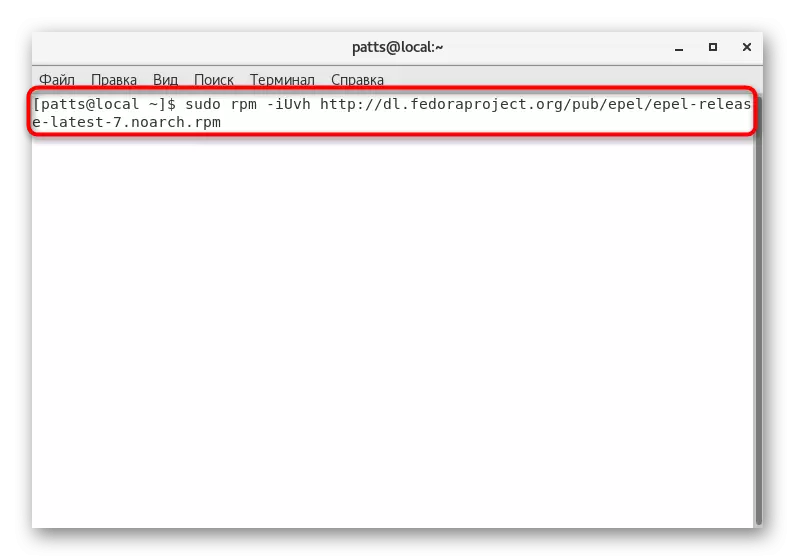
- Enter the sudo rpm -iuvh command http://dl.fedoraproject.org/pub/epel/epel-release-terest-7.noarch.rpm to download the software package from the Extra Packages for Enterprise Linux user repository.
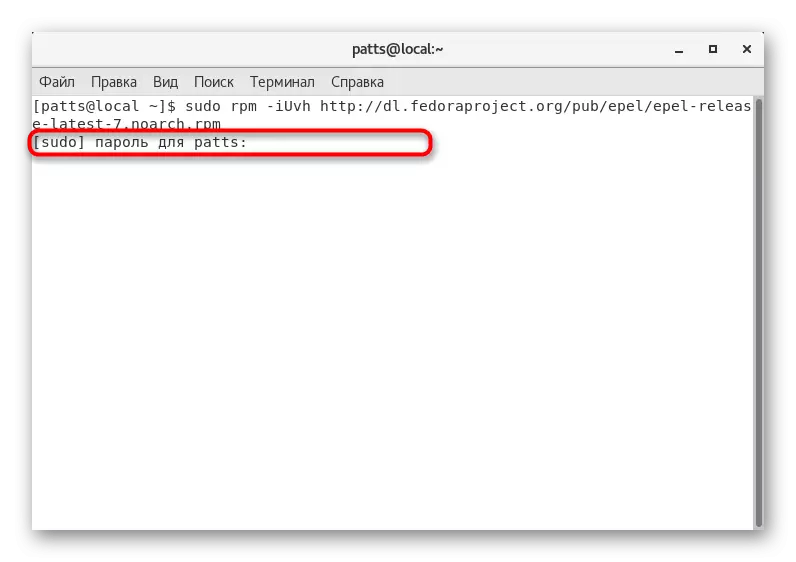
- To continue the process, enter the password from the account with the root access.
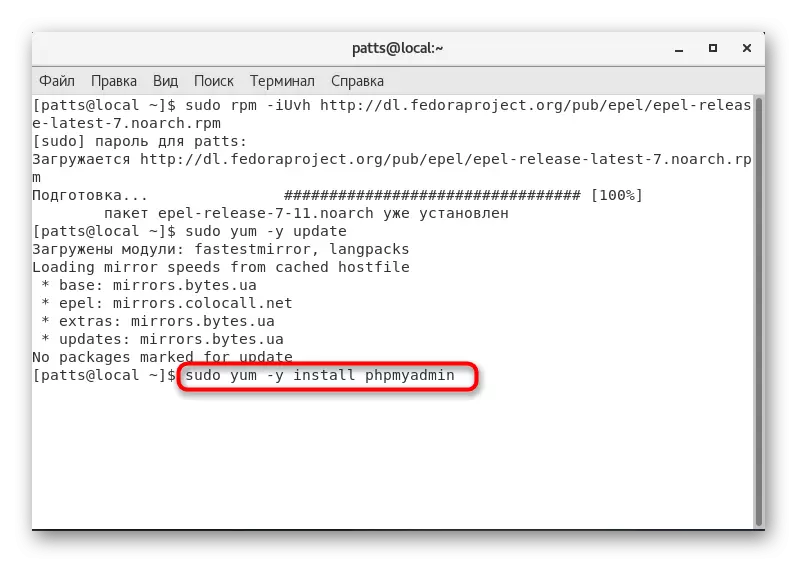
- After completing the addition of packages, you must update the list of system libraries with the Sudo Yum -y Update command.
- The above command installs all available updates, and then only the application client itself will be installed through the sudo yum -y Install phpMyadmin.

When using a web server, for example, Apache, you will only stay to restart it and check the operation of the installed component, going to http: // IP_VER_VERVER / PHPMYADMIN.
Installing the latest version of phpMyadmin
Some users are interested only in the latest version of phpmyAdmin, to install which you need to perform some other actions, additionally downloading new packages. In general, the instruction remains similar, but with some changes.
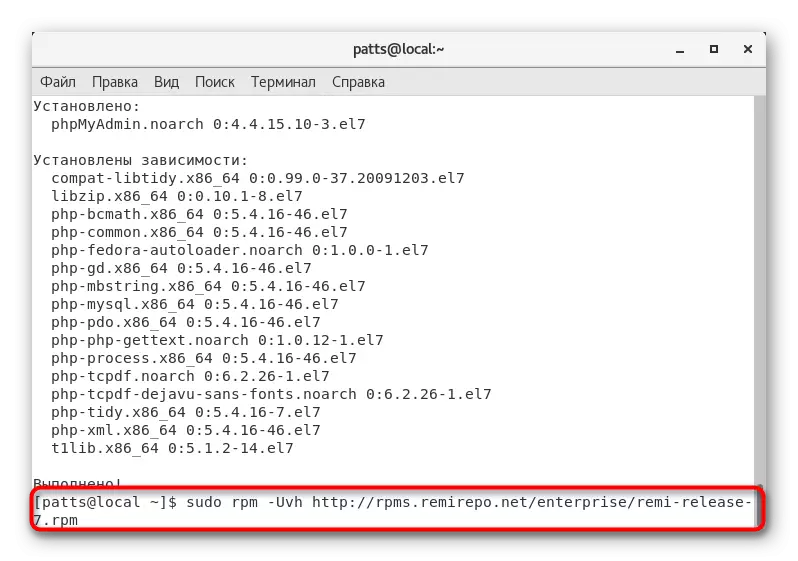
- Add a new package to the system by downloading it from the repository through Sudo RPM -UVH http://rpms.remirepo.net/enterprise/remi-release-7.rpm.
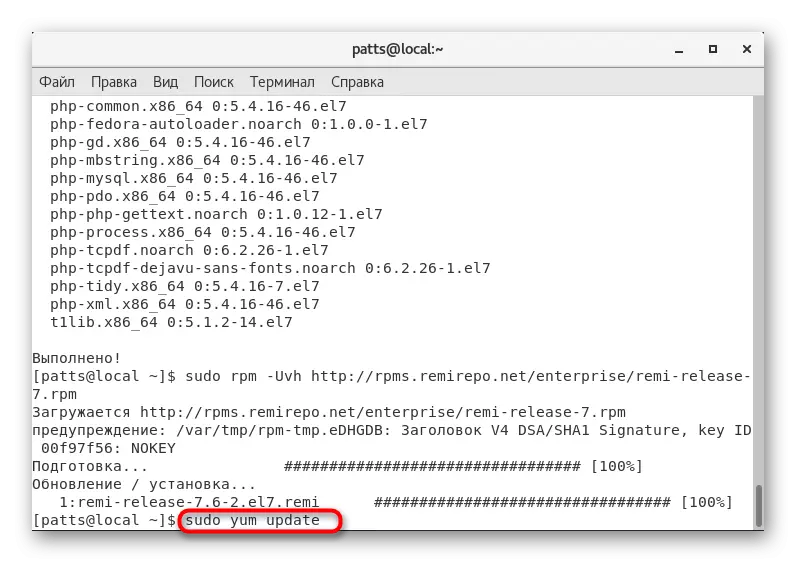
- Update the available system libraries using the Sudo Yum Update command.
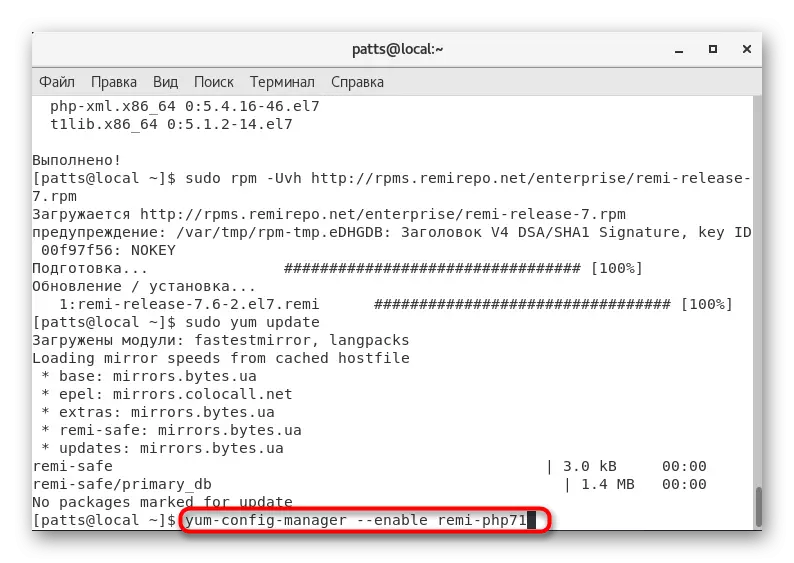
- Enable the support of the latest version of the application, currently it is 7.1. To do this, enter Yum-Config-Manager --Nable Remi-PHP71.
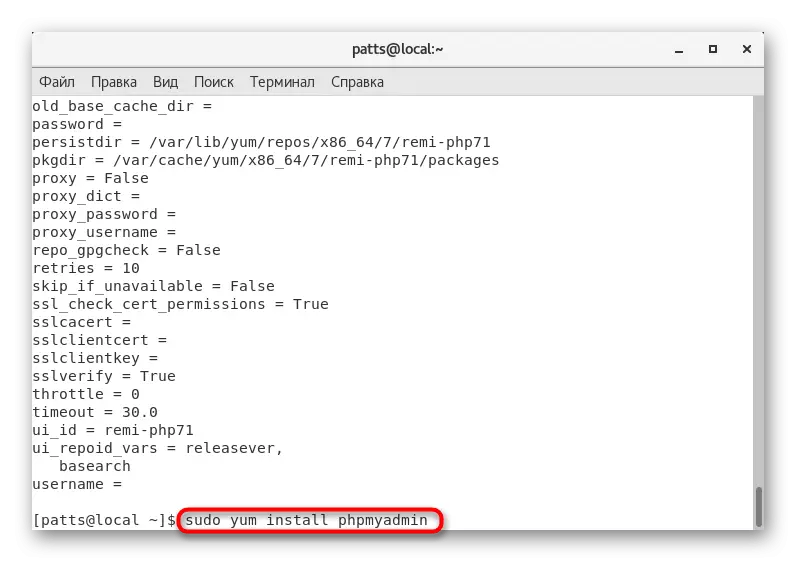
- Install the Sudo Yum Install phpMyadmin, and the appropriate PHP version will be determined automatically.
This adding all components is complete, however, before starting work with the web interface, you will need to configure the server itself. Next, we will analyze the implementation of this procedure in two popular solutions - Apache and Nginx.
Setting up phpMyadmin in nginx
Some users prefer to work with the NGINX web server, as it provides high speed and performance. If you are a supporter of this software, after installing PHPMYAdmin, you will have to make a number of settings to establish the performance of the entire mechanism.
First, note that the web server itself is already added to the operating system, if not, alternately enter the following commands to the console:
Sudo Yum Install EPEL-RELEASE
Sudo Yum Install Nginx
Sudo SystemCTL Start Nginx
After that, follow such instructions:
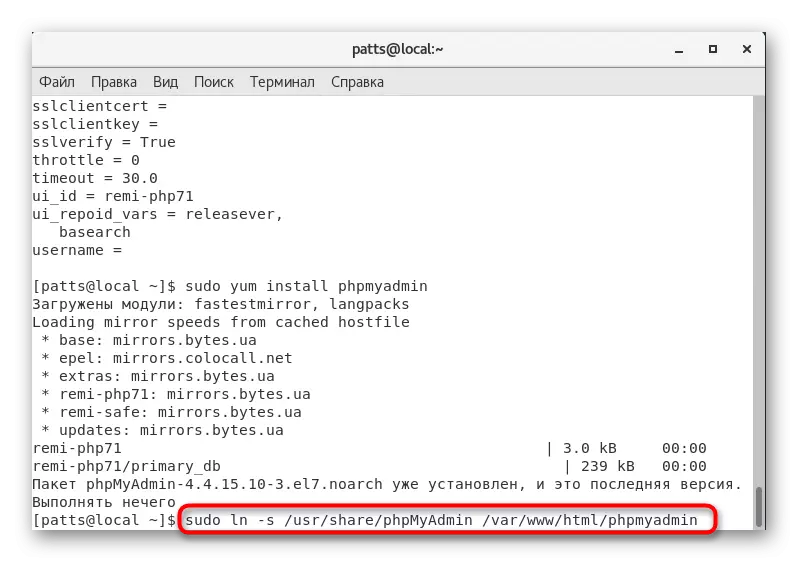
- Turn on PHPMYAdmin to the web server directory using the Sudo LN -S / USR / Share / PHPMYADMIN / VAR / WWW / HTML / PHPMYADMIN string.
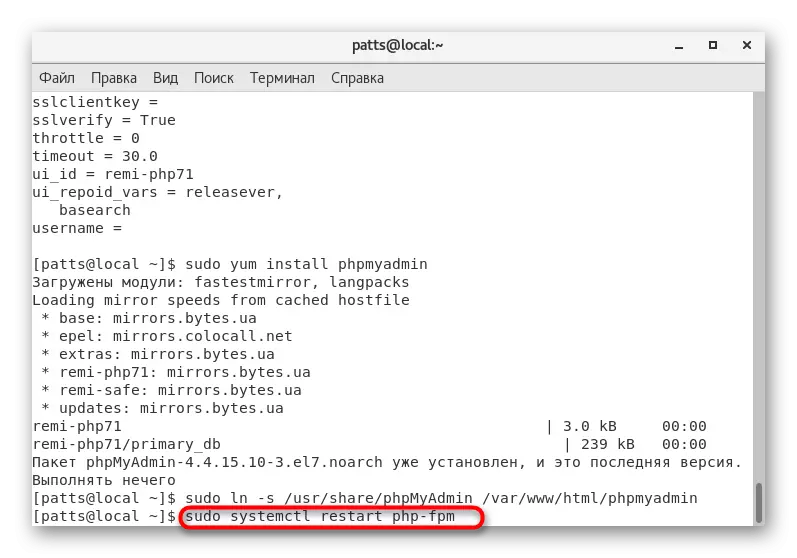
- After making changes, restart by entering Sudo SystemCTL Restart PHP-FPM.
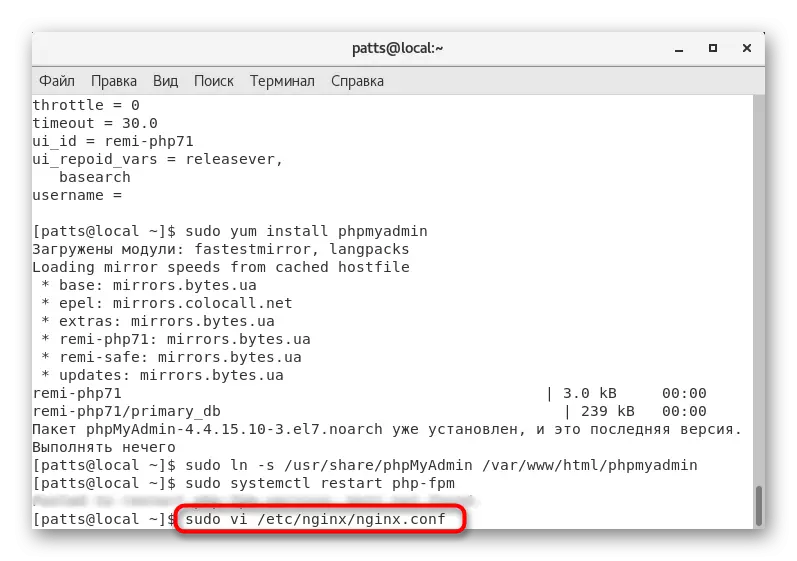
- Through the standard text editor, run the configuration file Sudo VI /etc/NGINX/NGINX.conf.
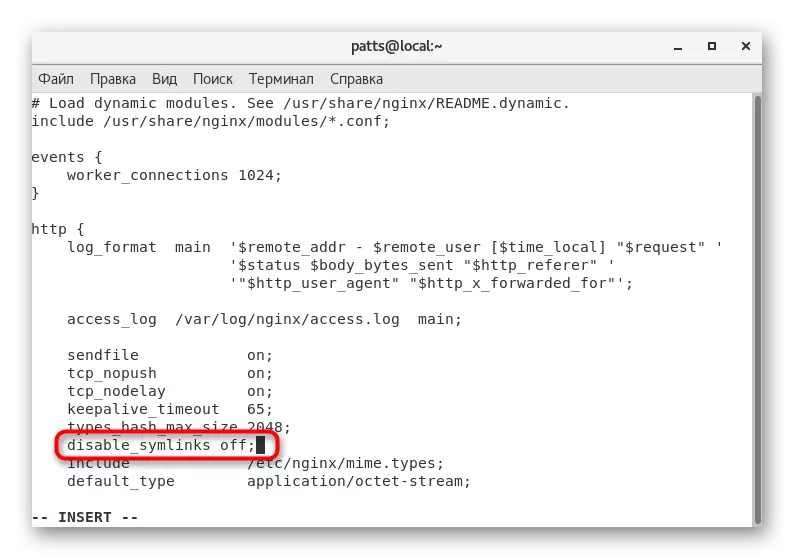
- Lay off the "HTTP" block and add a line disable_symlinks off;
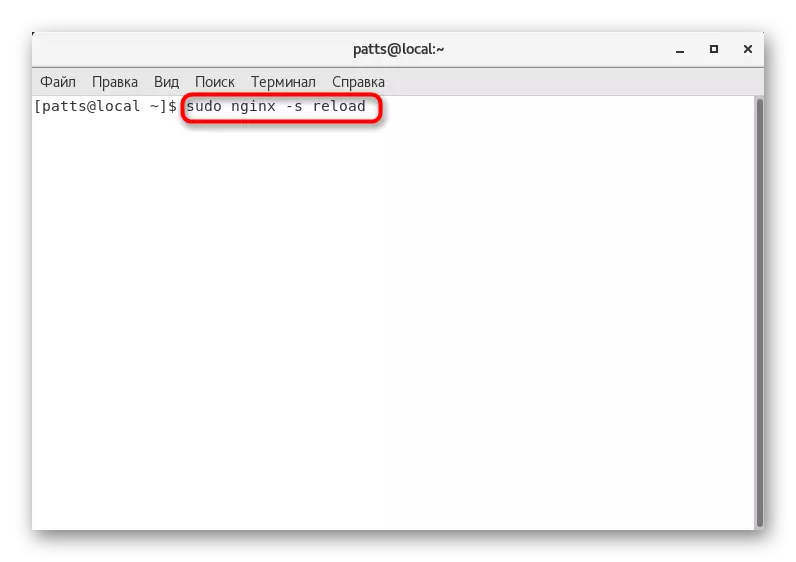
- Save the changes and close the file, after which you restart Nginx Sudo Nginx -s Reload.
It is recommended to secure the web server by creating a random password. To do this, enter OpenSSL Passwd and copy the result. Next, you will need to run a file with passwords using Sudo VI / ETC / NGINX / PASSWORDS and make a new line in the username format: Password, so that in the end it turned out, for example, Admin: 4b7fsek4l2.
Setting up phpMyadmin in Apache
Although the previous web server is considered better in some aspects, Apache still remains a fairly popular solution and is used in the LAMP software system. Its installation in the CentOS is literally made by several commands:
yum install httpd -y
SystemCTL start httpd.service
SystemCTL Enable Httpd.Service.
If the server has already been added or you performed the above commands, you can go directly to the PHPMYAdmin setting itself, and this is done as follows:
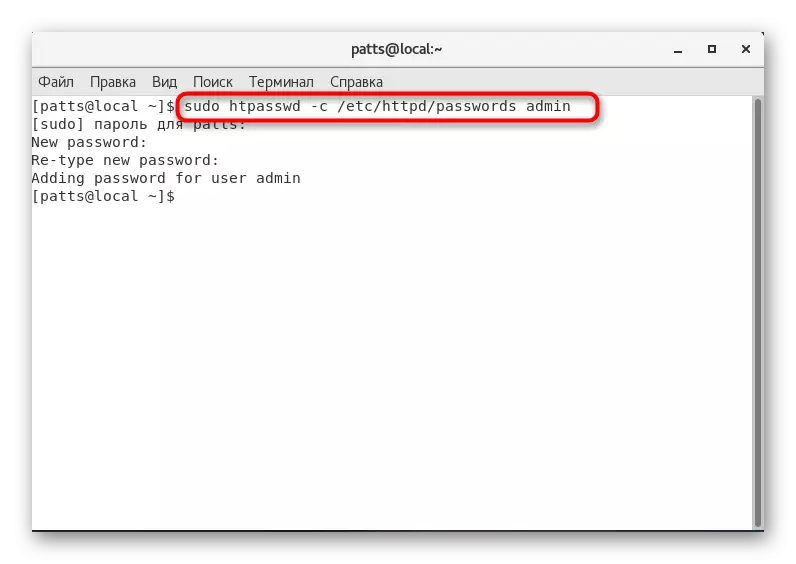
- Set the administrator access password using Sudo HTPASSWD -C / ETC / HTTPD / PASSWORDS ADMIN.
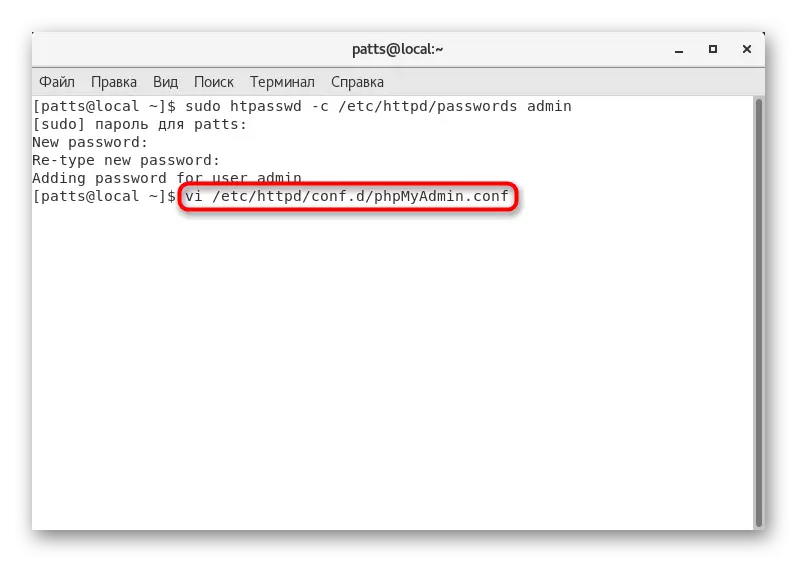
- Run the configuration file for further editing: VI /etc/httpd/conf.d/phpmyAdmin.conf.
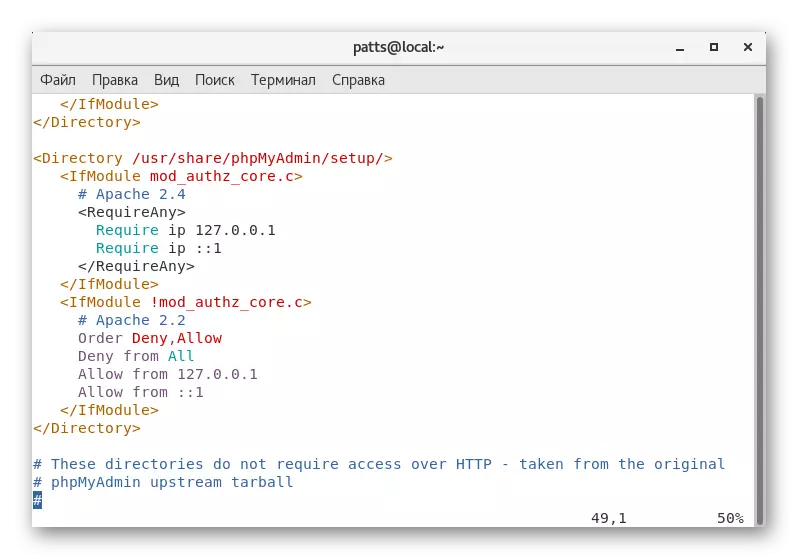
- Lay the section "" and insert such content:
Options Indexes FollowSymLinks.
AllowOverride All.
AUTHTYPE BASIC.
Authname "Restricted Content"
AuthUserFile / etc / httpd / passwords
Require Valid-User
In this article, you have been acquainted not only with the procedure for adding the PhpmyAdmin components themselves, but also learned about their initial configuration in two different web servers. During the execution of each command, we strongly recommend reading notifications that are displayed in the console: sometimes they may indicate errors that require an operational solution.