
The site is a platform on which you can post information for various properties, express your thoughts and convey them to your audience. There are quite a few tools to create resources in the network, and we will consider one of them today - Google Sites.
Website creation on Google Sites
Google provides us with the opportunity to create an unlimited number of sites on the platform of your Google DRIVE cloud disk. Formally, such a resource is a regular document to be edited, such as a form or table.

Personalization
Let's start with the appearance of our new site by setting the icon for the tab by adding the logo by editing the upper footer (header) and other elements.
Icon
Speaking about the icon, we mean an icon that is shown on the browser tab when opening a resource (Favicon).
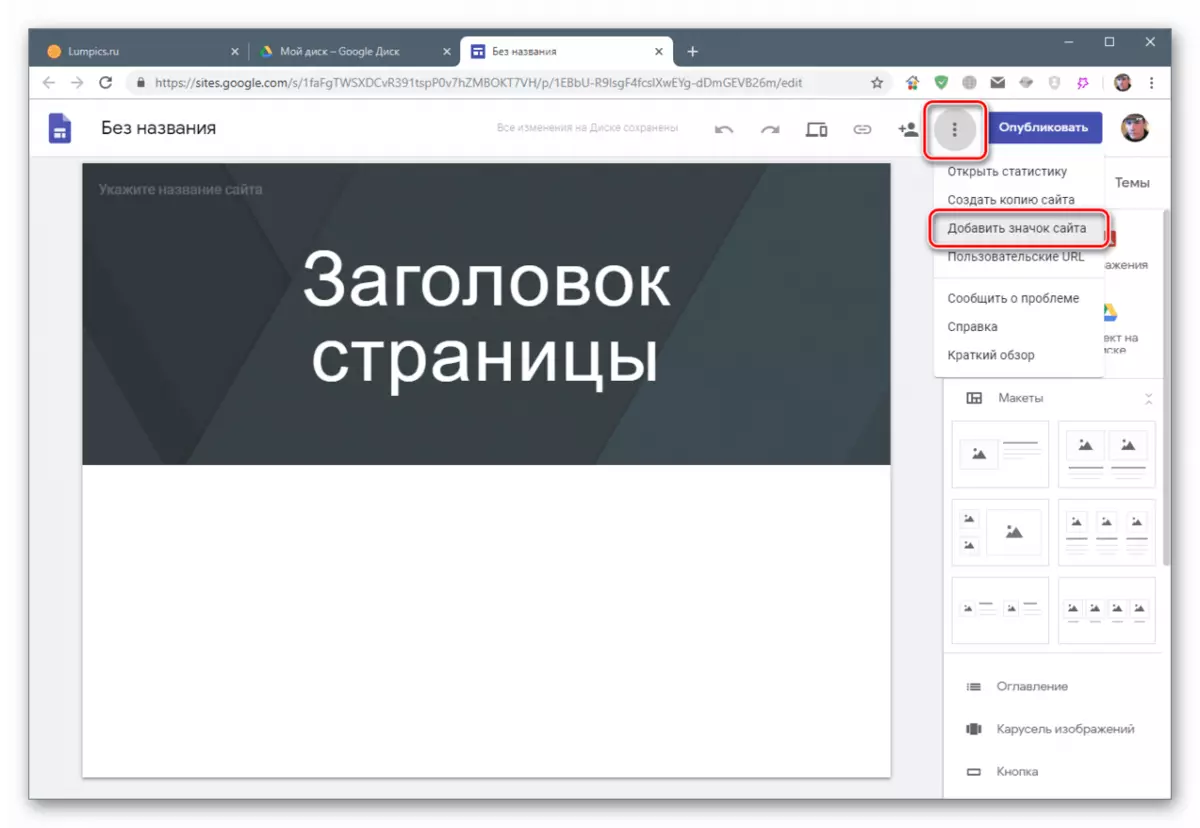
- Press the button with three points at the top of the interface and select the "Add site icon" item.
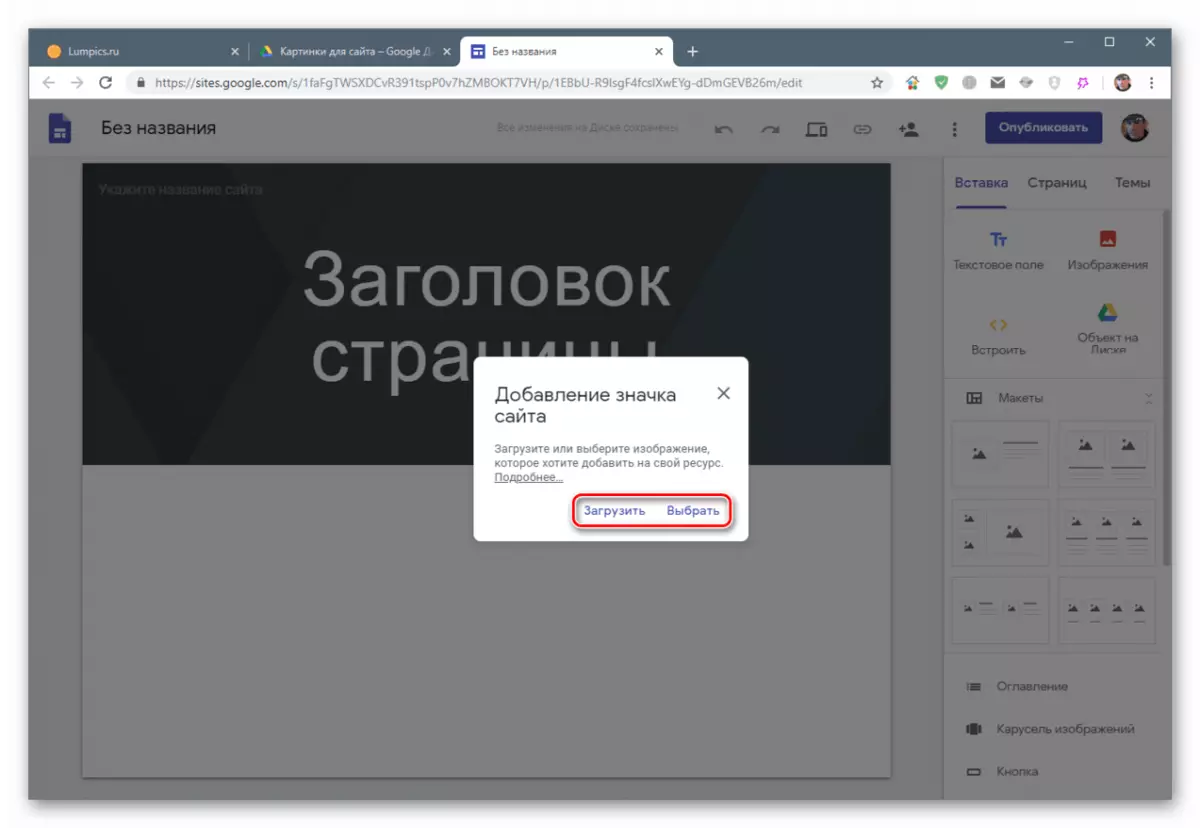
- Further two options are possible: loading the picture from a computer or choosing it to google disk.
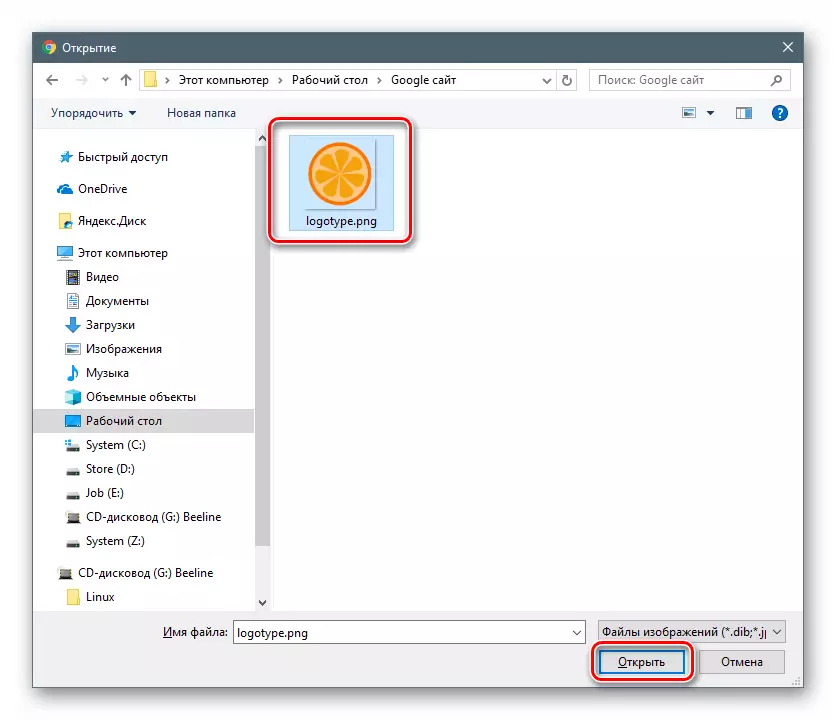
In the first case ("Download"), the "Explorer" of Windows will open, in which we find the image and click "Open".
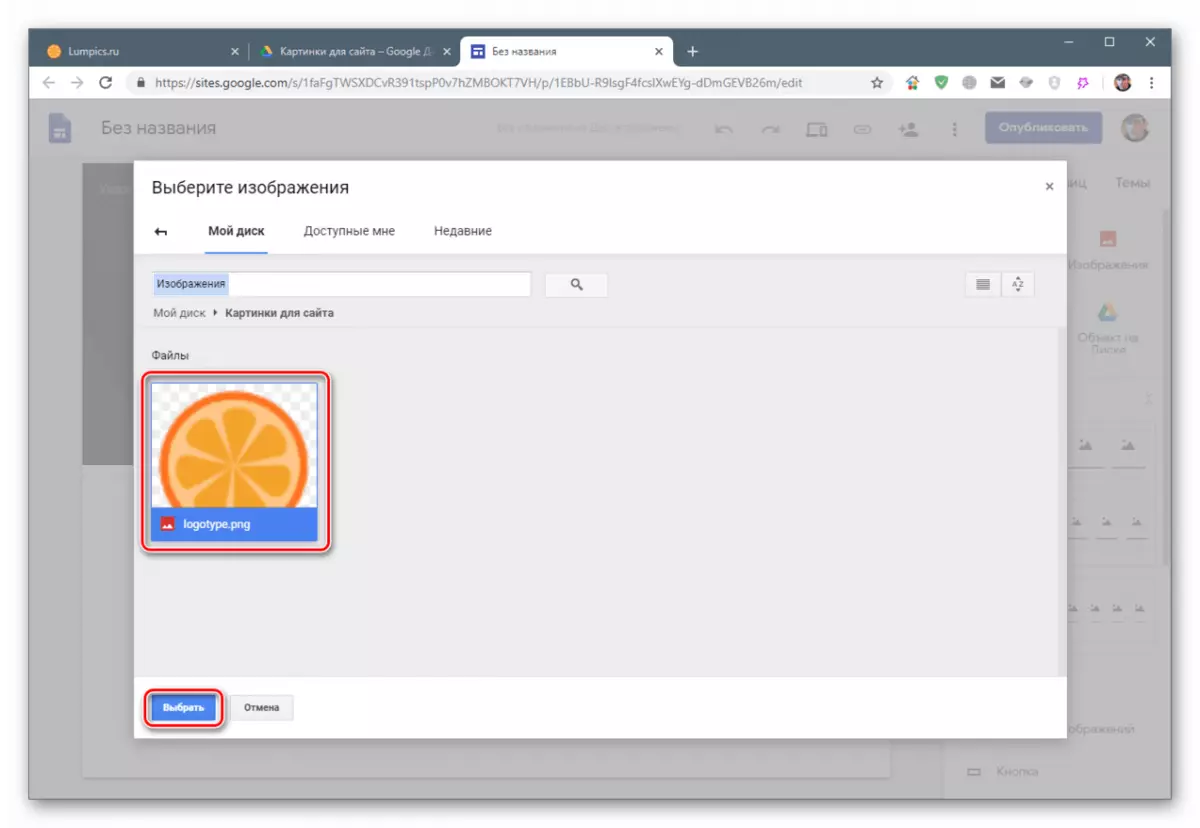
When you click on the "Select" link, a window with an insertion options will open. Here you can enter the URL pictures on a third-party resource, search for Google or your albums, and add an icon with Google Disk.

Choose the last option. Next, click on the image and click "Select".
- Close the pop-up window.
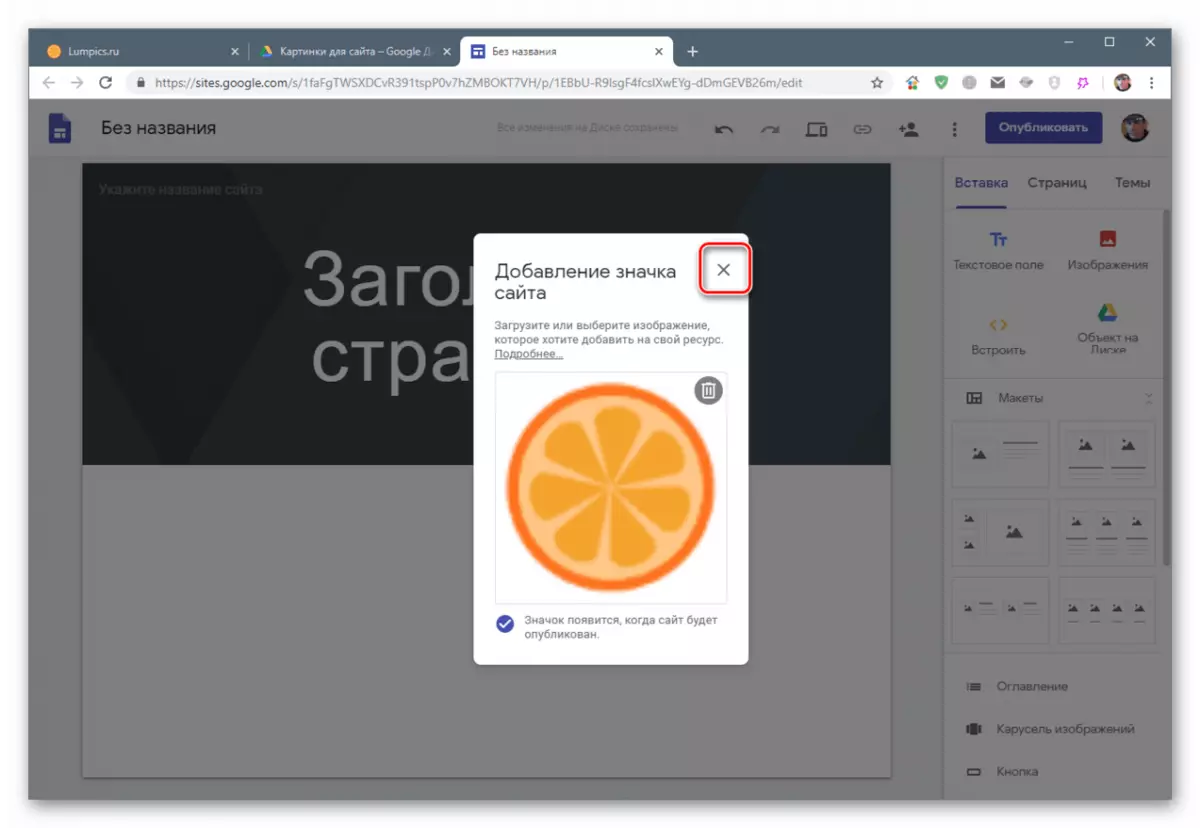
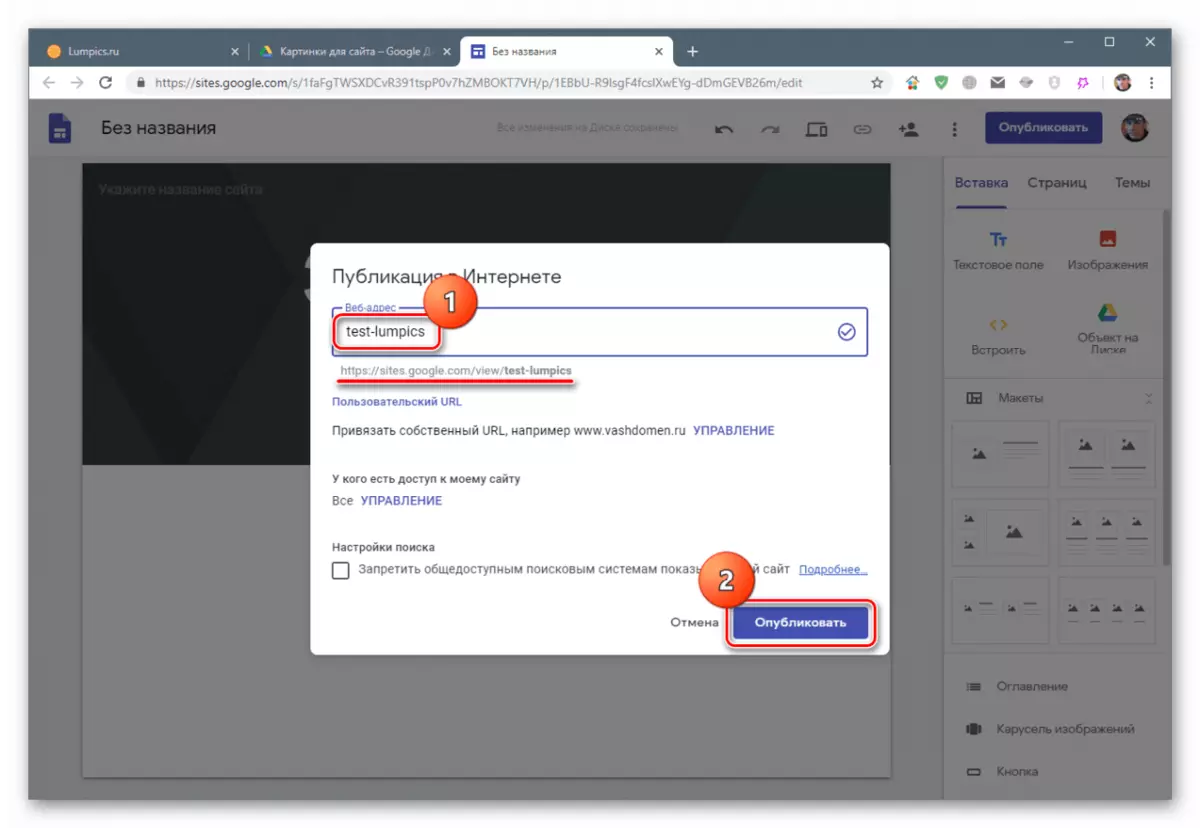
- In order for the icon to apply, publish the site.

- Invent the URL.
- Check the result by opening a published resource.

- Ready, the icon is displayed on the browser tab.

Name
The name is the name of the site. In addition, it is assigned to the document on the disk.
- We put the cursor in the field with the inscription "Untitled".
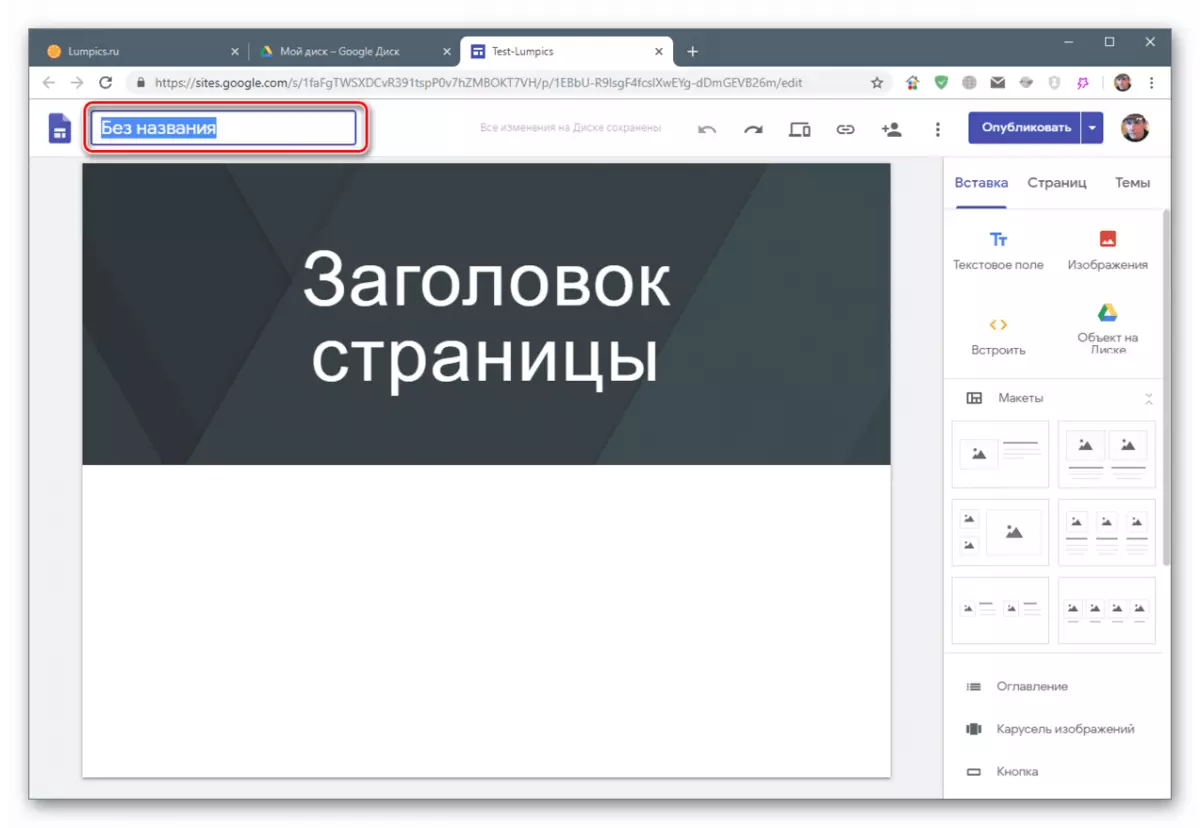
- We write the desired name.
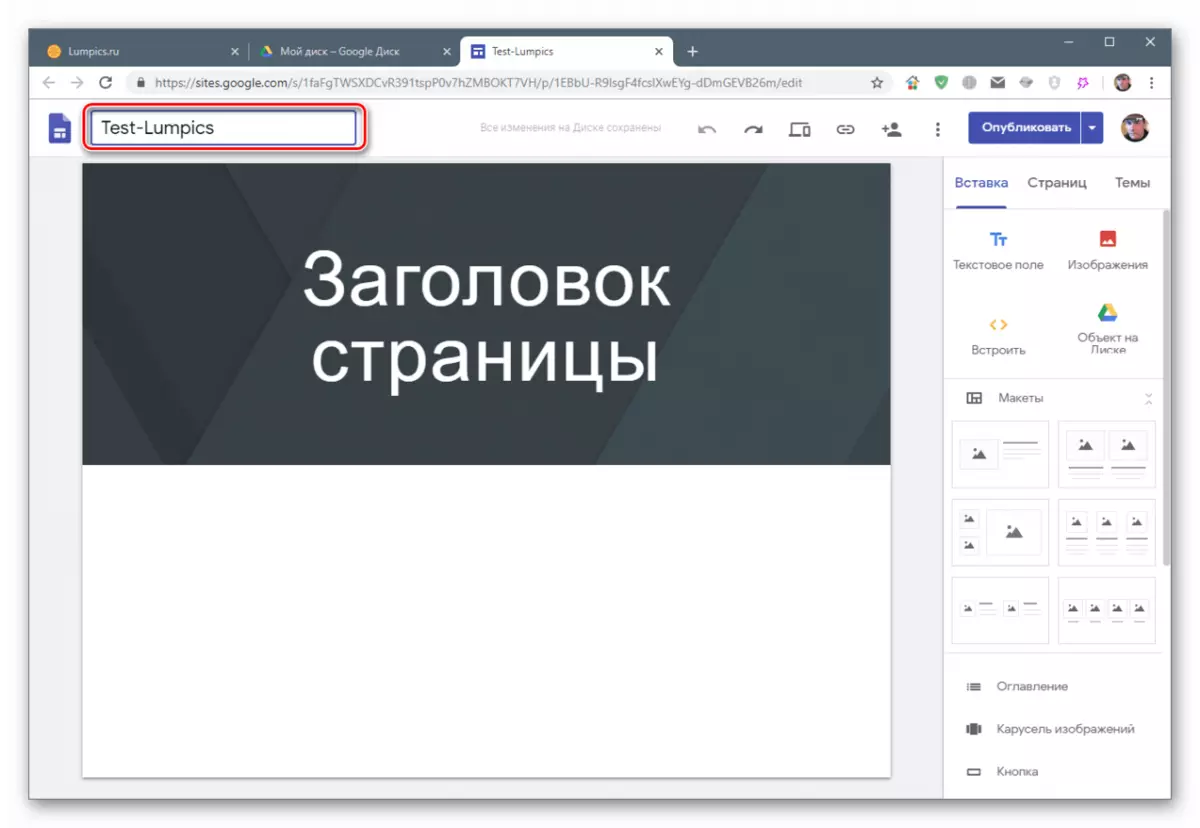
Changes will be applied automatically as the cursor will be removed from the field.
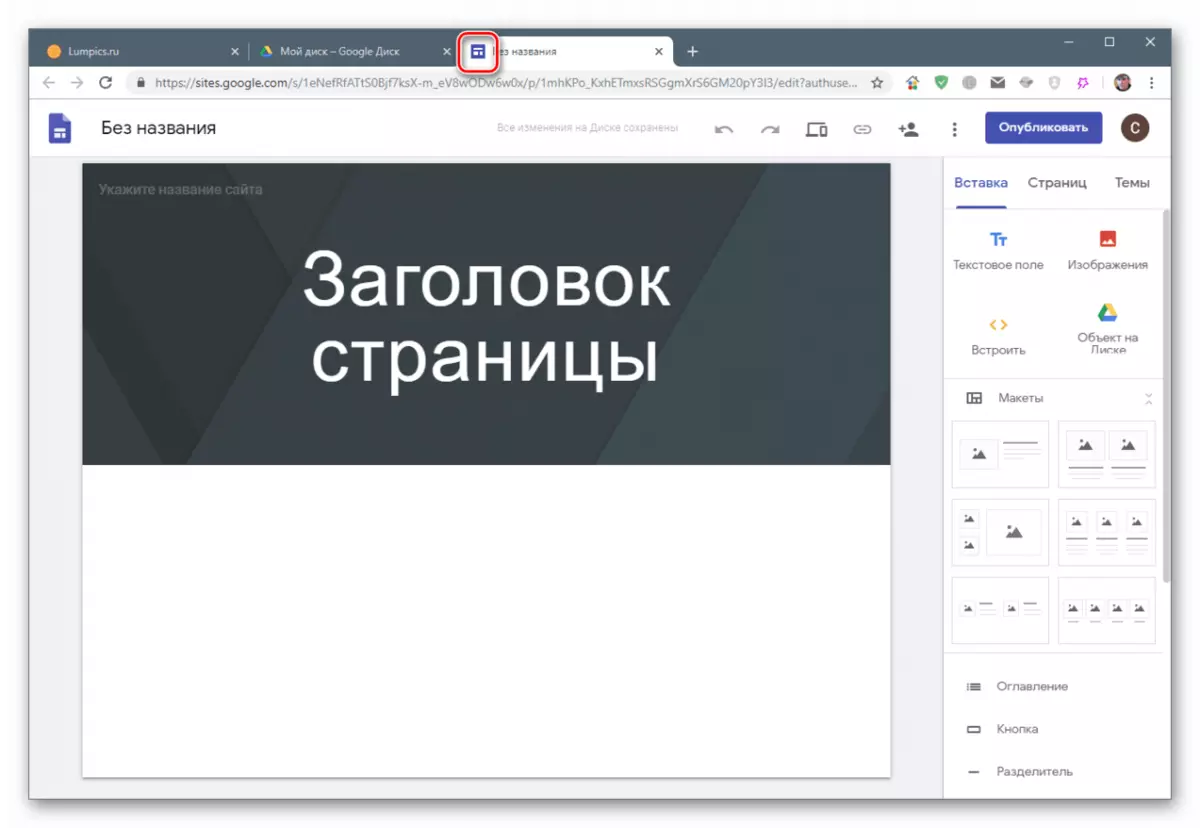
Title
The title of the page is prescribed in the top of the cap and directly based on it.
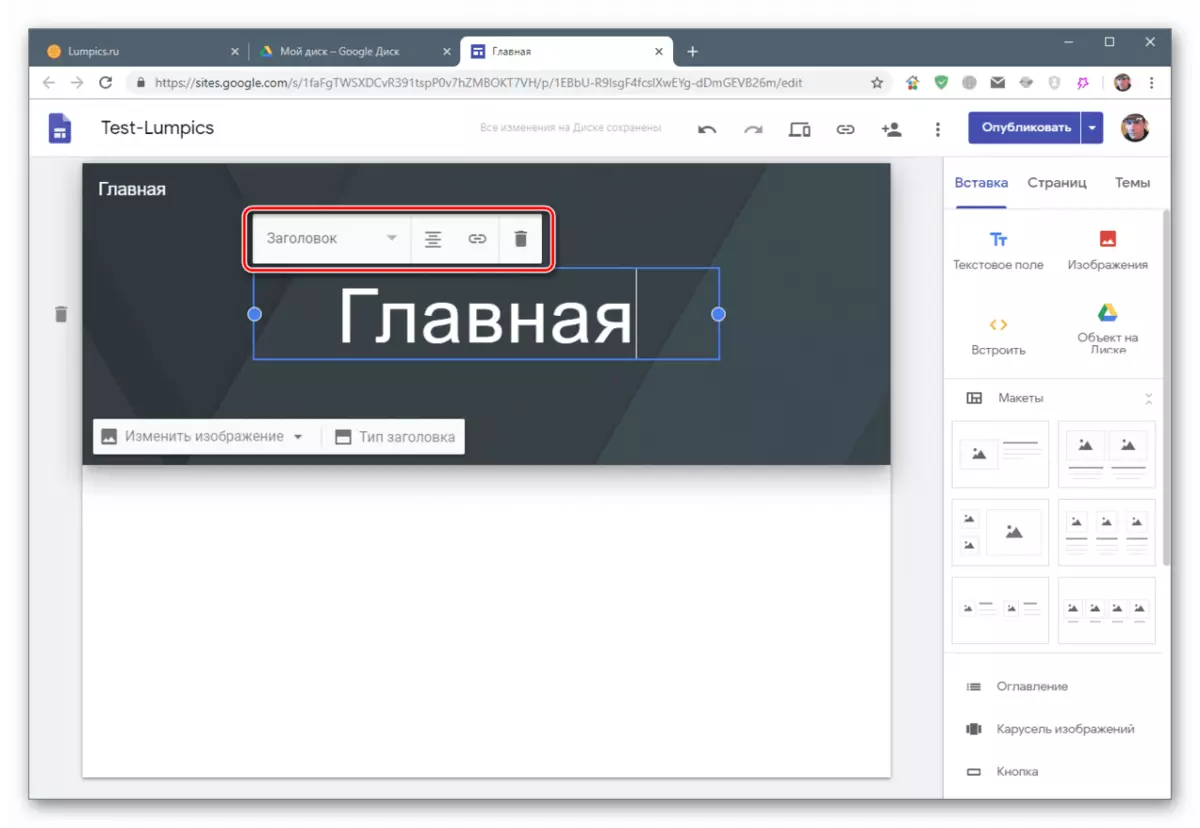
- We put the cursor in the field and indicate that the page is the main one.

- Click on big letters in the center and write "Home" again.

- In the menu above, you can select the font size, determine the alignment, "attach" the link or remove this text block by clicking on the icon with a basket.
Logo
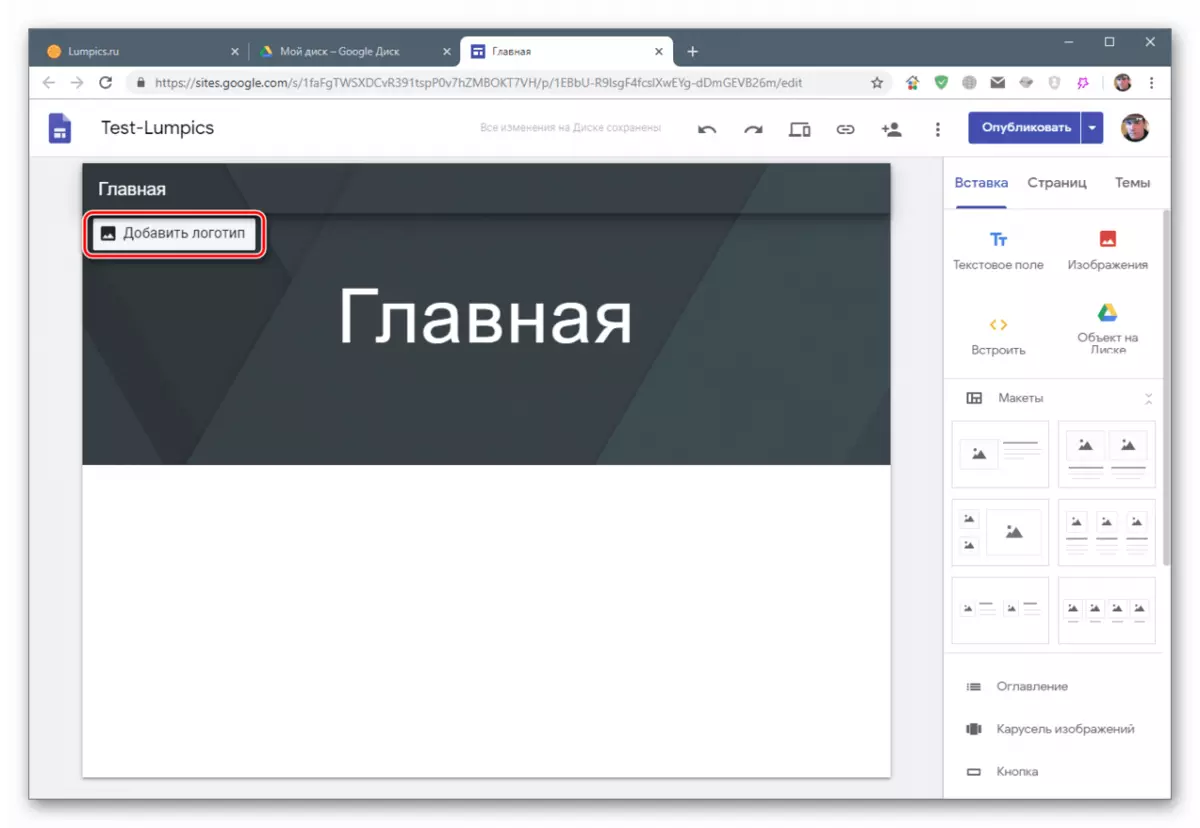
The logo is a picture that is displayed on all pages of the site.
- We bring the cursor to the top of the header and click "Add Logo".
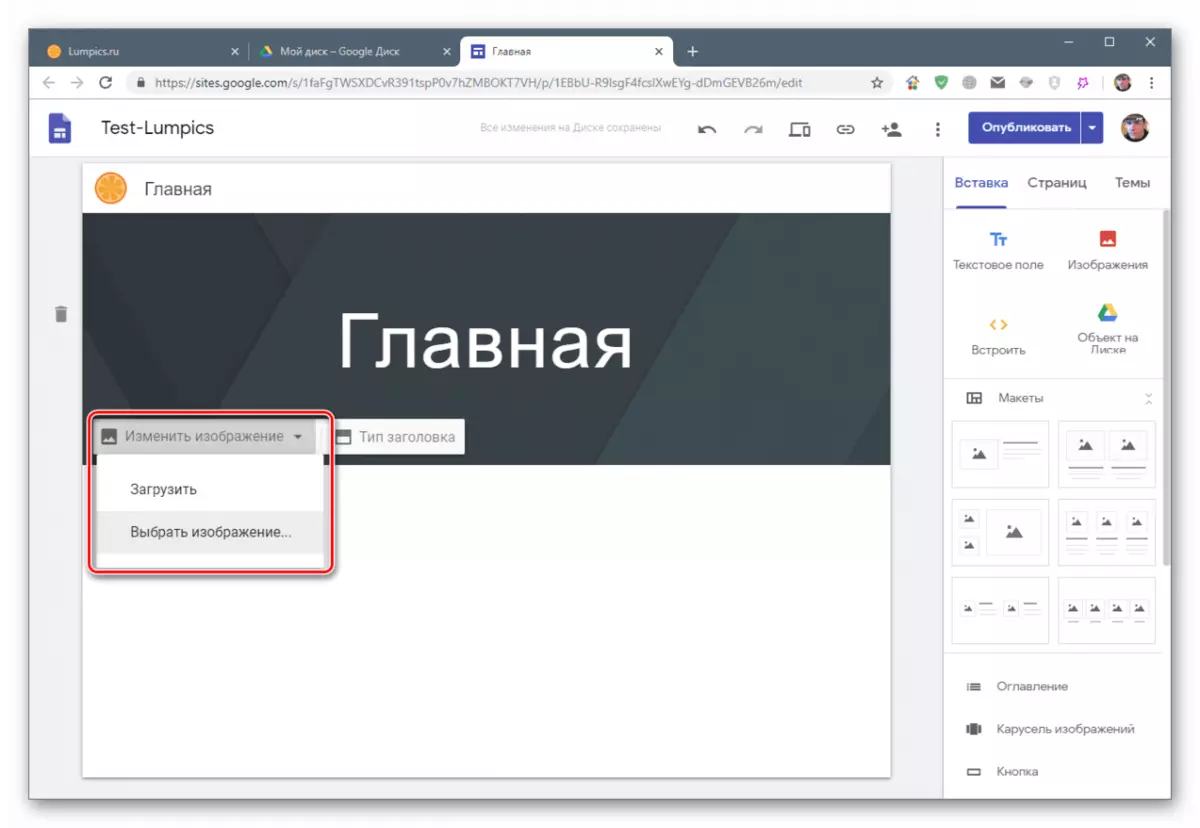
- The selection of the image is carried out in the same way as in the case of the icon (see above).
- After adding, you can choose the color of the background and the common theme, which is automatically determined based on the color scheme of the logo.

Wallpaper for the header
The main image of the header is changed by the same algorithm: "Guide" to the base, choose the option of adding, insert.
Type of header
The title of the page exists their settings.
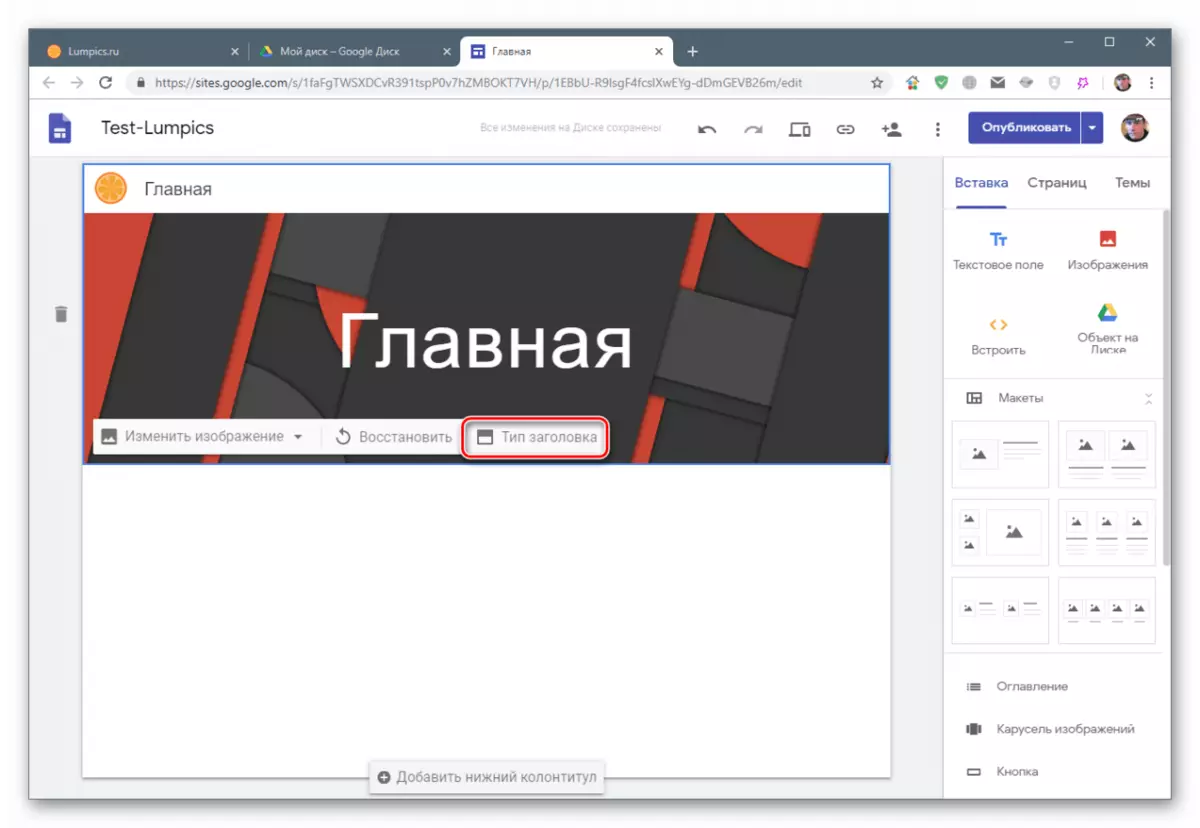
By default, the "Banner" value is set, the "Cover", "Big Banner" and "Title Only" is presented to the choice. They differ in the sizes of the header, and the last option implies the display of only text.

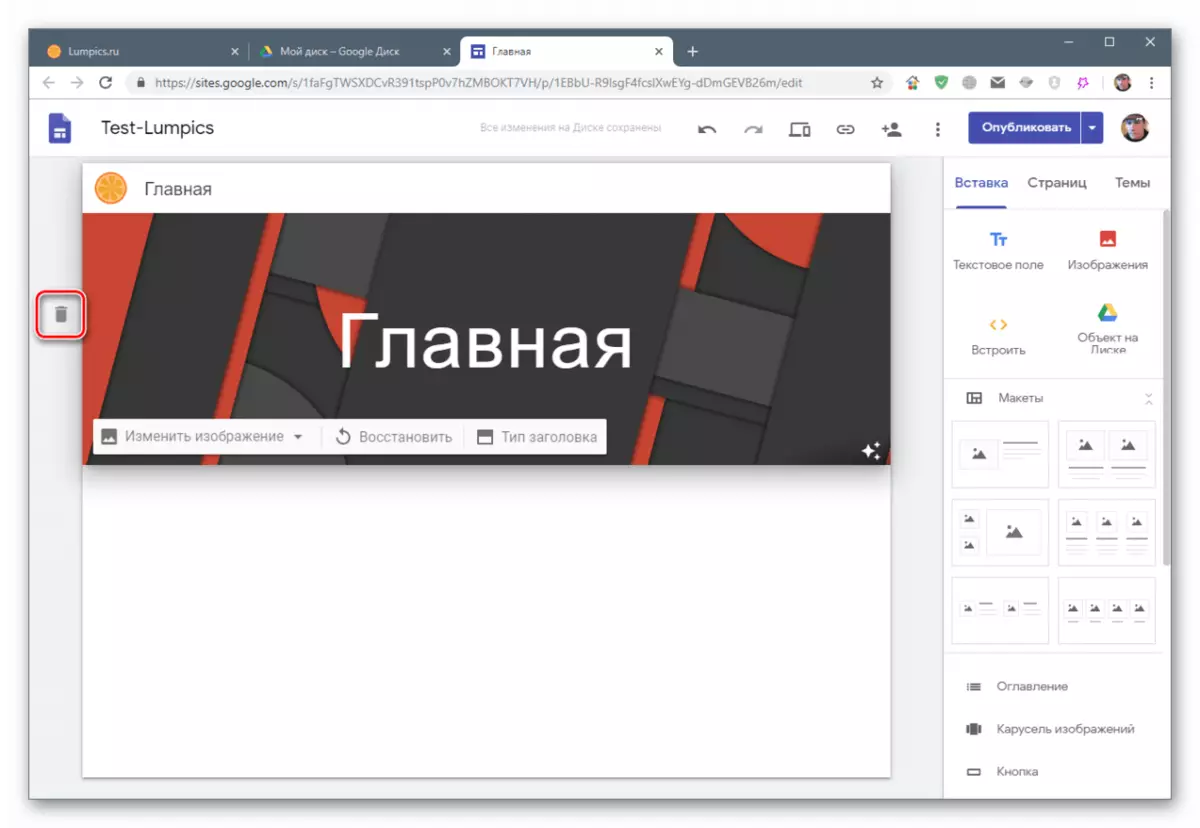
Removing elements
How to remove text from the header, we have already written above. In addition, you can also delete and run entirely, hovering on it mouse and clicking on the basket icon on the left.
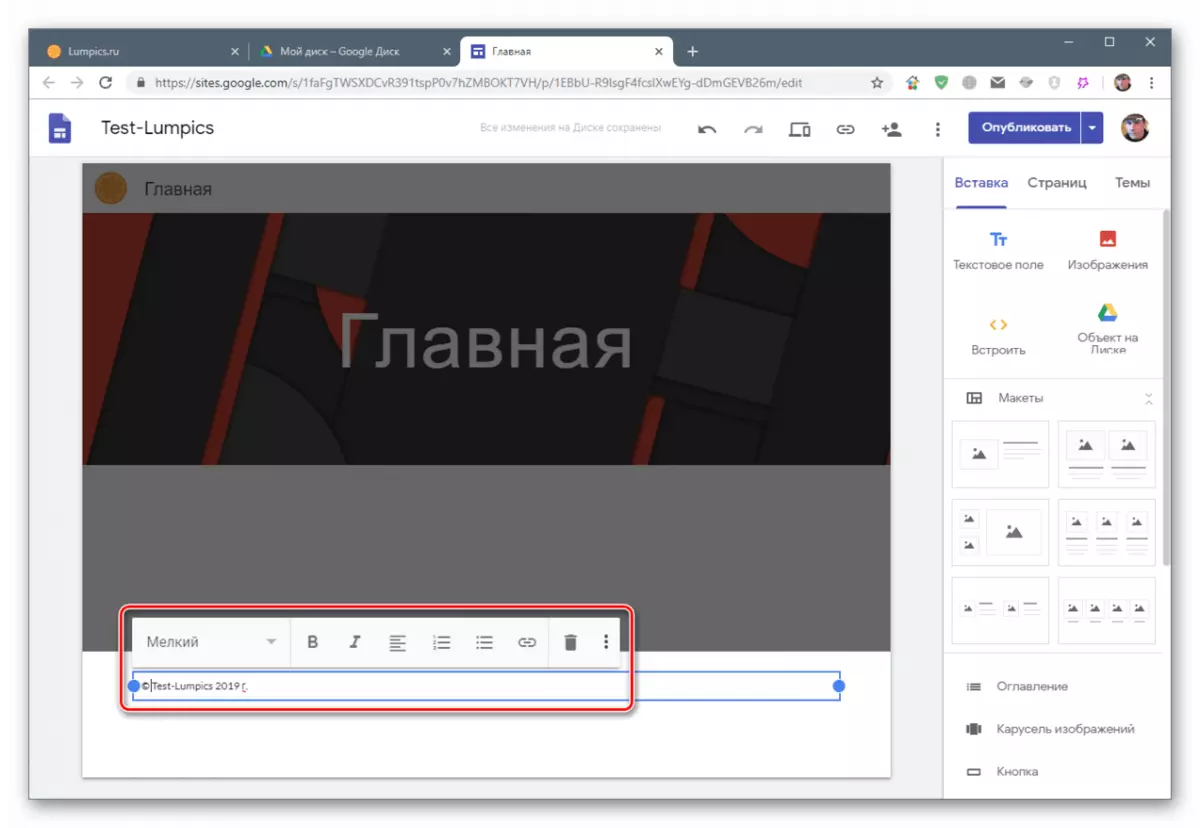
Nutter footer (basement)
If you bring the cursor to the bottom of the page, the add button will appear.

Here you can add text and configure it using the menu.
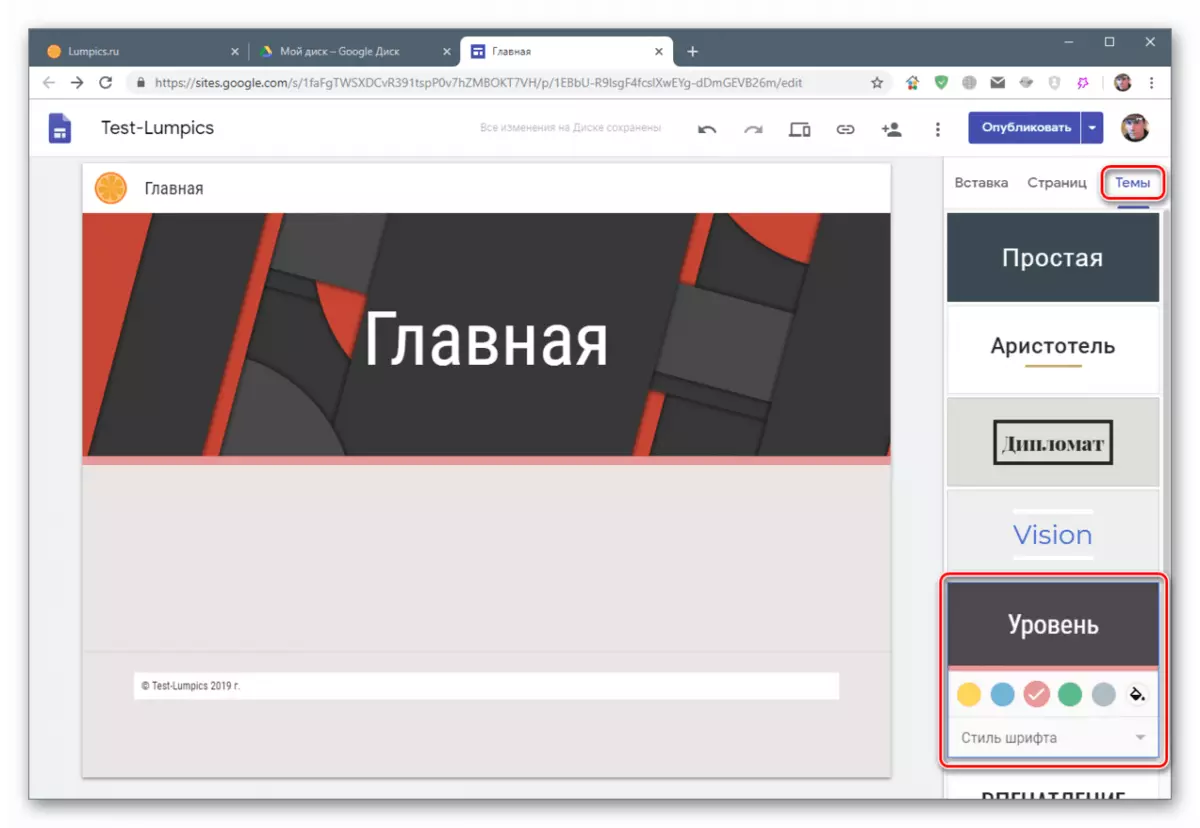
Themes
This is another personalization tool that defines the total color scheme and font style. Here you can choose from several predefined options that have their own settings.
Insert arbitrary blocks
You can add four types of arbitrary elements to the page. This is a text field, an image, a URL or HTML code, as well as almost any object located on your Google Drive.
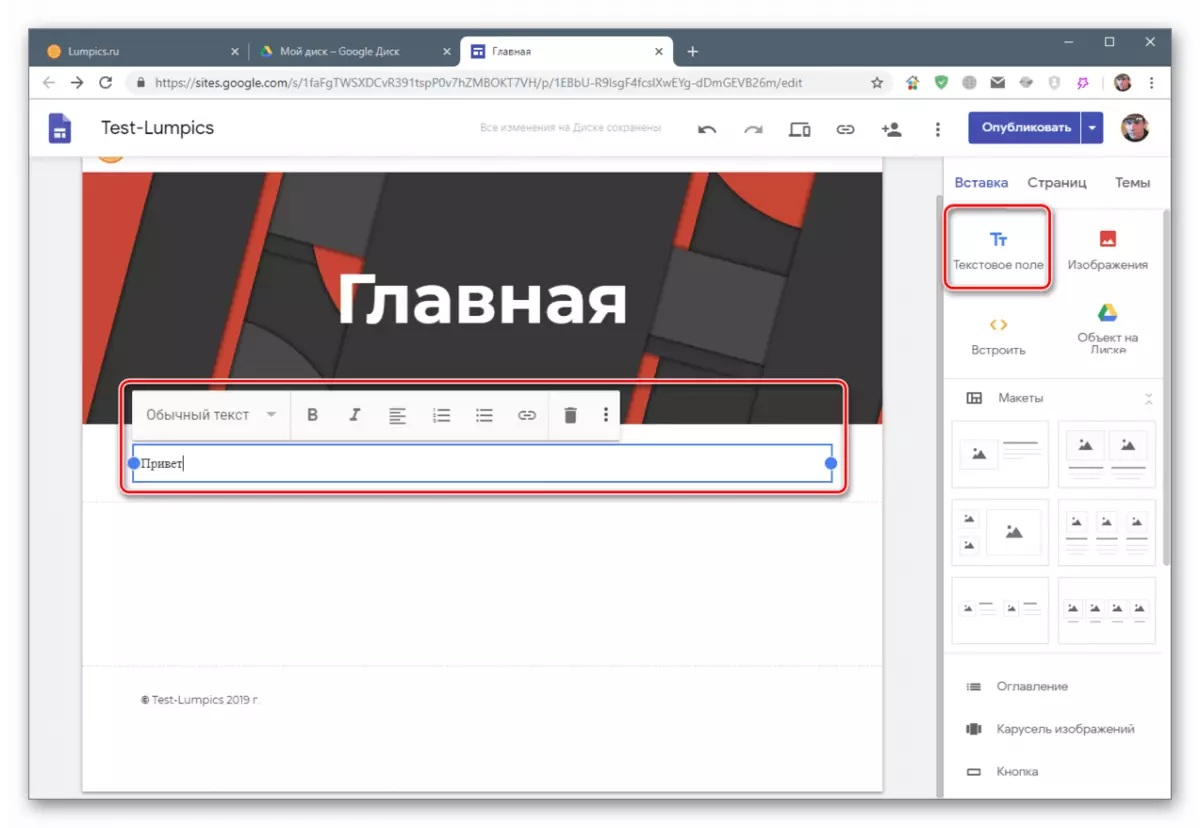
Text
By analogy with the title, this item is a text box from the settings menu. It is located on the page automatically after clicking on the corresponding button.
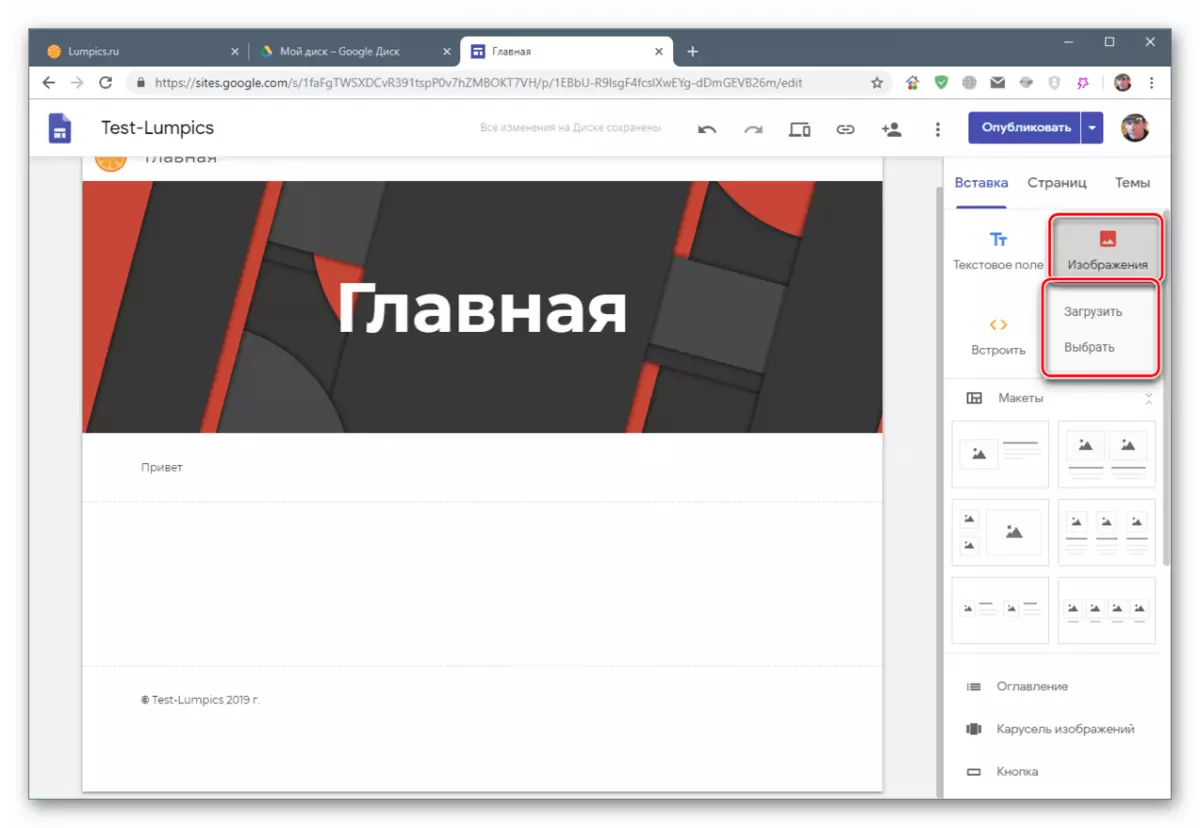
Image
This button opens the context menu with the options for loading the picture.
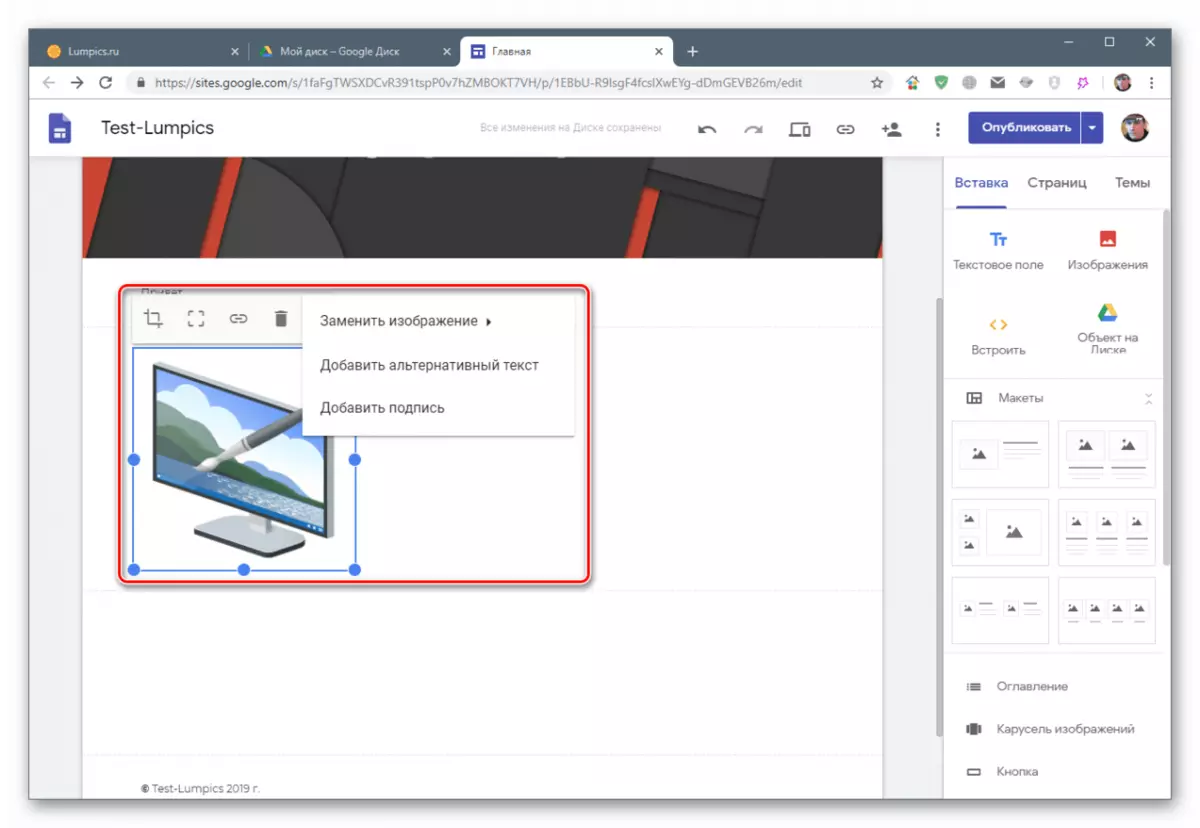
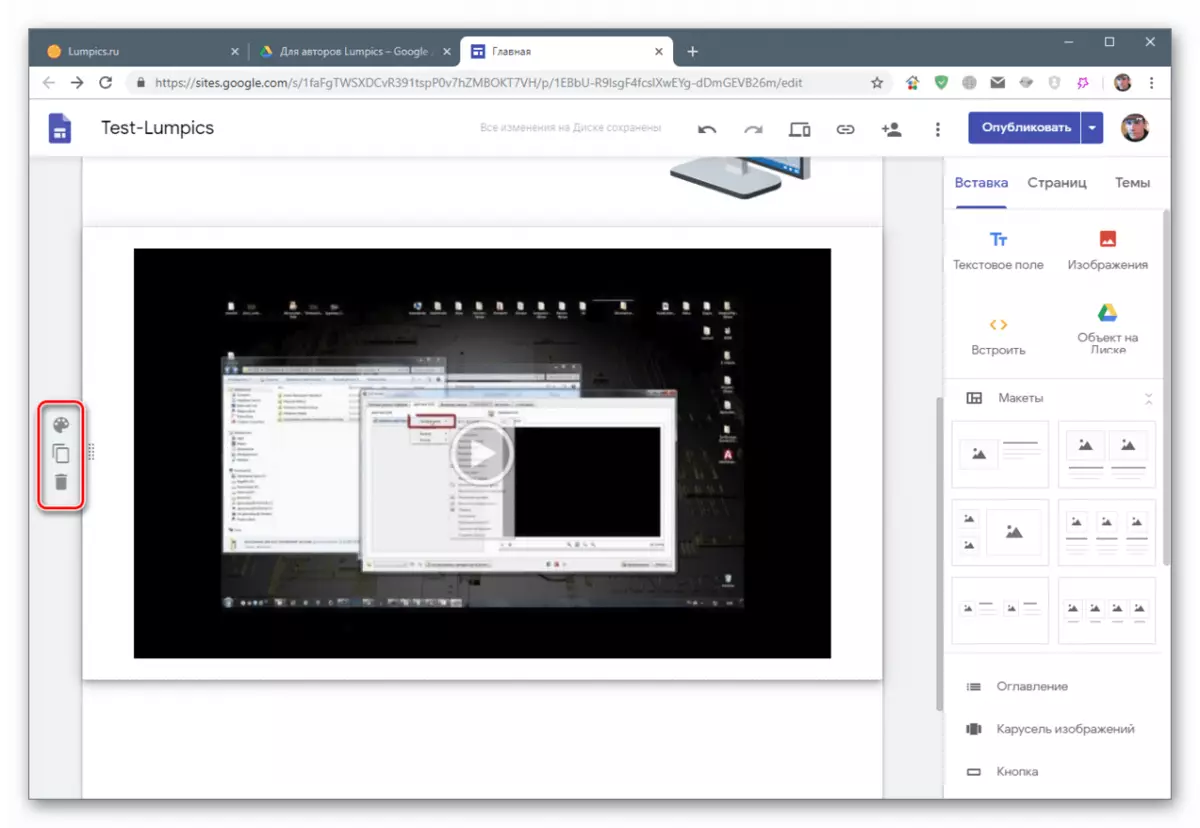
After the method is selected (see above), the item will be located on the page. There is also a settings block for it - cropping, adding reference, signature and alternative text.
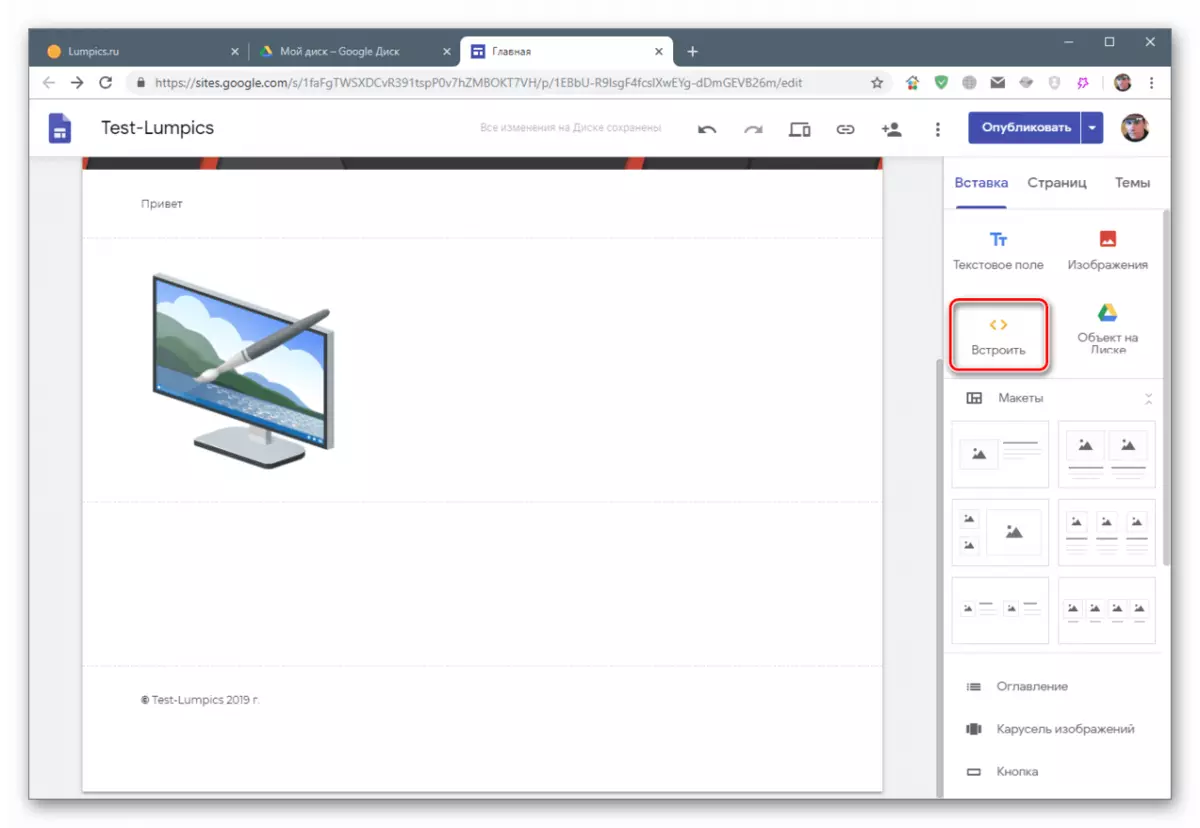
Build
This feature implies embedding to the frames page from other sites or HTML-code banners, widgets and other elements.
The first opportunity (frames) is limited only by sites running on HTTP (without registry "S"). Since today most resources have SSL certificates, the usefulness of the function is raised under the big question.

HTML embedding is as follows:
- Go to the appropriate tab and insert the scope of the widget or banner. Click "Next".
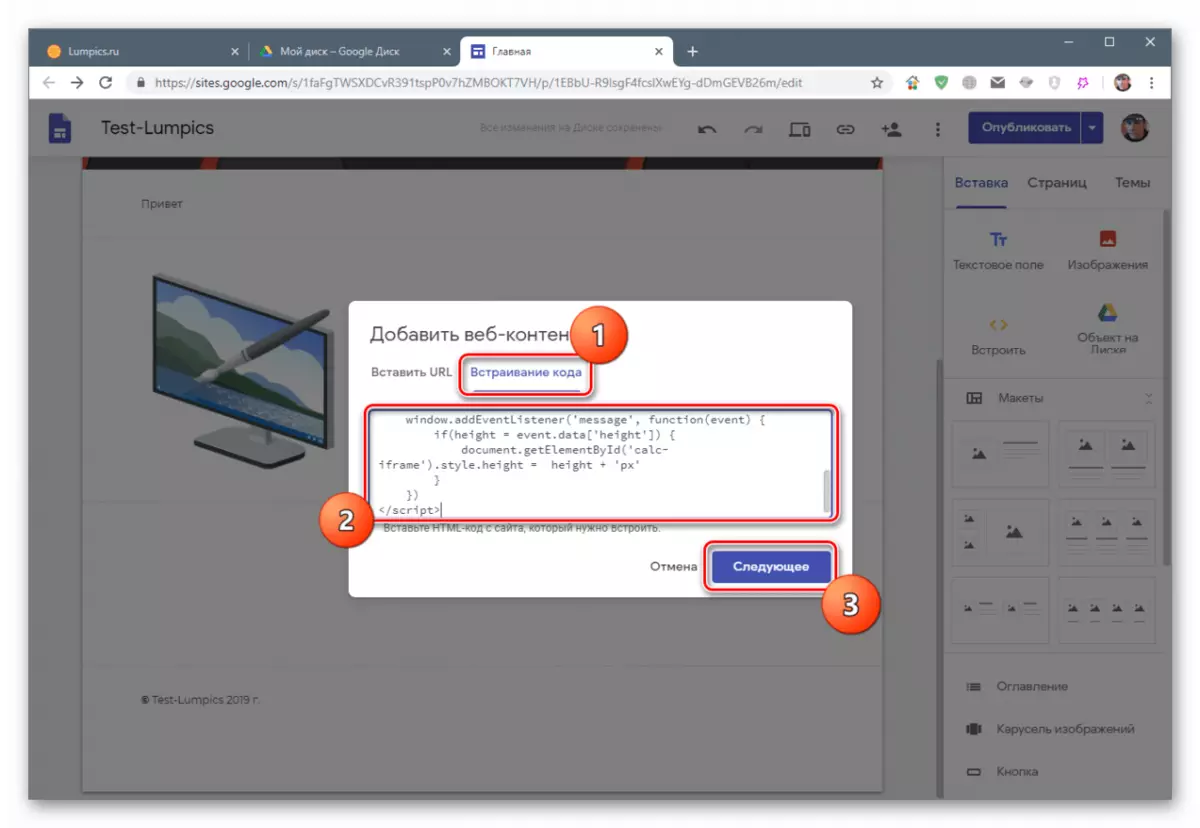
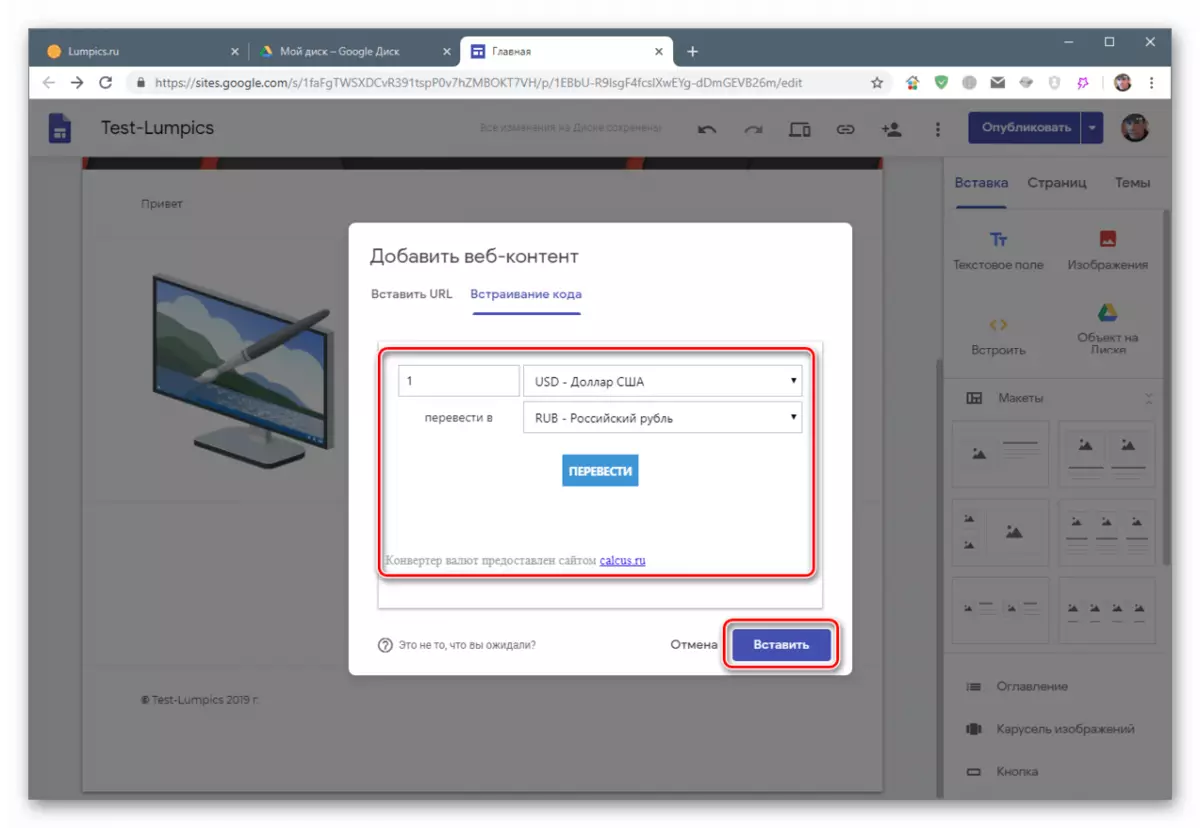
- In the pop-up window, the desired element (preview) should appear. If there is nothing, look for errors in the code. Click "Paste".
- The added element has only one setting (except deletion) - editing HTML (or script).

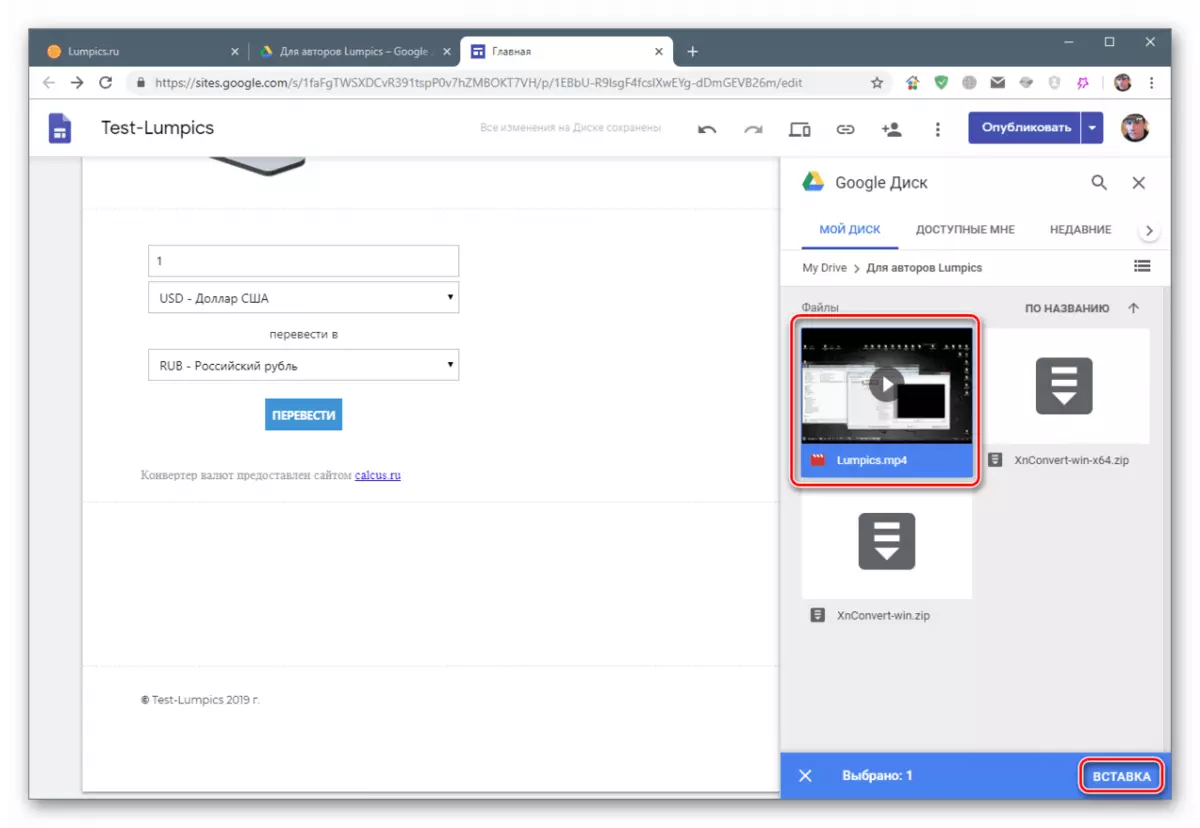
Object on disk
Under the objects implies almost any files located on Google Drive. These are videos, pictures, as well as any google documents - forms, tables, and so on. You can also place a whole folder, but it will be opened in a separate window by reference.

- After pressing the button, select the object and click "Insert".
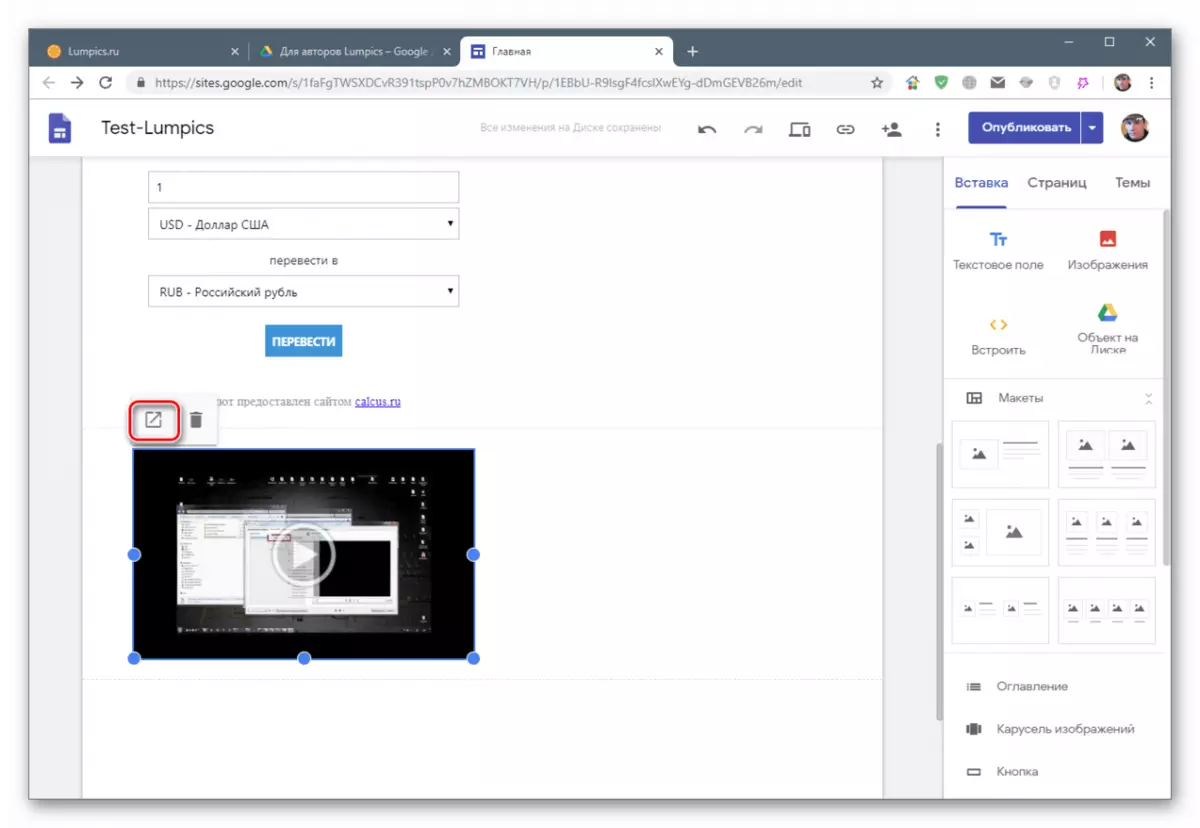
- These blocks do not have no settings, you can only open an item in a new tab for viewing.
Inserting pre-installed blocks
The menu contains both blocks allowing the content of a certain type. For example, cards, the same forms, tables and presentations, as well as buttons and dividers.
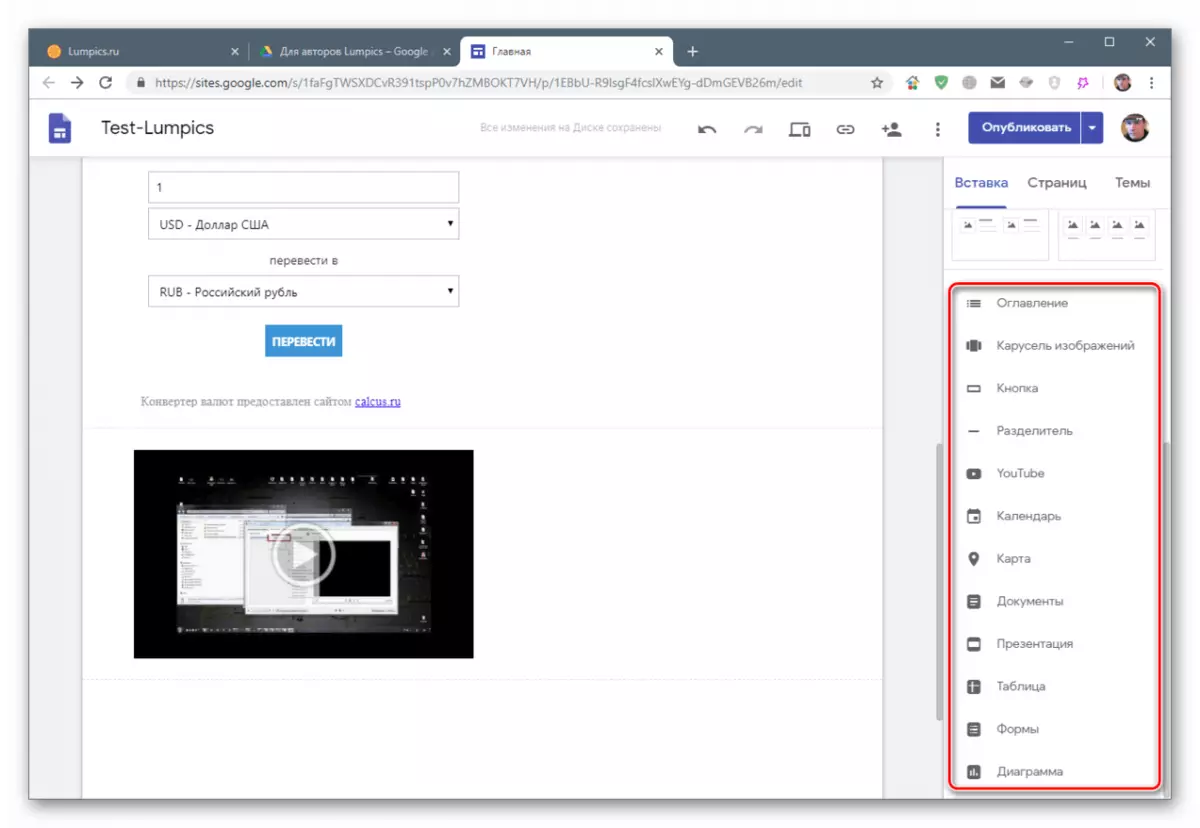
There are quite a lot of options, so we will not paint in detail each of them. Settings at blocks are simple and intuitive.
Work with blocks
As you might notice, each unit is accommodated under the previous one, in the new section. It can be fixed. Any element on the page is subject to scaling and moving.
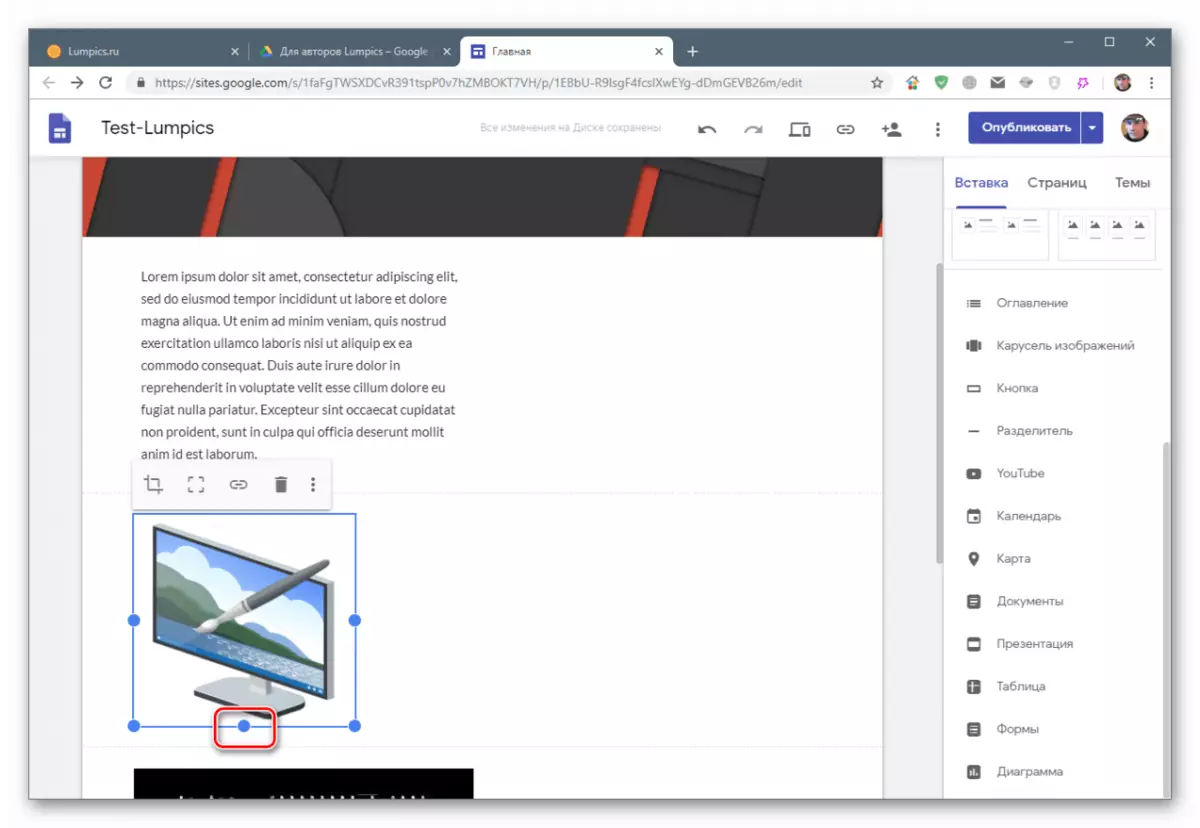
Scaling
If you click on the block (for example, textual), markers will appear on it, pulling for which you can change its size. For the convenience of alignment during this operation, auxiliary grid appears.
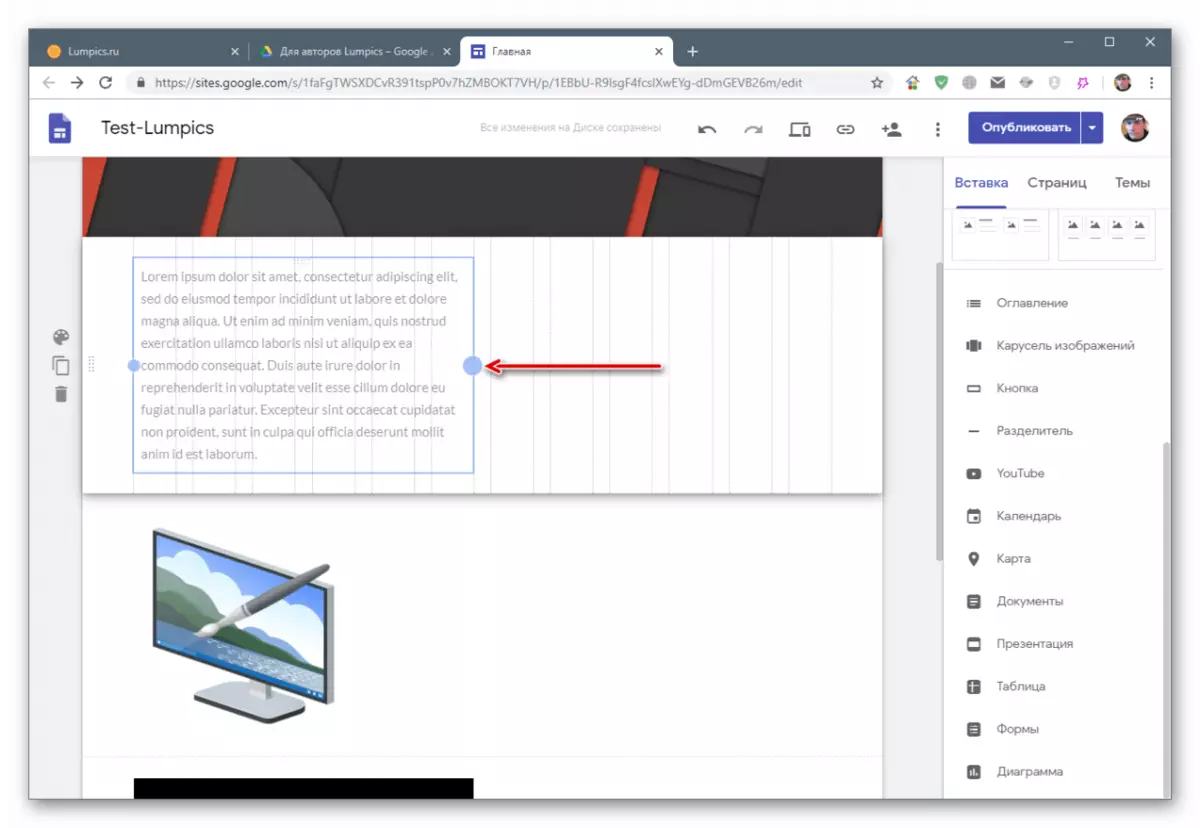
In some blocks there is a third marker, which allows you to change its height.
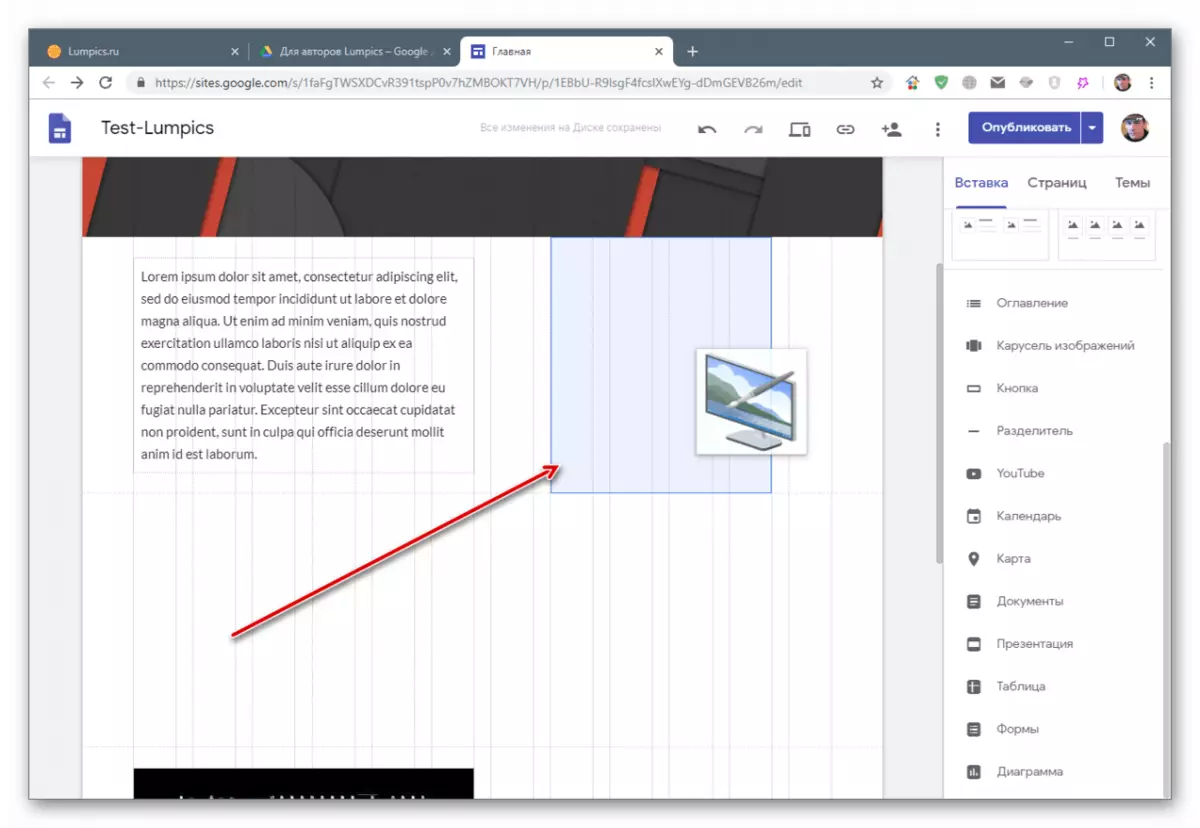
Move
The dedicated element can be moved both inside its partition and drag into the neighboring (upper or lower). Mandatory condition is the presence of space free from other blocks.
Working with sections
Sections in which blocks are placed, can be copied, deleted completely with all content, as well as customize background. This menu appears when hovering the cursor.
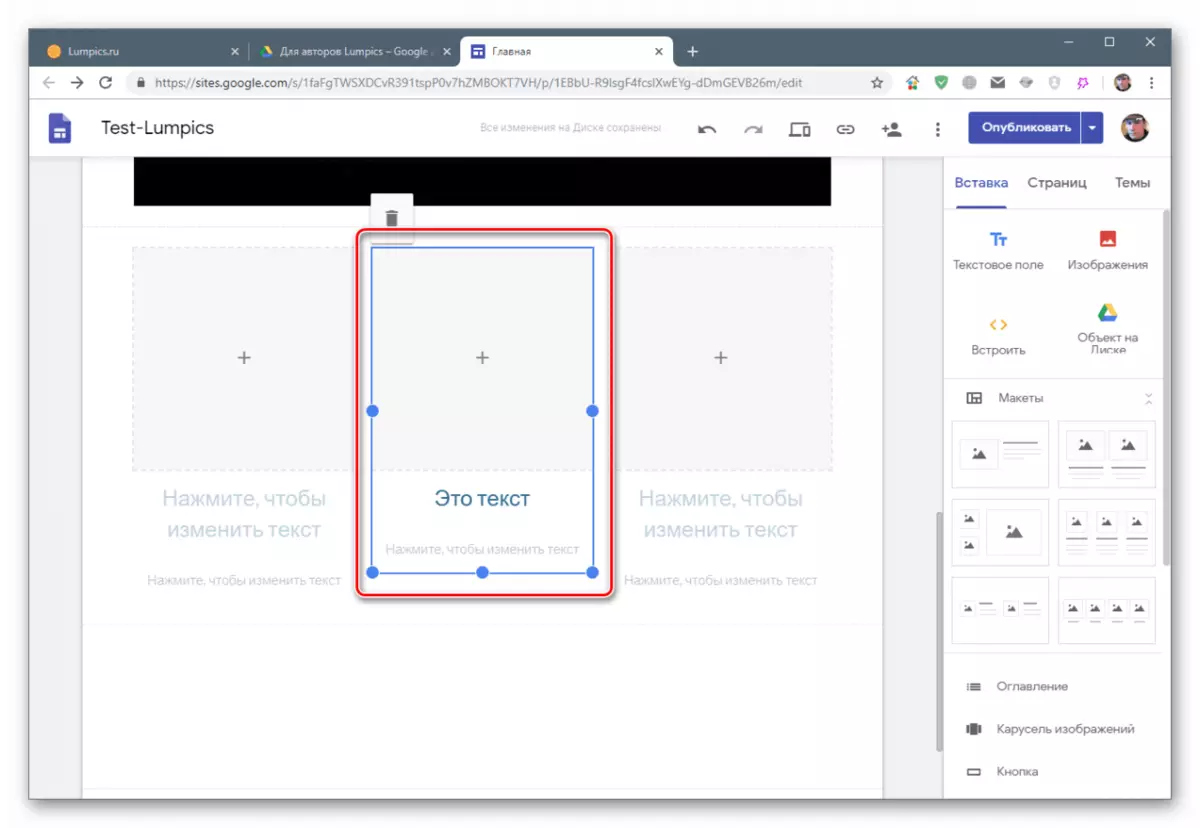
Layouts
This very convenient feature allows you to place the sections collected from different blocks. In order for the items to appear on the site, you need to select one of the options presented and drag it to the page.

Blocks with pluses are places for images, video, cards or objects from the disk.

Text fields are edited in the usual way.

All blocks are subject to scaling and moving. It can be changed both separate items and groups (header + text + picture).
Work with pages
Page manipulations are made on the corresponding menu tab. As we see, here is only one element. On him we worked now.
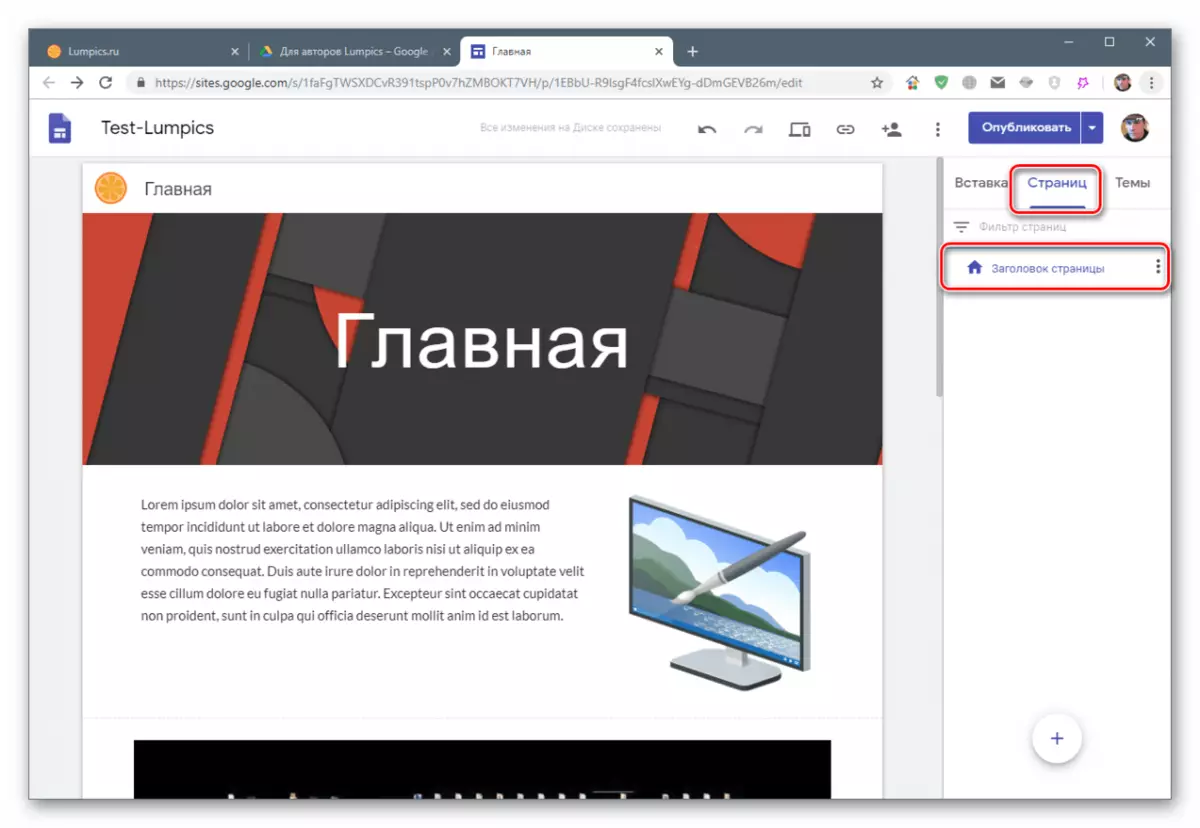
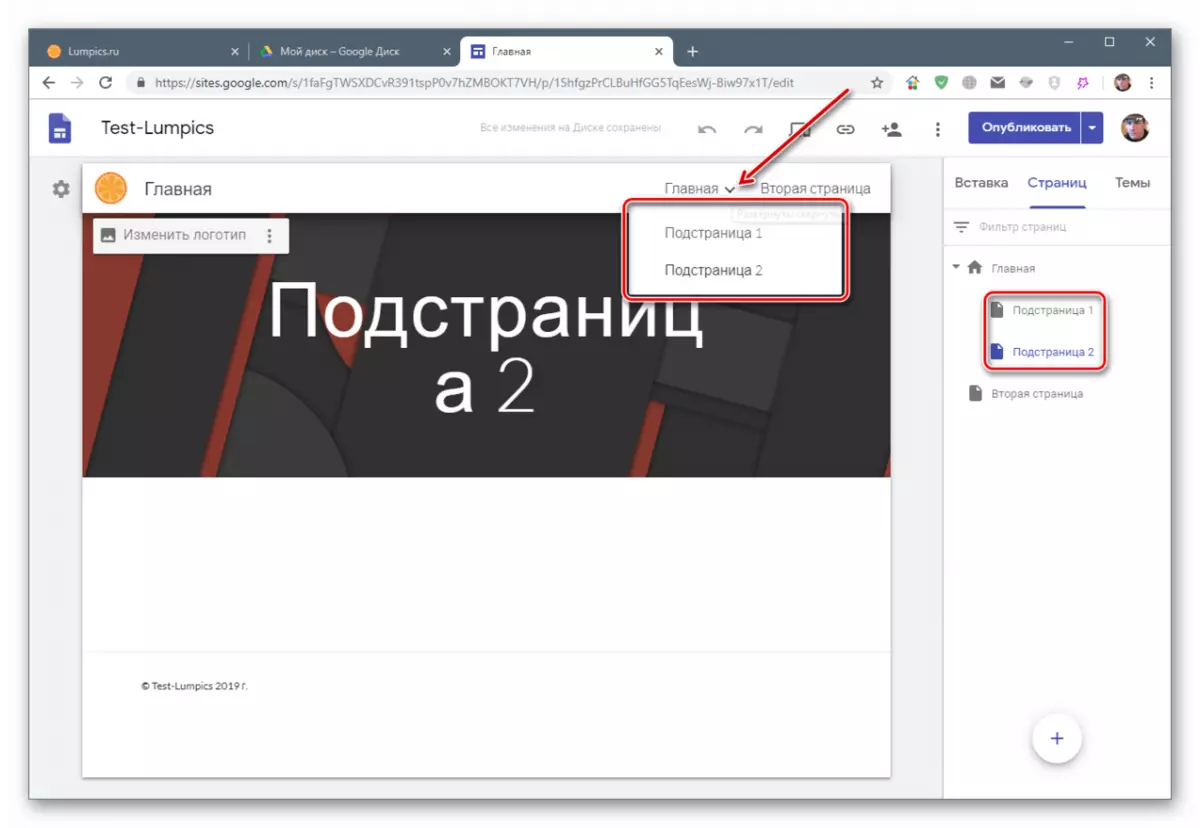
The pages located in this section will be displayed in the upper menu of the site. We rename the element in the "Home", twice by clicking on it.

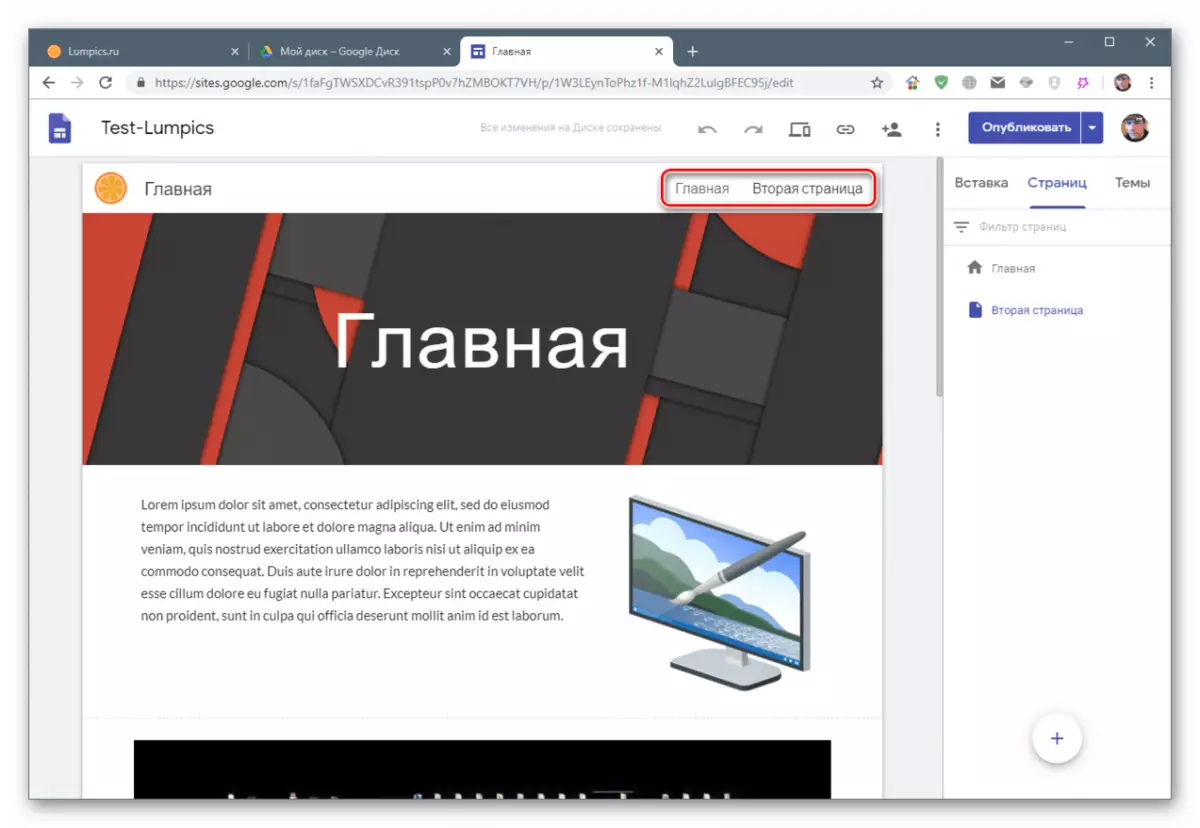
Create a copy by clicking on the button with points and selecting the appropriate item.

Let's give a copy of the name

Automatically all created pages will appear in the menu.
If we add to the subpine, it will look like this:
Parameters
Some settings can be made by going to the "Parameters" item in the menu.

In addition to changing the name, it is possible to set the path for the page, or rather, the final part of its URL.

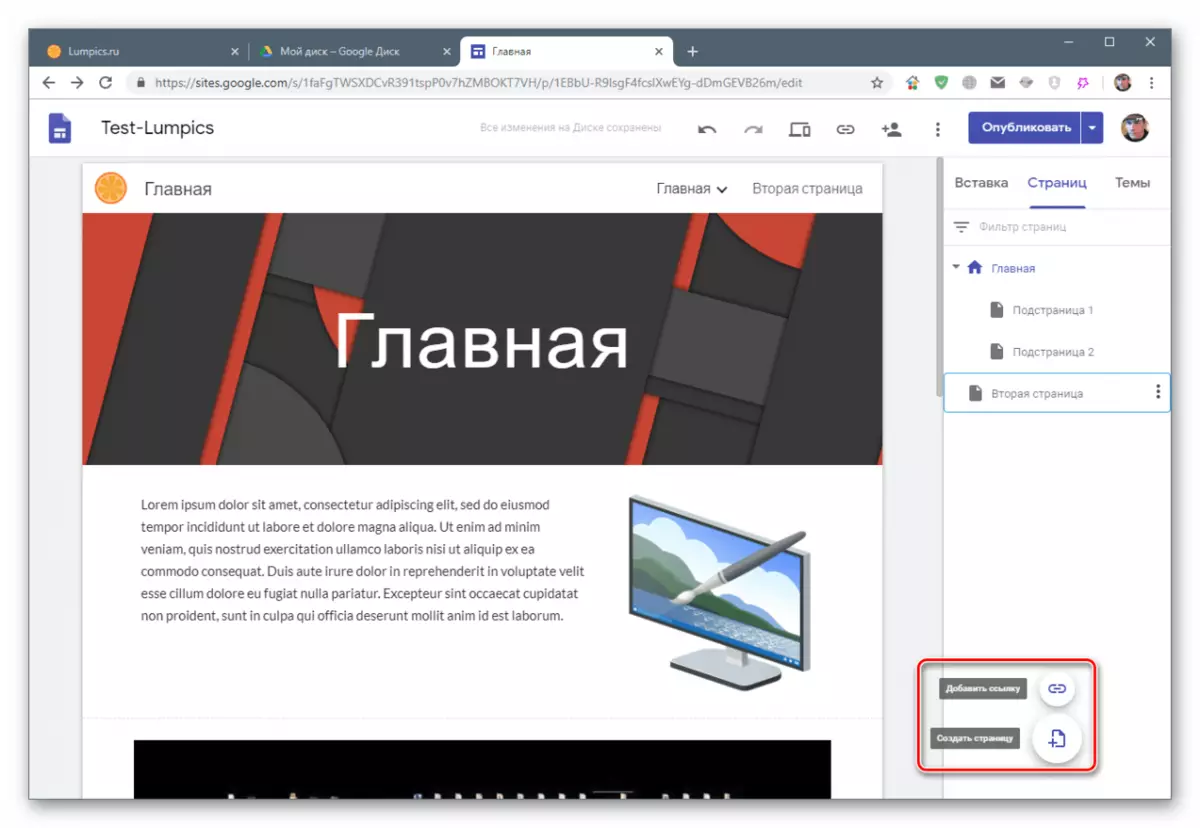
At the bottom of this section, a plus button is located, by visoring the cursor on which you can create an empty page or add an arbitrary link to any resource on the Internet.
View and publication
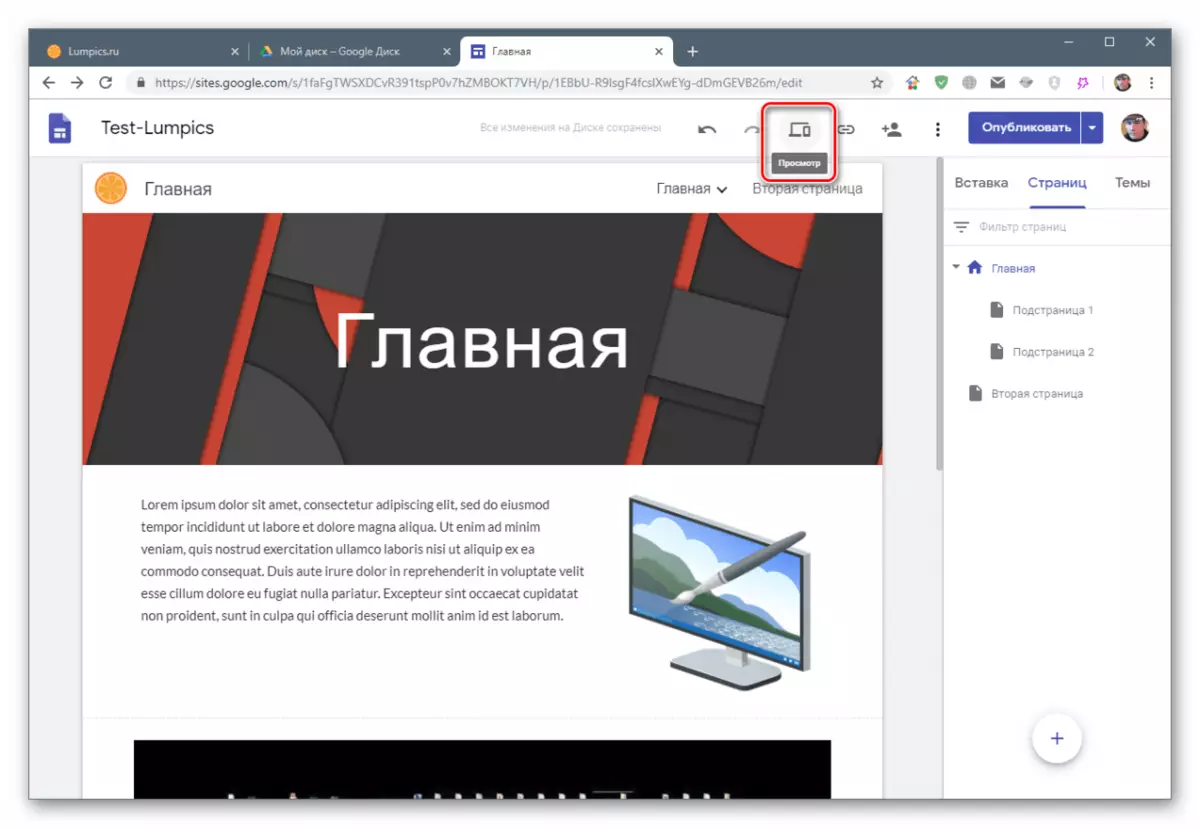
At the top of the constructor interface there is a "View" button by clicking on which you can check how the site will look like on different devices.
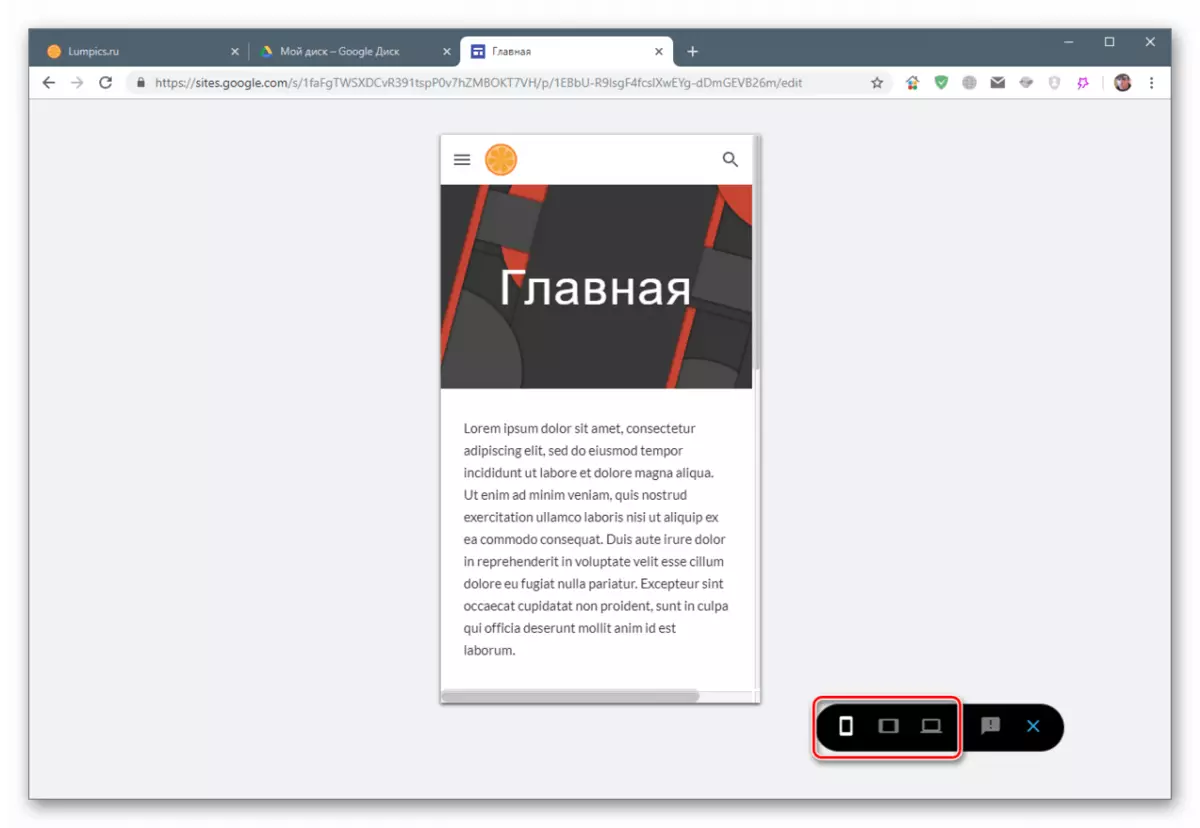
Switching between devices is carried out with the buttons indicated in the screenshot. The following options are presented to the choice: desktop and tablet computer, telephone.
Publishing (Saving a Document) is made by the "Publish" button, and opening the site - click on the relevant item of the context menu.
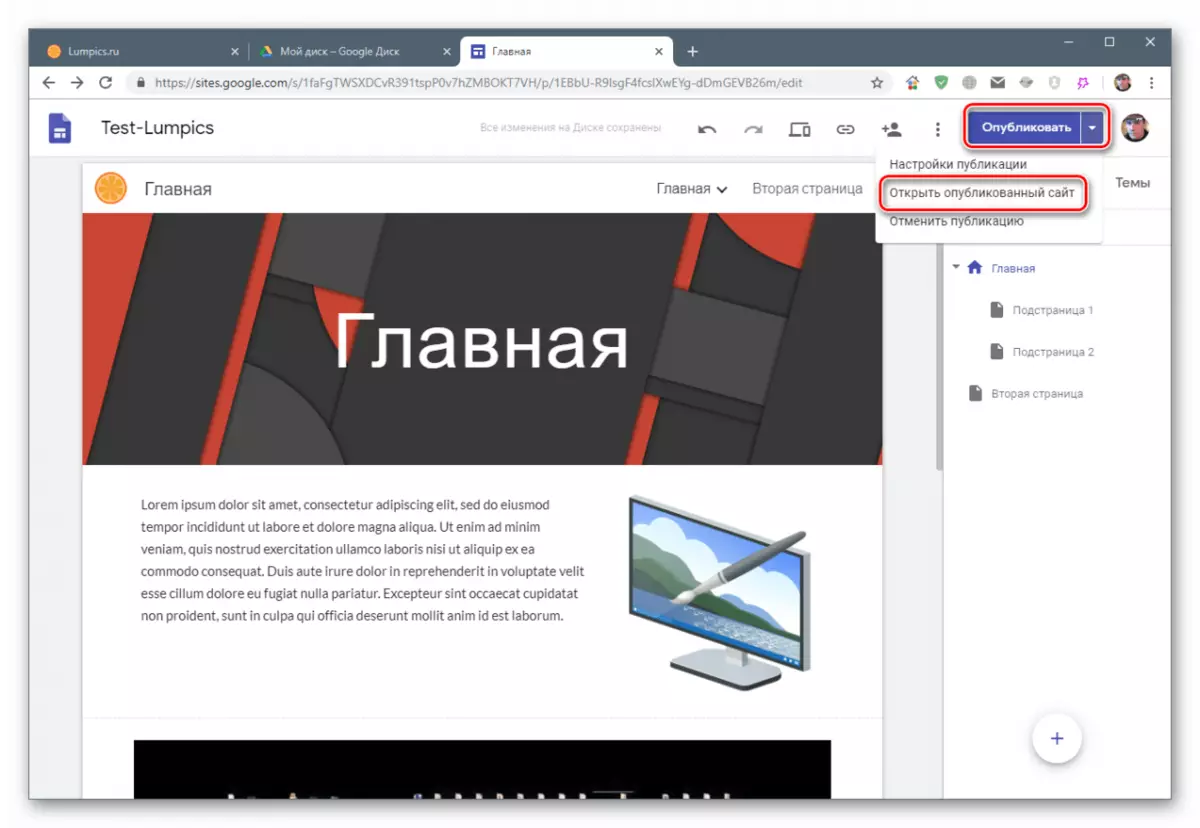
After executing all actions, you can copy the link to the finished resource and transfer it to other users.

Conclusion
Today we have learned to use the Google Sites tool. It allows you to place any content in the network in the shortest possible time and to provide access to the audience. Of course, it cannot be compared with the popular content management systems (CMS), but you can create a simple site with the necessary elements with its help. The main advantages of such resources are the guarantee of the lack of access problems and free, if, of course, you do not buy an additional place on Google Drive.