

Often when working in Photoshop, you need to create a contour from any object. For example, the contours of fonts look very interesting. It is on the example of the text we will show how to make a contour in Photoshop.
Contours of objects in Photoshop
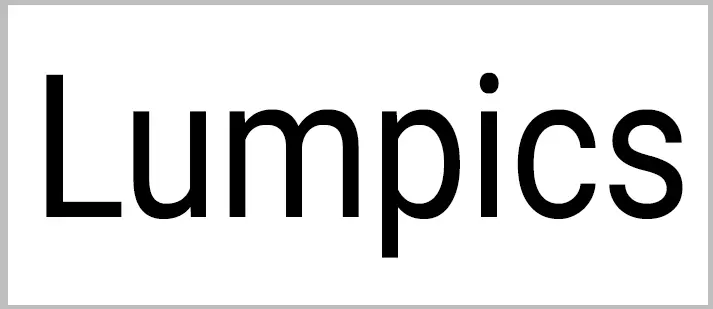
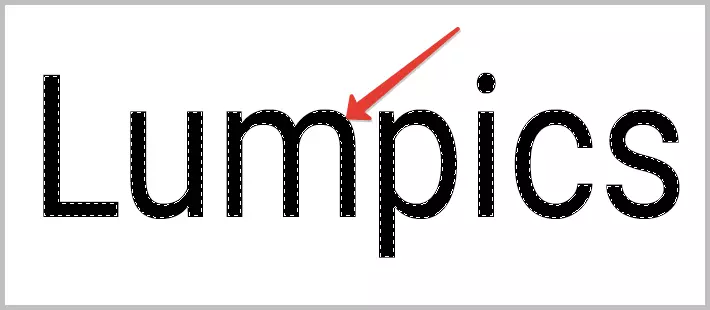
So, we have some text. For example, such as shown below. For him and create contour in several ways.
Method 1: removal of superfluous
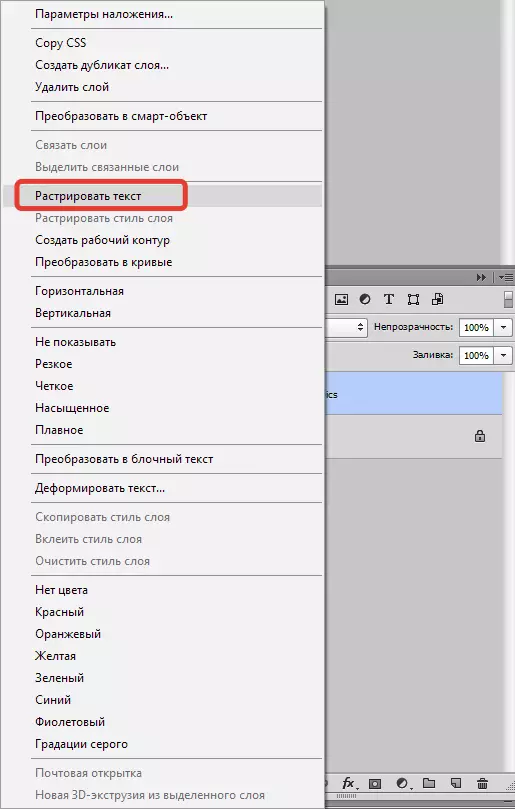
This method implies the rasterization of the existing text.
- Press the right mouse button on the layer and select the appropriate menu item.
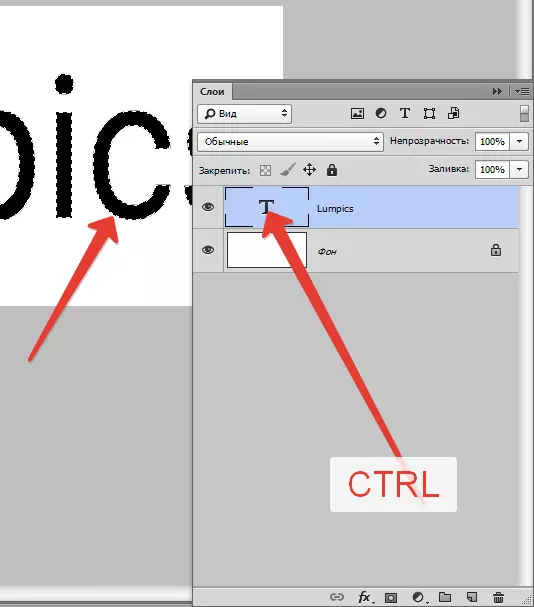
- Then pushing the key Ctrl And click on the miniature of the resulting layer. On the rasterized text there will be a selection.
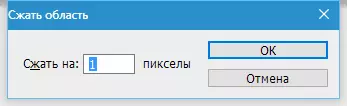
- Go to the menu "Allocation - modification - compress".

The size of compression depends on what thickness of the contour we want to get. We prescribe the desired value and click OK.
- We get a modified selection:
- It remains only to press the key. Del. And get the desired. Selection is removed by a combination of hot keys Ctrl + D..

Method 2: Pouring
This time we will not raster text, and put a raster image on top of it.
- Again click on the miniature of the text layer with clamped Ctrl And then produce compression, as in the first way.
- Next, create a new layer.
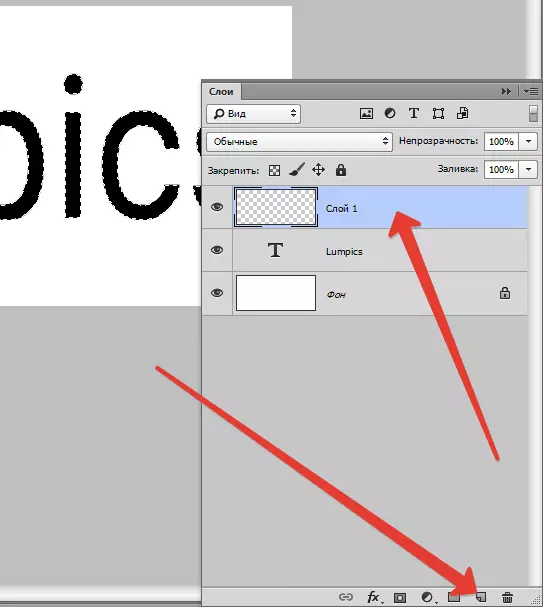
- Press SHIFT + F5. And in the window that opens, choose the fill with color. It must be the color of the background.
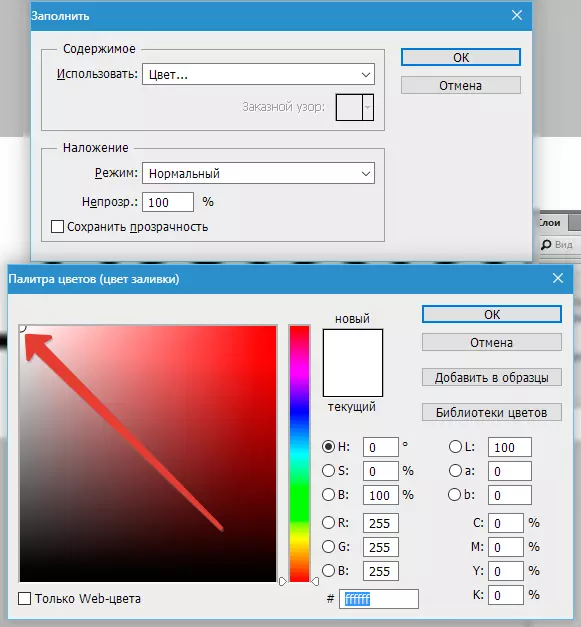
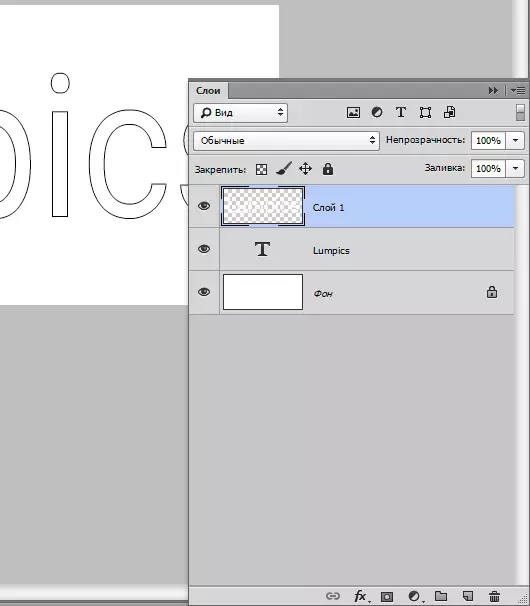
Press everywhere OK And remove the selection. The result is the same.
Method 3: Styles
This method implies the use of layer styles.
- Double-click on the layer of the mouse and in the window "Layer style" Go to the tab "Stroke" . Watch that the daws near the title of the point stood. The thickness and color of the stroke can be chosen any.
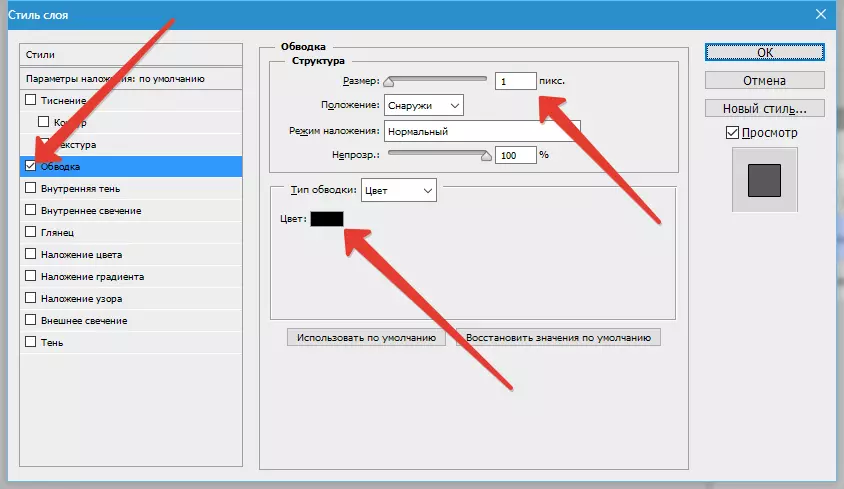
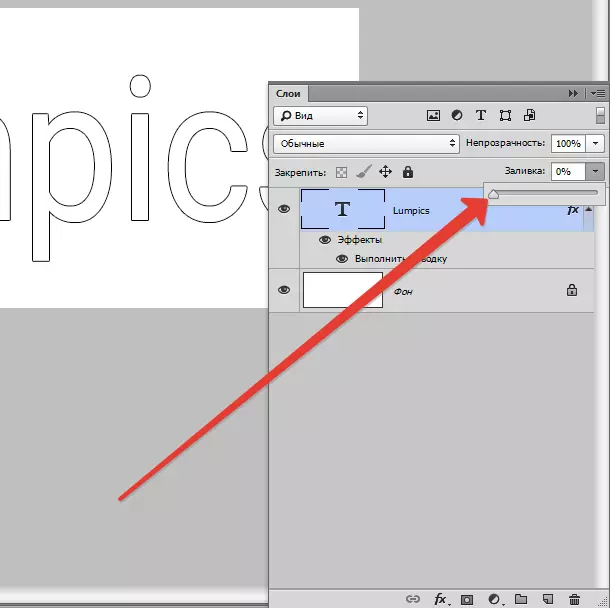
- Press OK And go back to the layer palette. For the manifestation of the contour, it is necessary to reduce the opacity of the fill to 0.
This lesson for creating contours from the text is completed. All three ways are correct, differences consist only in the situation in which they are applied.