

Smoke is a rather complicated substance. Different areas have different density, and therefore opacity. The substance is complex in the sense of the image, but not for photoshop. In this lesson, learn how to create smoke.
Creating smoke in Photoshop
Immediately it is worth noting that smoke is always unique, and every time you need to draw anew. The lesson is dedicated only to the main techniques. We will proceed to practice, without prefaces.
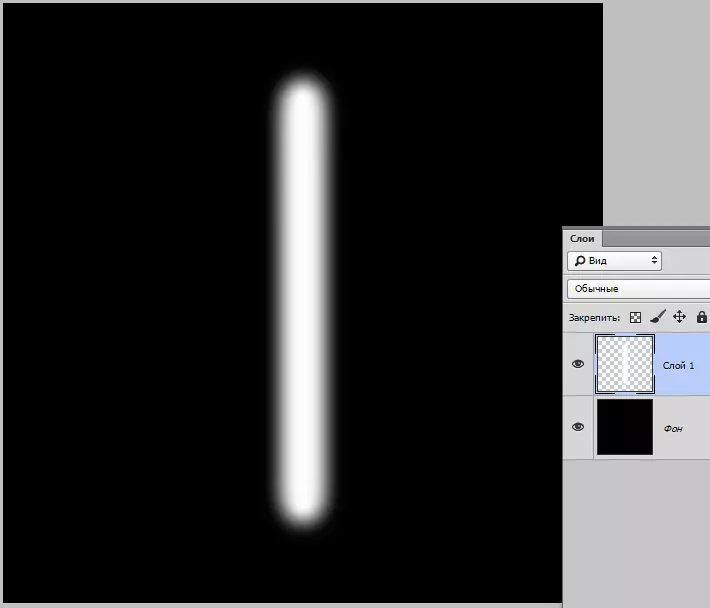
- Create a new document with a black background, add a new empty layer, take a white brush and spend a vertical line.
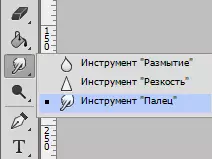
- Then choose the instrument "Finger".
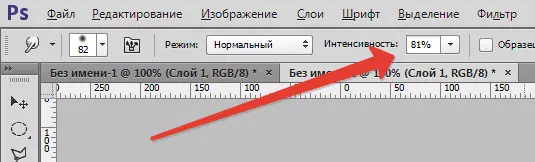
"Intensity" 80%. Size, depending on the need change in square brackets.
- Distorting "finger" to our line.
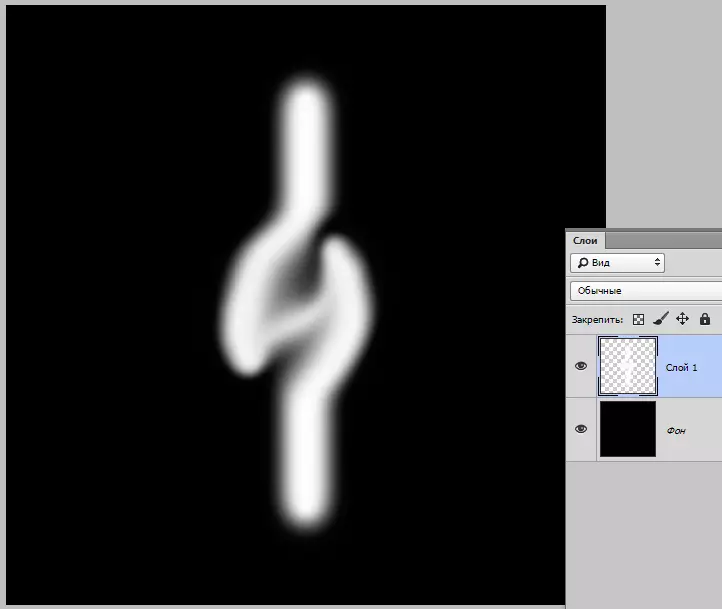
It should be approximately what:

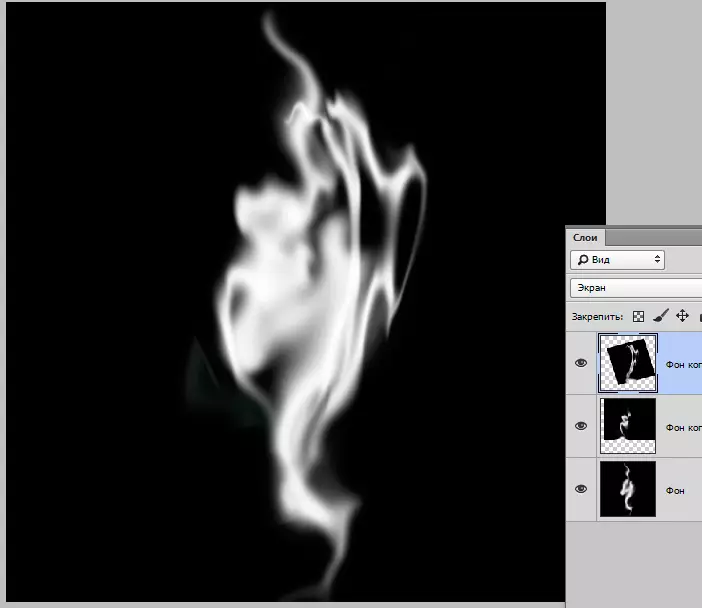
- Then combine the layers with a combination of keys Ctrl + E. and create two copies of the resulting layer ( Ctrl + J.).
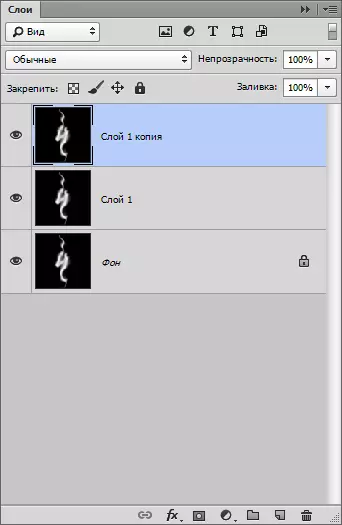
- Go to the second layer in the palette, and from the upper layer we remove visibility.

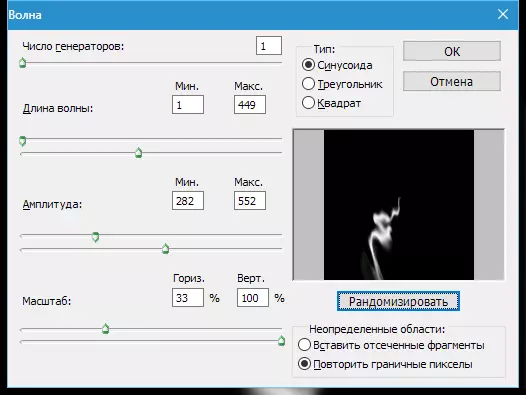
- Go to the menu "Filter - distortion - a wave" . It all depends on your imagination. Sliders we achieve the desired effect and click OK.
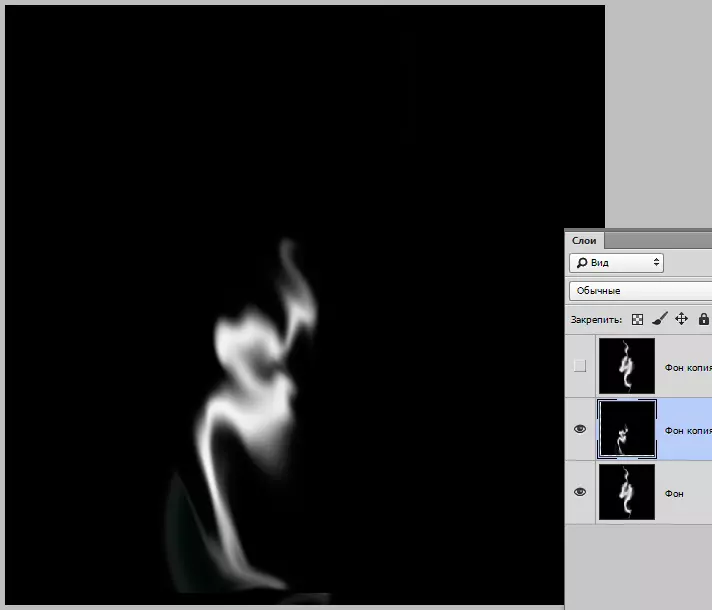
- Slight correct smoke "Finger".
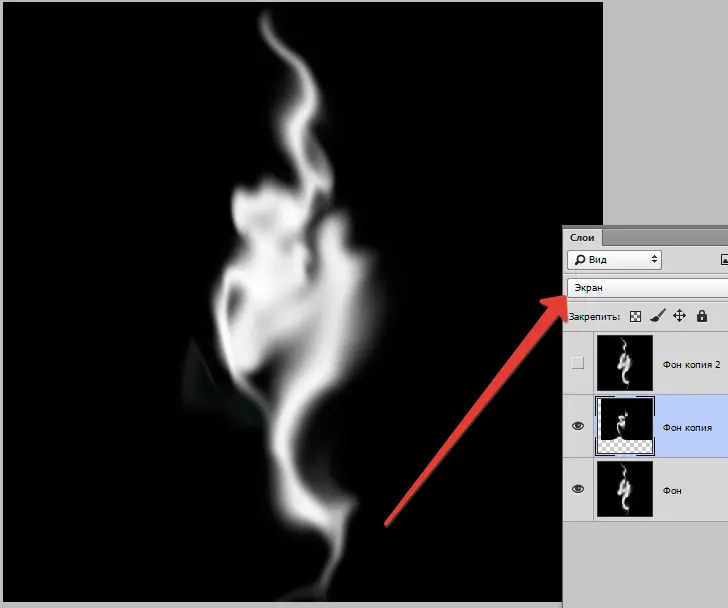
- Then change the overlay mode for this layer on "Screen" And move smoke to the right place.
The same procedure is done with the top layer.
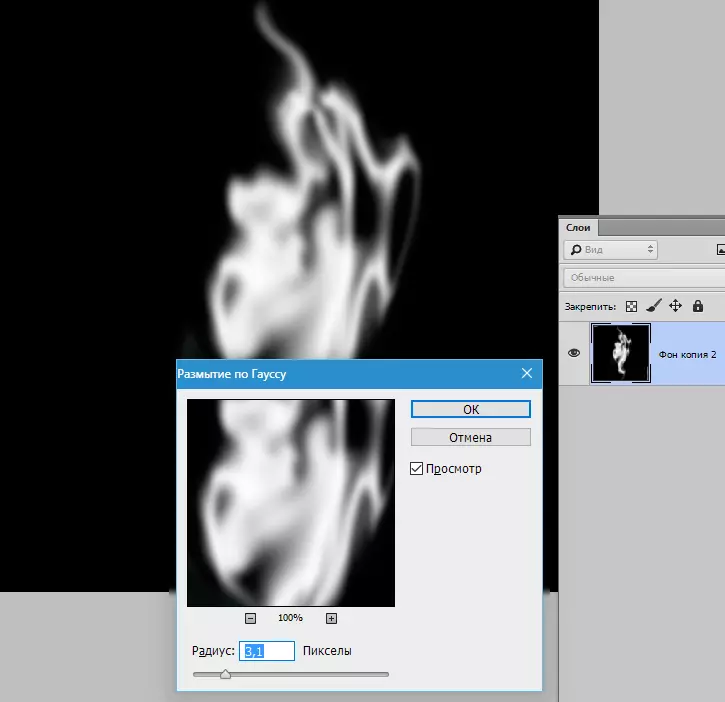
- Allocate all layers (clamp Ctrl and click on each) and combine their key combination Ctrl + E. . Next, go to the menu "Filter - Blur - Blur in Gauss" And I blur the resulting smoke.
- Then go to the menu "Filter - noise - add noise" . Add some noise.
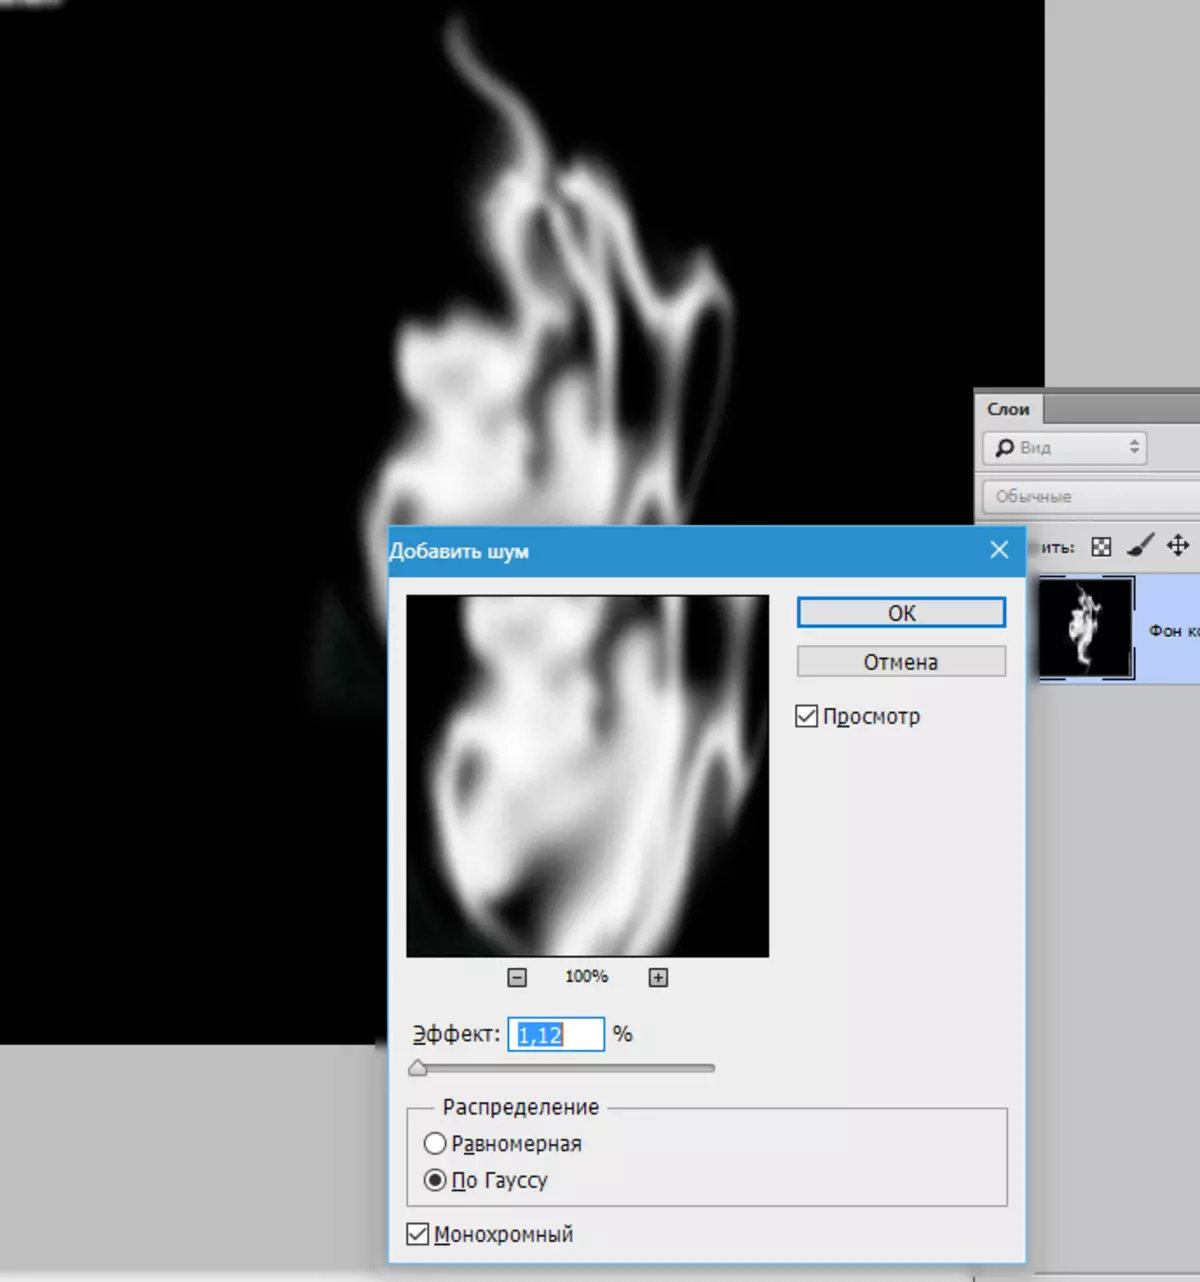
Smoke ready. Save it in any format (JPEG, PNG).
Let's apply it to practice.
- Open photos.
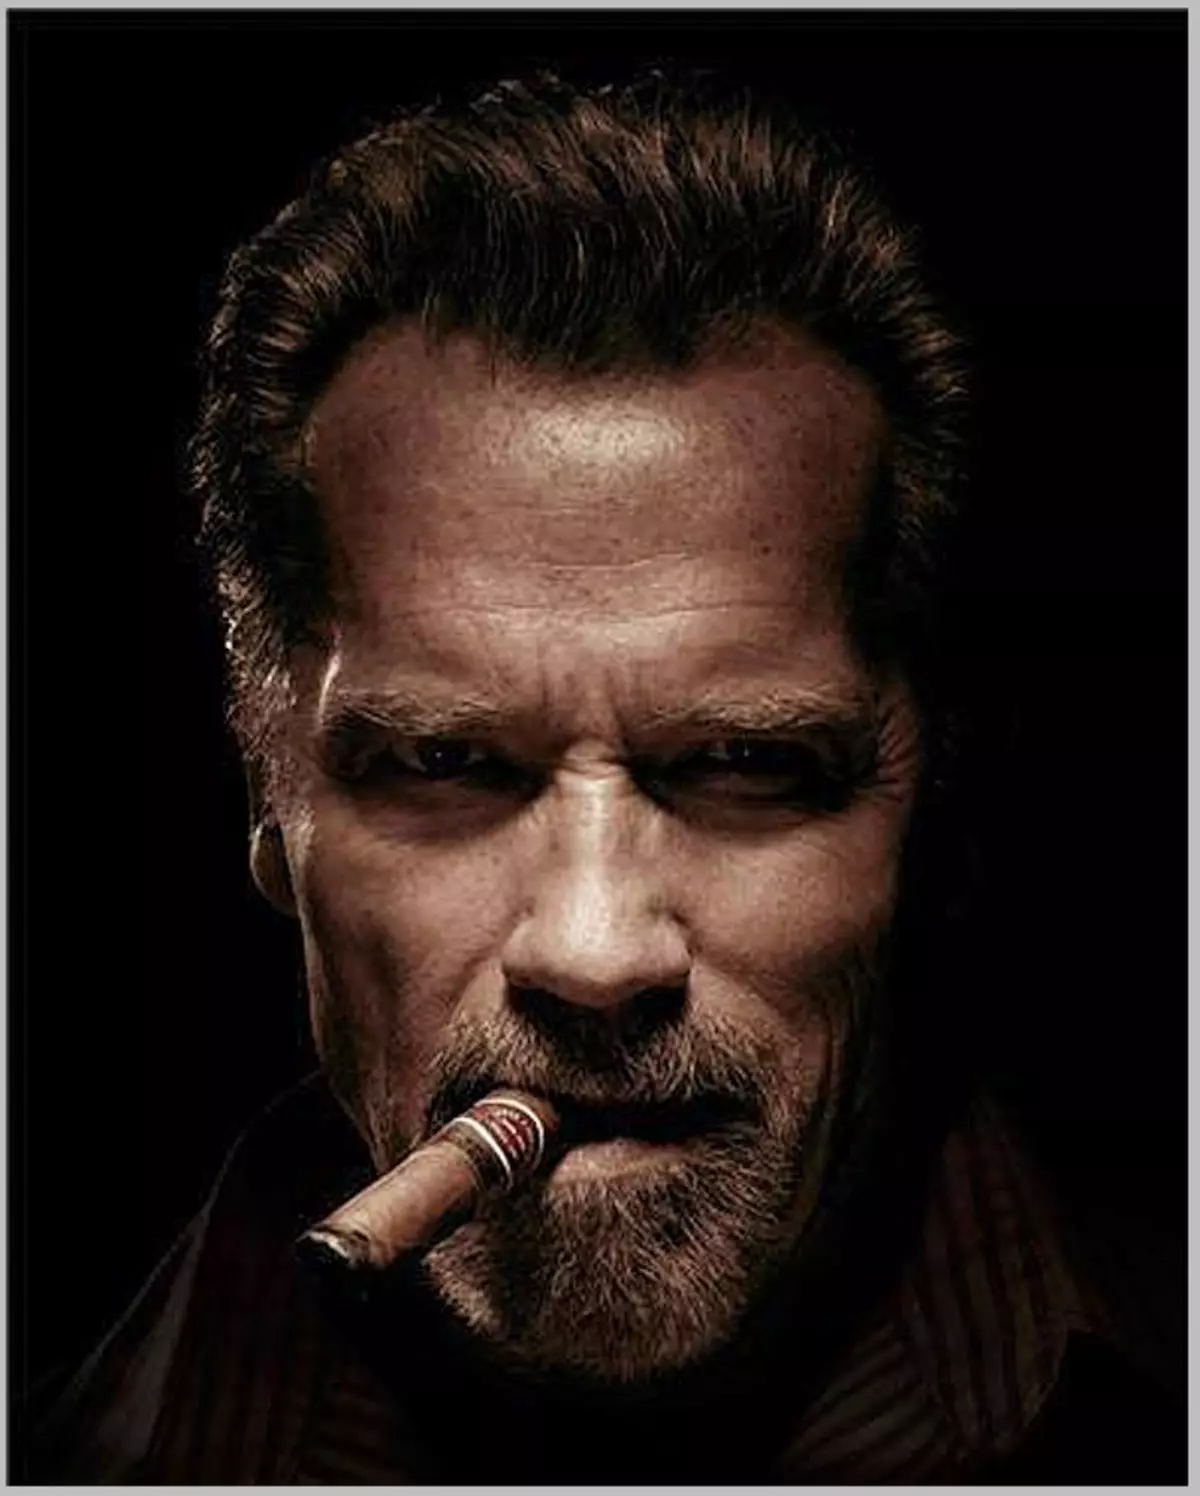
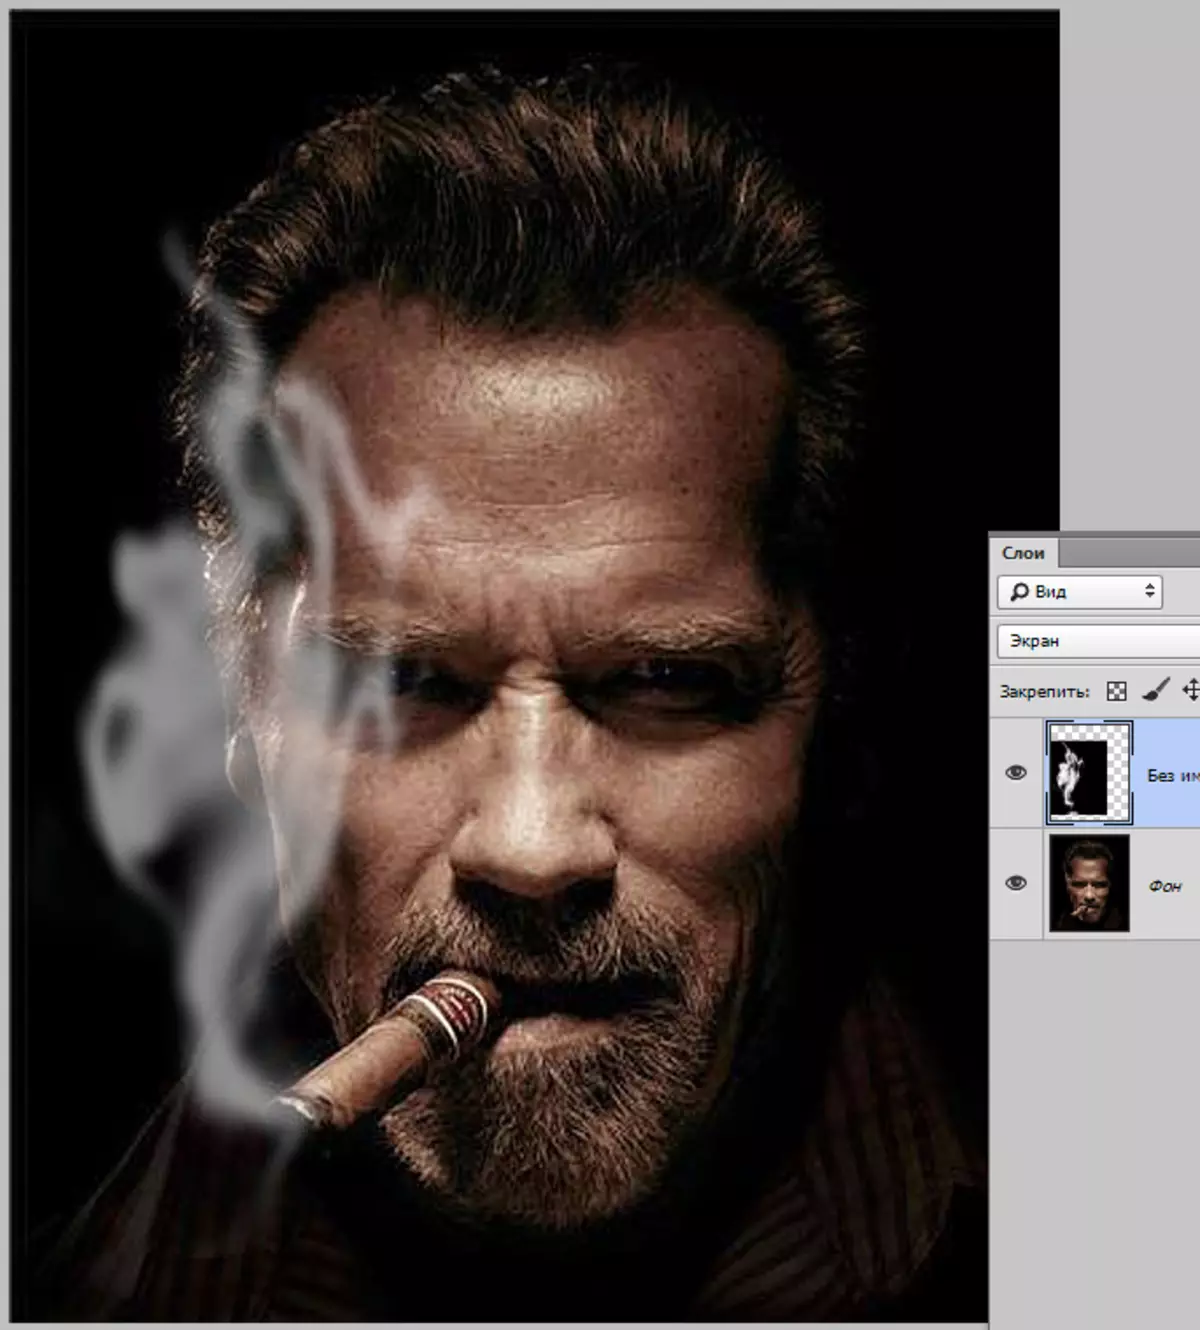
- Simple dragging place on a snapshot, the saved image with smoke and change the overlay mode on "Screen" . We move to the right place and change the opacity if necessary.
The lesson is over. We learned to draw smoke in Photoshop.