

In this article, let's talk about how to record sound from a computer without a microphone. Methods that will be shown below allow you to record audio from any sound sources - players, radio and the Internet.
Recording Sound from Computer
We will use the Audacity programs, UV Sound Recorder and Free Audio Recorder. All of them allow you to achieve the desired result, but differ in functionality and complexity in circulation.
Record
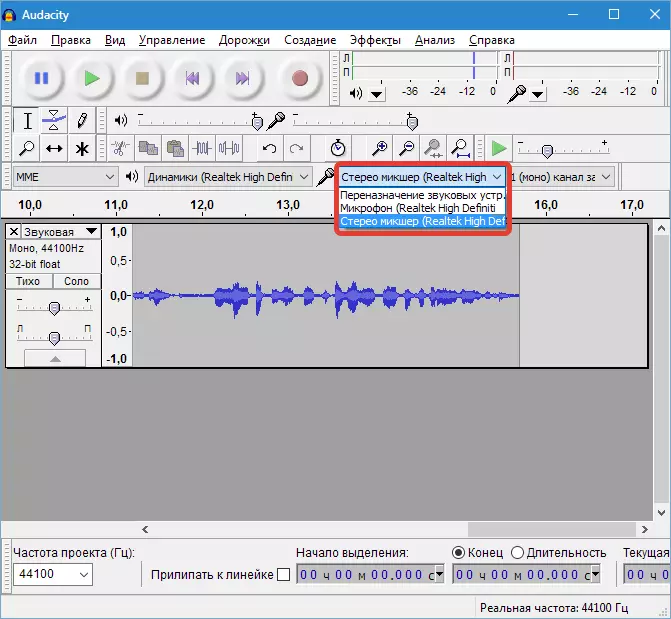
- Before you start recording audio, you must select the device from which capture will occur. In our case, it should be "Stereo mixer" (sometimes the device may be called STEREO MIX, WAVE OUT MIX or MONO MIX ). In the drop-down menu of selection of devices, select the desired device.
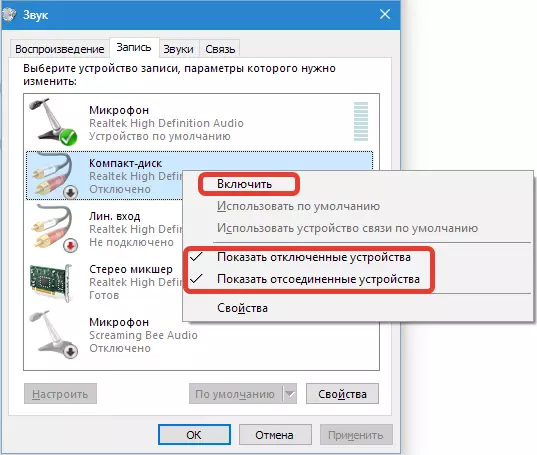
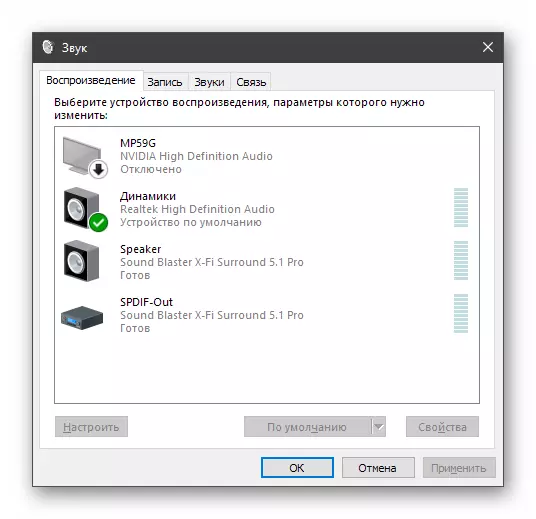
- If the "stereo mixer" is missing in the list, go to the Windows Sound Settings,

Choose a mixer and click "Turn on" . If the device is not displayed, you need to put the daws, as shown in the screenshot.
- For recording, you can choose two modes - mono and stereo. If it is known that the recorded track has two channels, choose stereo, in other cases it is quite suitable for mono.

- For example, let's try to record sound with video on YouTube. Open some roller, turn on playback. Then go to Audacity and click "Record" , and at the end of the record click "Stop" . You can listen to the recorded sound by clicking on "Play".

- We go to the "File" menu and proceed to "Export".
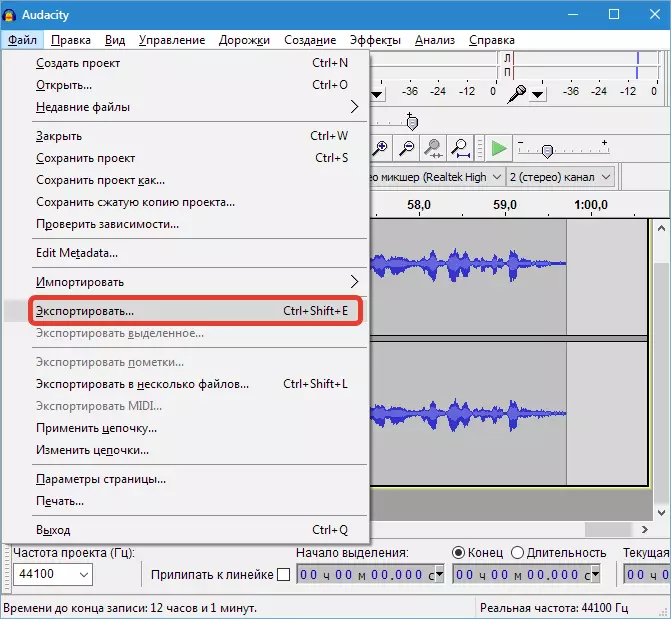
Select the format and place to save, then click "Save".
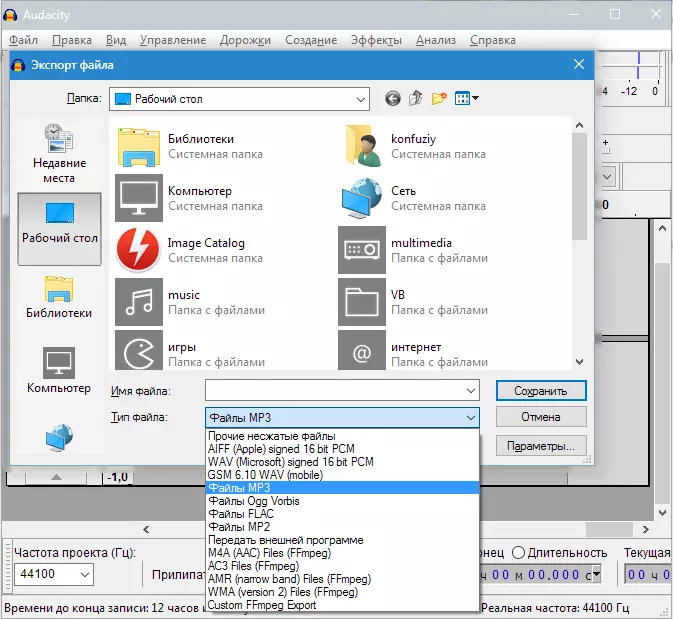
Please note that for exporting audio in MP3 format, you must additionally install the library called Lame..
Read more: as in Audacity Save to mp3
Method 2: UV Sound Recorder
In this paragraph, we will get acquainted with a program that is much easier to use than Audacity. Its main feature is a sound recording immediately from several devices, while the tracks can be saved in two separate files in MP3 format.
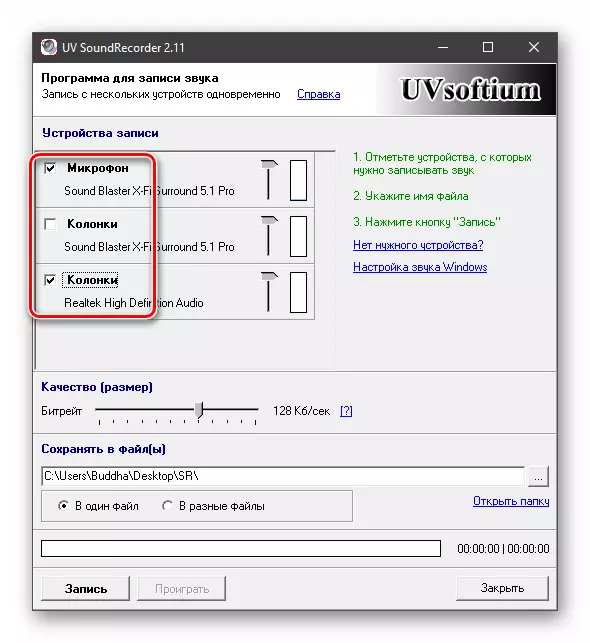
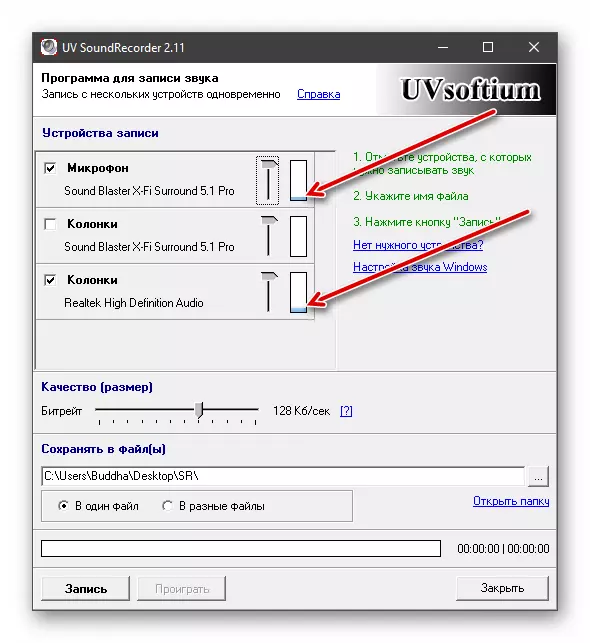
- Run the program and select the devices from which the sound is planned by setting the appropriate checkboxes.
- Using the slider on the right, configure recording levels. There are no clear instructions here, so you have to experiment. It is necessary to achieve an acceptable ratio between the volume of the source and background noise.

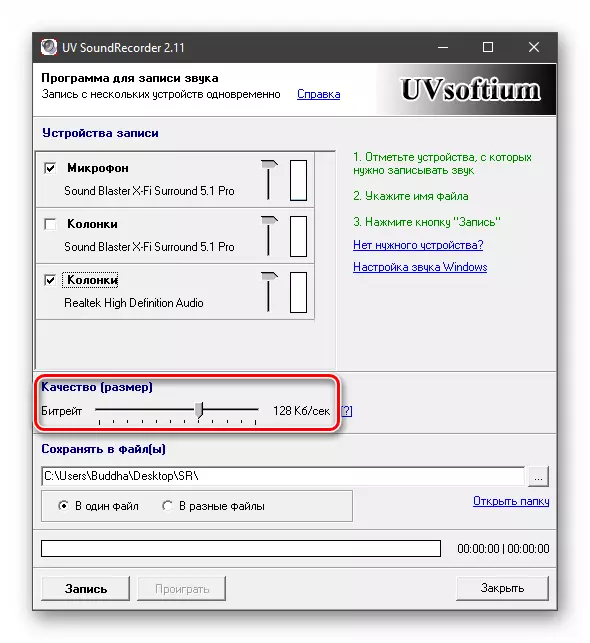
- Another slider below allows you to configure the bitter of the output file. If it is written, the required minimum is 32-56 kb / s, and it is better to set the value to the music higher - from 128 kb / s.
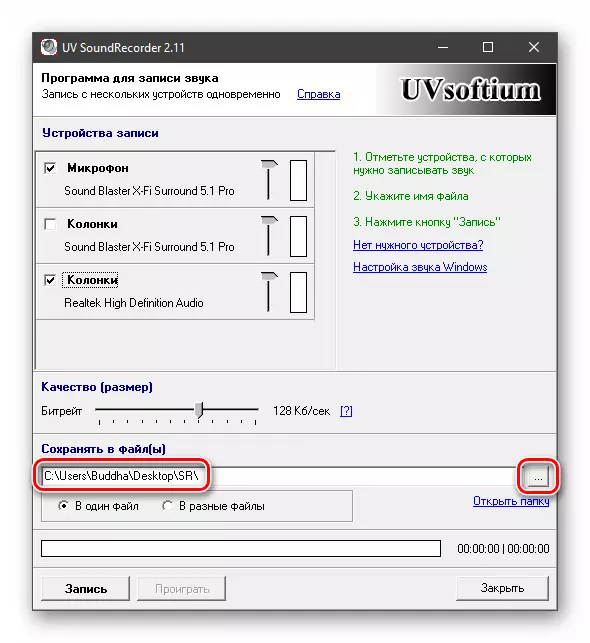
- Next, select a place to save the output files by pressing the view button with three dots.
- We decide whether to share paths into several files, and put the switch to the desired position.

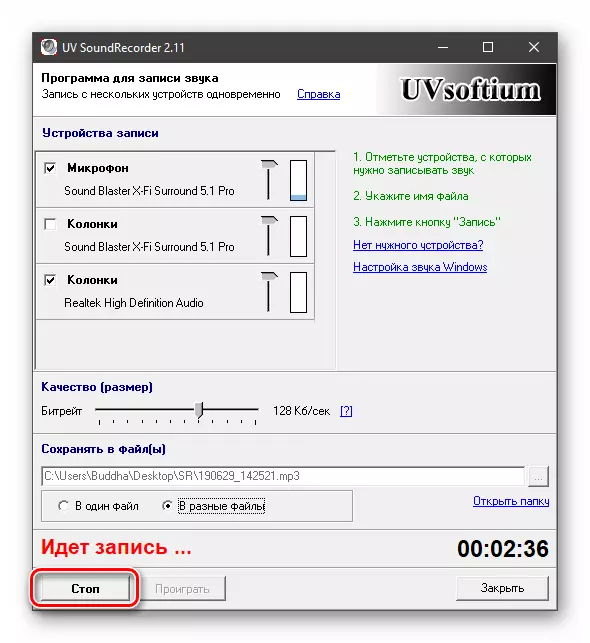
- Settings are manufactured, you can press "Record".

- After completing the record, click "Stop".
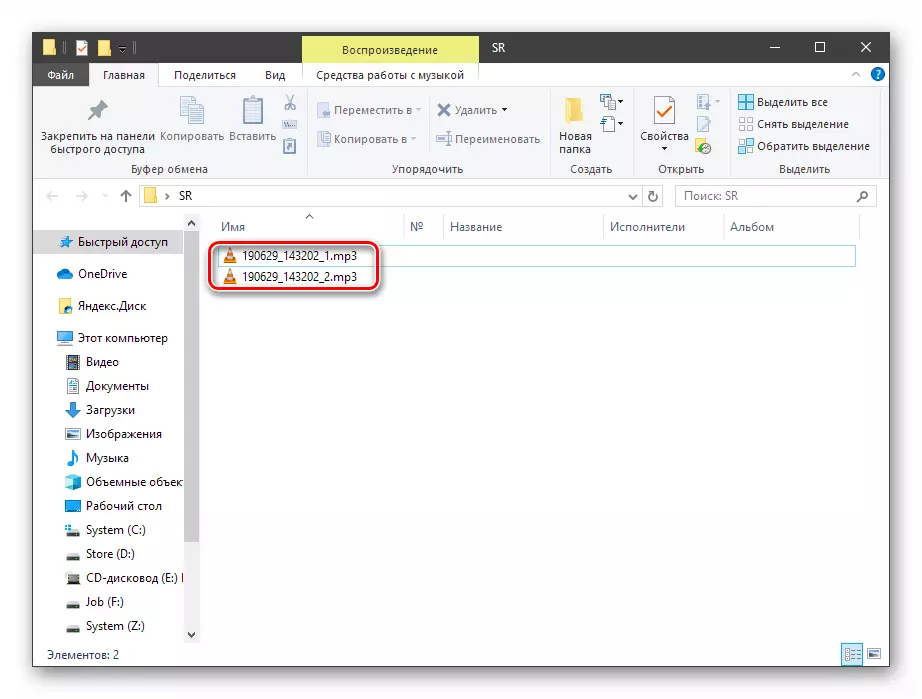
- We open the folder shown in paragraph 4, and we see two files, on one of which there will be a track from the microphone, and on the second - from the speakers.
When working with the program there is one nuance. It may not record the second path. So that this does not happen, before you run the process, check whether the level is raised near the selected device. If not, restart UV Sound Recorder.
Method 3: Free Audio Recorder
This method of recording sound will be the easiest of all given in this article. The FREE Audio Recorder program has a minimum of its own settings and at the same time well copes with the task.
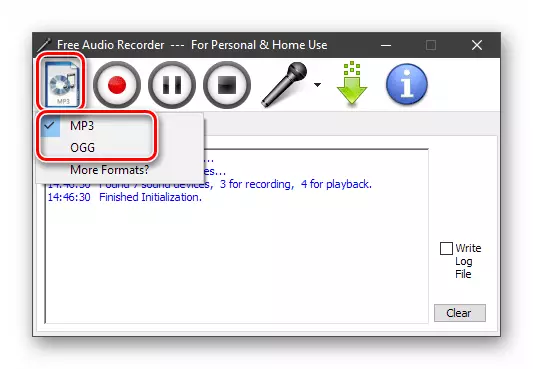
- After starting the software, select the format in which the destination file will be converted. Available mp3 and OGG.
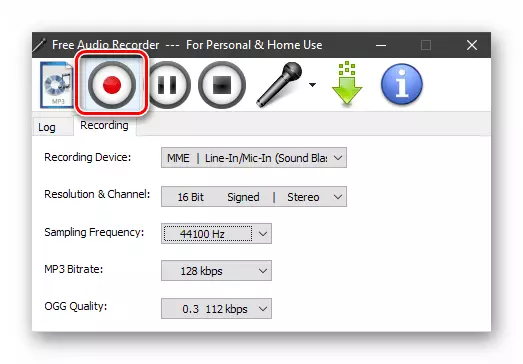
- Go to the "Recording" tab and first choose the device from which we will write sound.

- Customize the bothery and number of channels.
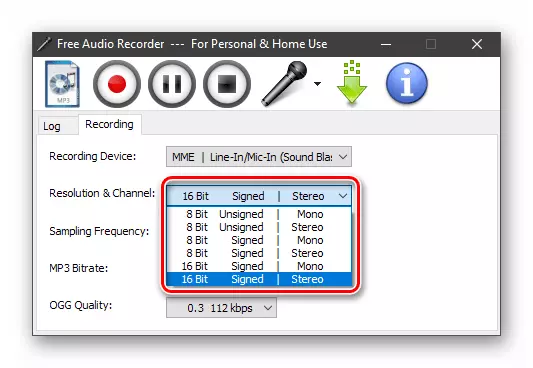
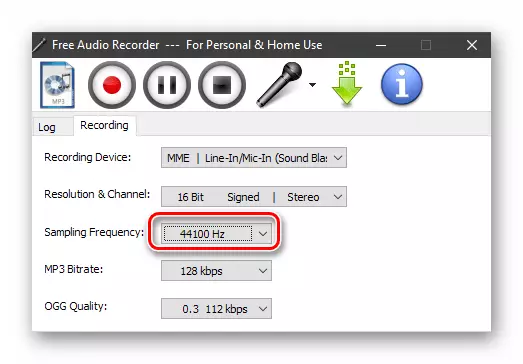
- We define the frequency.
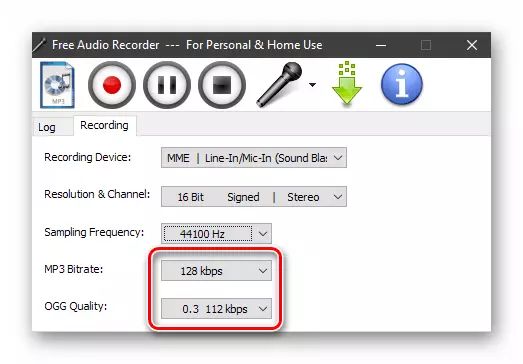
- Lower two list are designed to select quality separately for MP3 and OGG.
- The rest of the necessary settings are performed in the System System System Parameters. You can get there by pressing the button with the microphone icon.
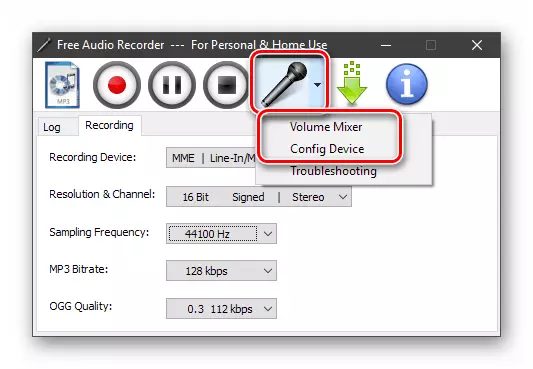
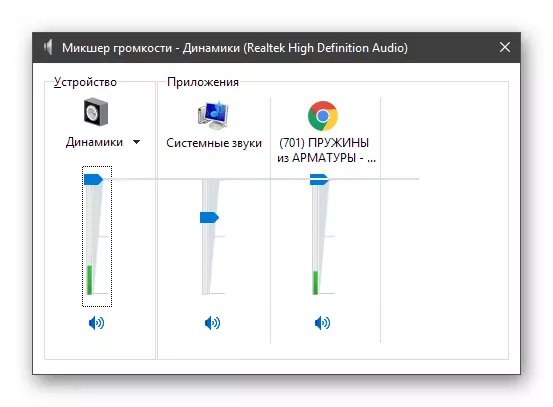
The "VOLUME MIXER" Opens the standard "volume mixer" in which you can configure playback levels if you are recorded not from the microphone.
If you press "Config Device", the System System System Settings window will open, where you can enable devices if they are not in the list, assign default and change other parameters.
Read more: How to configure sound on your computer
- Run the recording by clicking on the Red button.
Select a place to save the file, give it a name and click "Save".

- After the recording is completed, click "Stop". You can also put the process pause, and then continue as needed.

We disassembled three ways to write sound from a computer. What of the presented tools to use, decide for yourself. If you need to quickly write a speech or track from the Internet, it is quite suitable for UV Sound Recorder and Free Audio Recorder, and if there is a need for processing, it is better to refer to Audacity.