Experienced users have heard of SSH connection protocol, which allows you to remotely manage OS or computer. Mainly this protocol enjoy the administrators of machines with systems on the Linux or Unix kernel, but not so long ago there is a utility for Windows - Putty. About how to use it, we want to talk today.
How to use Putty
Using this utility consists of several steps: downloads and installations on a target computer, primary setting and connecting to a particular server. Also consider the SSH file transfer methodology.Step 1: Loading and Installation
- To download and install the utility, go through the link above. On the official website of the program, find the "Package Files" block, in which you select one of the links under the category "MSI ('Windows Installer')".
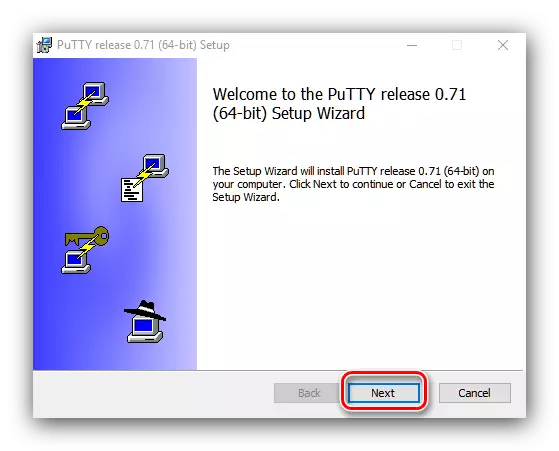
- Load the installer and run it. In the first window, click "Next".
- Select the location of the program files. It is advisable to leave the default - for the correct operation of the Putti should be on the system disk.
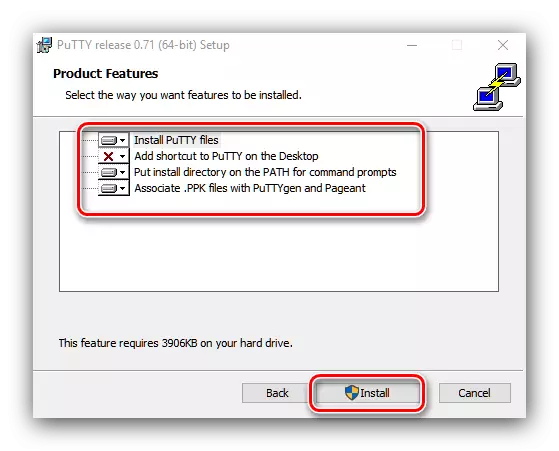
- Next, it is necessary to select the components installed. As a rule, the default option is quite enough, and delete or add components only to experienced users. Click on the "Install" button - Please note that you will need administrator rights.

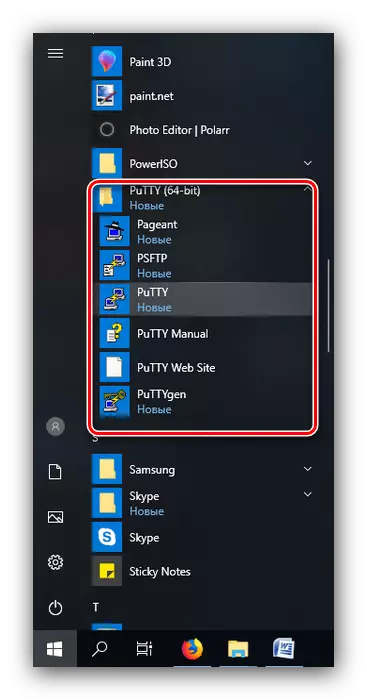
Further instructions suggests that the graphical interface utility will be involved. With a shortcut on the "Desktop", the console version is launched, so you need to use the application folder in the "Start" menu to start the GUI.
Step 2: Setup
Before using the utility should be adjusted accordingly. You already have a detailed instruction on the execution of this procedure, so just give a link to it.
Read more: How to configure Putty
Step 3: SSH connection, Saving session and authorization data
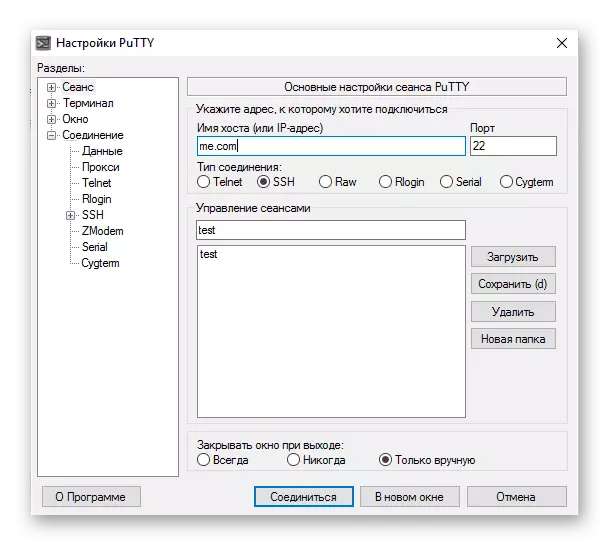
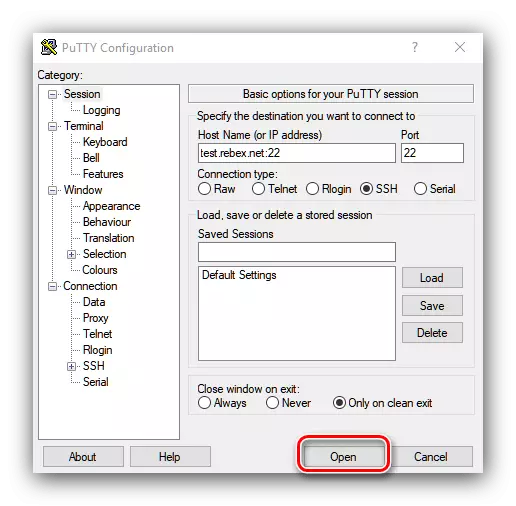
- To connect the SSH protocol, open the Session tab, which is located at the very top of the options. See the following picture:

First of all, make sure that the item "SSH" is marked. Next, in the "Host Name" and "Port" fields, give the name or IP address of the server and the connection port, respectively.
- Click on the "Open" button at the bottom of the program window.
Offer Add a server key to a list of trusted, click Yes.
- Next, go to the console window that has opened. It should manually enter the username and password to connect to the server.
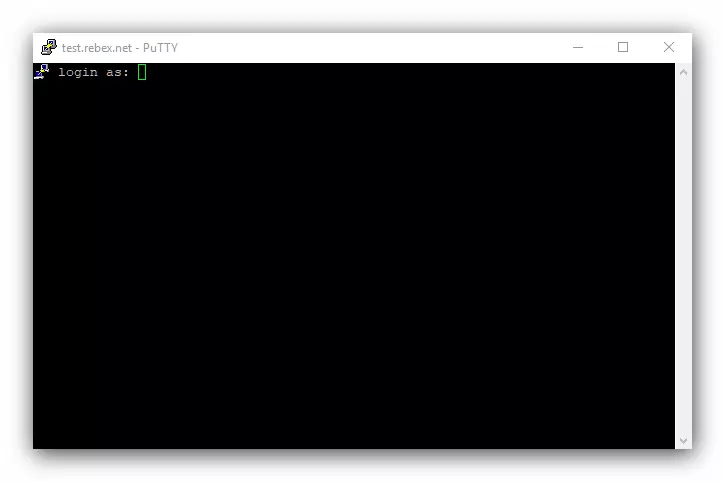
Note! Entering the password characters is not displayed in the console, so it may seem that the utility "Buggy"!
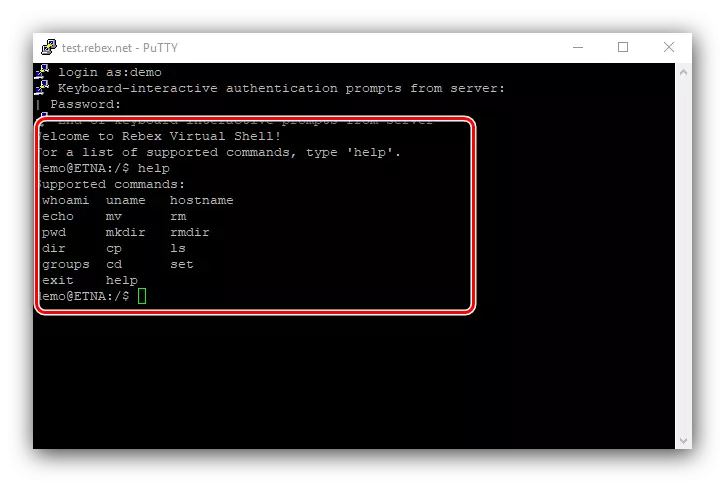
- After entering the password, the connection to the server will be installed, and you can fully work.

Saving session
If you want to often connect to the same server, the session can be saved so as not to enter the address and port. This is done as follows:
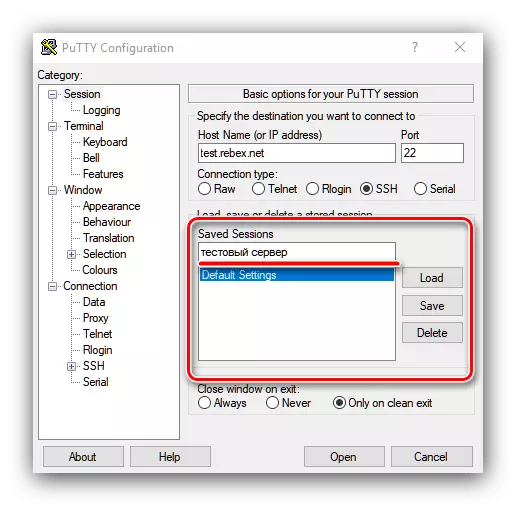
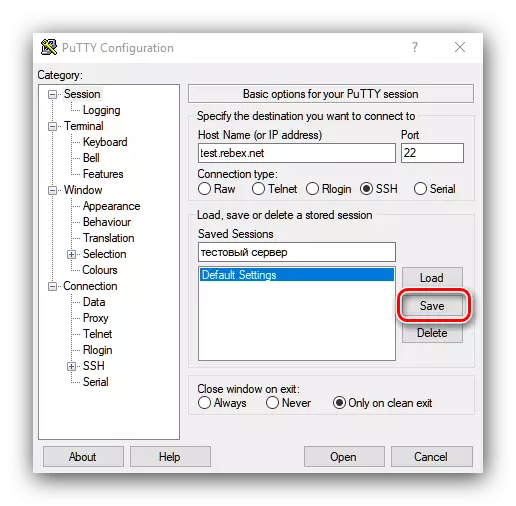
- Do the steps from step 1 of the previous stage, but this time refer to the "Saved Sessions" settings block. Enter any suitable name to the appropriate field.
- Next, use the "Save" button.
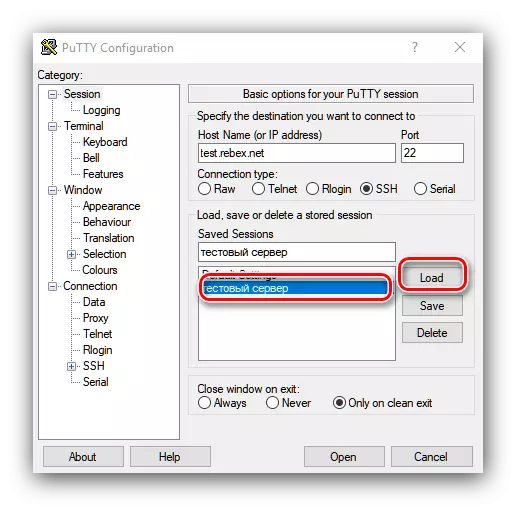
- In the list of saved sessions will be recorded with the previously entered name. To download, simply select this session and click "Load".
Authorization by key
In addition to saving the session, you can also save a special key, which will allow you to do without constant entry of authorization data.
- Find the Putti folder in the Start menu, in which you open Puttygen.
- Make sure the encryption mode switch is in the "RSA" position, and click "Generate".
- In the process of creating a key, the utility will ask you to tell the mouse and press the random key on the keyboard - this is required to generate information entropy. After creating the sequence, click on the "Save Public Key" and "Save Private Key" buttons.
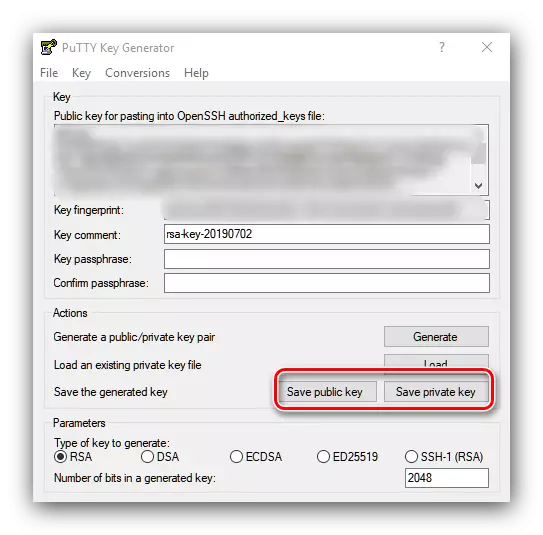
You can also optionally set a password to access a private key, otherwise a warning will appear when you click on the corresponding button.
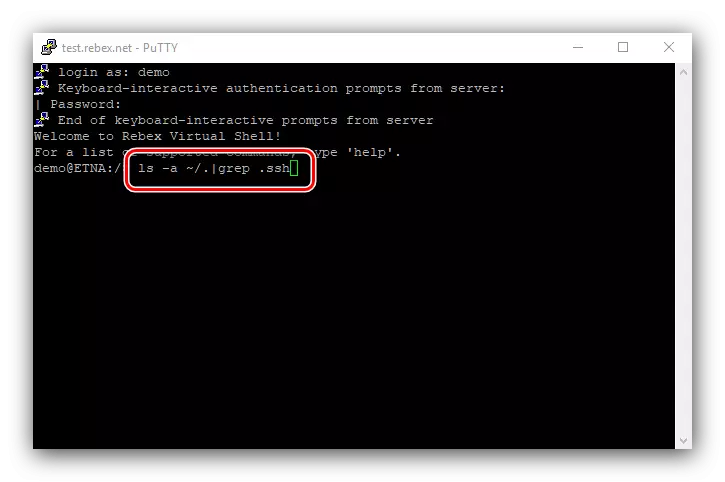
- To use the key, it will be necessary to move to /root/.ssh/authorized_keys file. To do this, enter the following commands:
LS -A ~ /. | Grep .ssh.
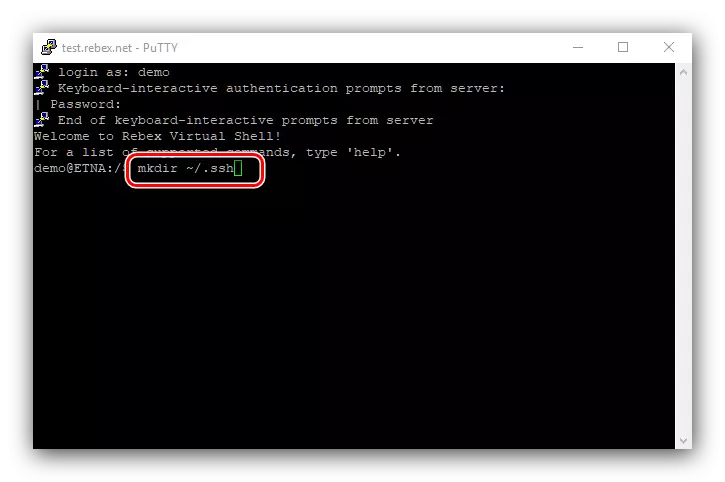
If there is no such folder, it should be created by the command:
mkdir ~ / .ssh
- Next, create the required file, the commands are as follows:
CD ~ / .ssh
Touch Authorized_Keys.
Vi authorized_keys
- Insert the data from the public key obtained in Puttygen to the end of the created file.
Important! The key should go a solid string, without transfer!
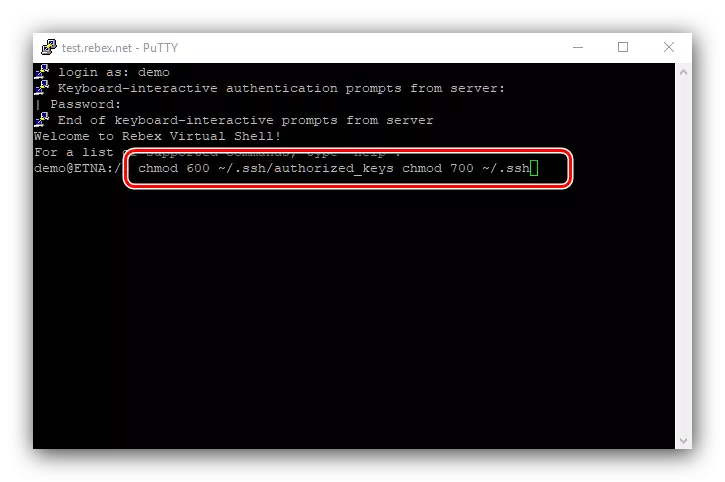
- Finally, set the access rights to the key file and its directory:
CHMOD 600 ~ / .SSH / Authorized_keys
Chmod 700 ~ / .ssh
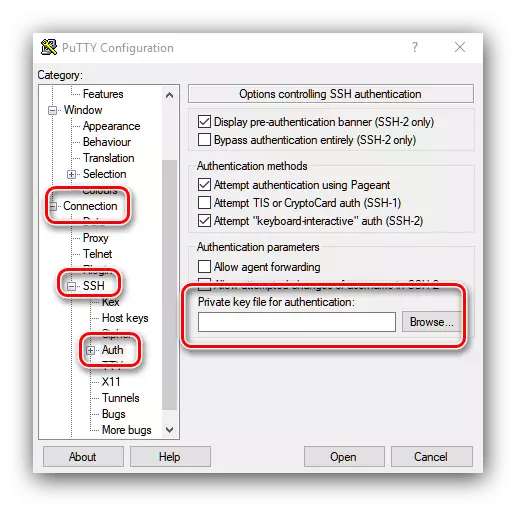
- Next, run Putty and in the options tree, open the "Connection" settings - "SSH" - "Auth". Use the Browse button in the PRIVATE KEY File For Authentication position and select a private key in the "Explorer" dialog box created in step 3.
- Save the connection settings, then re-connect to the server. Log in to it by entering login. If everything is done correctly, the server instead of a password request will use a private key located on a client machine, and a public key that is on the server itself.


Conclusion
We reviewed the features of using the Putty utility for connecting over SSH and disassembled several examples of basic actions with the application. As you can see, everything is not so difficult, as it may seem at first glance.
- To connect the SSH protocol, open the Session tab, which is located at the very top of the options. See the following picture: