

Photo processing in Adobe Lightroom is the main task performed by this software. To do this, there are many useful tools and functions with which you have to understand novice users. We will try to help with this, presenting a detailed step-by-step description of the example of standard image processing. It is not worth perceiving today's guide as a full lesson, because its goal is only in the demonstration of the example, and it should also be borne in mind that many actions are performed only at the request of the user.
We process photos in Adobe Lightroom
One of the features of Laitrum is considered to have a large number of harvested patterns that allow you to handle the picture literally a couple of clicks. We will not withdraw this method, describing it in detail, because there is no need. However, we suggest familiarizing yourself with a step where this opportunity will be mentioned.Step 1: Creating a project and add photos
As usual, a new project is created first, photos are added, and only then the processing process begins. Experienced users can skip this stage, and beginners we advise you to study every next action in more detail:
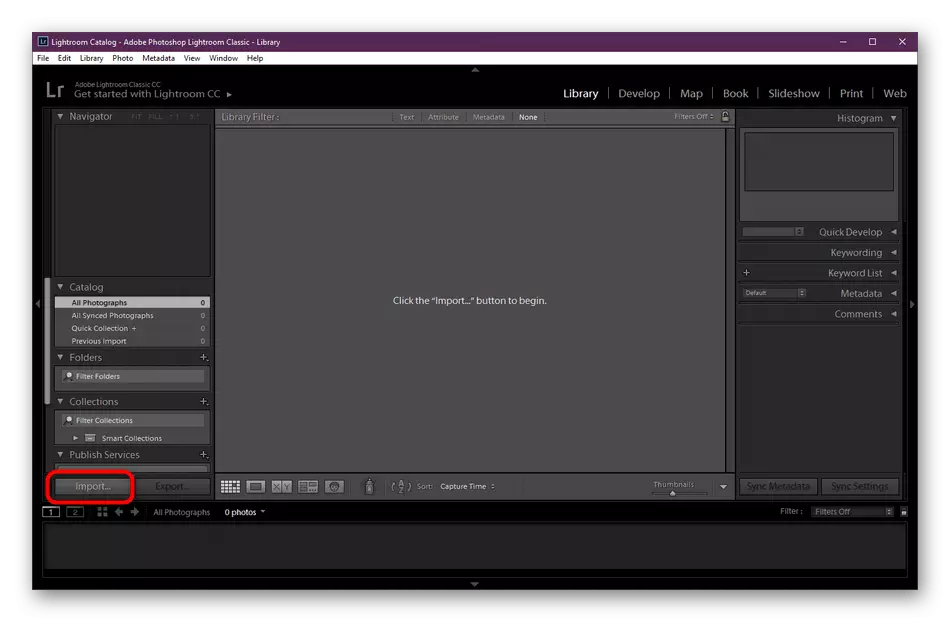
- Run the Adobe Lightroom and go to the import of new photos by clicking on the appropriate button.
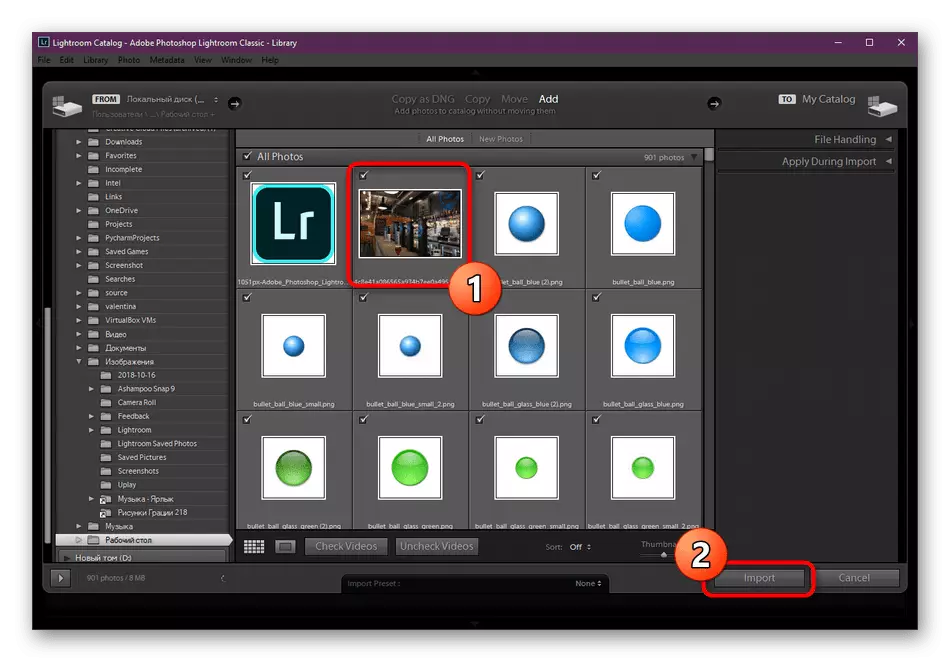
- Wait for the opening of the browser. There, tick the necessary pictures and click on "Import".
- After it remains only to choose a photo from the library.
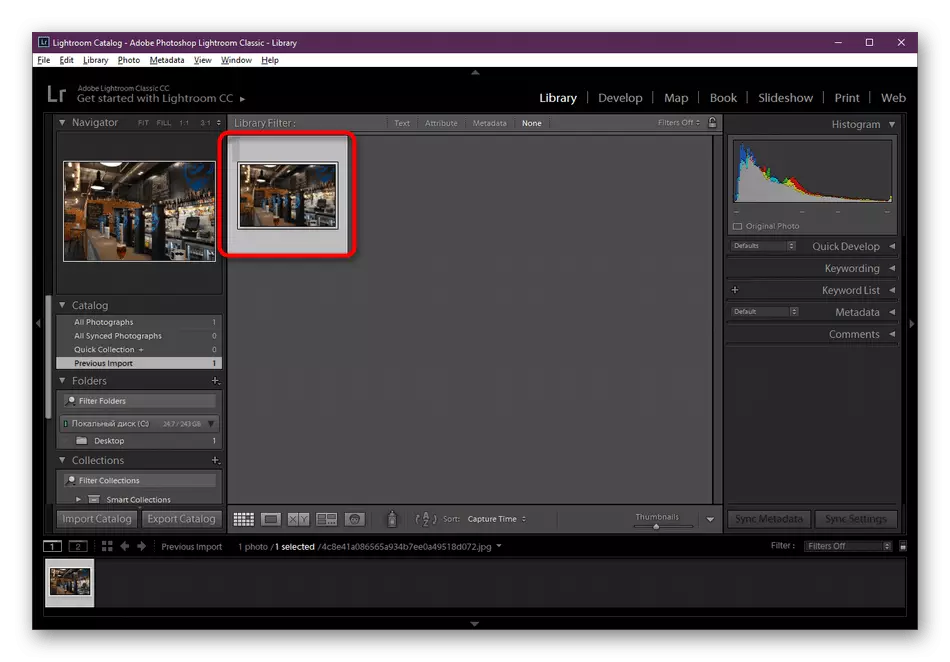
All added images will be displayed as tiles in LIBRARY mode. They can also be moved to the bottom panel by placing in a row to quickly select the desired elements.
Step 2: Use preset presets
As already mentioned earlier, in this software you can use already prepared filters and effects that will create a new view for the photo. If you do not want to use such a function, simply go to the next step, and we will show the operation of the application for those who want to familiarize themselves with this:
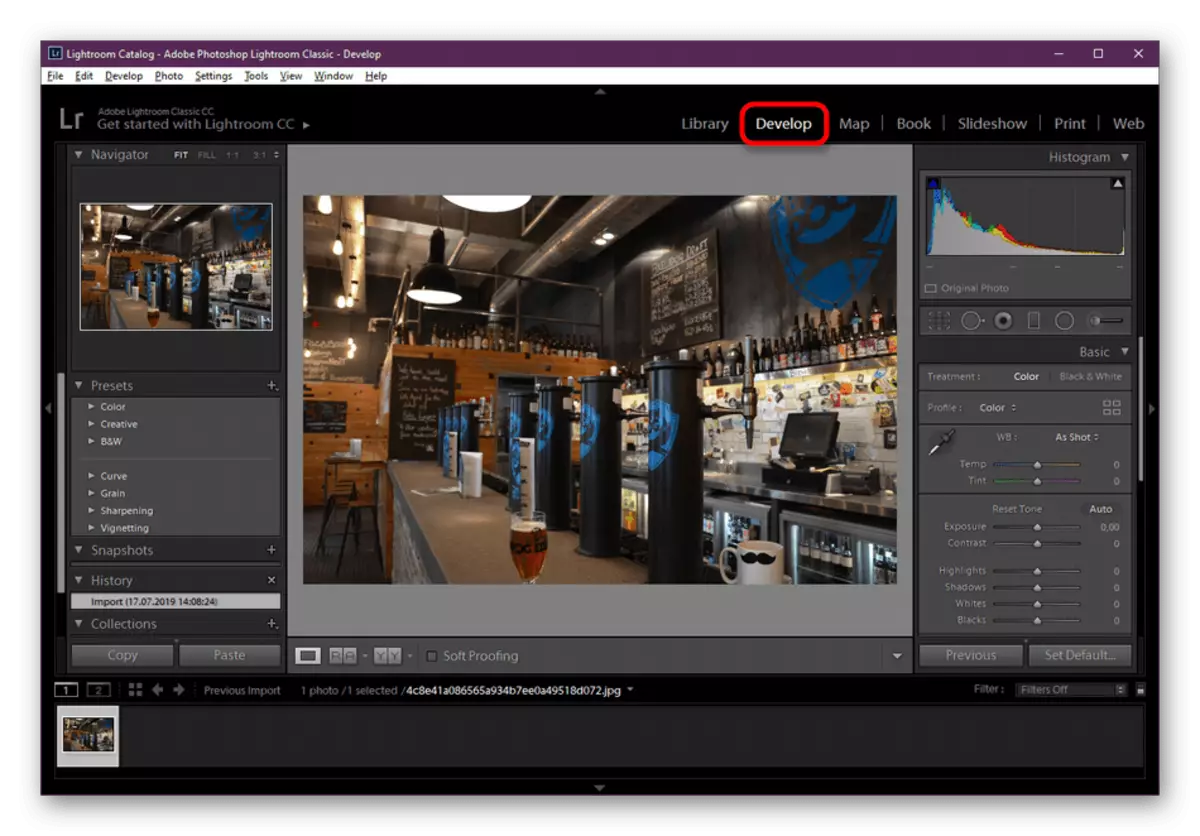
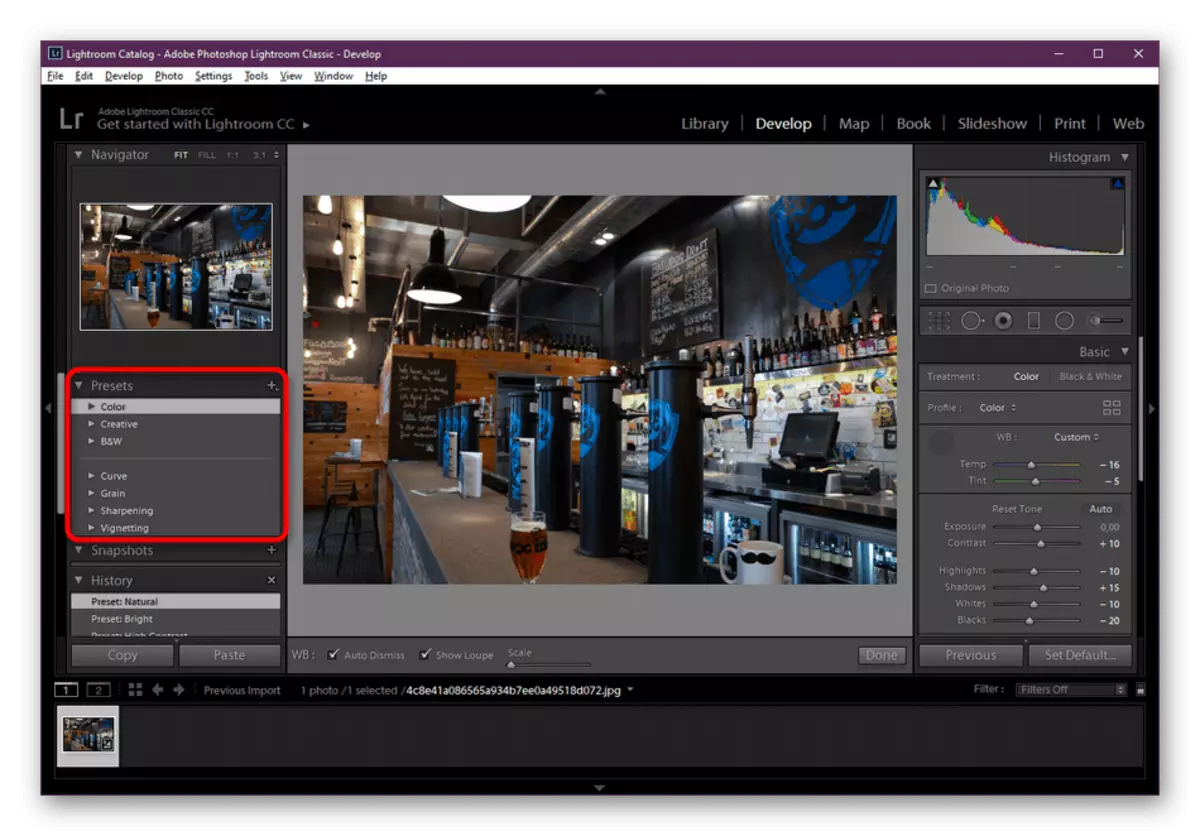
- Move to "Develop" mode, where all processing processes occur.
- On the left, expand the "Presets" section to familiarize yourself with all the directory present.
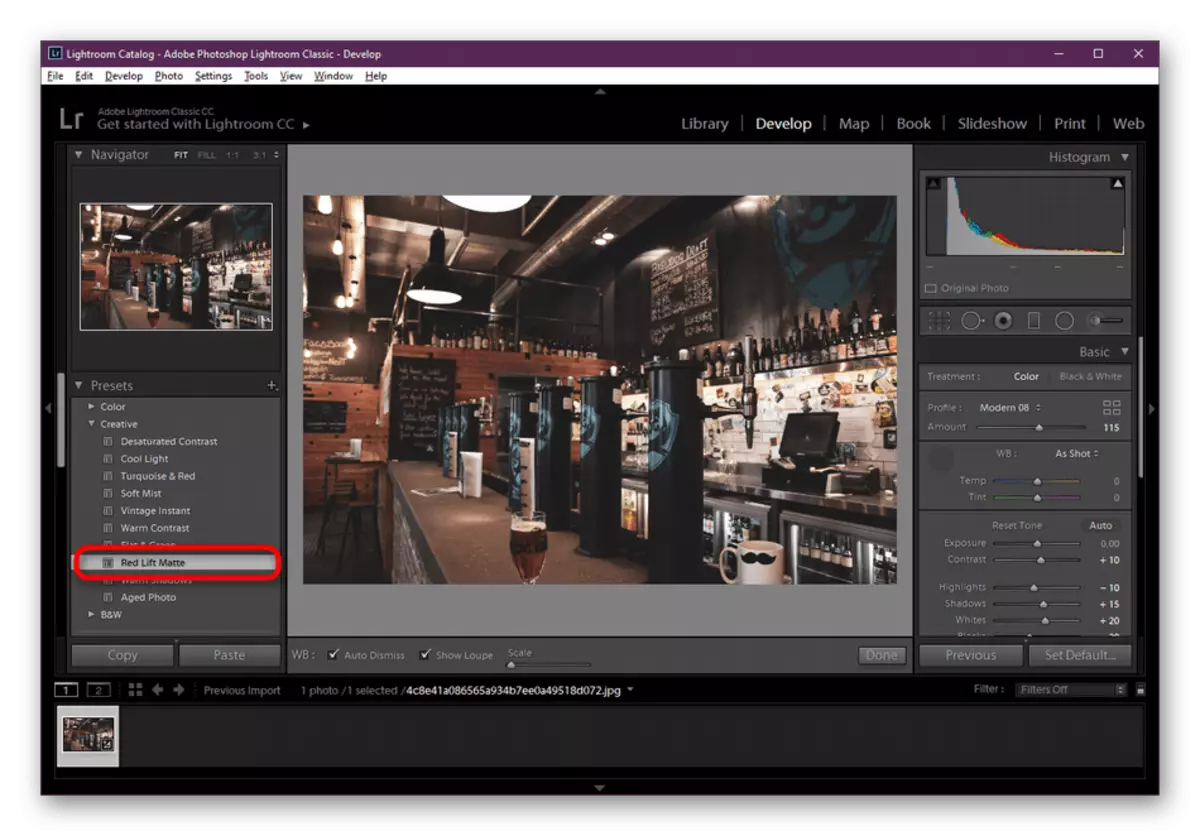
- You can choose one of the templates to immediately estimate its appearance.
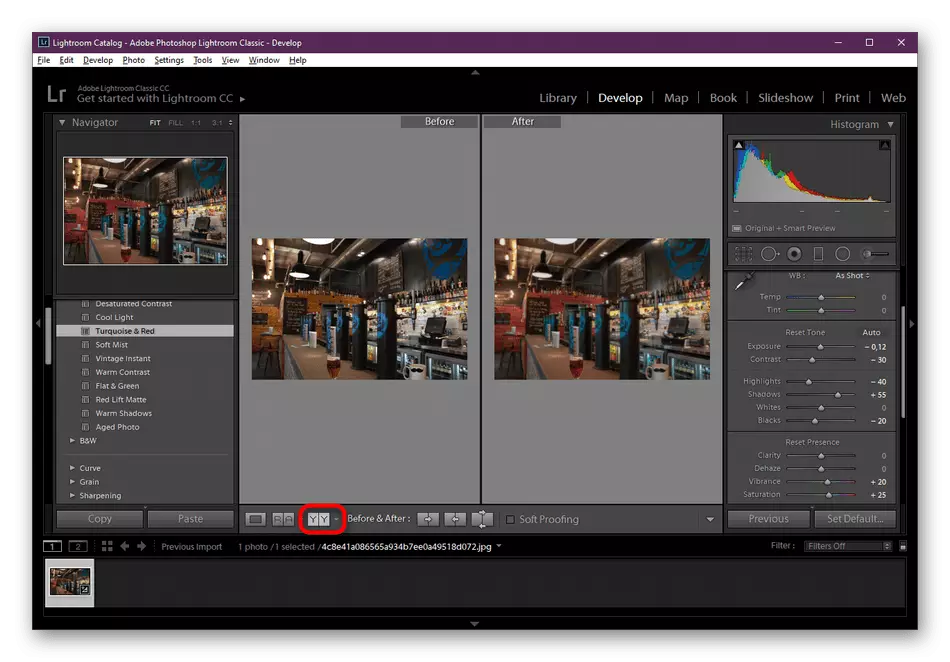
- Survey the changes even easier by placing two images nearby. The left will be displayed before, and on the right - after.
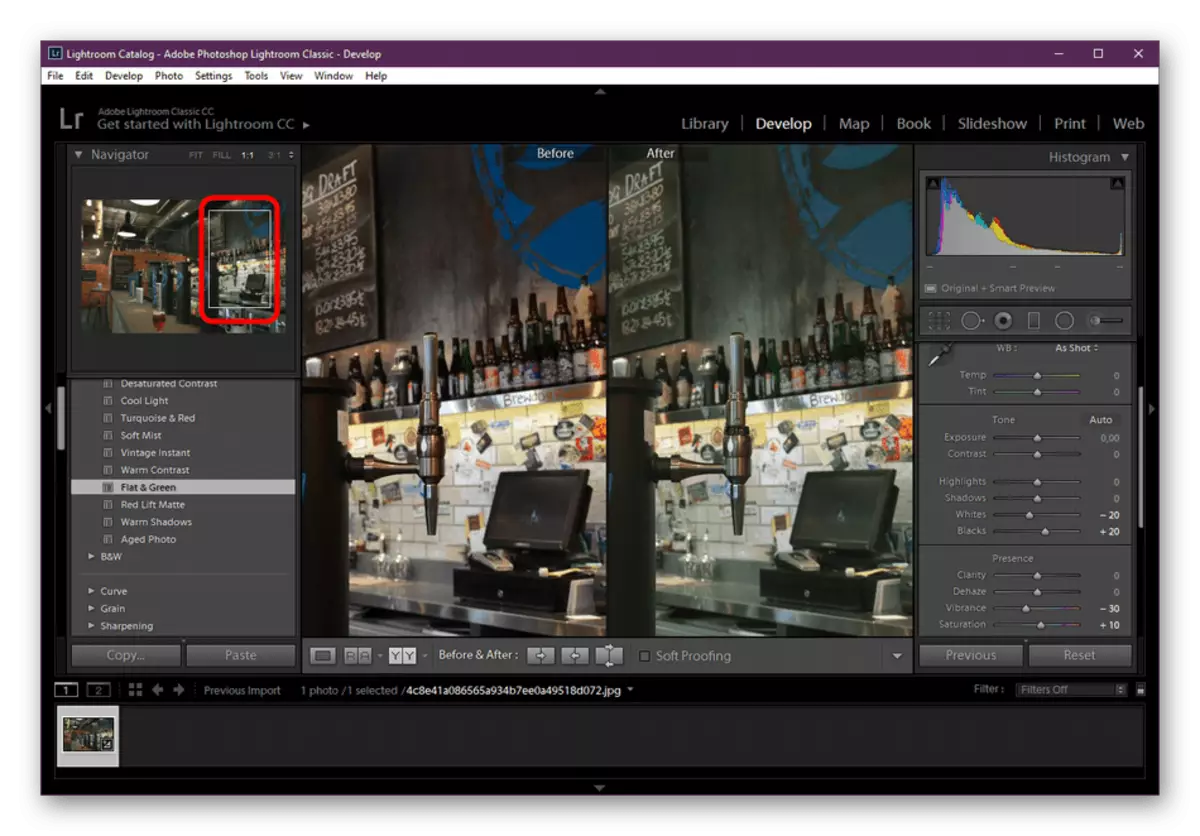
- Highlight one of the places on the navigator to view one of the necessary areas in more detail.
Of course, automatic processing is an ideal option for those who want to quickly complete the work, without paying a huge amount of time to handling parts. However, an option with an independent design is more flexible and universal, because let's go to it.
Step 3: manual change settings
Now let's talk about the basic functionality of the software under consideration - self-adjusting the sliders of the image settings. Here you can work with separate areas, change brightness, shadows, contrast, white balance and use many other tools that will be discussed further.
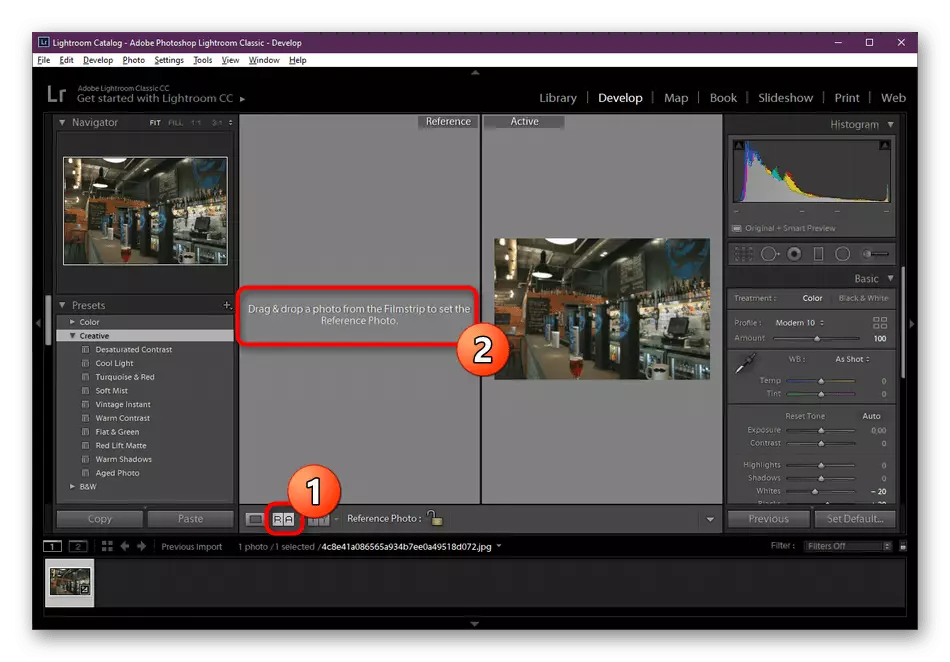
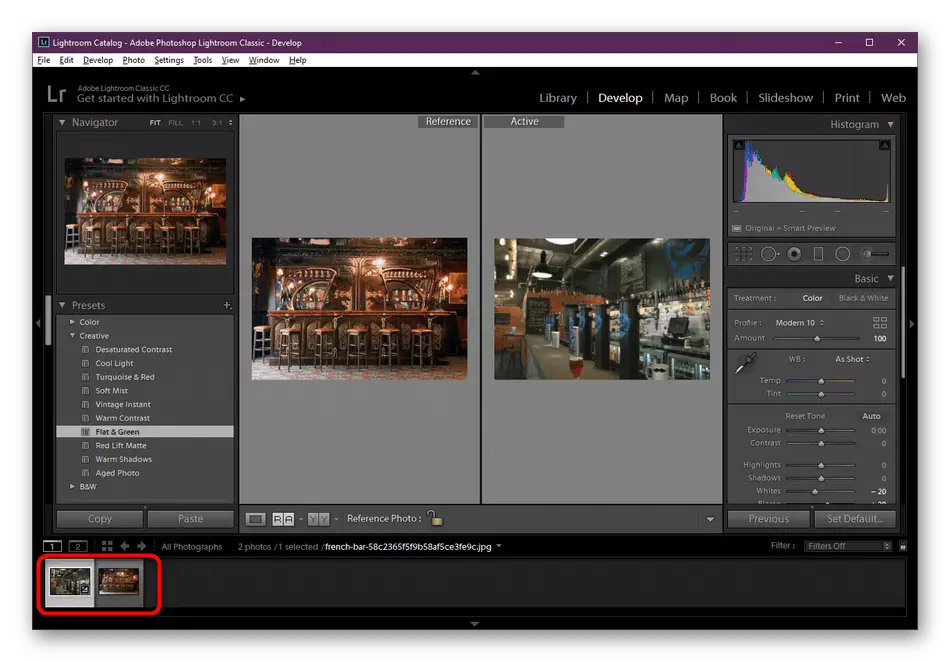
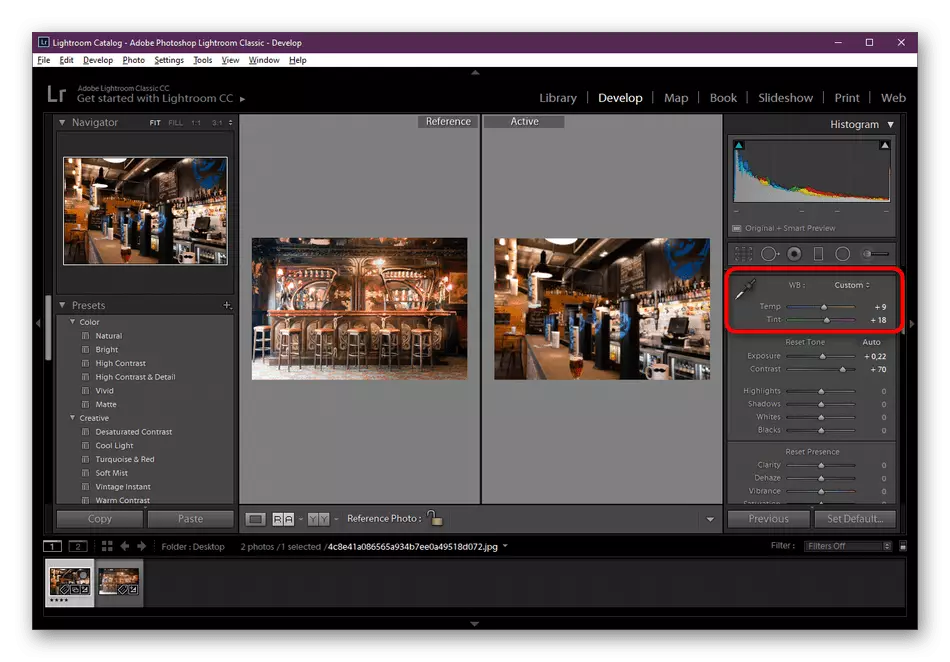
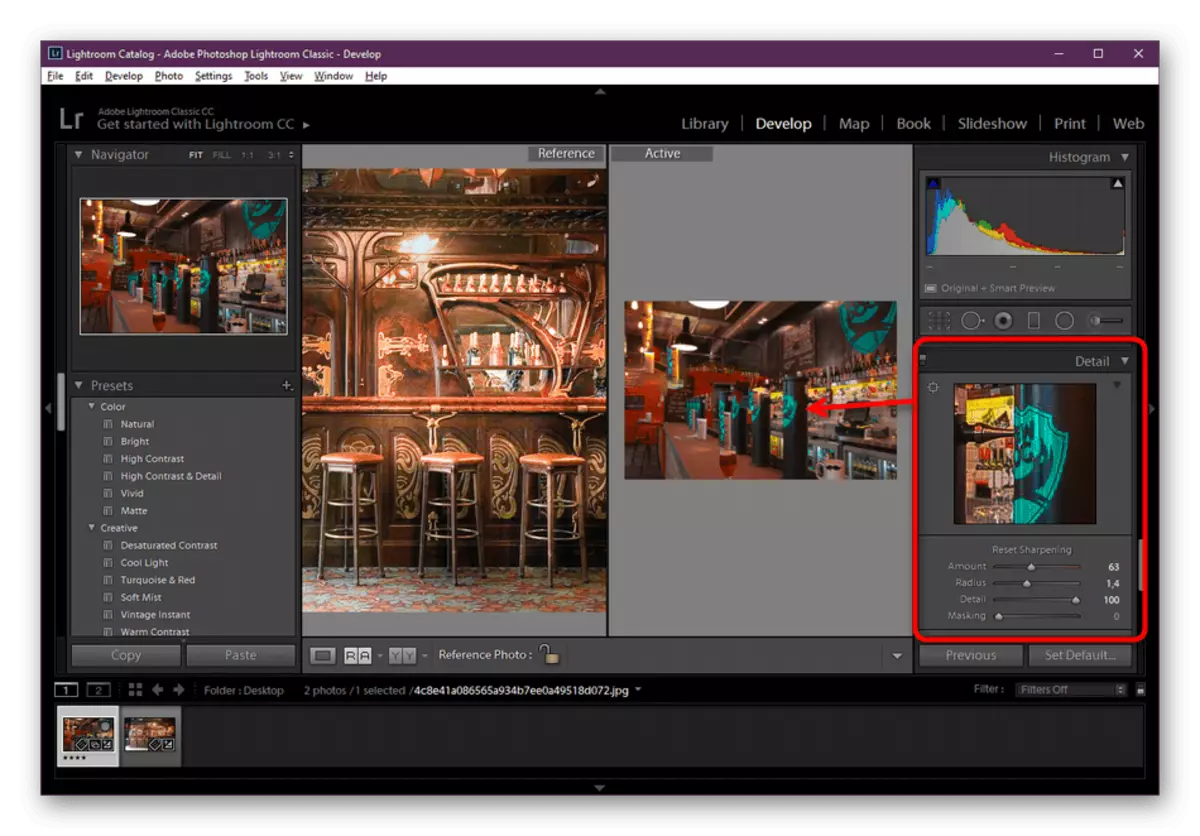
- Let's take a situation as an example when the photo color correction should match another image. To do this, it is best to compare two pictures. Divide the workspace to the active and reference part by clicking on the corresponding button on the bottom panel. Next, you will need to drag photos on the left side of the screen.
- Please note that only those images that have already been imported into the project can be dragged. Consider this before adding.
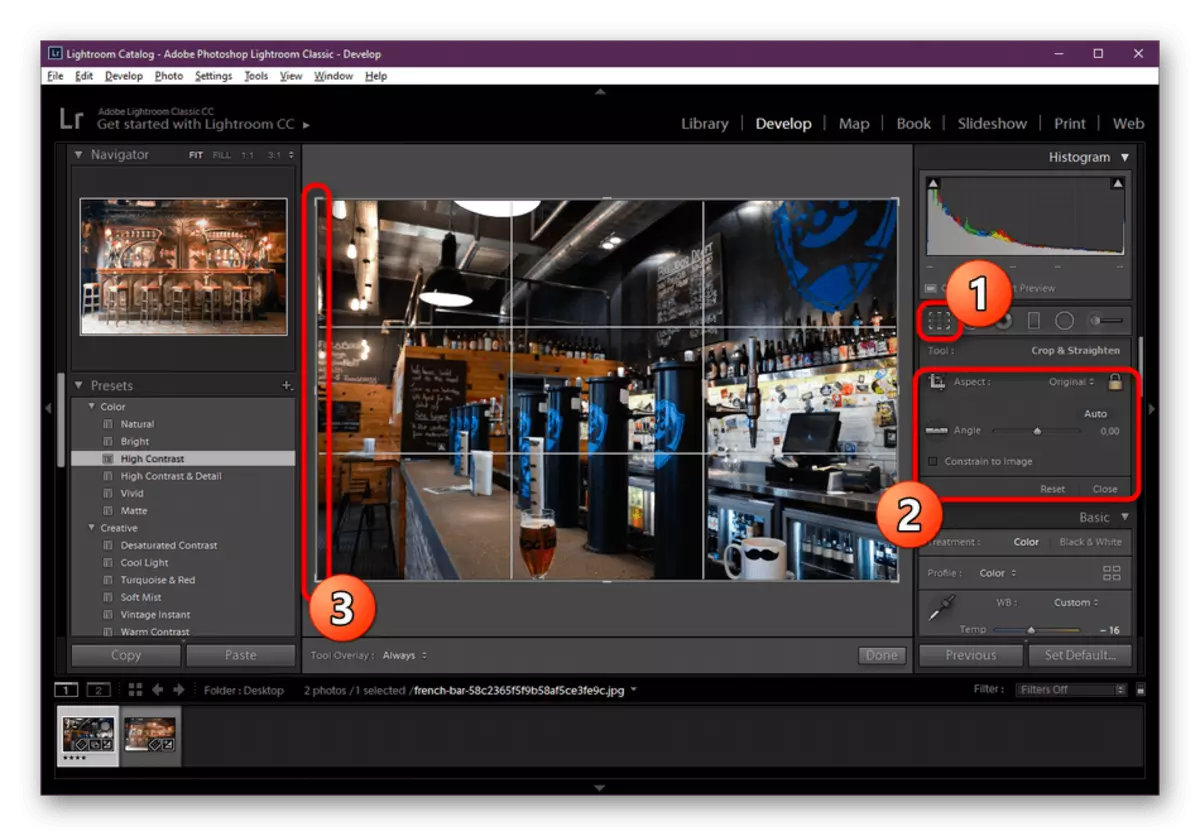
- First of all, we advise you to pruning unnecessary areas if required. Highlight the Crop tool. Adjust it by moving the slider or yourself, adjusting the grid.
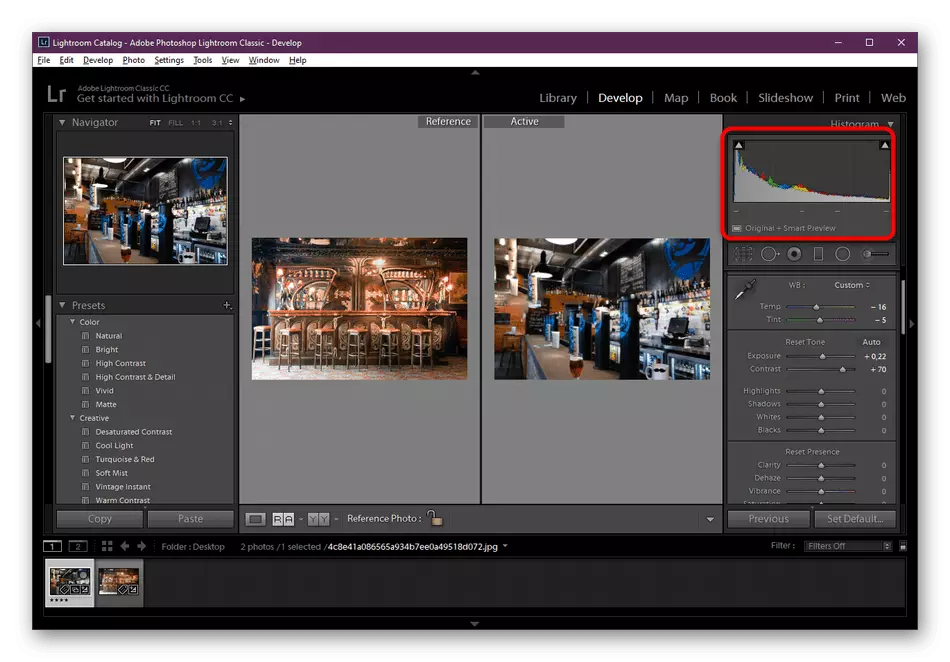
- The first section goes a histogram. Here you can move the schedule to quickly adjust the color ratio. However, this is practically nobody uses, so we turn further.
- The temperature setting is carried out by moving the two sliders below. The pipette is responsible for choosing a color, which will be cut through the rest of the picture.
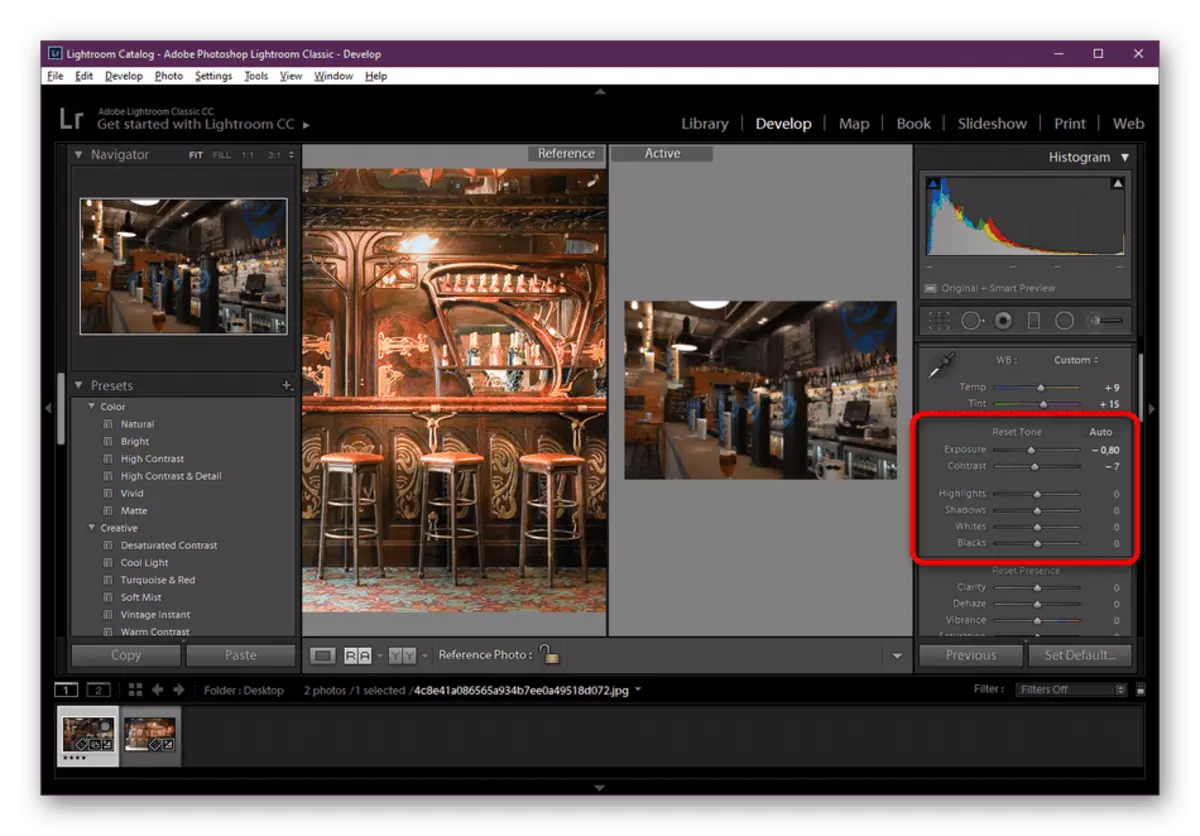
- Shadows, exposure, contrast, white balance and black - for all this is answered by separate sliders in the "Custom" section. We will not recommend setting some specific values, because it all depends on the initial status of the picture.
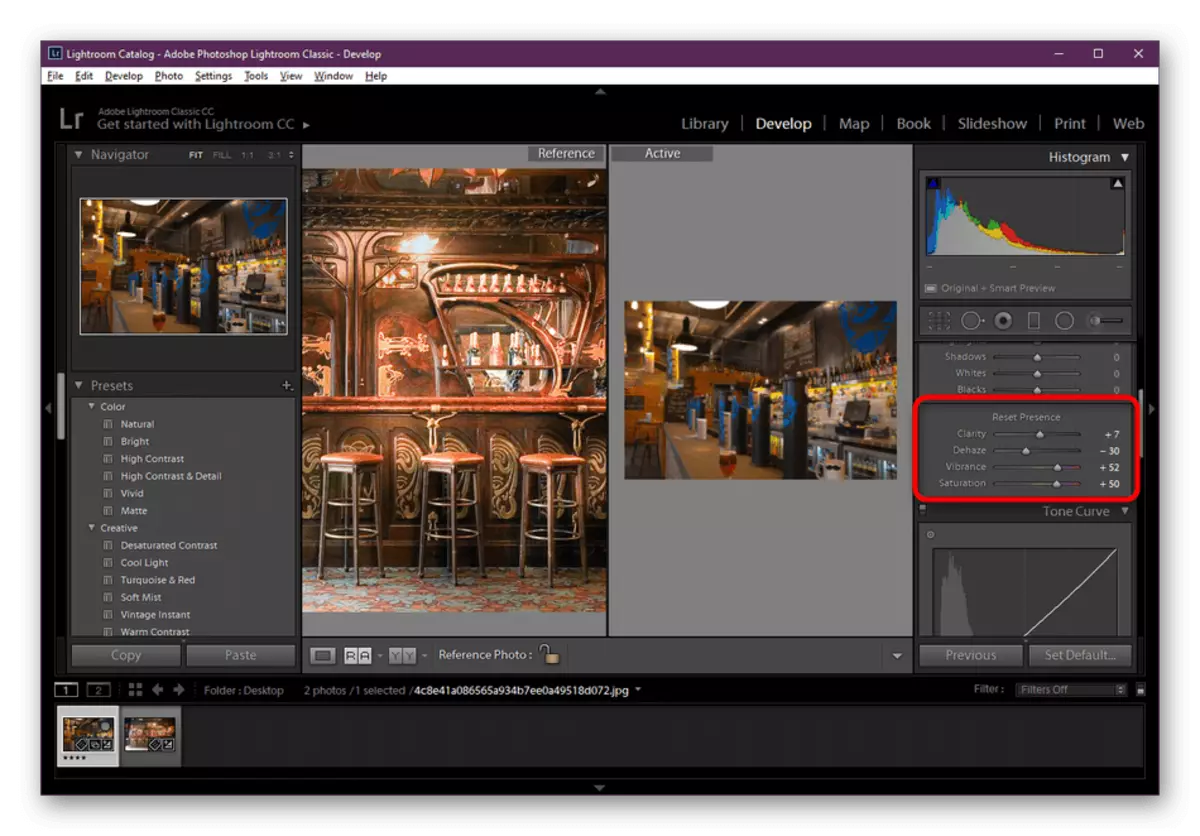
- Run down slightly lower to find the sliders that allow you to adjust brightness, vibration and saturation. The whole configuration is carried out in the same way as in other versions - by moving the slider.
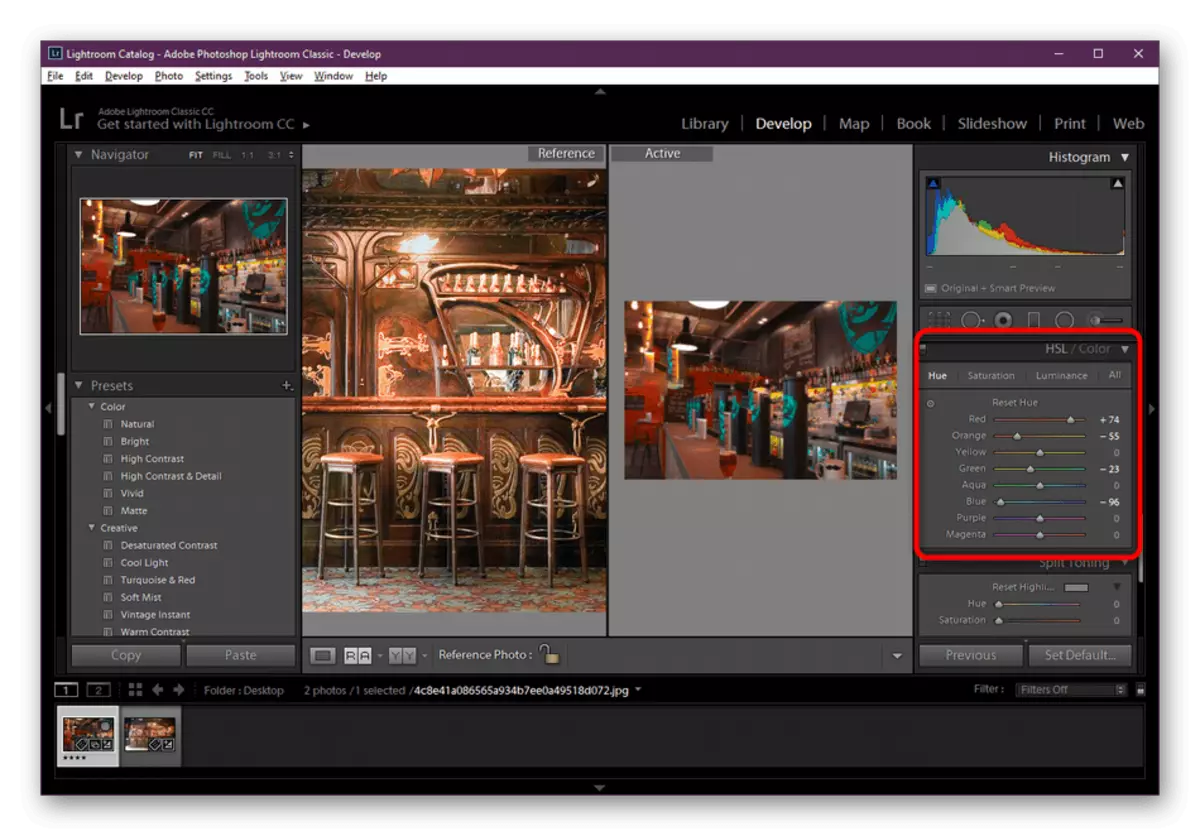
- If you need to configure the type of specific colors on the image, contact the "HSL / Color" section. For each color, its parameter is derived, which will make the most accurate values as possible.
- In the case of the need to adjust only one small part of the picture, select it with the "Detail" tool and configure through the appropriate section.
- The penultimate item of self-configuration is free transformation. Change the angles of inclination, turn, tapping, scale as it will need it.
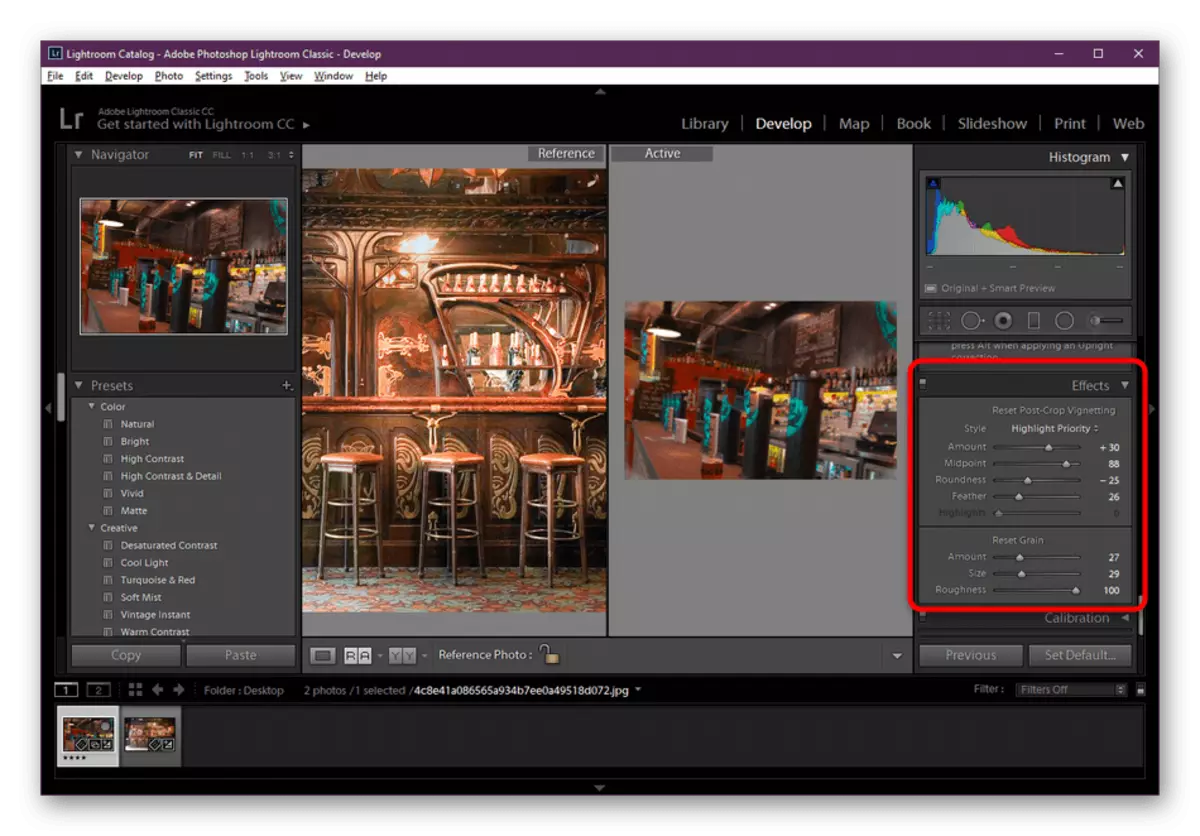
- Add some effects around the edges of the picture to get a small frame, blur or black cut.
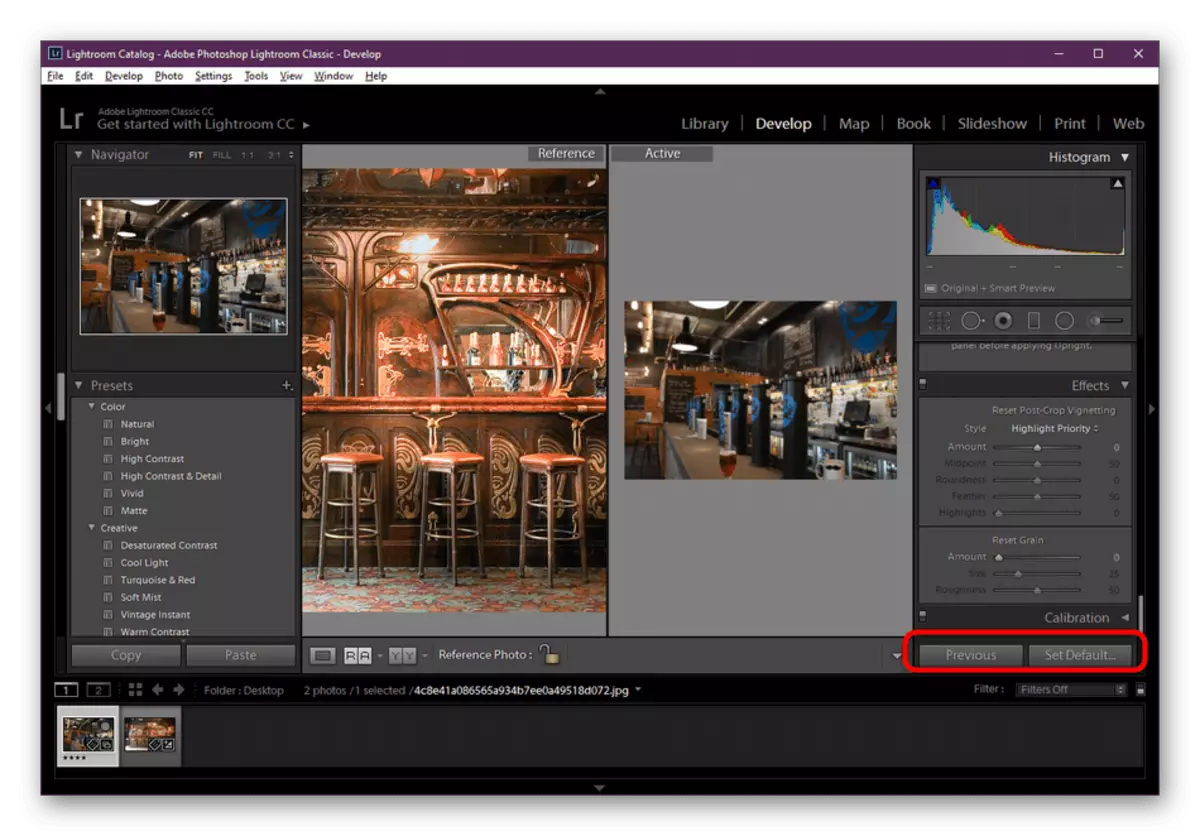
- If suddenly it turns out that you accidentally screwed up the parameters or the finished result does not suit, just reset the settings by clicking on "Set Default".

As you can see, settings, really, quite a lot. To consider them all in detail it is simply not possible, since then the instruction will come out incredibly large. The above information is enough to familiarize yourself with the most basic functions and create your first processed image.
Step 4: Saving / Publish / Print
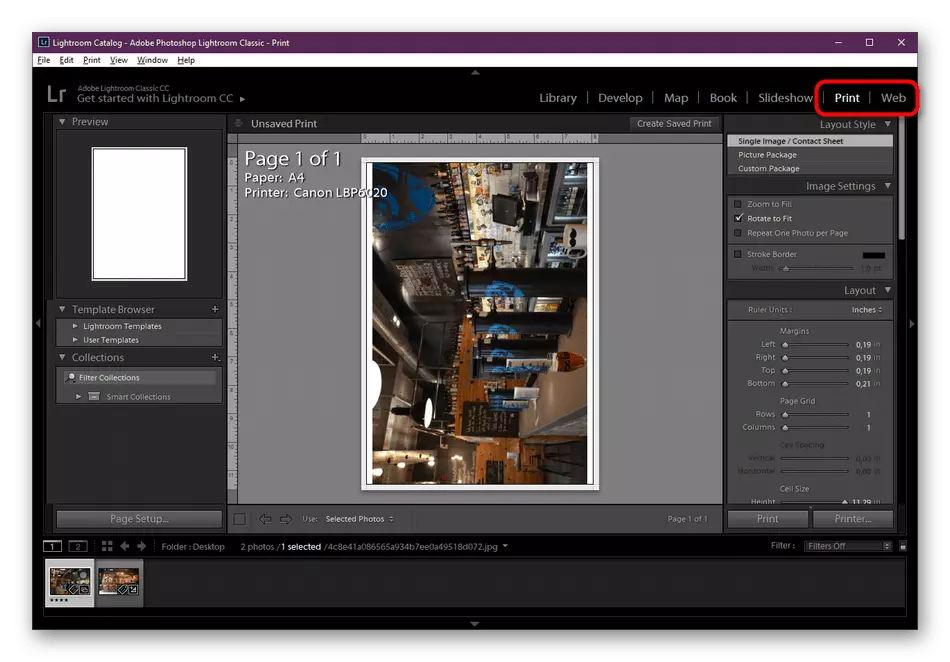
The last stage is final and consists in preserving the processed material. It can be left on a local medium, publish online or print on the printer. If you want to use one of the last two options, go to the "Print" or "Web" section.
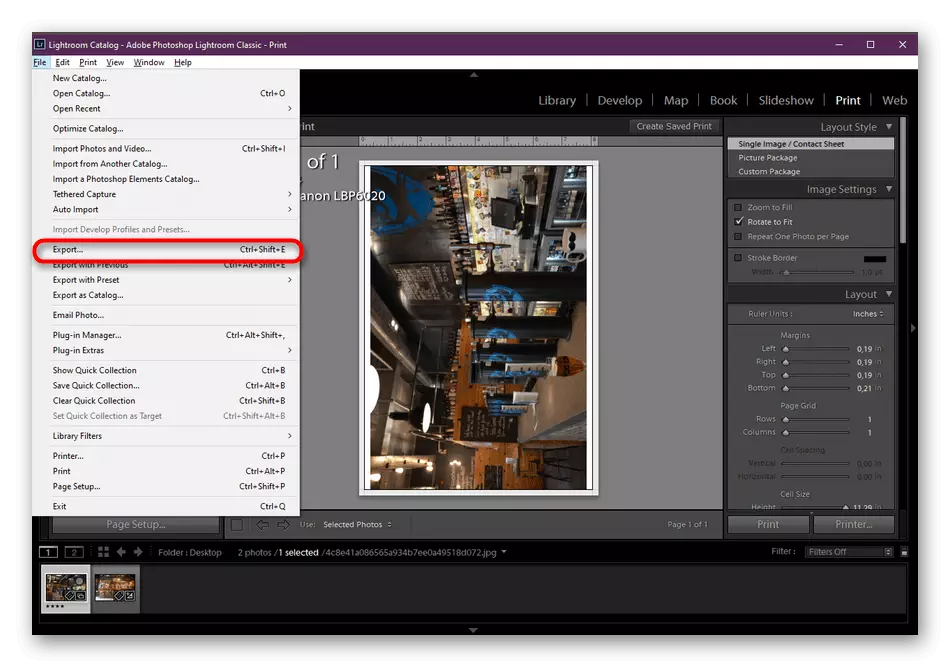
Saving a hard disk is made through the "Export" function, which is in the "File" menu. The transition to exports is quickly carried out by pressing the hot key Ctrl + Shift + E.
You will find a detailed manual for setting up exports in another of our material using the reference below. There is told about all the intricacies of the configuration, which will help get the highest quality final image.
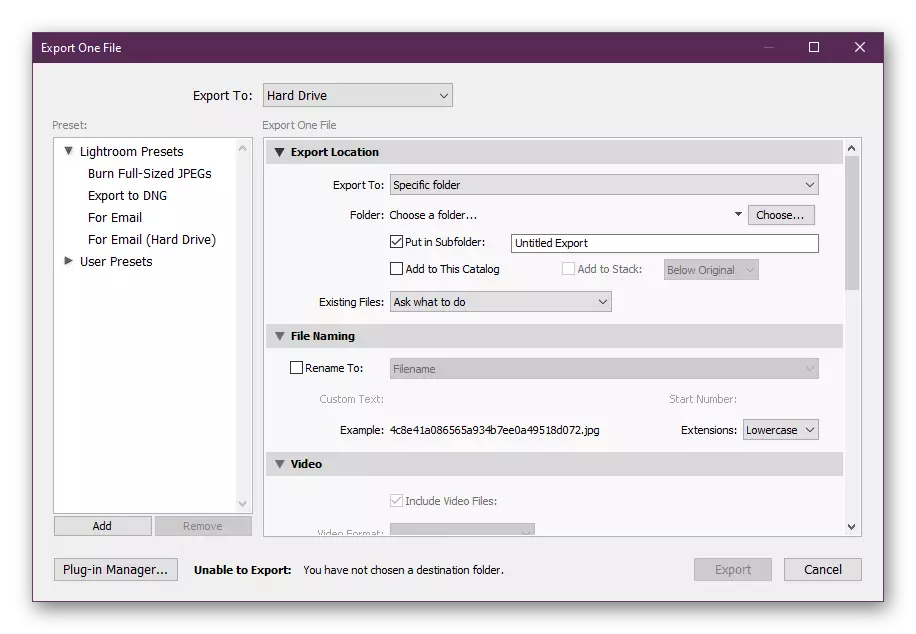
Read more: Saving a photo in Adobe Lightroom after processing
All the above instructions were considered with the use of functions by pressing them with the left mouse button. However, most of the tools and menu can be caused by combinations of hot keys that are set by default. Therefore, it is recommended to learn them to improve the convenience and speed of your work. This and other useful information on the topic of interaction with Adobe Lightroom, we recommend reading in another our material by clicking on the following link.
Read more: Using Adobe Lightroom
Now you are familiar with the processing process in Adobe Lightroom. As you can see, the functionality of this software allows you to carry out a lot of useful actions and adjust the snapshot as it will need you. It remains only to master all the tools in order to work confidently with any image.