

WINDOVS is a complex software product with multiple parameters. In this article we will talk about which of them are important in everyday work and on system tools intended for their configuration.
Windows 7 settings
As we have already said, the parameters in Windows are a great set, but only some of them are important for an ordinary user (in fact, they also have a lot). Today we will get to the main properties of the system, we learn how to determine the options of appearance, date and time, network and security, as well as much more.Keyboard and Mouse Settings
Let's start with the fact that we consider the sections of the parameters of the main input devices - keyboard and mouse. They are in the "Control Panel", open from the "Start" menu.

After the transition, select the "Minor Icons" display mode for the convenience of finding the desired items.

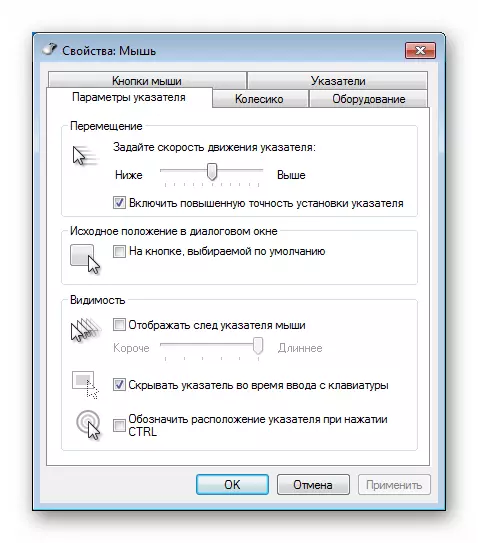
The mouse has quite a lot of sensitivity options, the speed of moving the cursor and the scrolling (wheels).
Read more: Setting the sensitivity of the mouse in Windows 7
The "Keyboard" section is not so rich in options. It defines only the speed of the parameter input of characters when clamping the key, its delay and the flicker frequency of the cursor.

Additional properties of "Claves" are in the "Language and Regional Standards" section (see below).
Section "System Properties"
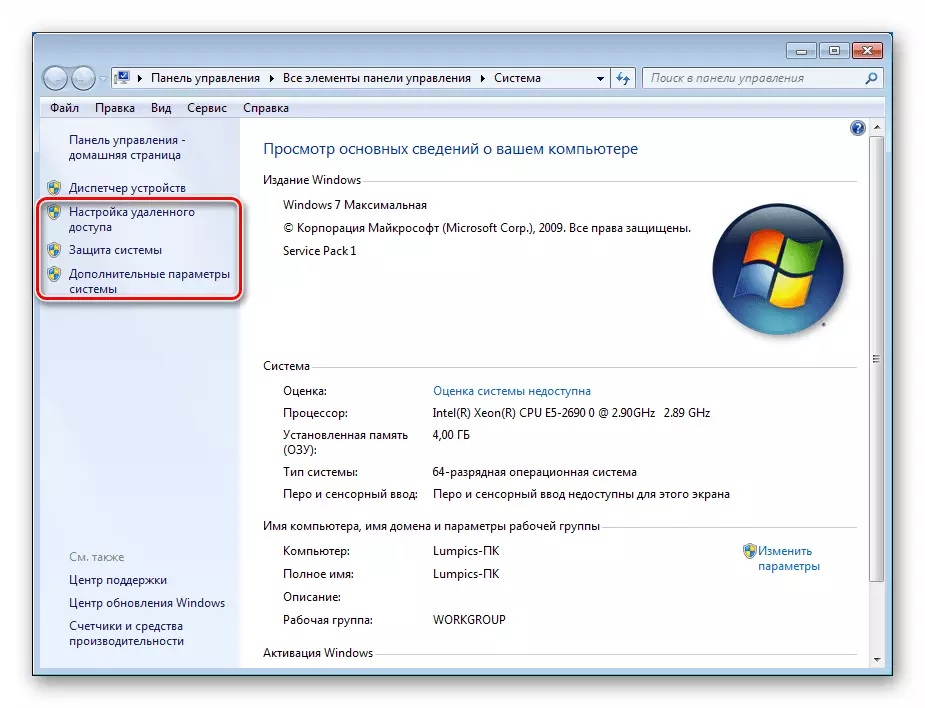
This is one of the most theorests of system parameters. Here are the blocks of the properties of virtual memory, the protection of the OS and several additional options. Open properties can be as follows:
- Press the right mouse button on the "Computer" label on the desktop and select the most last item in the drop-down menu.

- The window that opened is simply "System", and we need its properties. They lead three links listed on the screenshot. It does not matter what one to go on, as the result is the launch of the desired tool with the open tab with the corresponding name.
"Computer Name"
This contains data on the name of the PC, which will appear on the network, and a meaningful description of the machine (can be added to define on the network).

Read more: Changing computer name on windows 7
The "Identification" button is present in the same window.
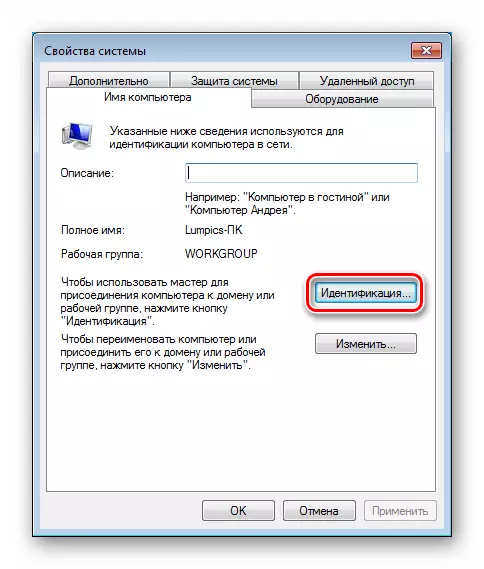
When you click on it, a special program will open - "Master", which will help attach PC to the working network or domain.

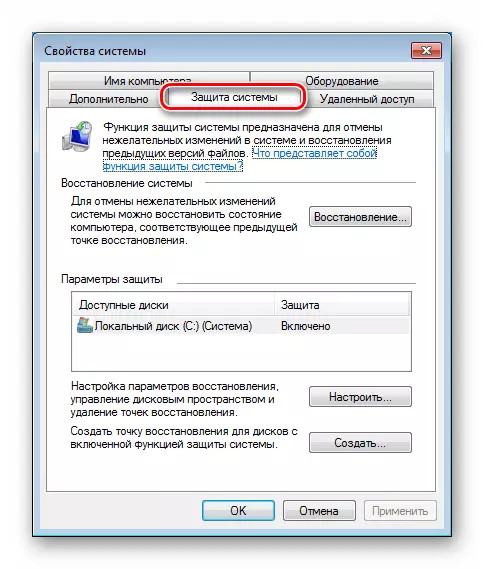
"System Protection"
This is one of the most important sections of the "Properties". With the help of the tools contained on it, automatic creation of recovery points are included (they can be created manually) for each volume, the disk space occupied by these data, and the rollback procedure is launched.
Read more:
How to Create, Delete Recovery Points Windows 7
Restoration of the system in Windows 7
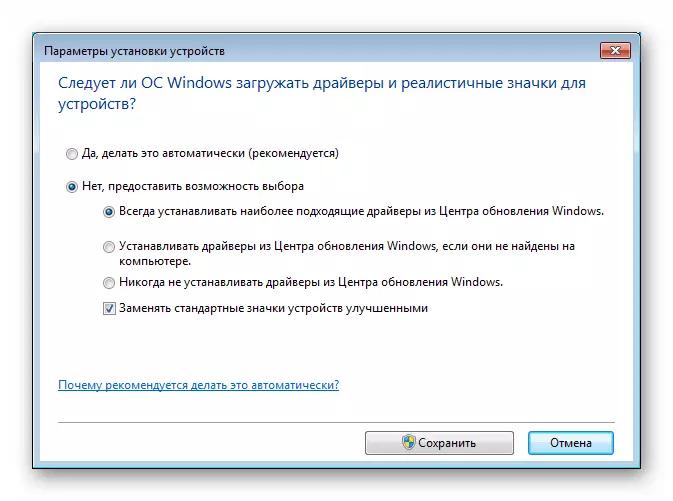
"Equipment"
This tab varies parameters responsible for automatic download and installation of drivers from Windows Update servers.

There are two options here. The first is a refusal to automate the process or consent, indicating special conditions.
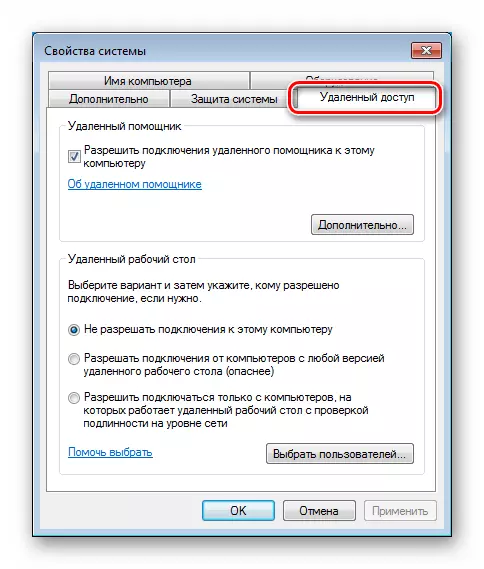
"Remote access"
This unit contains the settings corresponding to its name. They define the properties of remote access to the PC, allow you to enable or disable "remote assistant" and add users to a trusted list. Below we give references to two articles that relate to Windows 10. The information contained in them is also relevant for "seven".
Read more:
How to delete remote access to the computer
Remote desktop connection in Windows 10
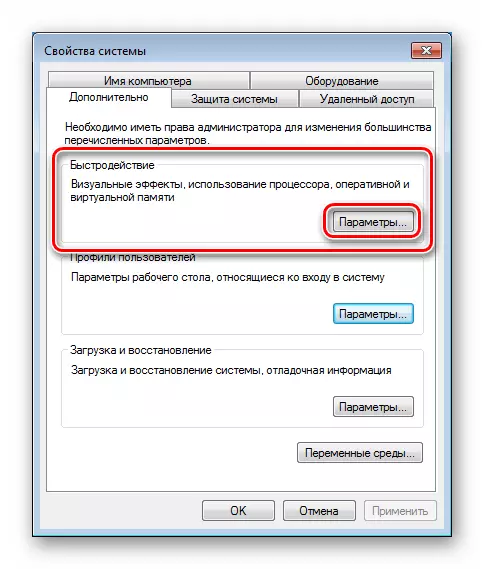
"Additionally"
This section contains three blocks of interest to us. We will not look at the "user profiles", since there are no options needed in everyday work, but others will consider in more detail.
The "Speed" unit contains customizable options for using the processor and virtual memory, as well as the options of visual effects.
There are three own tabs here. The first is called "Visual Effects" and determines whether the animation will be present in the OS interface, the lists and more will be scrolled smoothly, to activate the AERO mode, which includes transparency, and much more. The presence or absence of effects in some way affect the performance of "Windows".

Read more: How to enable Aero mode in Windows 7
In the "Advanced" section, it is determined by which applications are allocated more processor time, background or user (on desktop PCs it is recommended to install the switch to the "program" position) and the virtual memory is configured - the paging file.
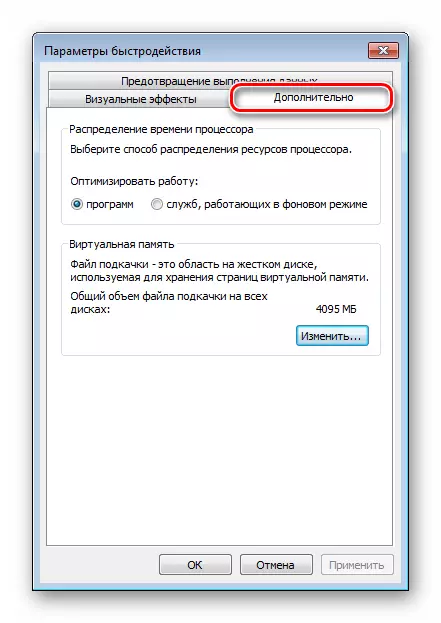
Read more: Create, modify, disable windows paging file 7
Application "System Configuration"
This application performs functions to change the system start-up parameters, autoloading programs, on or disconnecting some services, and also contains links to quickly transition to other interaction tools. The "System Configuration" call is performed using the "Run" string (Windows + R). The team is:
msconfig

We are only interested in three tabs.
"General"
This tab defines the type of OS startup. By default, the switch is in the "selective" position. If you want to start with other parameters, for example, with sidden drivers and services, then this is done here.

"Loading"
Download options allow you to select, the default system (if there are two or more), add or delete an item from this list, set the timeout, after which the corresponding copy of the OS will be automatically launched (or other action is executed, for example, starting the recovery tool), Enable "Safe Mode" with specific properties.

See also:
How to enter, exit the secure mode in Windows 7
We delete the second copy of Windows 7 from the computer
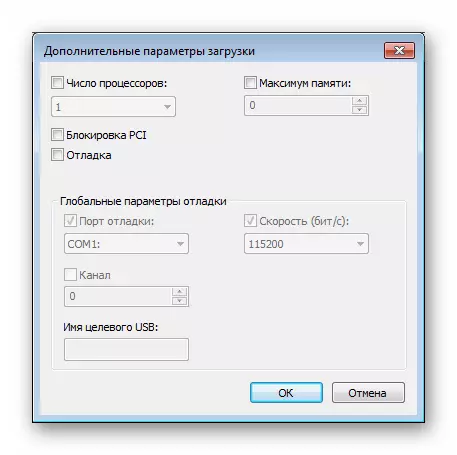
Selecting OS in the list, you can click on the "Advanced Settings" button.

Here the number of the processor kernels used by the selected Windows is determined, the maximum amount of memory is disconnected, the PCI devices are turned off and debugged.
"Autoload"
This list contains information about which programs are launched with Windows. Here you can exclude elements from autoload.

Read more:
How to add a program to the WINDOVS 7
How to disable autoload programs in Windows 7
Configure the autorun parameters of programs in Windows 7
Disable background programs in Windows 7
This acquaintance with the settings of the properties and configuration of the system is completed, now we turn to the appearance of the "seven".
Section "Personalization"
This section contains the options of the appearance of the "seven" interface. You can access it from the desktop, or rather, from the context menu called by clicking the right mouse button at any free place.

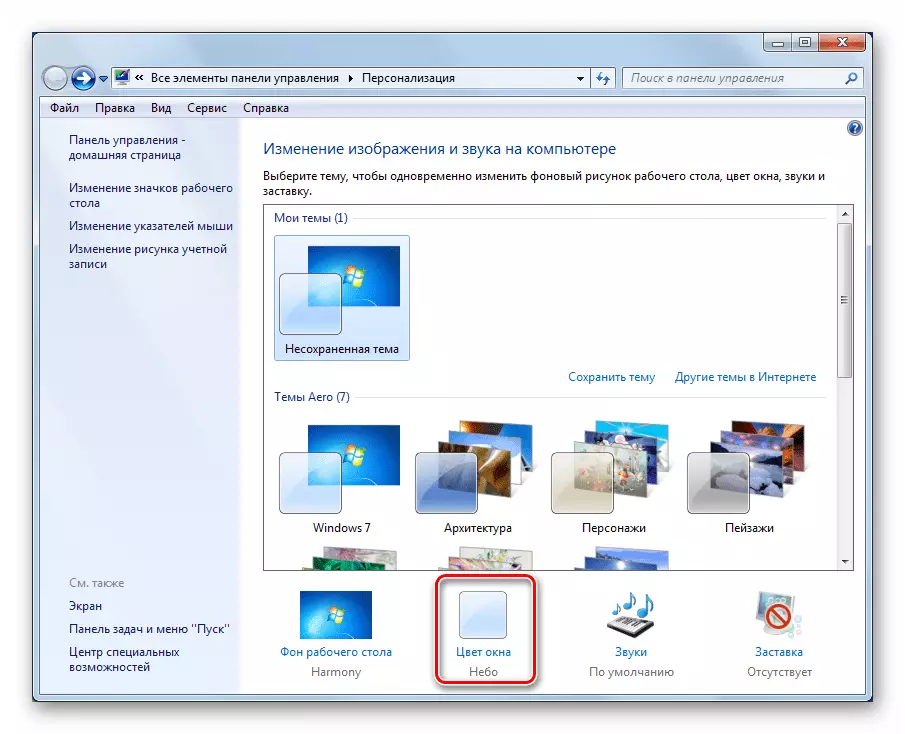
The main window changes the theme of the design, the background image (wallpaper) and the color of the transparency of the windows.

Read more:
Shift theme of registration in Windows 7
Install third-party decoration themes in Windows 7
How to change desktop background in windows 7
Pressing the "Window color" link will open the tint settings that affect not only the windows, but also on the "taskbar".
Read more: How to change the color of the taskbar in Windows 7
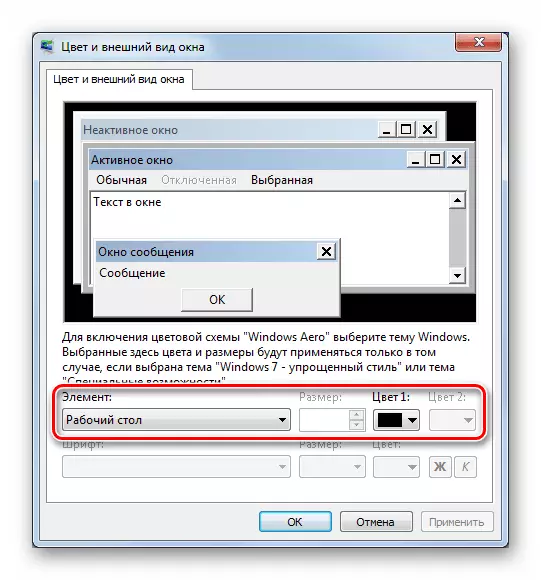
At the bottom of the block there is a link "Advanced settings".

Here you contain the settings of individual elements - windows, links, badges and their fonts.
In the main window of the section on the left there are three more links.
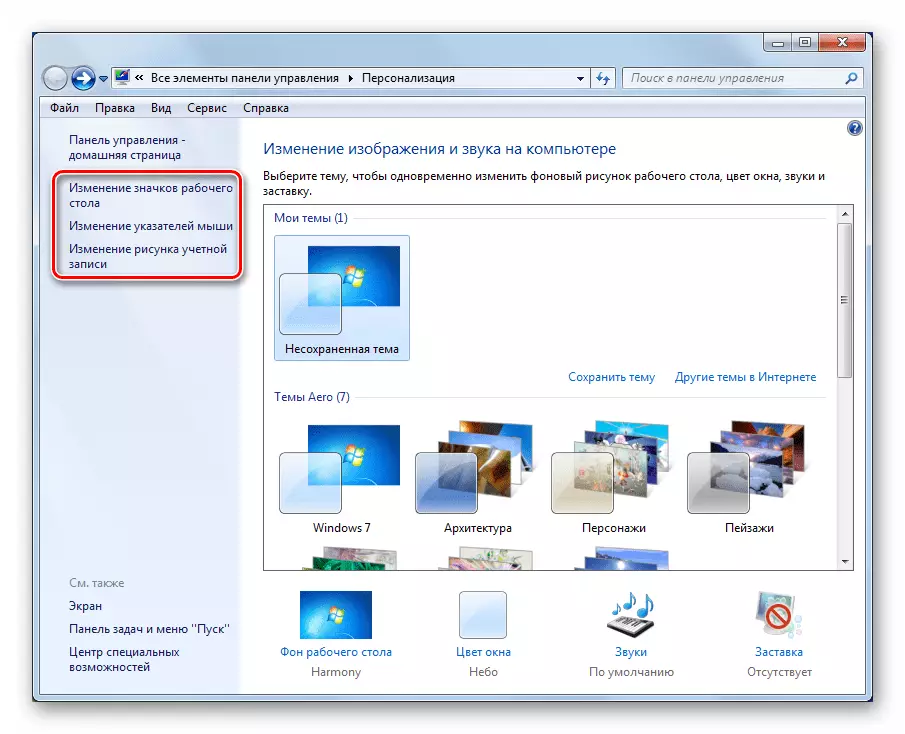
The first leads in the property of the properties of the desktop icons. Here it is determined which system icons should be displayed, and their appearance.
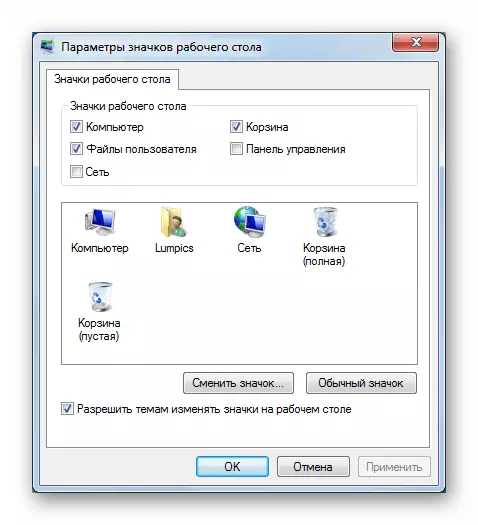
See also: How to change Icons in Windows 7
The second link opens the mouse settings section on the change in the pointer changes (cursors).

Read more: How to change the mouse cursor on windows 7
Going on the third link, we will see the block of adding a drawing of an account.

In more detail about setting up the appearance of the desktop and the interface, you can read the article on the link below.
Read more: We change the appearance and functionality of the desktop in Windows 7
Setting "Taskbar", "Start" menu and notification icons
Next, we move to the "Seven" control panel. Applements you need are located next door.
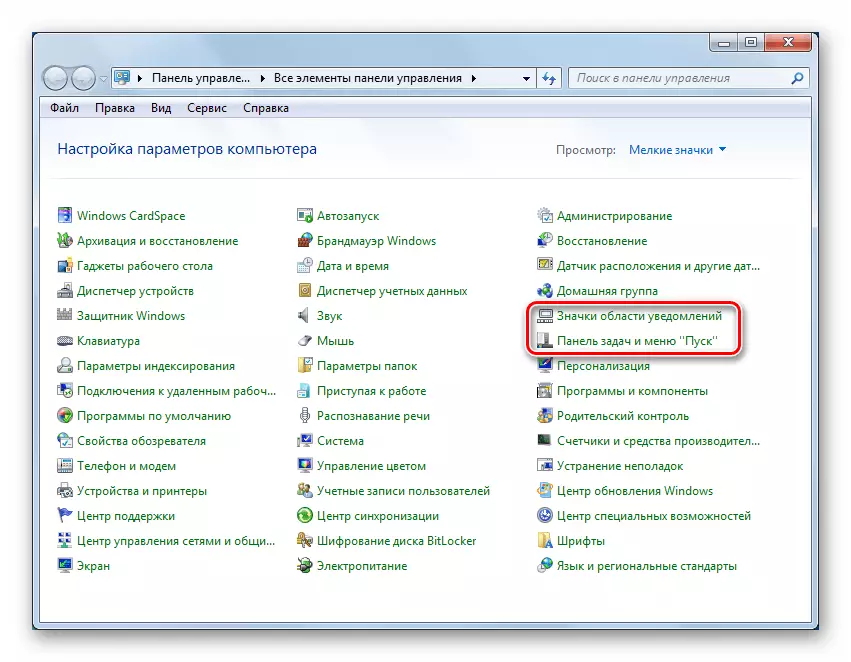
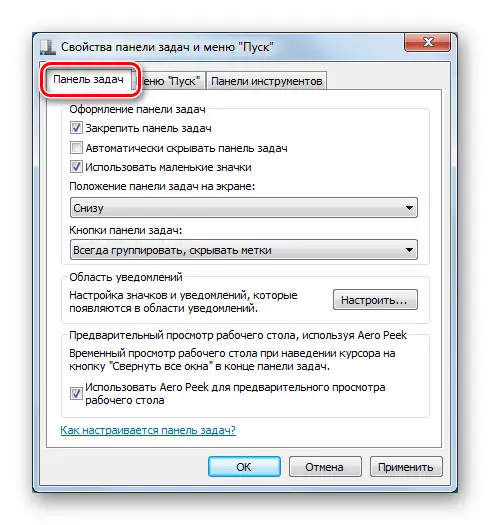
The "taskbar" has the following options: fixture (when the flag is removed, you can scale it), automatic hide (appears only when you hover the cursor to the bottom edge of the screen) and the use of small icons to save space. In addition, the properties of the grouping of the same type of icons change here and the location of the "panel" on the screen is indicated. At the bottom there is an option that allows you to display the desktop when you hover on the button "Collapse all windows".
See also: How to change, hide taskbar in Windows 7
On the "Start" menu tab, you are changing the power button and storage buttons for recently running programs. Here is the "Configure" button, leading directly to regulating the display of items in the menu.
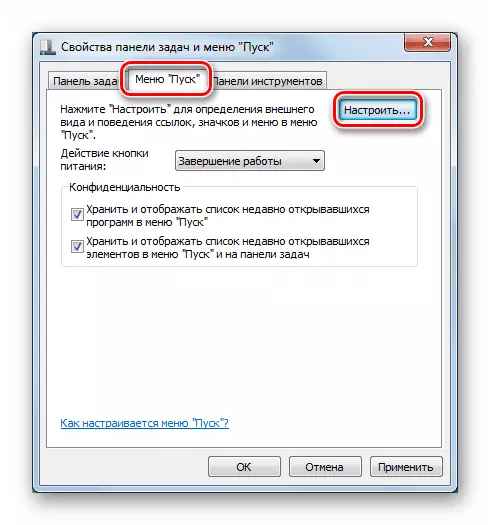
These options determine which links will be present in the menu and the number of recently used programs and documents displayed.

In the same section, there is a "Toolbar" tab, which selects elements that should be located in the relevant area.

Read more: Working with toolbar in Windows 7
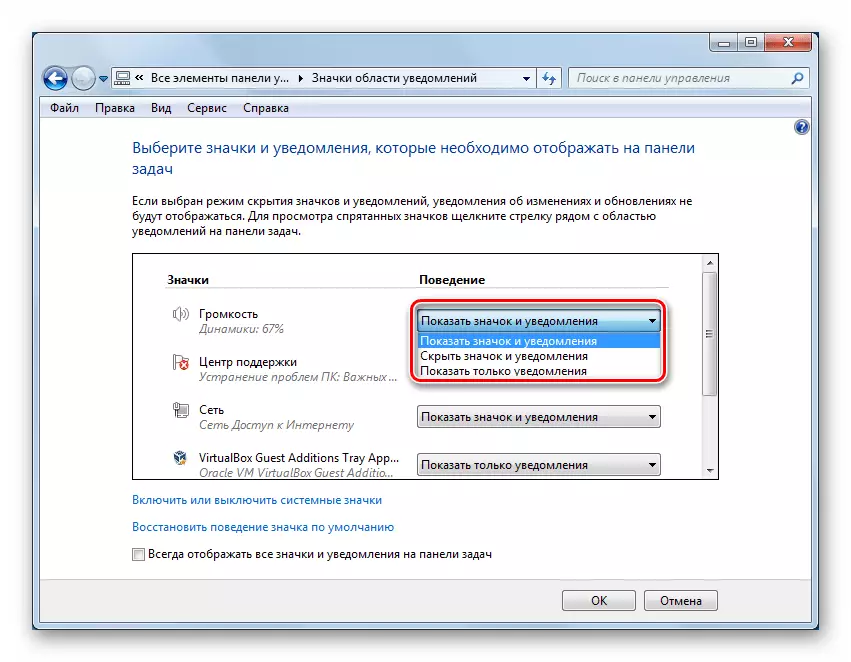
Settings of the notification area are reduced to specify which icons will be displayed on the panel, and which will be hidden.
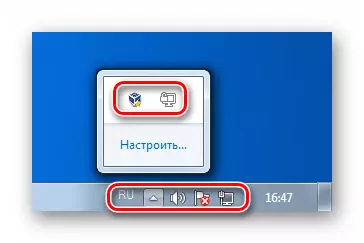
From the options are present "show icon and notifications", "Hide the icon and notifications", as well as "show only notifications".
Settings Screen Settings
For the properties of the screen corresponds to the applet "Control panels" with the corresponding name.

In the main section of the section, the overall interface is adjusted, in addition, there are links for transition to other options.
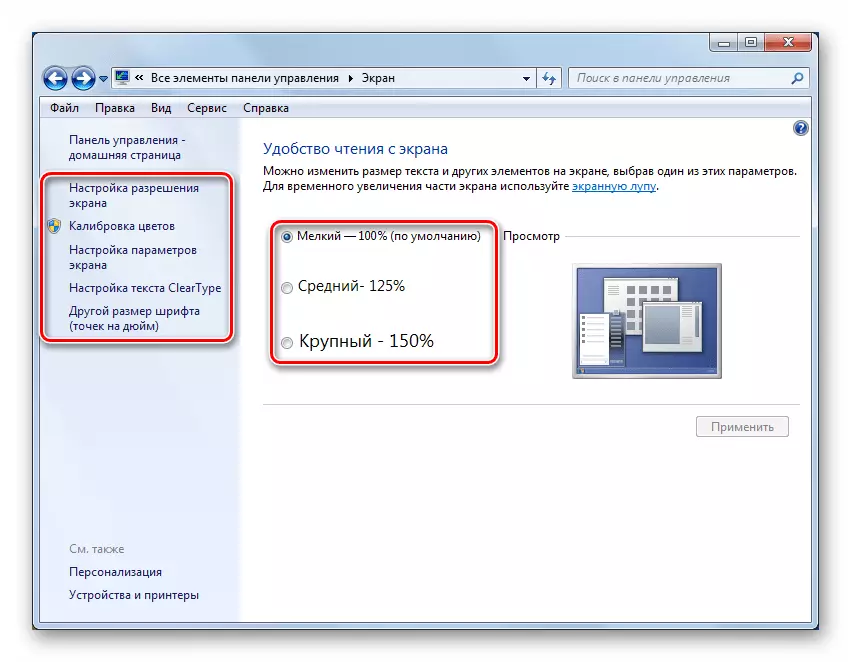
"Setting screen resolution"
This block selects permission for each screen connected to the system, their search and definition. If you want to use two monitors, you can manage them here.

Read more: Changing the screen resolution in Windows 7
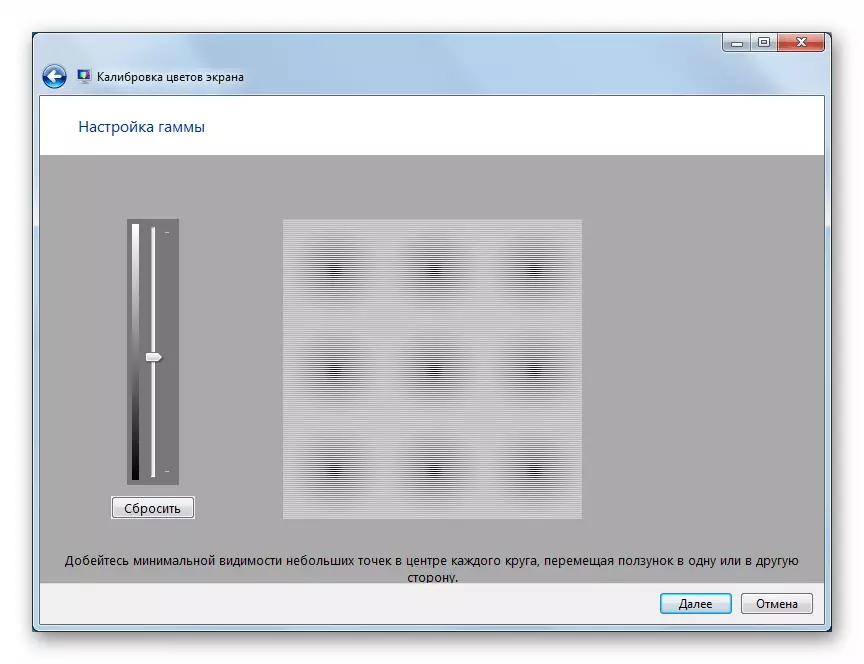
"Calibration of colors"
Under calibration, the regulation of gamma, brightness and contrast, balance of colors and color monitor temperature is understood. This procedure using a standard tool (as well as any other software) is made on the eye and cannot claim absolute accuracy. However, the basic parameters using this tool can be "tightened."
Read more: Changing the brightness of the screen on Windows 7
"CLEARTYPE text setting"
Cleartype - Technology smoothing on-screen fonts. It is especially relevant for LCD monitors. If the text looks like a step or "disadvantaged", it is worth looking here and change the parameters.

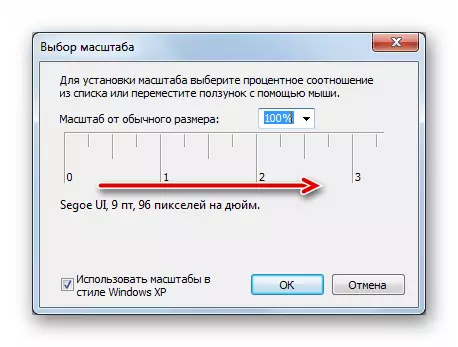
"Another font size (dots per inch)"
Here the size of the system fonts in the direction of magnification is changed. It is done with the religion of the line to the right.
See also:
Reducing the size of system fonts in Windows
Changing the font on a computer with Windows 7
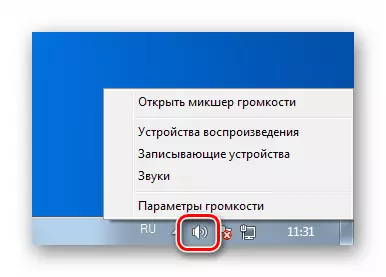
Section "Sound"
Next, we will talk about sound properties. Windows has a rather wide functionality to determine the properties of sound devices, recording levels and playback, effects overlap and so on. Access to these options can be obtained from both "control panel" (applet "Sound") and from the notification area.
Read more:
Sound setting on a computer with windows 7
Connecting columns on a computer
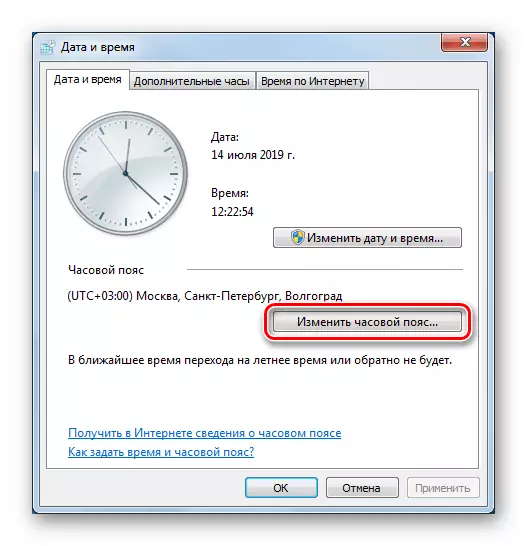
Section "Date and Time"
These parameters may seem insignificant to the degree of importance, but, in addition to the output of information, the system clock affect some processes. For example, when accessing servers to the network, errors may occur if the local time differs from the server. It is enough of the difference in just a few seconds not to get an answer (or get a request error). Most often with such a problem, you can encounter when performing OS updates. Access to options is also carried out from the "Control Panel" (Date and Time Applet) or from the list of notifications with click on the clock, followed by the transition to the relevant link.
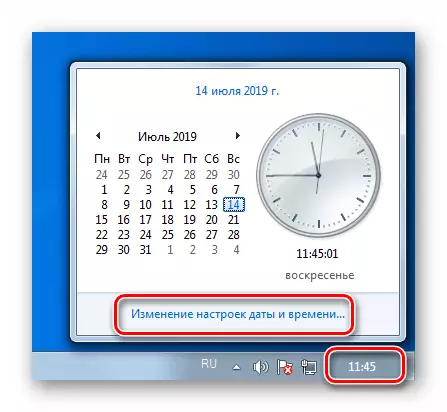
You can go directly to the regulation by clicking on the "Change Date and Time" button.

The process here is extremely simple: in the calendar grid, the desired year, month and the number is selected, and the time is set in the fields indicated on the screenshot.

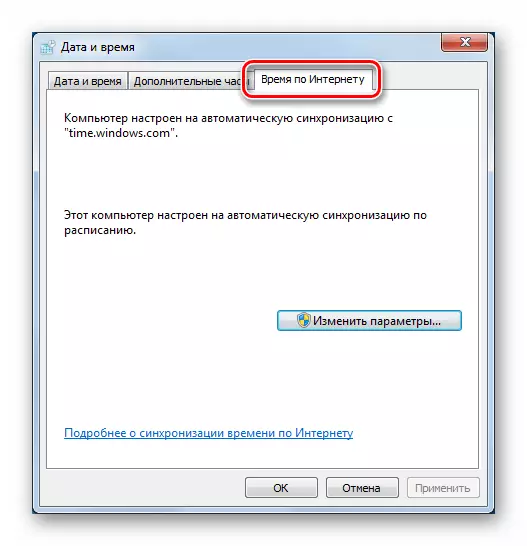
Win 7 has a time synchronization feature with special servers on the Internet. This feature exists in newer versions of the OS, but, for example, there is no manual option in the "dozen". On the appropriate tab, you can see, with which node is synchronized with "seven", as well as select a new server from the proposed or register alternative and run the procedure manually.
Read more: Synchronizing time in Windows 7
It is worth separately mentioning about the adjustment of time zones. In 2014, temporary zones were changed in the Russian Federation, which led to some inconveniences as an incorrect time display. You can solve the problem with the help of special updates.
Read more: Windows 7 time zones update
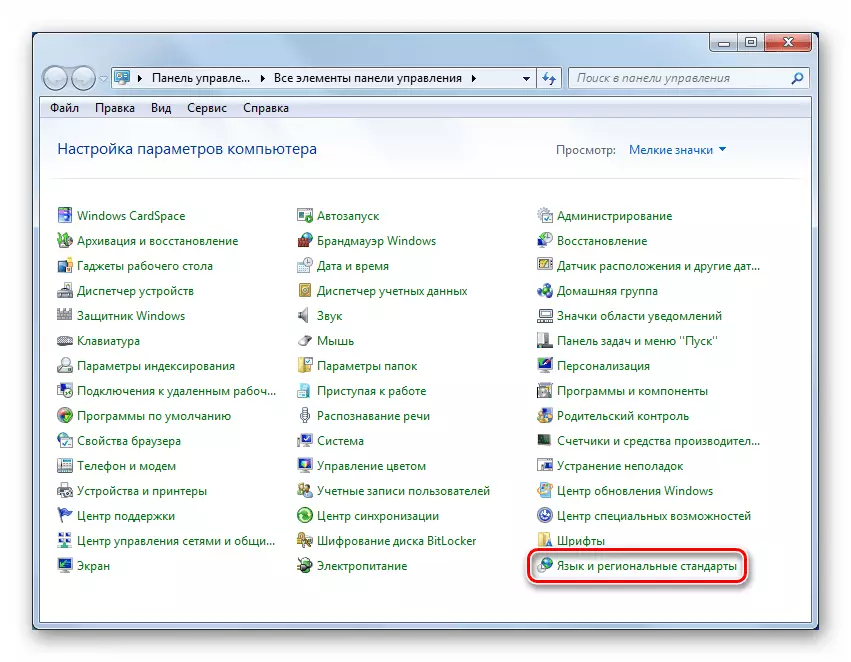
Section "Language and regional standards
The transition to the language settings section occurs by clicking on the relevant item in the "Control Panel". All these options affect data display on the screen, some nodes on the Internet and determine which content will be transmitted through official channels (OS and software updates and software updates).
"Formats"
This tab contains settings that are responsible for the time and date formats corresponding to the selected Language Standard. At the bottom of the window there is a button leading to additional parameters.
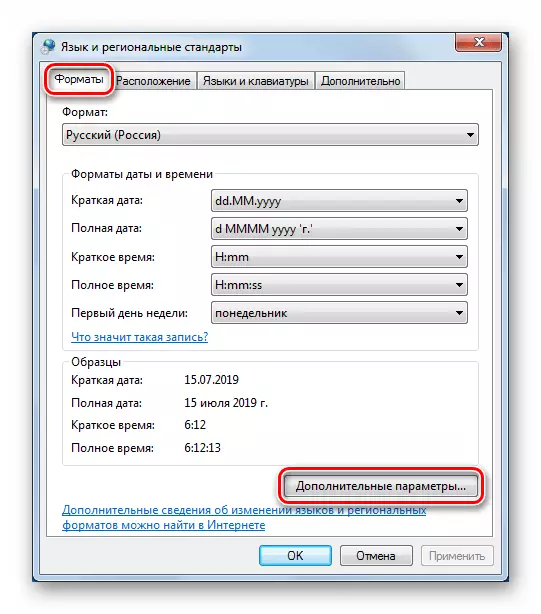
Here the formats of numbers and monetary units, time and dates are finely adjusted.

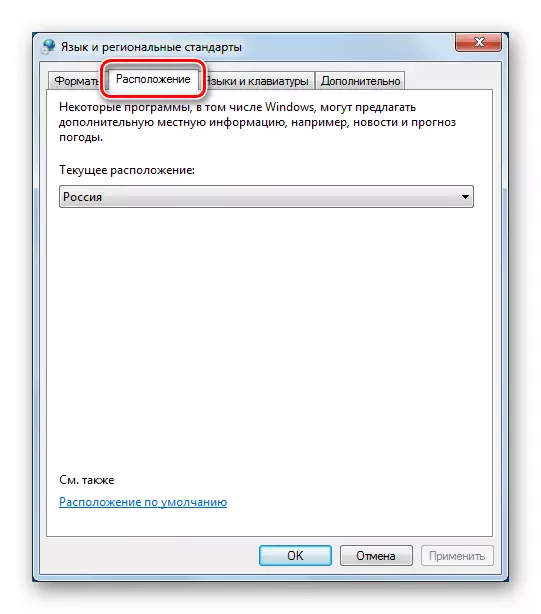
"Location"
The "Location" tab contains only one option - the definition of the current region of the PC location.
"Languages and keyboards"
Here are links to a block of changing the input languages and the "Language Package Installation Wizard".
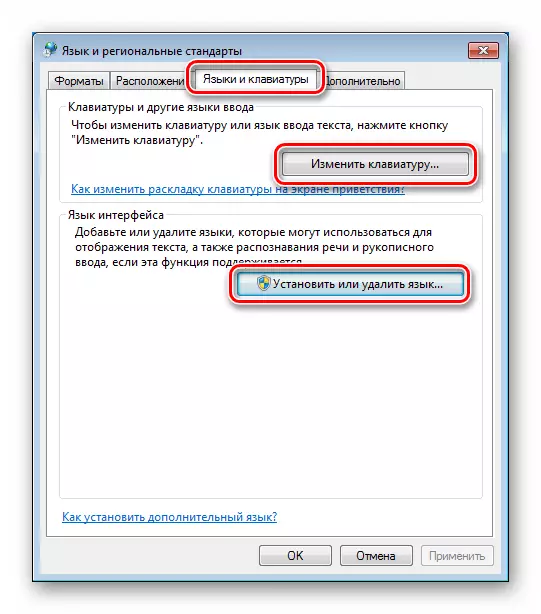
The selection of the input language is limited by the established language packets that are contained in the system distribution. If you want to switch the keyboard to layout, having special characters or use the language not included in the OS, you need to download and install the appropriate packet manually or from the "update center".

Read more: Installing the language pack in Windows 7
In the same window, there are options for the location of the language panel and the method of switching the keyboard layout.

"Additionally"
On this tab, we are only interested in the system change button.

This option helps to get rid of the wrong display of Unicode characters in the seven programs and interface (the so-called "Krakoyar"). A similar situation with the "dozen" is described in the article on the link below. The solution given in it is suitable for all versions, starting with Vista.
Read more: Fixing problems with the display of Russian letters in Windows 10
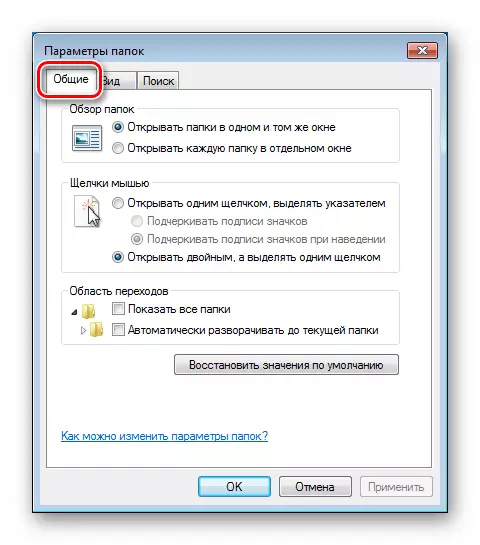
Section "Folder Settings"
This "Control Panel" applet is responsible for displaying files and folders in the "Explorer" and system search options.

"General"
Here, ways to open the folders and their display in the field of transitions are configured.
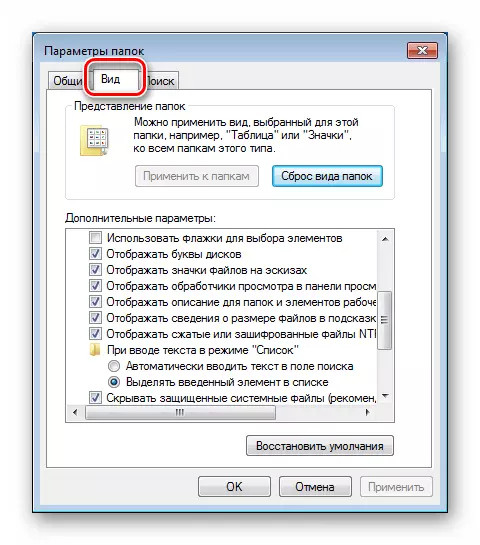
"View"
This tab contains a variety of "Explorer" settings - Displays disk letters, menu properties, file information, their extensions, and so on.
Read more:
How to show hidden files and folders in windows 7
How to enable display file extension in windows 7
"Search"
In this block, respectively, settings for system search.

See also:
How to quickly find a file on a computer with Windows 7
Looking in Windows 7
Section "Update Center"
These parameters are configured in the "Control Panel" section "Windows Update".

The main window of the Center is the search box and installing updates for the operating system and other Microsoft products, as well as the link to go to setting the parameters.

Here is the method of obtaining updates. In general, everything comes down to automation or, on the contrary, manual operation.

Read more:
How to enable automatic update on windows 7
How to disable updates on windows 7
Installing Windows 7 updates manually
Settings Network
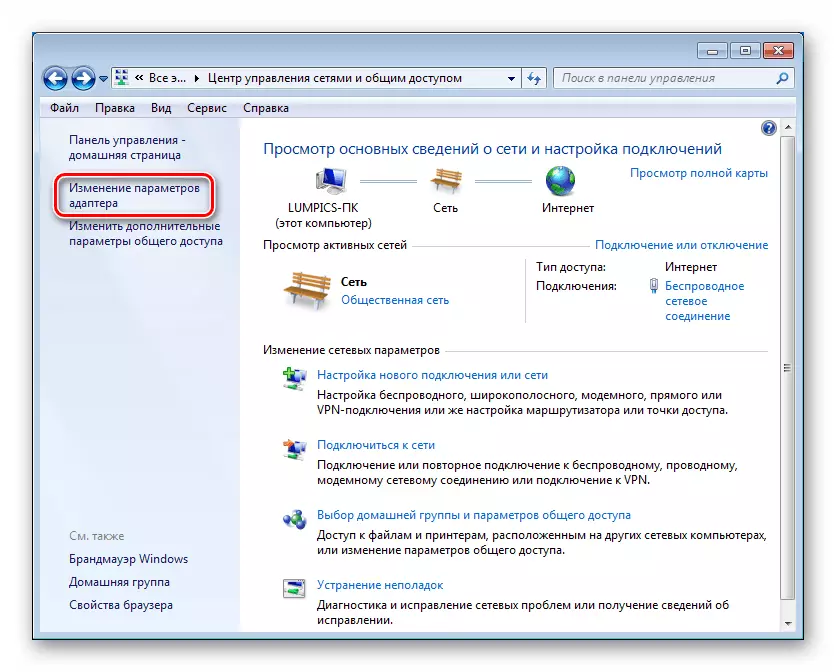
Network settings are in the "Network and Common Access Control Center" section.

At the top of the main window displays the main information about the network - its card and active connections.
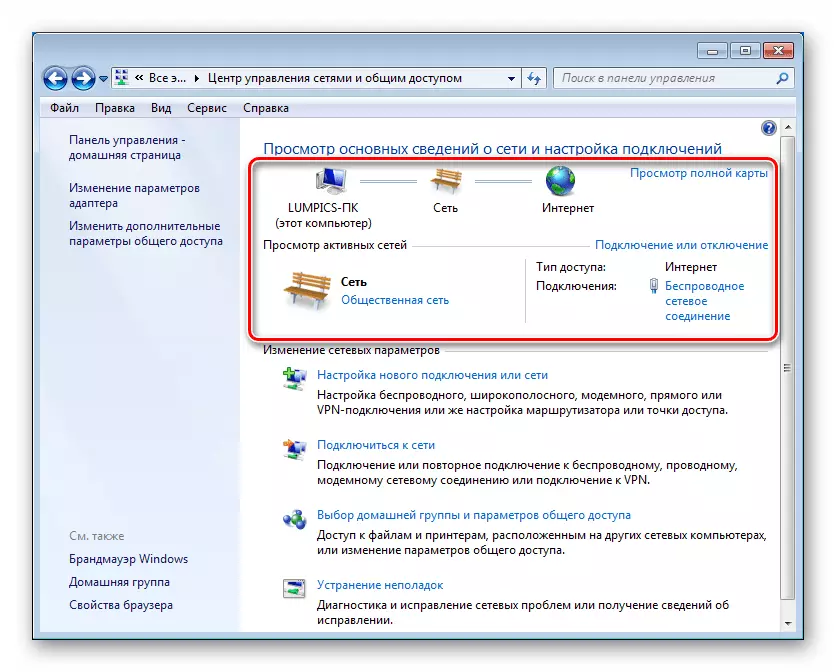
The current network type is specified as an anchor reference marked in the screenshot. Going through it, you can change this parameter.

The link under the connection is connected (in this case, the Internet) leads to its properties.

The "Details" button opens the window with additional information.

Here are the addresses of the PC, the gateway, DNS servers, the subnet mask, the adapter name, and the use of DHCP and the NetBIOS service.

Information about inactive connections can be obtained by clicking on the "Change Adapter Settings" link.
For active connections, this procedure for obtaining information is also relevant.
By clicking on the PCM on the connection, you need to go to its properties.

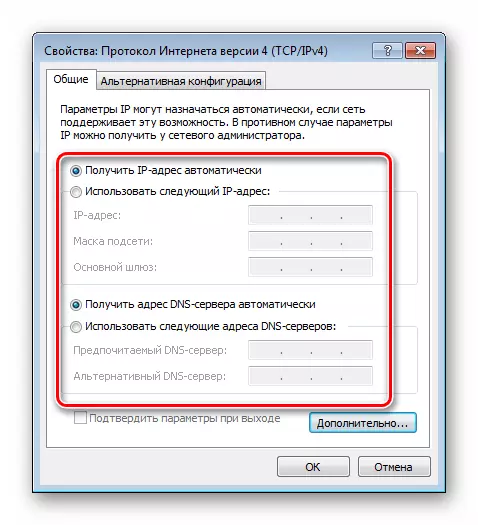
In the "Connection through" field, the name of the adapter is indicated. Information about IP addresses and the method of obtaining them are in the properties of the Internet Protocol version 4 (TCP / IPv4).

Here it is indicated how addresses are assigned (manually or automatically). In the second case there will be (must be) specified specific data.
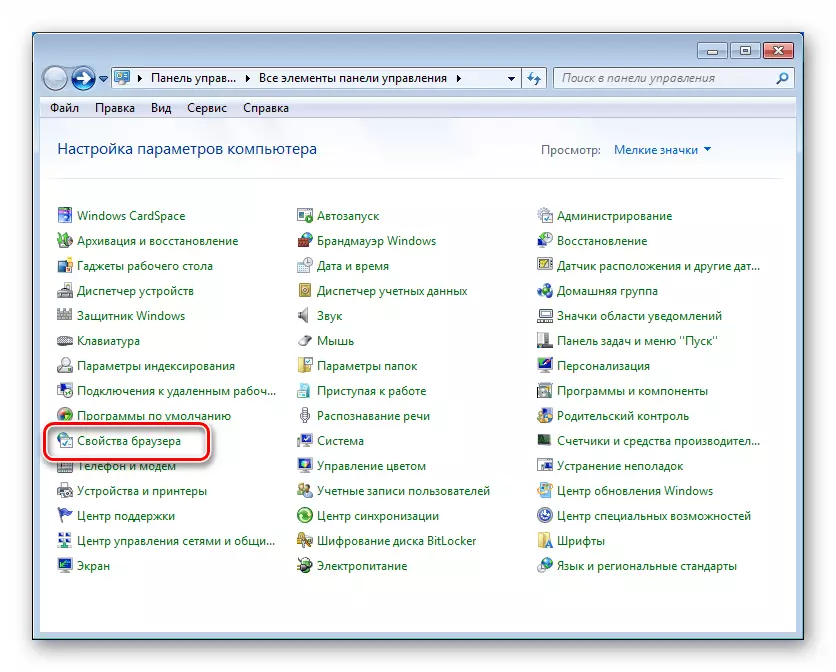
Section "Browser Properties"
Under the browser, in this case, there is not so much a third-party program, with the help of which we go online, how much "native" Internet Explorer. It is its options that determine how the interaction of system components and software with remote servers occurs.
There are opportunities for regulating a large number of parameters, such as security, the use of various protection and encryption technologies, allowed and prohibited nodes and so on.
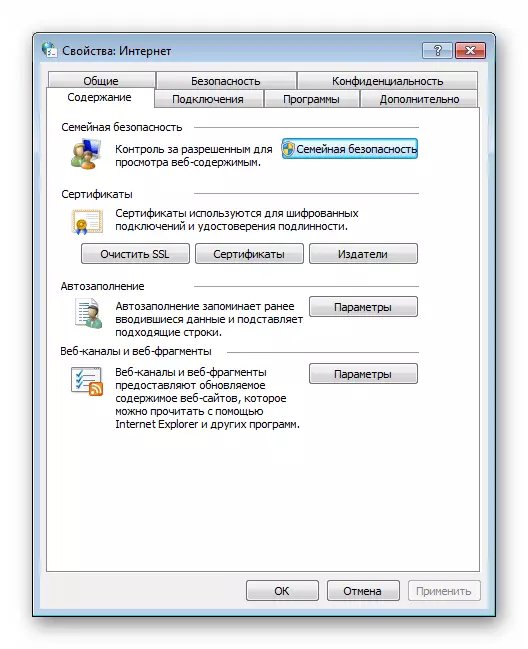
Read more: Adjust the browser properties in Windows 7
Section "Windows Defender"
We smoothly close to security options. First of all, consider the built-in Anti-Virus "Windows Defender" or "Windows Defender".

If your PC is installed antivirus program from third-party developers, the security settings information must be signed in its interface. The same applies to the Windows Firewall (see the next paragraph).
Read also: how to enable or disable the defender Windows 7
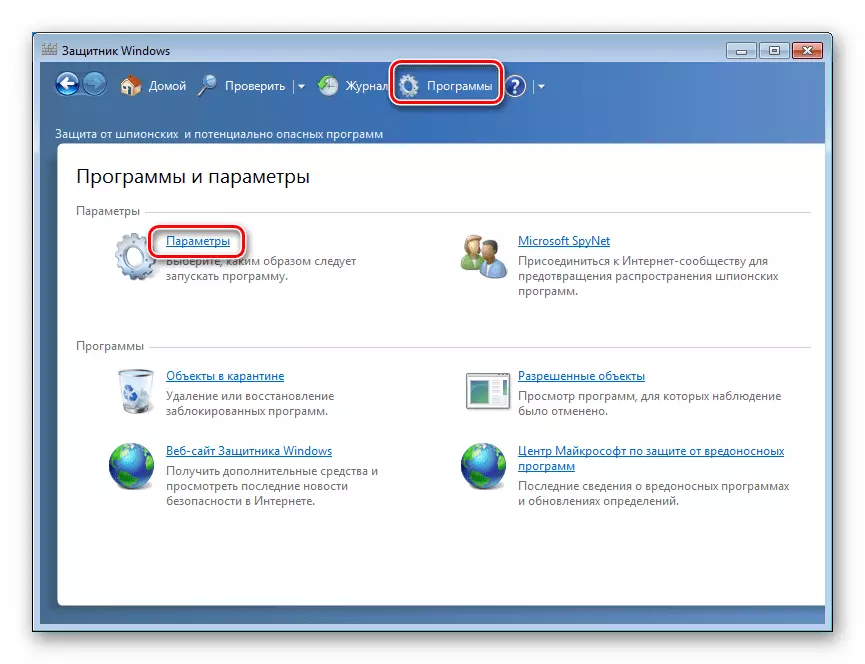
The "Defender" settings are in the "Programs" section in the "Parameters" block.
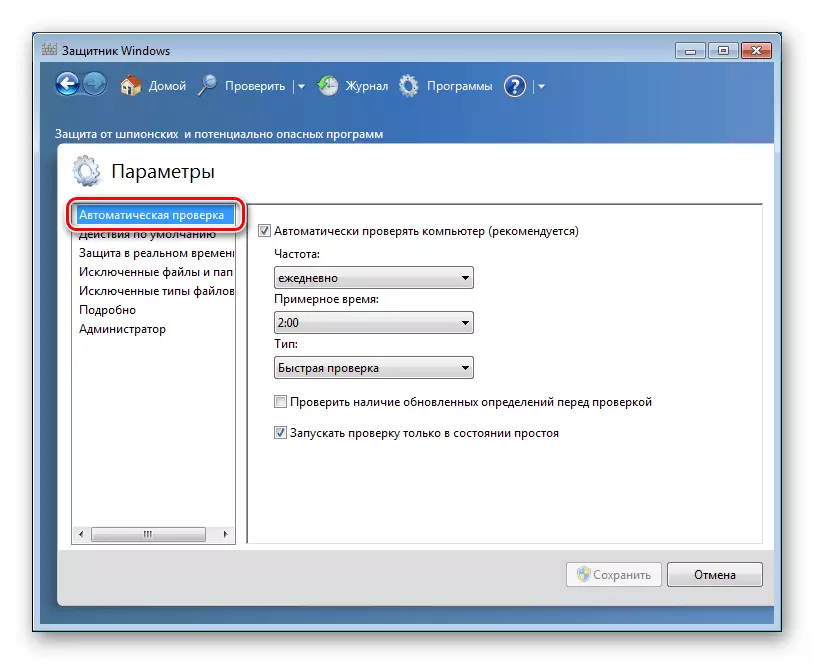
Automatic check
It is indicated where "Defender" will carry out automatic PC scanning for malicious programs, check type, and also include additional options.
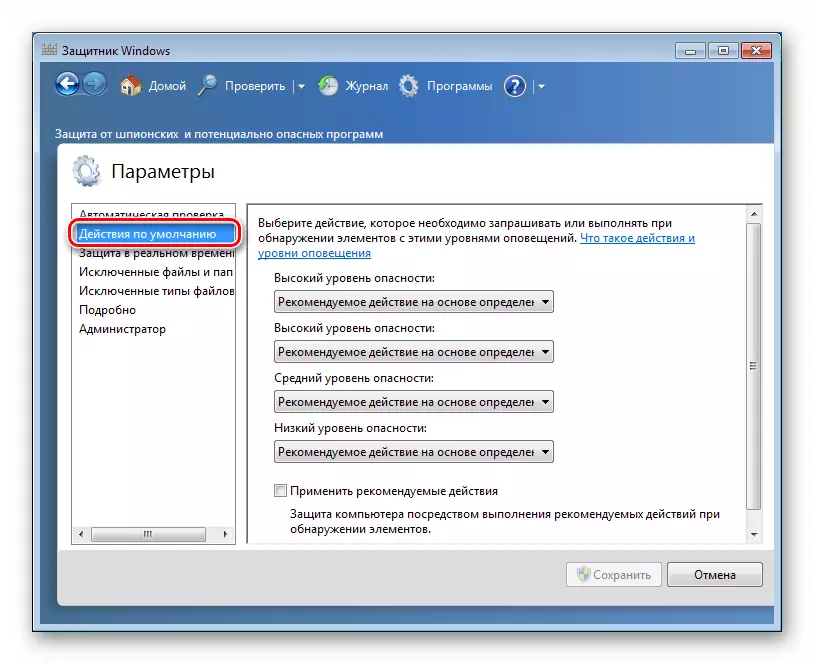
Default actions
On this tab, it is determined how the antivirus should act when the threats of varying degrees of danger is detected.
Real-time protection
This tab contains parameters for checking files and programs in real time, that is, "on the fly".

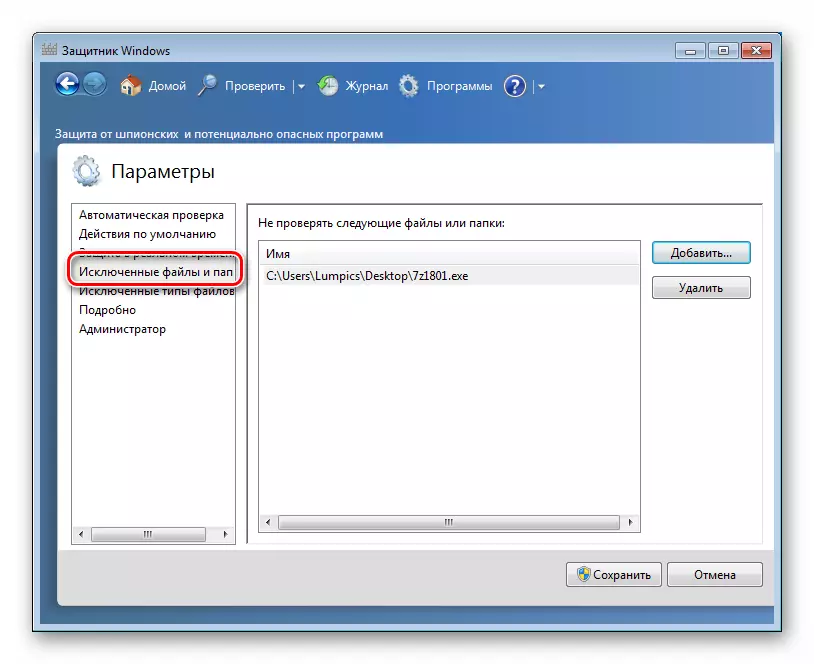
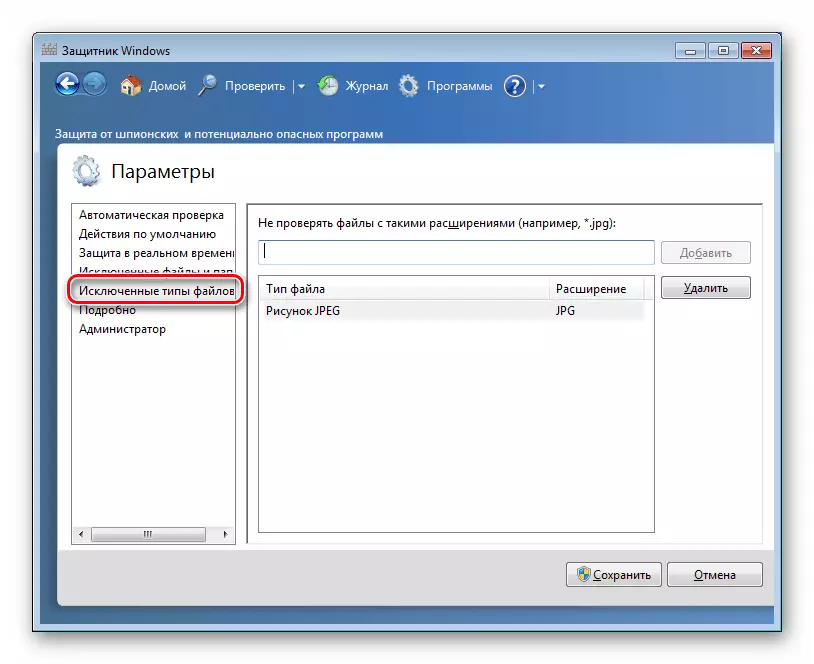
Exceptions
On the "Excluded Files and Folders" tab, it is indicated which elements will be excluded from the next and subsequent checks.
The following tab ("Excluded File Types") contains information about the files with which extension will be excluded from scanning.
Detail
This tab contains additional scanning options.

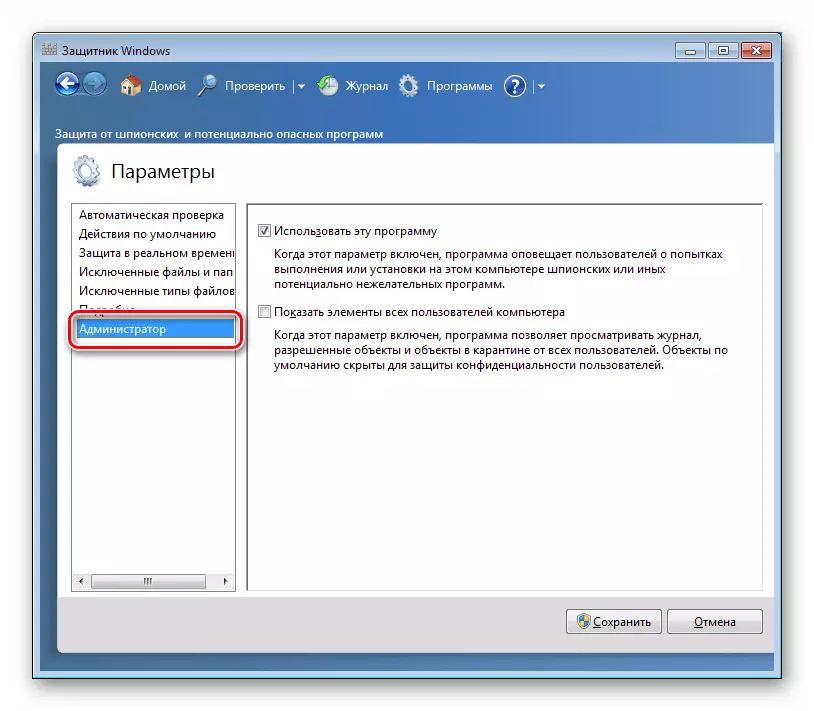
Administrator
It turns on and turns off the "Defender", and also determines the quarantine viewing mode.
Section "Windows Firewall"
"Firewall" is a built-in firewall. Its main feature is to prevent penetration on our computer of pests and intruders from all types of networks, including the Internet.

Read more: Configure firewall on a computer with Windows 7
"Local security policy"
These settings determine the general PC security rules and are priority, that is, facing programs, system components and protocols.
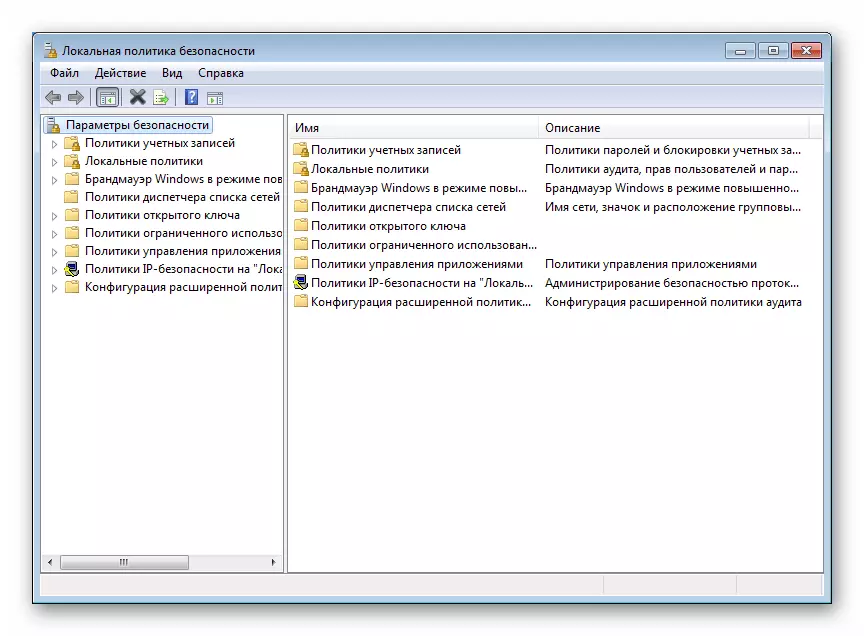
Read more: Configure LAN security policy in Windows 7
The practical application of one of the Local Policy Tools called AppLocker to determine the safety rules is described in the article below.
Read more: Forbid the installation of unwanted software forever
Section "Parental Control"
This is another security tool. It is intended to monitor the use of computer by children, or rather certain users.
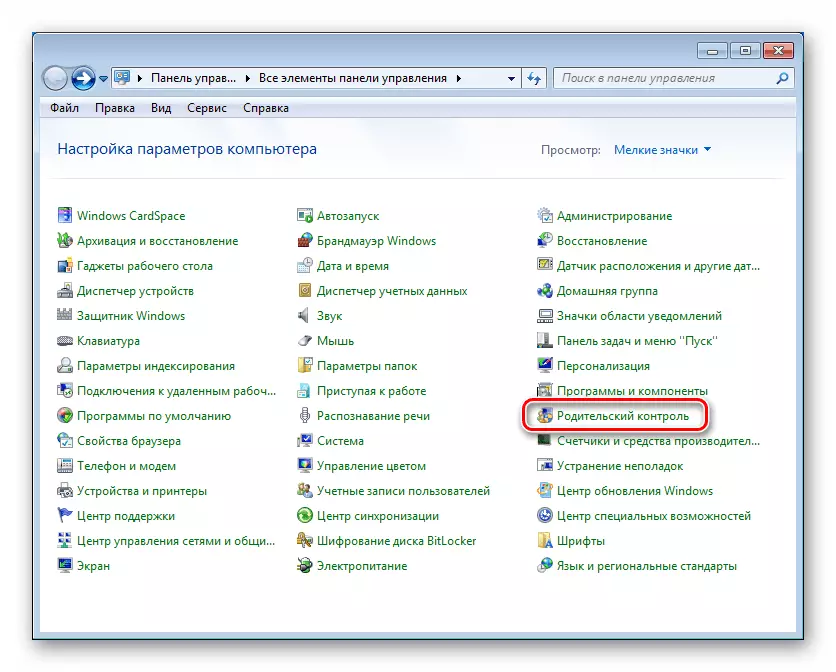
Read more: Parental Control Function in Windows 7
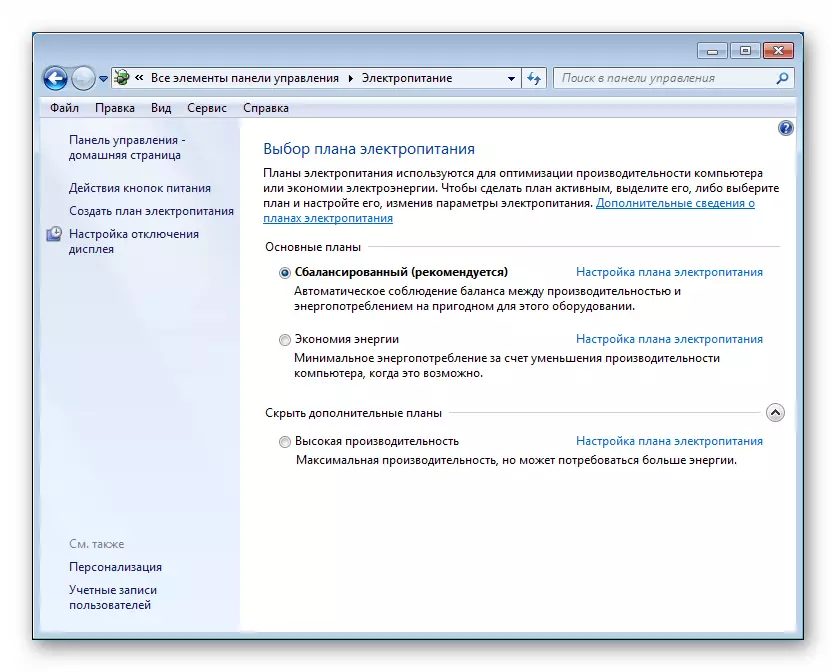
Section "Power Supplies"
The options in this section determine the balance between productivity and power consumption of the machine.
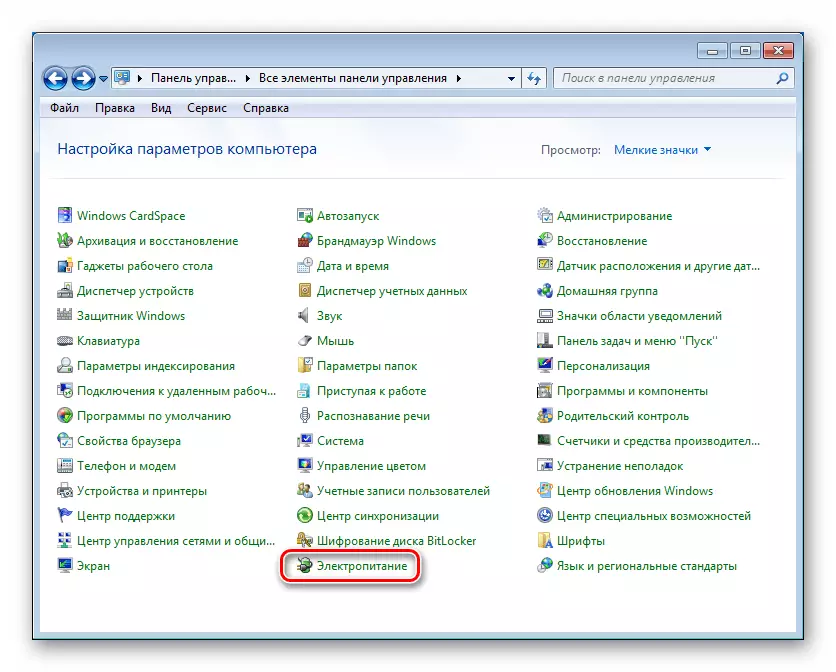
Here are the preset sets (power circuits), as well as the settings of the sleep mode, disconnect the display and the total PC performance.
Read more:
Setting the sleep mode in Windows 7
Improving computer performance on windows 7
Conclusion
We reviewed the basic settings of "seven". As you can see, there are quite a lot of them, so this article can be considered a peculiar exesome "under the hood" windows. In the first place, the security parameters and those that are in the section "System Properties" and in the System Configuration application interface. This is due to the fact that we are often faced with the need for their adjustment. The rest can be called secondary, since the appeal to them occurs as needed, and also because in the basic settings by default are quite acceptable for normal PC operation.