

If you are just starting your acquaintance with AutoCAD software, it could notice that when creating one segment or polyline, a solid rice type is selected with a standard line weighing. Of course, it is often in drawings that such style lines are used, however, there are additional elements indicating certain strokes or dashed segments. As part of today's article, we want to touch on the topic of typing, as well as demonstrate the creation of our own simple and composite lines.
We use the types of lines in AutoCAD
As mentioned earlier, in different projects under certain circumstances, a wide variety of types of lines are used, which differ from the standard solid. This is due to the fact that according to GOST, it is customary to use the conditional designations of different objects so that confusion is not created. In auto channel, several types of segments were originally integrated, but they do not always satisfy the needs of users. Therefore, today, in addition to general information, we will show and an example of creating your style through a simple code.General concepts of drawing lines in AutoCAD
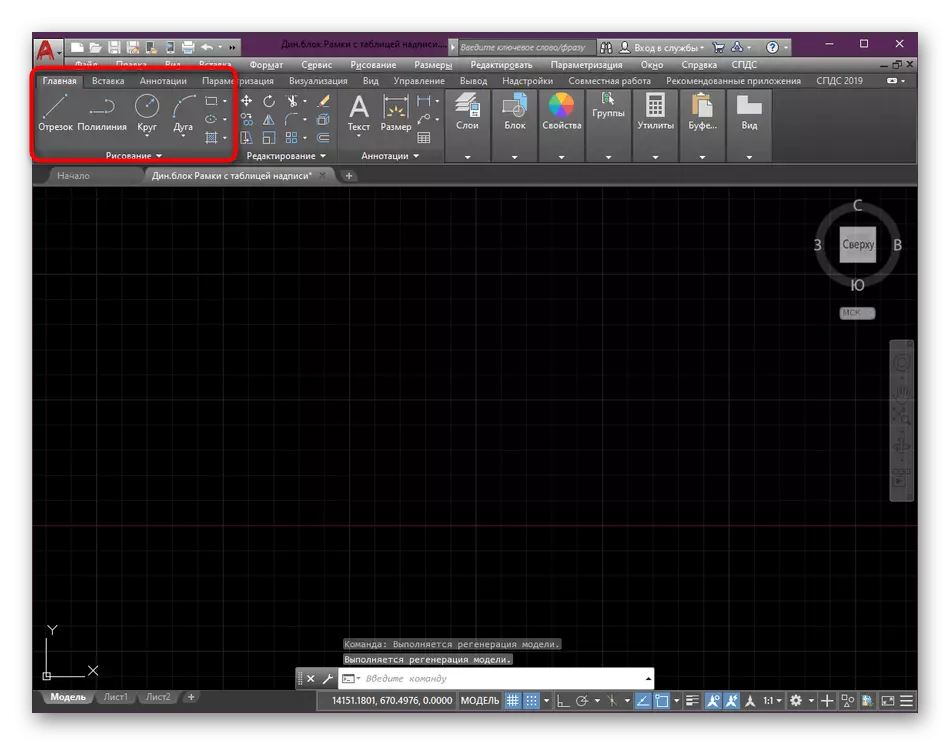
The predominant majority of drawings consists of primitives, which includes segments and polyline. They can create groups or more complex figures, but often they are used in the designation of walls and other similar objects. Creating a primitive happens like this:
- Move to the main tab of the ribbons, where in the "Drawing" section, select one of the appropriate tools.
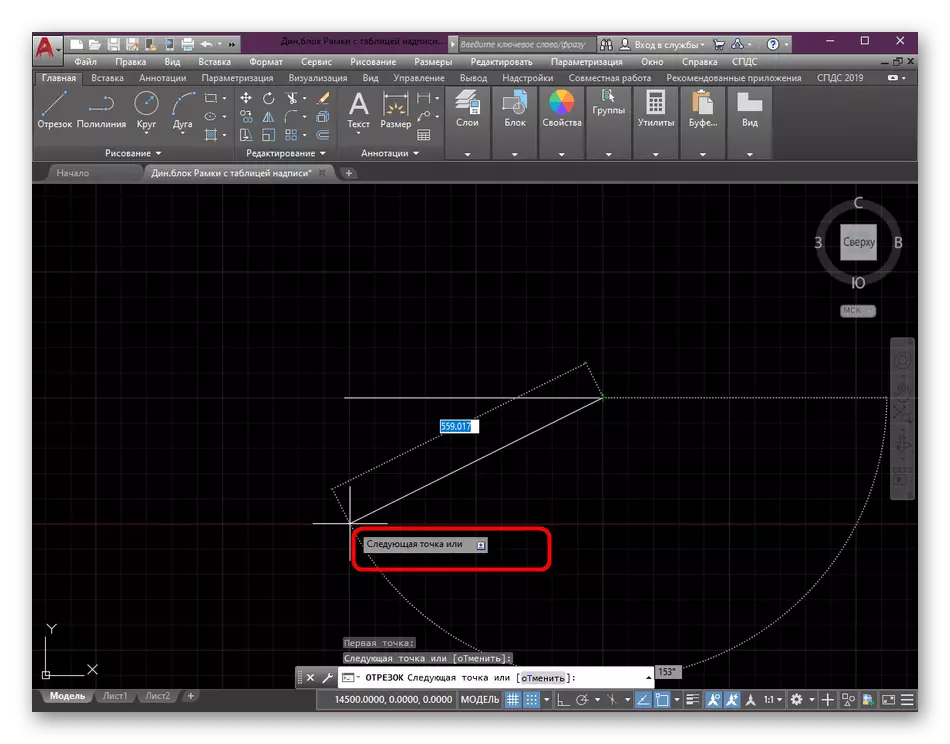
- Create the first point of the segment by clicking on the desired area of the drawing with the left mouse button.
- Continue adding lines, separating points by pressing the LKM.
- Upon completion, click the ENTER key. If you created several segments, each of them will be presented as a separate element, but the polyline forms a block.

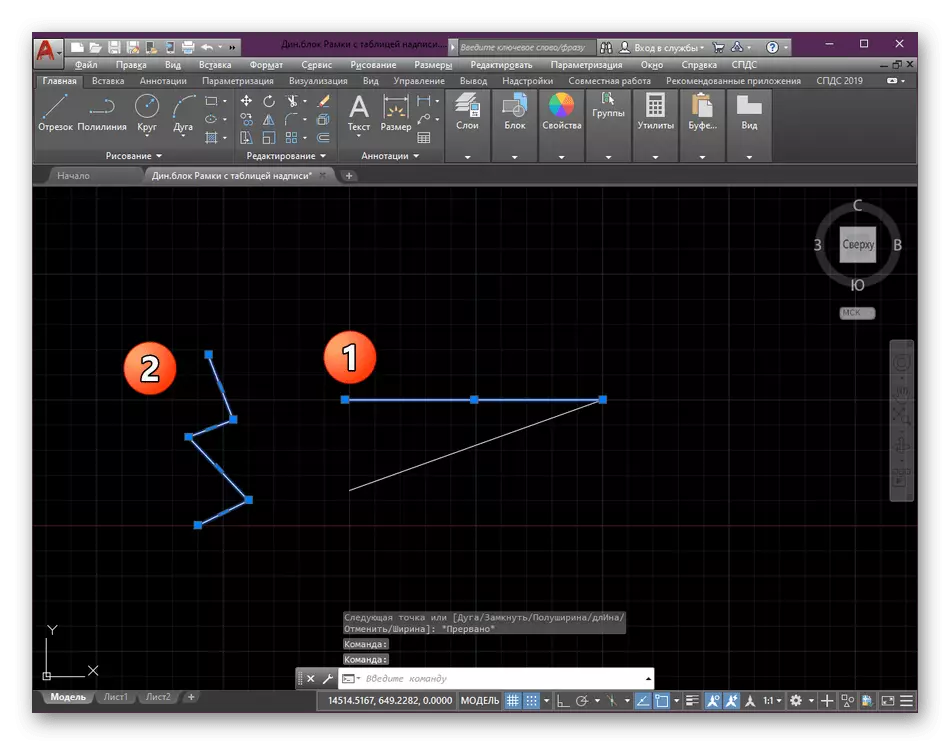
Take a rectangle for example. After adding it, you may find that it is a separate unit and in fact performs the same properties as the usual polyline. In this case, all items have now been created using the standard lines style, which is set by default. We offer more detailed information about cuts, polylines and drawing to learn in other materials on our website, and now we will turn to our current article today.
Read more:
Drawing two-dimensional objects in AutoCAD
Transformation of segments in the polyline in AutoCAD
Change type type
Above, we have already talked about the fact that several types of lines are built into autocadus that can be used without any problems. Take as an example the same standard dotted segment, which is often used in projects performed according to GOST. The change in the usual style is very easy, and you need to know the following:
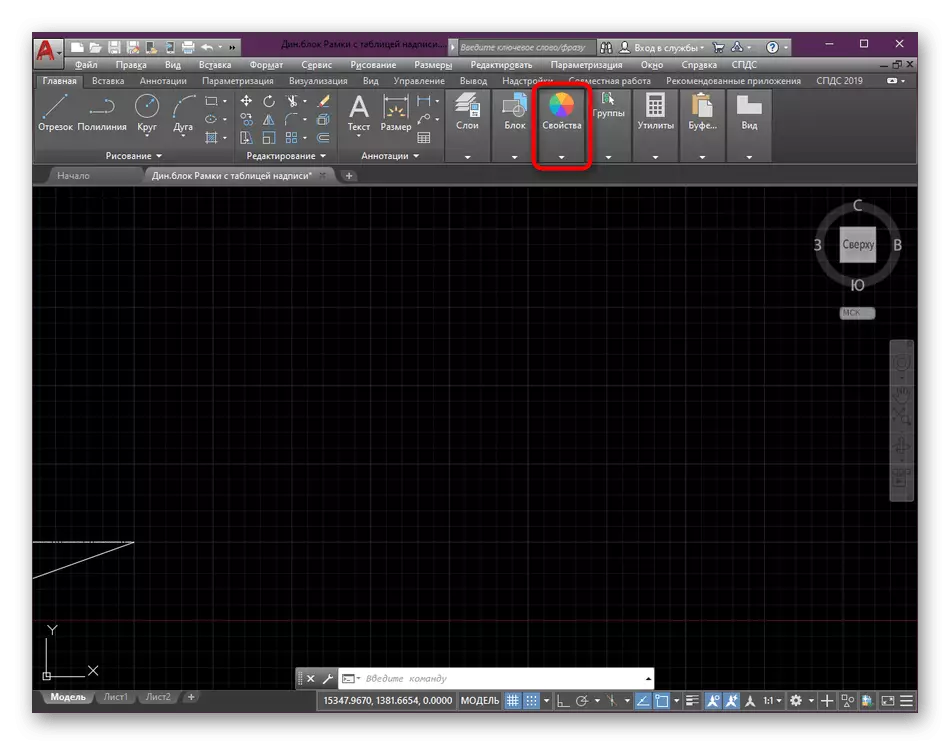
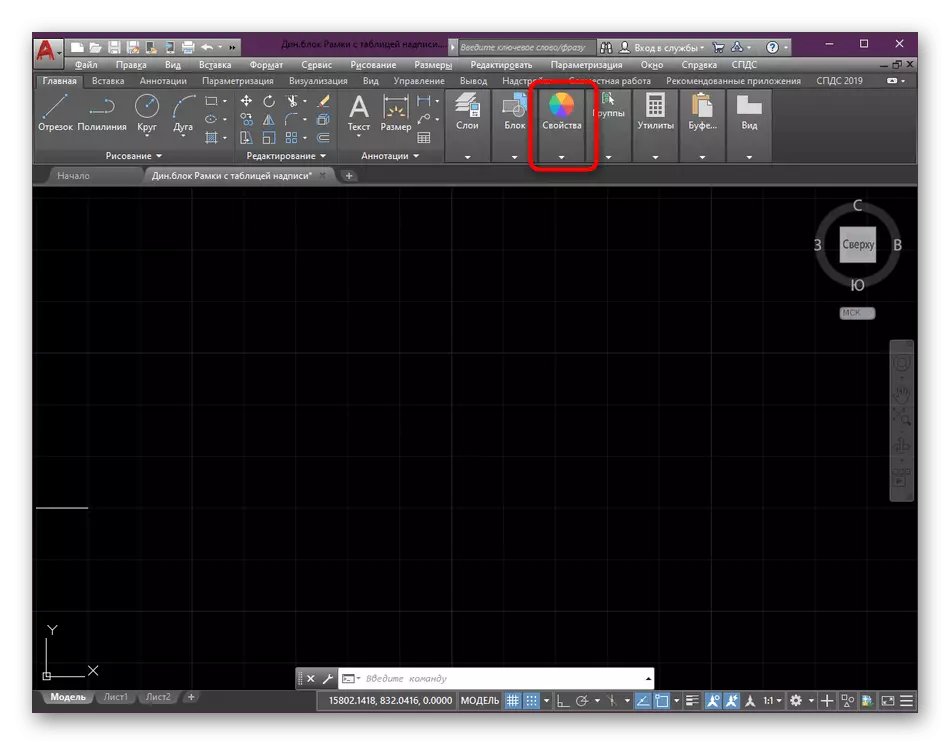
- Being in the Program main tape, expand the "Properties" section if it is closed at the moment.
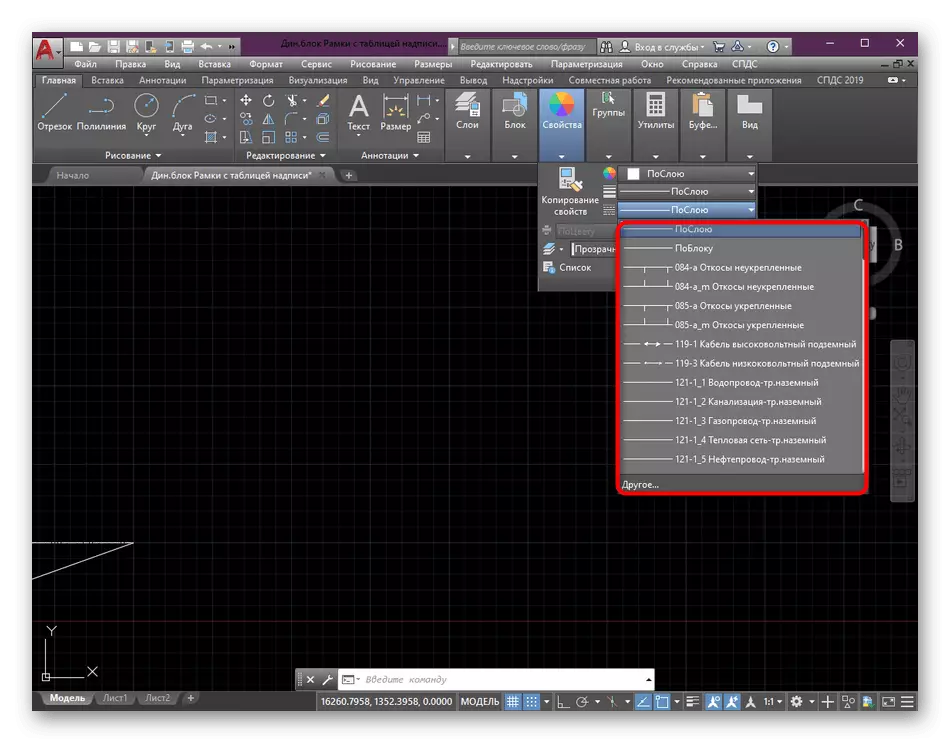
- In it, find a paragraph called "Line Types". You will sufficiently bring the cursor to any tool so that a detailed description has emerged after a second with its name and properties. Open a list with available types by clicking on the appropriate down arrow.
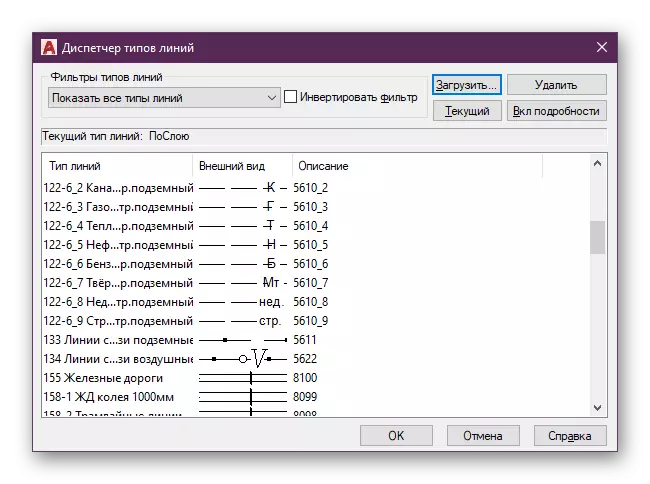
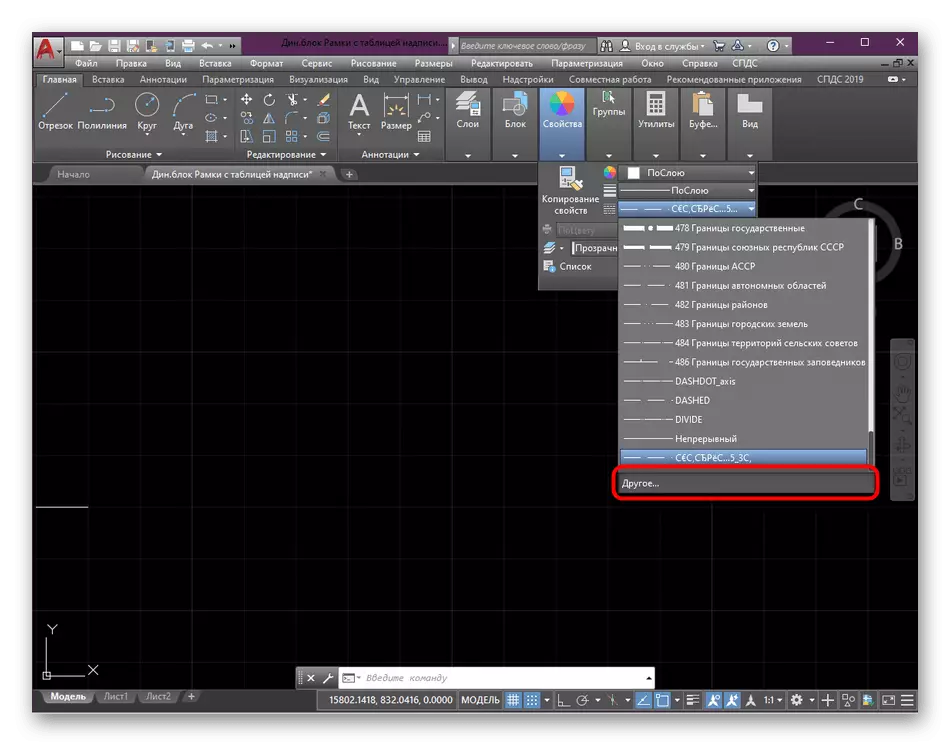
- Here you can choose one of the GOST TIPS by clicking the LCM by the required option. As you can see, the miniature of the line is present on the left, and its description is shown on the right. We will talk more about numerical values in the title further at the stage when we create your own type. If you manage such a list, you are uncomfortable, click on the "Other" button to display this menu in a separate window.
- Now you can choose absolutely any version of the stylization, look at the appearance and familiarize yourself with the description.
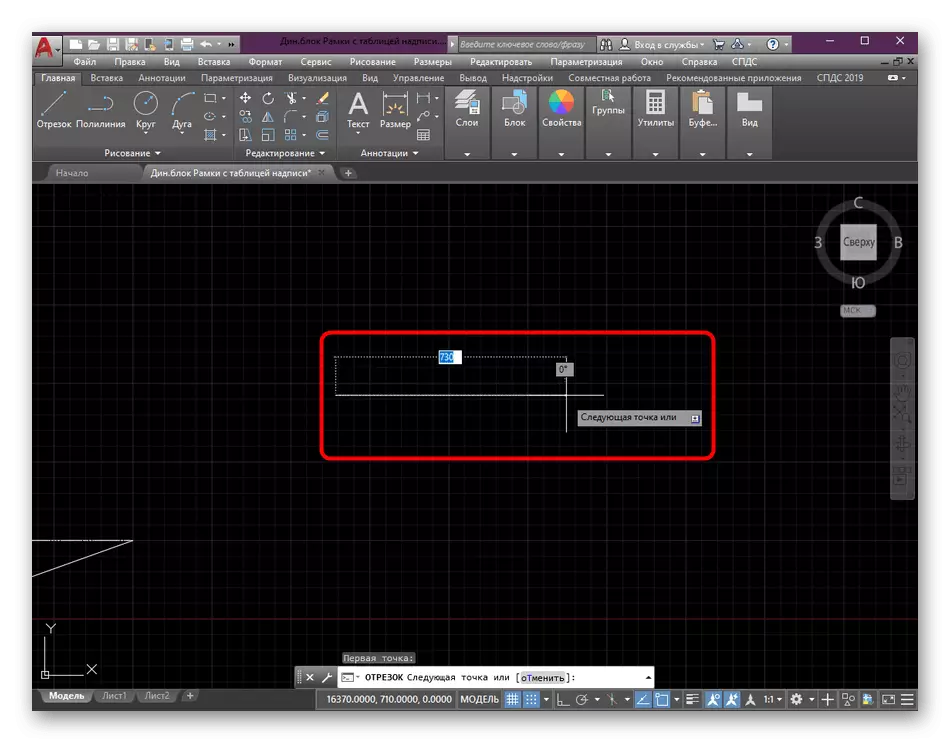
- Briefly consider the procedure for creating a new segment with the selected style. To begin with, specify the appropriate tool that will be used for drawing. Its type does not matter, since properties are applied to all lines.
- Set a simple segment and confirm the action by clicking on the ENTER key.
- As you can see in the screenshot below, the typing of the lines has changed. Now it is an intermittent feature with vertical stripes on each segment.


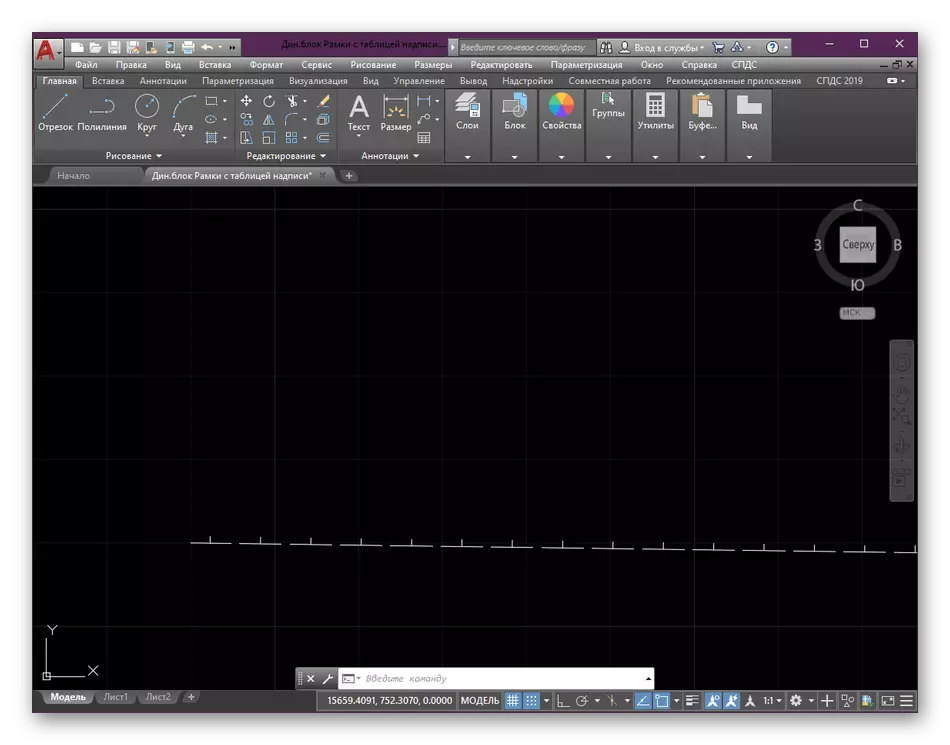
After making such changes, any segment will be created in the specified format. It changes in the same actions - it is necessary to return to properties and choose another type, for example, standard. There is nothing complicated in this, all adjustments are carried out literally in a couple of seconds.
Let's once again repeat the founding of the coding type of lines. Any positive value is set as lines, where the number is indicated by the number of millimeters. The space always matters -2, and the point is 0. Quickly consider two more examples:
- __. __. . __. __ ___, where we have different segments of 2, 5 and 7 mm. In this case, the code will be view A, 5, -2,0, -2.5, -2,0, -2,0, -2,5, -2,0, -2.2, -2.7 .
- . . . . ___. . . ., where the feature is 3. a, 0, -2,0, -2,0, -2,0, -2.3, -2,0, -2,0, -2.0, -2, 0.
Developed information on the creation of simple and complex types of lines presented the developers on their official website. Therefore, if you are interested in further developing such styles, we recommend to study the submitted materials to be aware of all the nuances.
About Simple Custom LinetyPes
Loading types of lines in AutoCAD
Now you have your own type of lines, but it will require integration into auto channel to work with it. Absolutely the same is carried out with all other styles that have been downloaded from the Internet or obtained in a different way. You need to perform such actions:
- Move to AutoCAD and expand the section called "Properties".
- Expand the list with all types of lines.
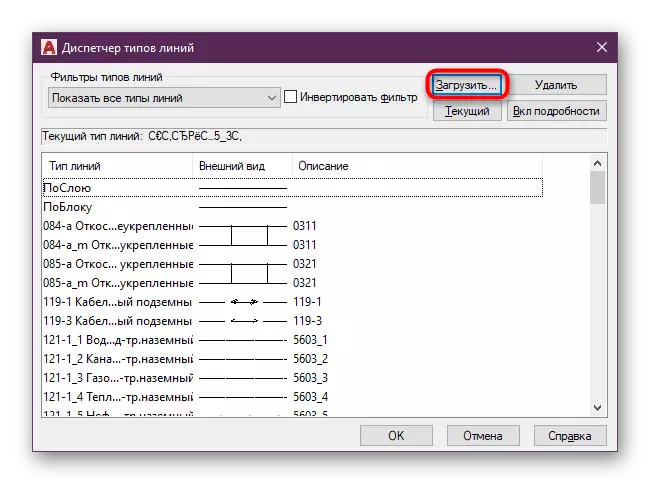
- Next you need to open the style control menu. To do this, click on the "Other" row.
- Click on the "Download" button.
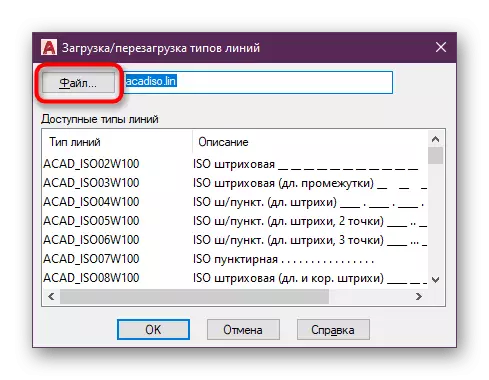
- On the left, find the file, and then click on this button.
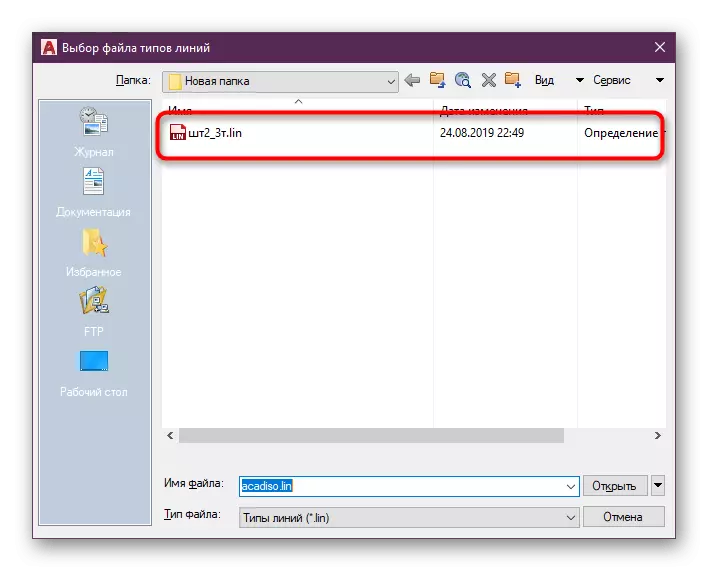
- The built-in browser opens. In it, go to the folder where the line file has been saved. Choose it, clicking on the LKM twice.
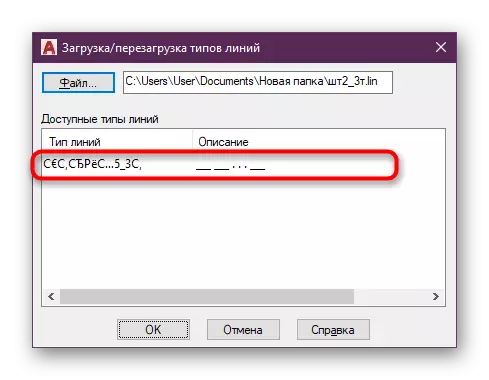
- If several types are present in one file at once, you will be asked to choose some of them. In our case, there is a code of only one style, so we will point it.
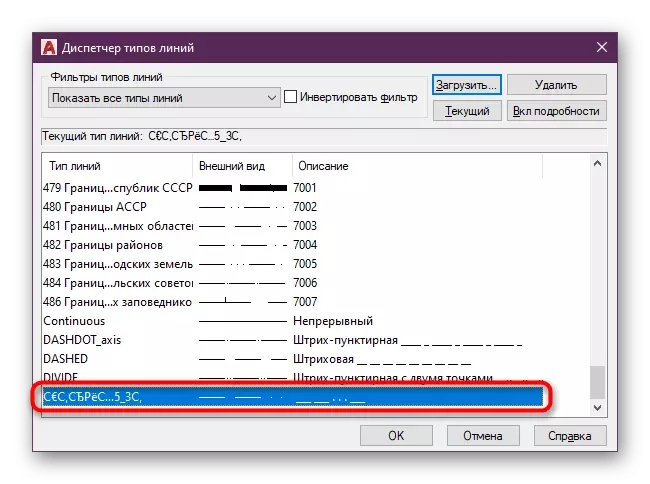
- Usually, new user types of lines are added to the end of the list. Lay the appropriate option and select it to apply.
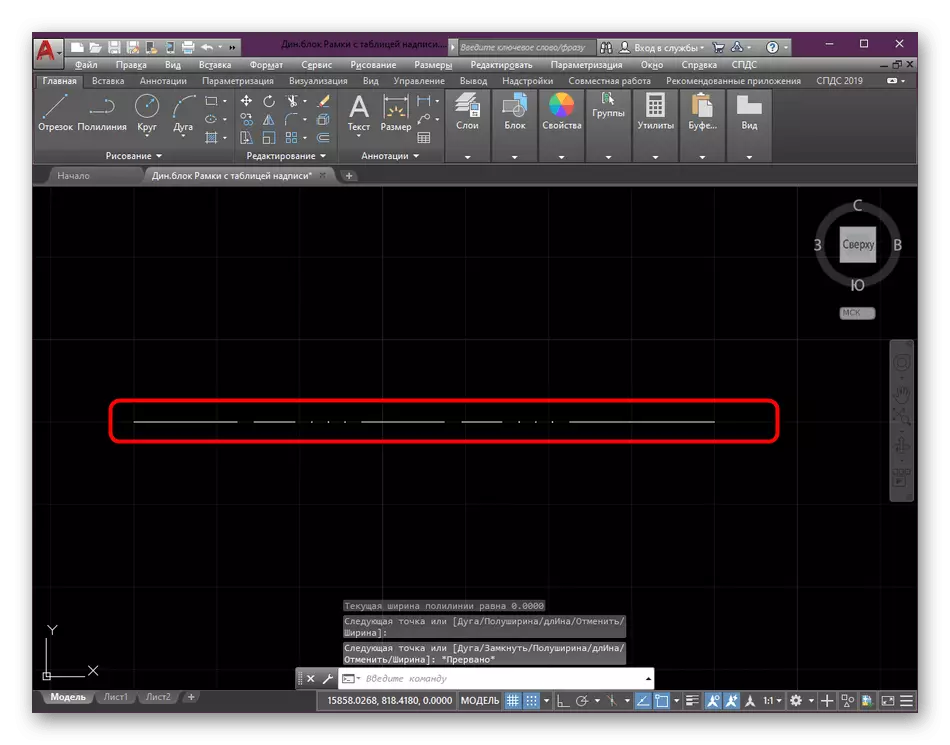
- We will build a polyline, in order to make sure the effectiveness of the code created earlier.
- As you can see, the style with the cyclic repetition of lines and points has been created.


As for the change in the thickness of the line, this is no longer included in the type of type and is adjusted separately. Detailed information on this topic can be found in another material on our website by clicking on the link below.
Read more: Change the thickness of the line in AutoCAD
From this article you learned everything about the use of types of lines in the AUTOCAD program. As you can see, it allows you to significantly facilitate the implementation of certain tasks, and the ability to create personal style options will allow in every way to upgrade the drawings. In the same learning format, many other materials on the subject of auto channel on our website are written. If you are a novice user, it will be useful for you to familiarize yourself with the basic concepts in order to easily deal with the main functionality of this software.
Read more: Using AutoCAD Program