

UAC is a Windows component that is decrypted as "User Account Control" or "User Account Control". Its purpose is to ensure the security of a user in the form of confirmation of actions that require administrative rights. And although by default this feature is enabled, earlier users could turn it off to install any programs that blocked UAC. In addition, it can be disabled in some builds of this OS created by third-party users. If you want to enable it, use the ways that we will look at.
Turn on UAC in Windows 7
Together with the inclusion of security feature, the activation of the UAC implies the constant appearance of the action confirmation window, as a rule, start the program / installer. Thanks to this, many malicious applications in the background will not be able to launch important system components or a "quiet" installation, since the UAC will ask for confirmation of these actions. It is worth understanding that this method does not run away by the user by 100% of threats, but the complex will be a useful means.Method 1: "Control Panel"
Through the "Control Panel" you can quickly get into the setting of the required parameter. Follow the instructions below:
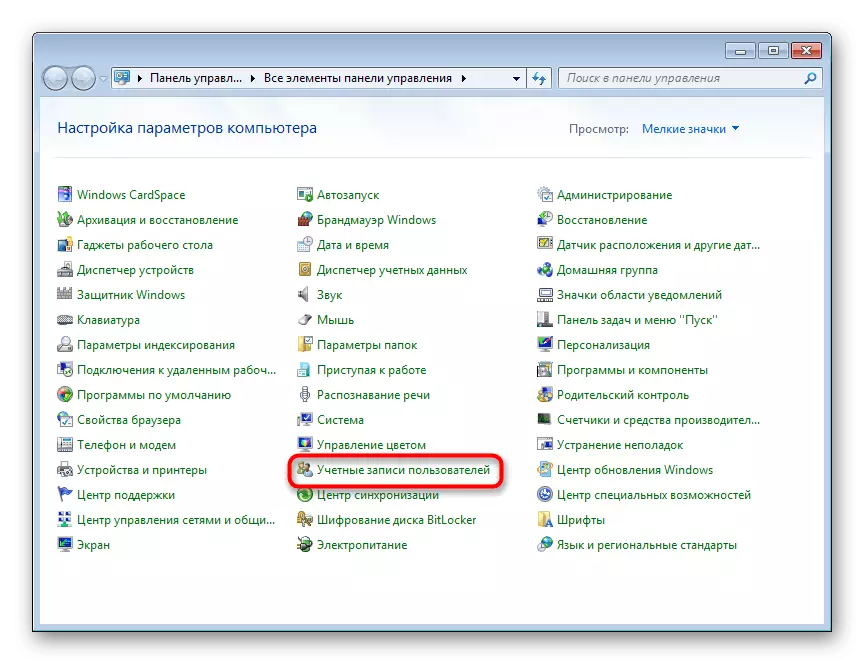
- Open the "Control Panel" through the Start menu.
- Go to the "User Accounts" section.
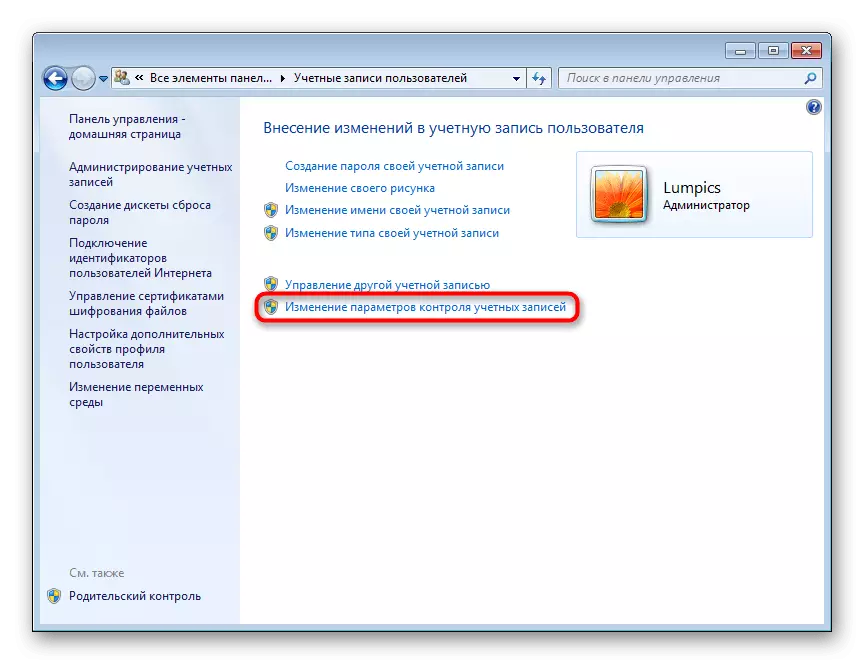
- On this page, click the "Changing Account Control Settings" link.
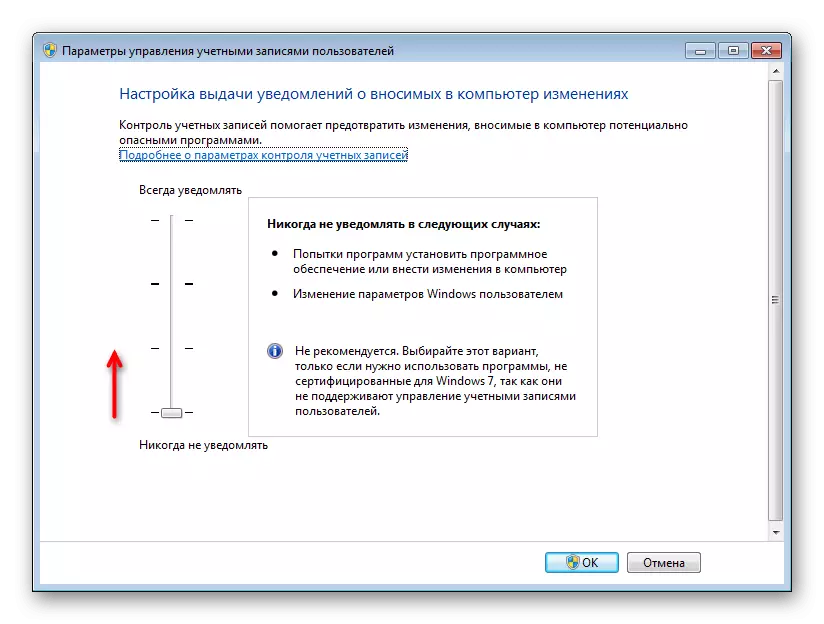
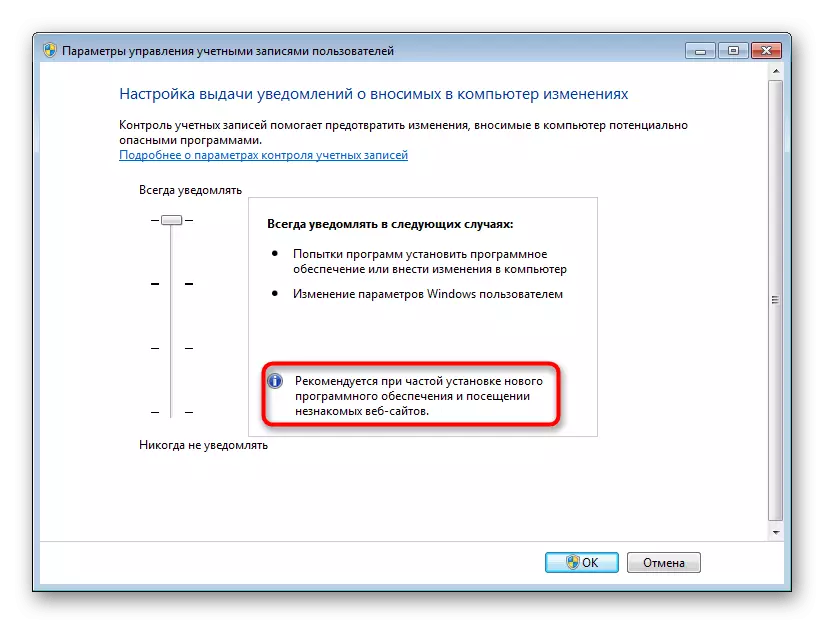
- You will see the frequency range of notifications of changes in Windows. By default, the regulator is at the very bottom. Try it up to the specified tags.
- Each label assigns a different degree of UAC response, so be sure to read the information right: it is indicated where you will receive notifications and which choice in what situation is recommended.

The system will issue a notification of the need to restart the computer to activate the UAC.

Please note if you want to configure the UAC behavior level even higher (for example, with data entry from the administrator account) or disabling the darkened desktop background, do it through this window will not work. Use the recommendations from Causes 4. What is at the end of this article. There is talking about how to edit the behavior of the UAC window in more detail through the system application "Local security policy".
Method 2: "Start" menu
Much faster, you can get into the window specified in step 3 of the previous way, if you open "Start" and click the left mouse button on the picture with your profile.

After that, it remains to follow the link "Changing account control settings" and perform the same manipulations that are indicated in steps 4-6 of method 1.
Method 3: "Perform"
Through the "Run" window, you can also quickly go to the edit window of the UAC alerts level.
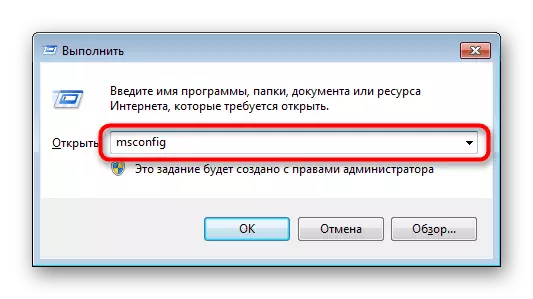
- Combination of the Win + R keys Run the "Run" window. Write a UserCcountControlSettings.exe command in it and click "OK" or ENTER on the keyboard.
- You will see the window in which the regulator should turn on and set the frequency of alerts. More information is written in steps 4-5 of the method 1.

After completing these actions, restart the computer.
Method 4: "System Configuration"
Through the standard utility "System Configuration" you can also enable UAC, but here it is impossible to select the level of operation of this function. By default, the highest degree of response will be appointed.
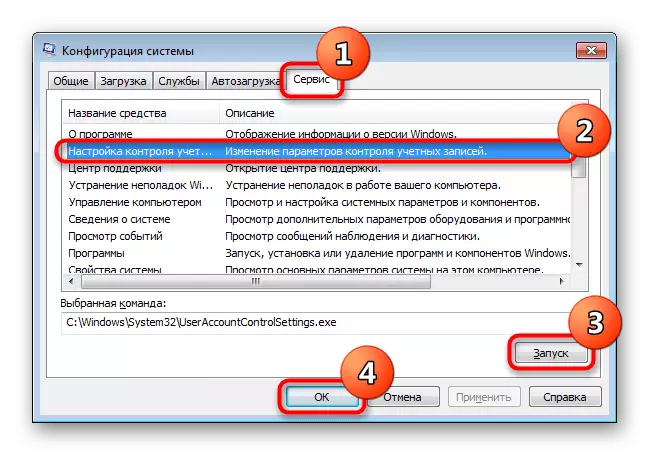
- Press the Win + R key combination and write in the msconfig window. Click on "OK".
- Switch to the "SERVICE" tab, select the "Setting User Account Control Control" by a single click, click "Run" and then "OK".
Restart PC.
Method 5: "Command String"
Useful users to work with CMD, this method is useful.
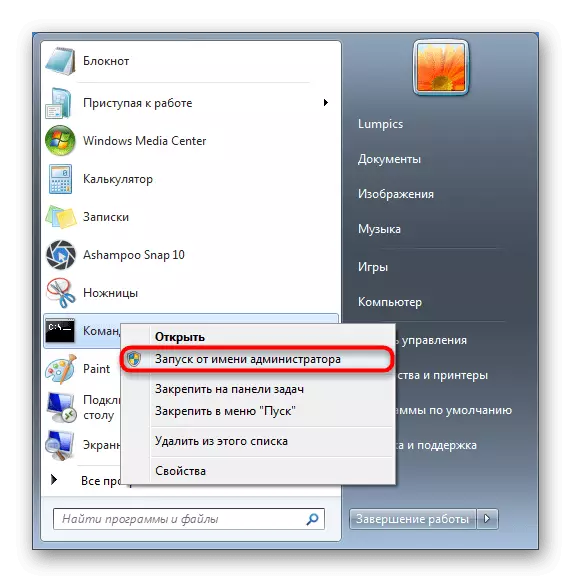
- Open the console by turning the menu, having found the "Command Line" application through the search and running it on the name of the administrator.
You can also start it by calling the "Run" window with the Win + R keys and writing CMD in the corresponding field.
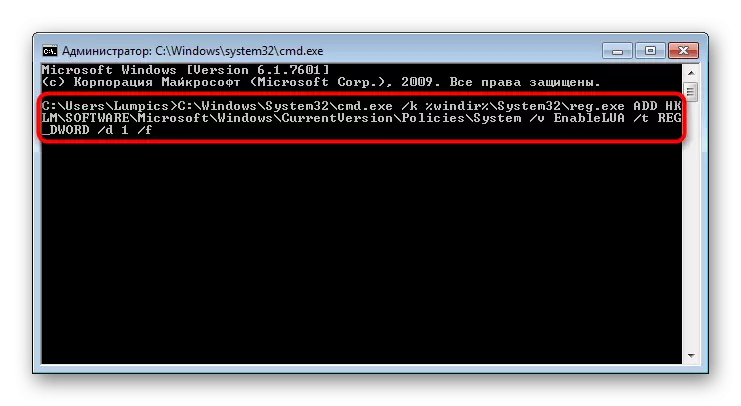
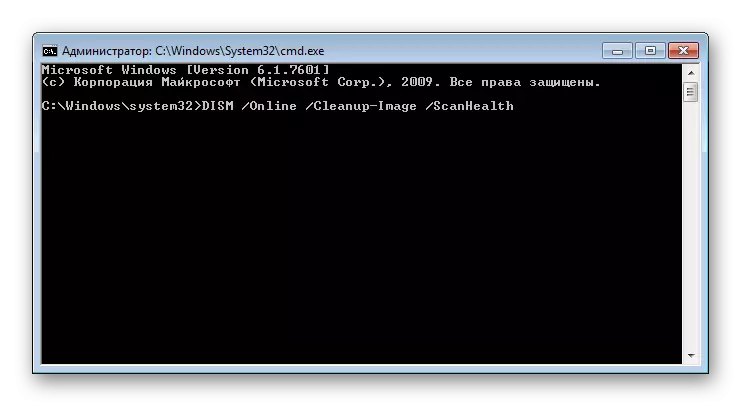
- Enter the C: \ Windows \ System32 \ cmd.exe / K% WinDir% \ System32 \ reg.exe Add HKLM \ Software \ Microsoft \ Windows \ CurrentVersion \ Policies \ System / V Enablelua / T reg_dword / d 1 / f and click ENTER.
- A notification of successful inclusion will appear.


Leave to restart the system.
Method 6: Registry Editor
The registry editor utility allows you to perform almost any manipulation with the operating system, so it should be used very carefully. However, it will not be difficult to turn on the UAC through it, and it is this method that will be more effective in the case of blocking the inclusion of this function by viruses.Perform Win 7 to reboot for changes in force.
Solving problems with the inclusion and configuration of the UAC
Some may encounter the fact that running the switching and configuration and configuration settings for "user account control" does not appear or cannot be changed its response level. For such different circumstances.
Cause 1: Account Type
Turning on UAC is possible only through the administrator account. The user having a reduced level of rights ("standard") will not be able to manage such important settings. To fix this, you need to change the type of account or execute this action from under the administrator's entry.Read more: How to get admin rights in Windows 7
Cause 2: System Errors
This situation may be caused by a violation of the integrity of system files. To verify this and correct possible errors, use the SFC CONSOLIDA utility. We talked more about this in another article in the method 1.

Read more: Restore system files in Windows 7
In rare cases, the utility is not capable of recovering, since the backup file repository that SFC takes on to replace, also turns out to be damaged. In this regard, it will be necessary to recover it already.
Read more: Restoring damaged components in Windows 7 with DISM
After successful recovery, try to run SFC again, and when the utility fix system errors, go to the inclusion of UAC.
Everything else helps the recovery of the system using the standard component of the same name. Make a rollback to one of the earliest points when the problems with the computer were not observed. This will help the method 1 of the article on the link below.
Read more: Restoration of the system in Windows 7
Cause 3: Included Antivirus
Sometimes various antiviruses control the work of important components of the operating system. The change in their state can be calculated as interference with the operation of the OS with a possible threat to safety, which in our situation seems a bit absurd. Solution Simple: To a while, turn off your anti-virus protection, and then try to enable UAC or change its response level.
Now you know how to quickly include and manage UAC. However, you should not forget that only through the "Control Panel" you can not simply activate it, but also configure the level of alerts. In all other situations, the component will simply be included with the maximum level of response.